Decorate this Easter

So I have had such a busy week cramming in 55 hours of work at my 2 jobs, but i’ve still managed to find some time to get my craft on! I WILL NOT let my busy lifestyle get the better of me and stop me from doing what I do best! Being crafty gives me some time to myself and makes me stay semi sane!
For everyone like myself, who can sometimes struggle to find the spare time to do what they love best, i’ve come up with 2 very simple and easy crafting tasks to ‘Decorate this Easter’ that take very little time! Don’t let work spoil your Easter weekend!!
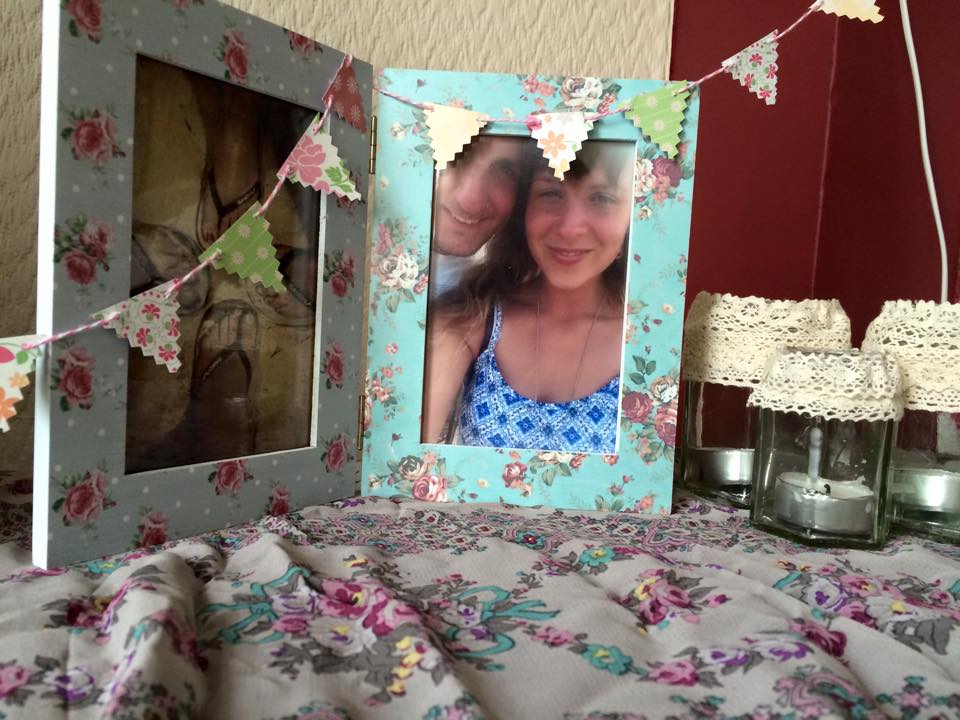
Let’s face it… we all love bunting! Floral, checkered, stripey or polkadot…we can’t get enough of it, and what’s cuter than mini bunting! Here’s my super speedy tips on how-to.
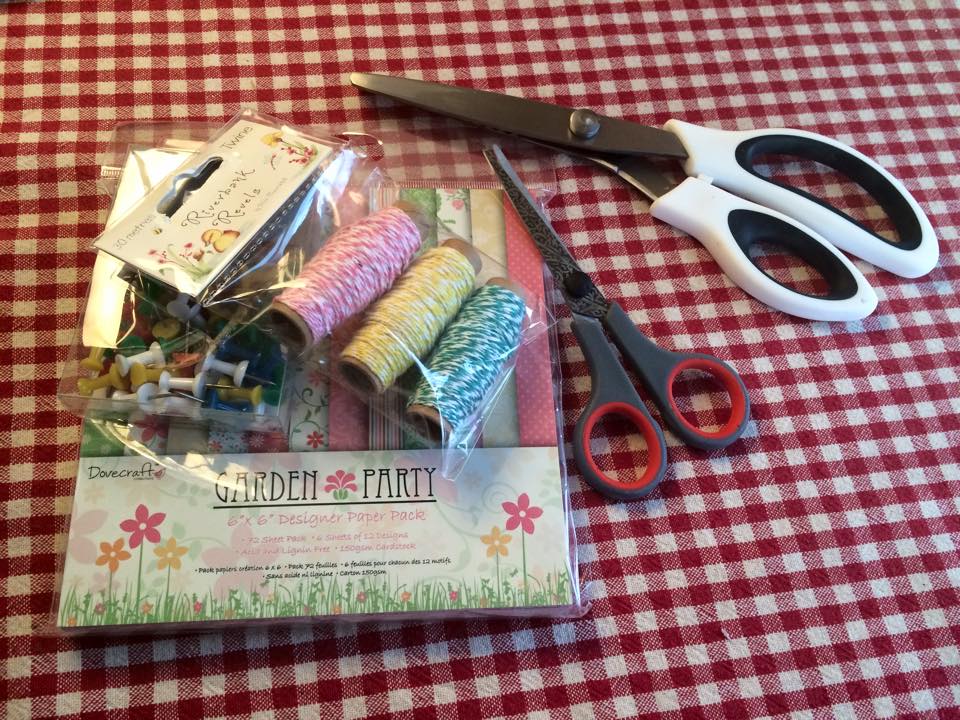
I found these beautiful patterned pieces of square card in all sorts of spring-like designs and for 72 pages, it was only £3.00 from Wilkinsons which I thought was a bargain! For the bunting I only used one page of each pattern so there’s plenty left for more crafty session!
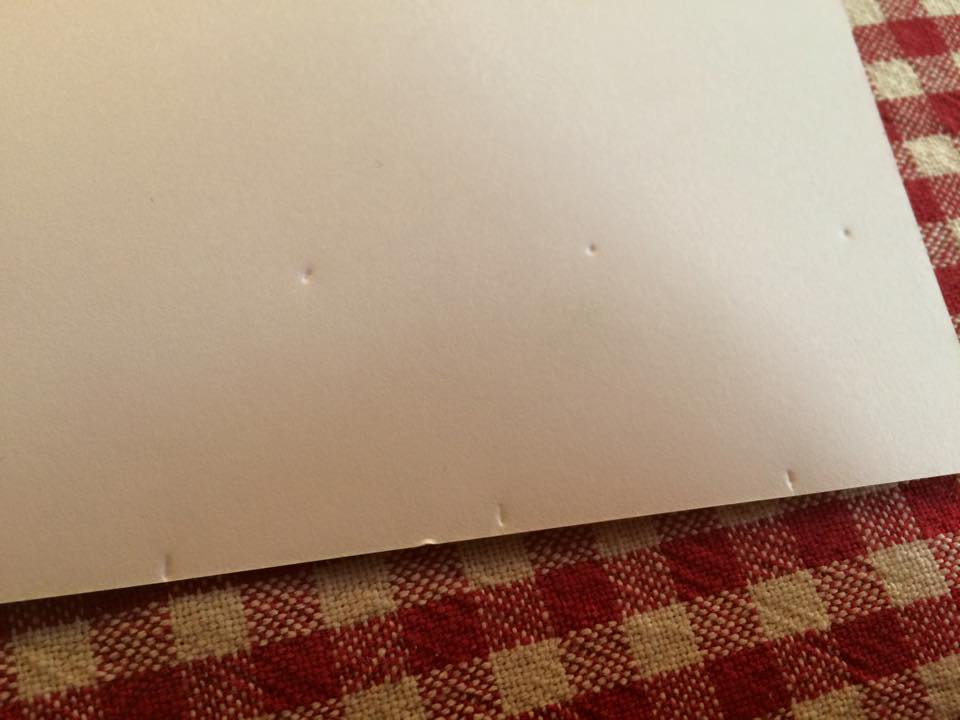
I used a ruler to measure out equal spaces on the card and marked it lightly with a pin, then using pinking shears I cut my way through to each marked spot, making equal sized triangles! Straight edged scissors would also work perfectly fine for the bunting as well!
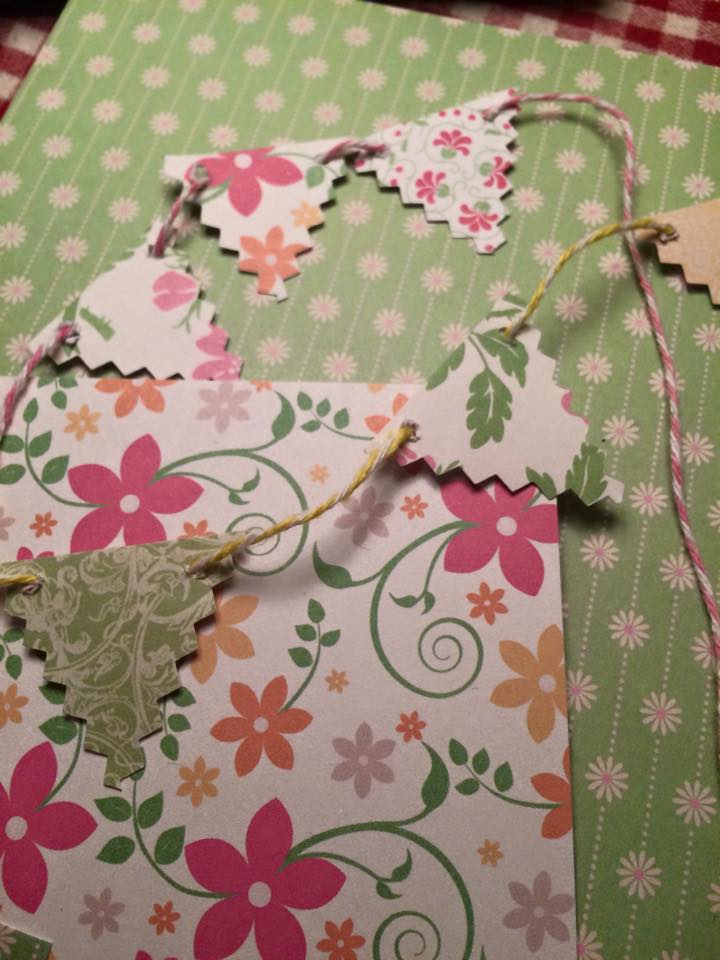
Once all of my pieces of bunting had been cut i used a push pin to make holes in the 2 top corners of each triangle, then prepared my pink and yellow twine which i also bought from Wilkinsons for just £1.50 for a pack of three!
Finally, I threaded the twine through the holes to make my string bunting! The best thing is that you can cut the string to whatever length you wish, make as many or as little triangles as you want, and experiment with different sizes and shapes!
Simple, quick and easy!
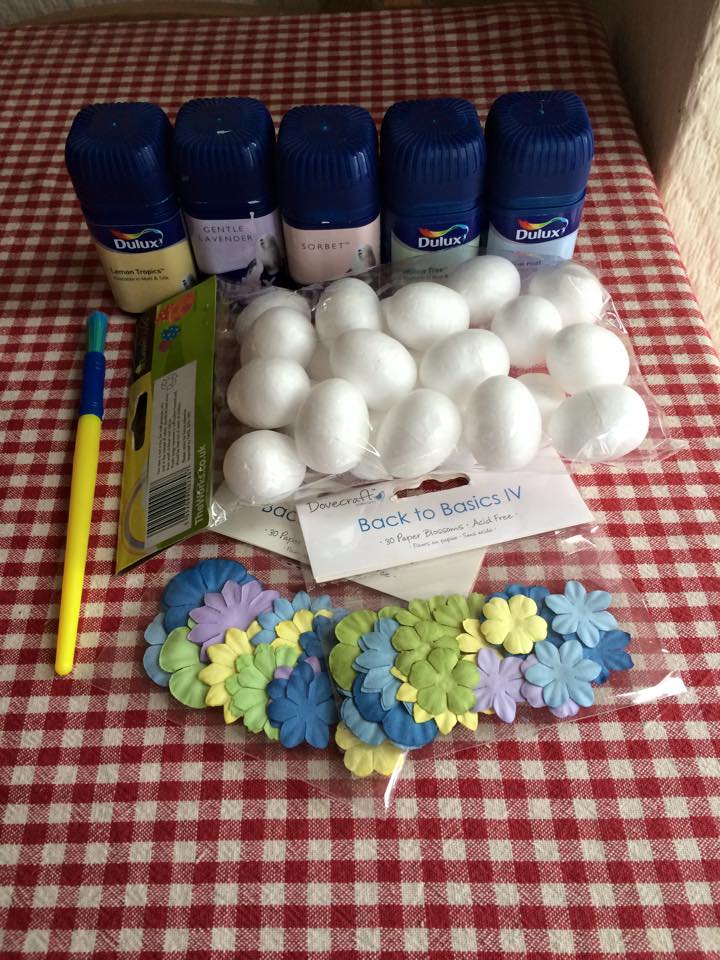
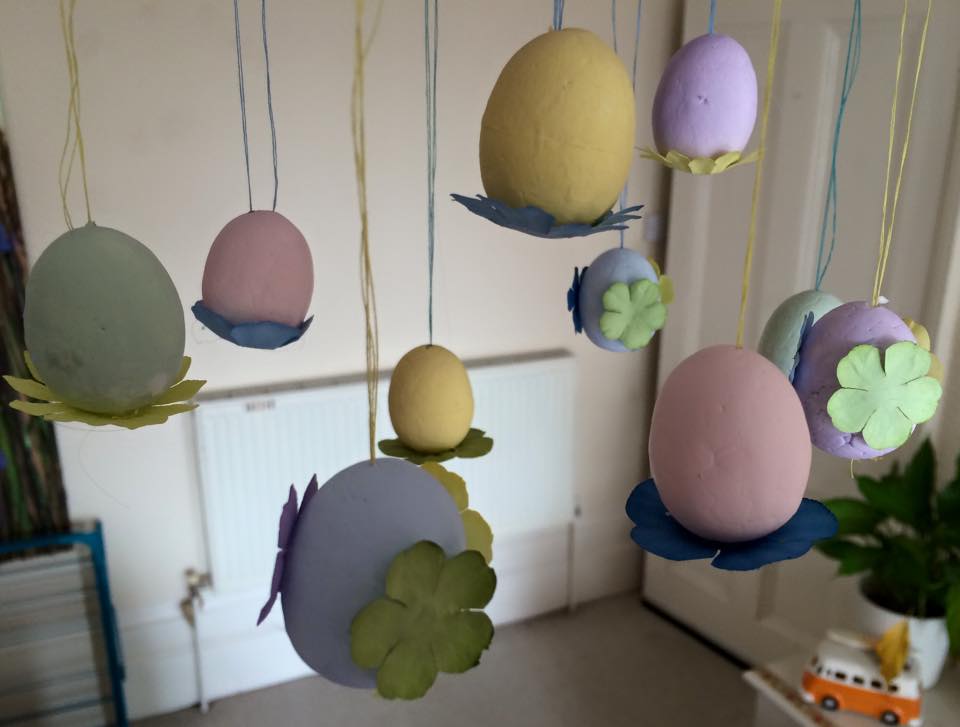
For my second Super simple crafty session for ‘Decorate this Easter’, i’m going to show you yet another way to make some cute easter egg decorations. For these all you will need is some paint, I used leftovers from when I made my Cutlery Tray, some flower shaped cut out paper, OR your choice of paper and a flower hole punch, and some egg shaped polystyrene.
You could also use wooden eggs, but I found these polystyrene eggs from The Works and you can also get them from Poundland.
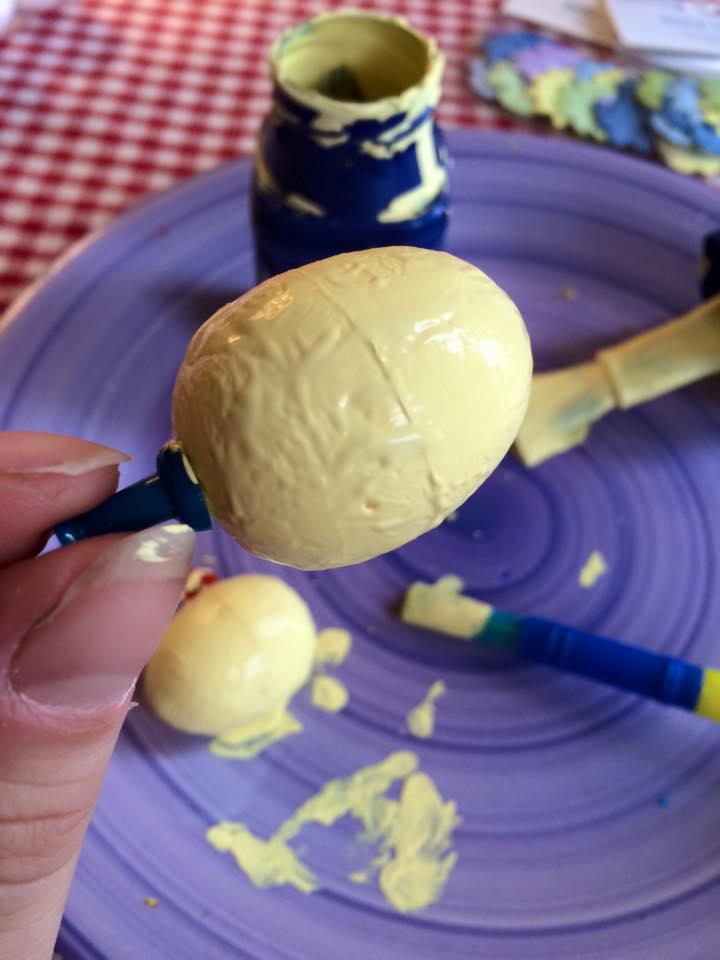
I painted the eggs in different colours, then waited for them to dry. I found putting a pin in the base of the egg helped when painting as it gave me something to hold on to, otherwise paint would undoubtedly go everywhere!
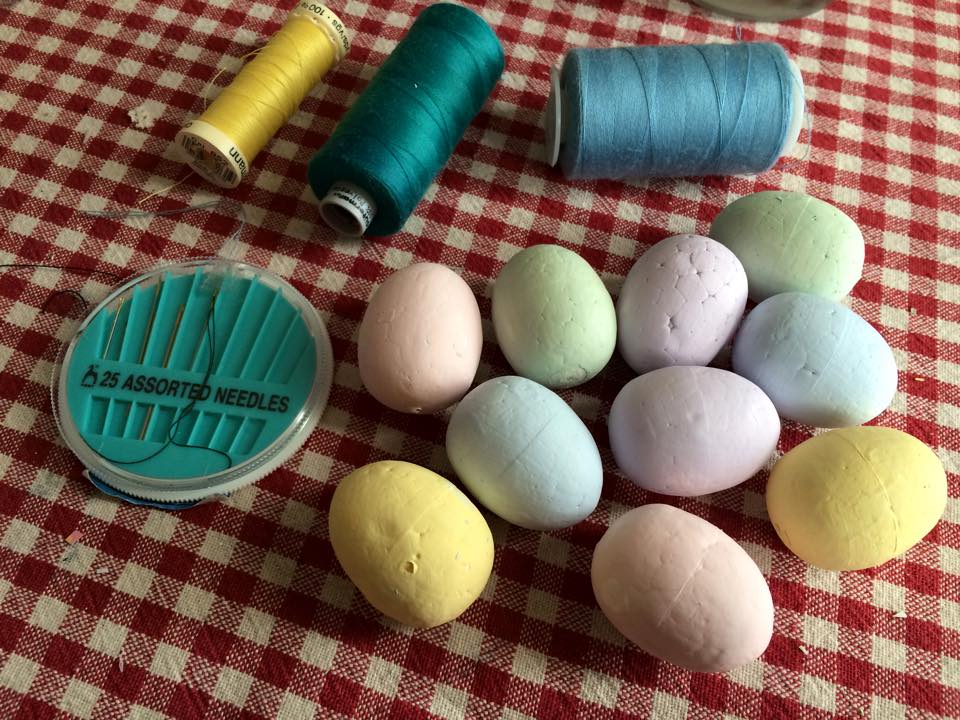
Once dry, I picked out 3 different coloured cottons from my stash and thread them through the base of the egg, out of the top, then back to the base again, then secured them with a knot. i left a loop at the top of the egg for the decoration to hang from.
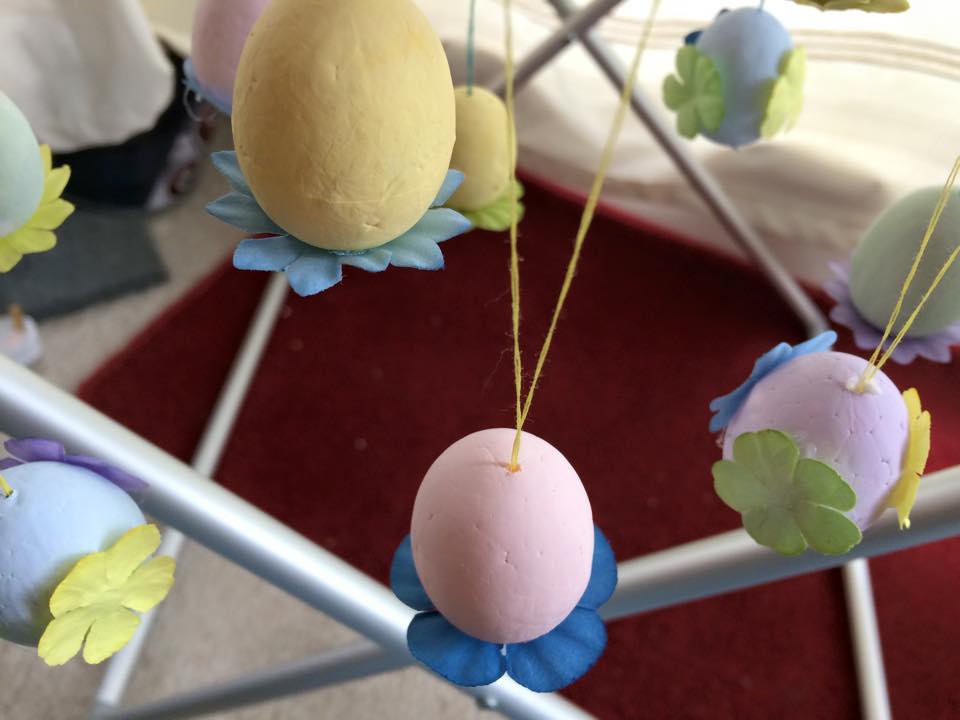
After the cotton was attached I hid the knots at the bottom with my flower shaped paper pieces, completing the decorations! I used a glue gun to attach the paper flowers, but you could also use a good craft glue.
And it’s as simple as that! 2 very easy tasks which create such beautiful decorations all ready for the Easter period..Now all I have to do is get some cherry blossom branches to create my Easter tree with the collection of decorations I have made! How exciting!

