DIY Macrame Plant Hanger


I’ve been going macrame mad today with oodles of inspiration from Pinterest and Youtube. I always remember back when I was in school it was a craze to make macrame friendship bracelets and scoubidou’s, so this DIY took me right back to those days. Macrame is an art of knotting different strings or chord to make decorative products and for this DIY plant hanger it forms the perfect net for a plant pot to sit and hang in. I’ve been ogling over the new book written by Selina Lake which is called Botanical Style and it’s full of inspirational decorating with a variety of plants to create a ‘boho botanical look’. I’ve really got a thing for plants at the moment with my ever growing stash of succulent plants, so this nifty make is perfect for showing them off in all of their glory.
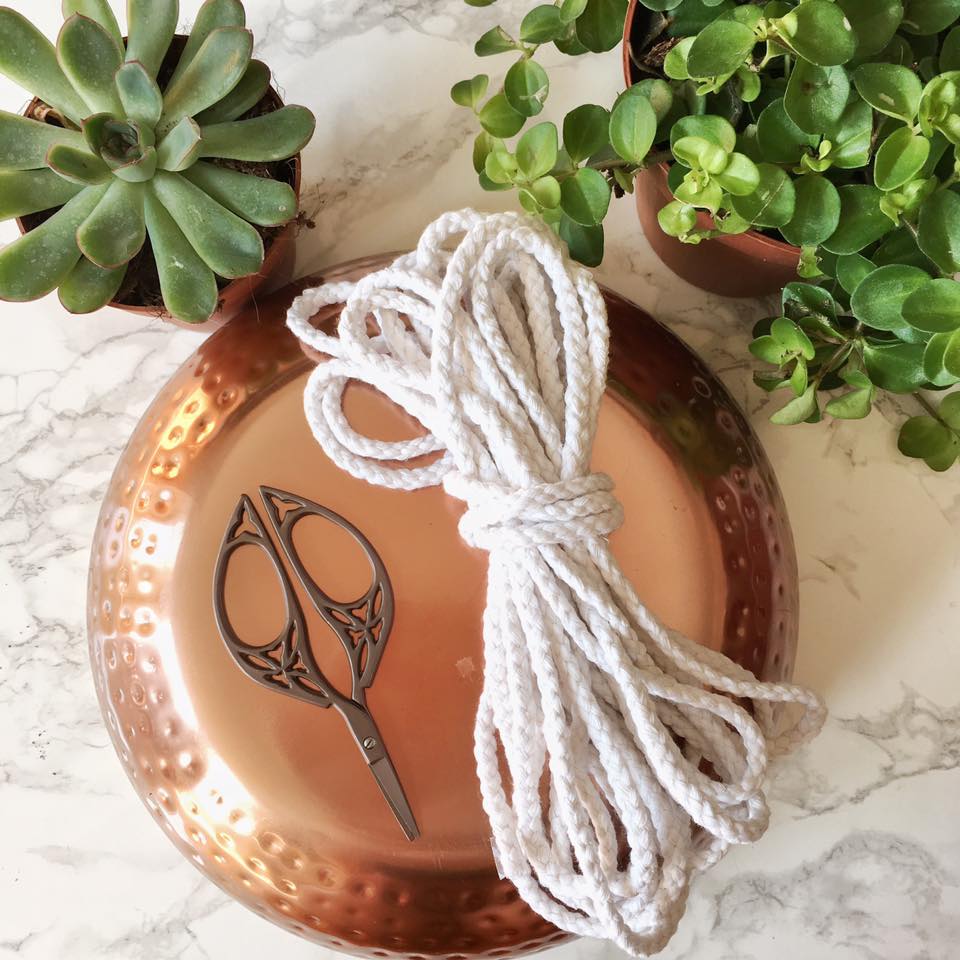
For this simple, stylish make you will need:
- 12 metres of thick string or chord (go wild with colour if you fancy!)
- 50cm of same chord for fastening
- Scissors
- One plant pot of your choice
- A lucky chosen plant
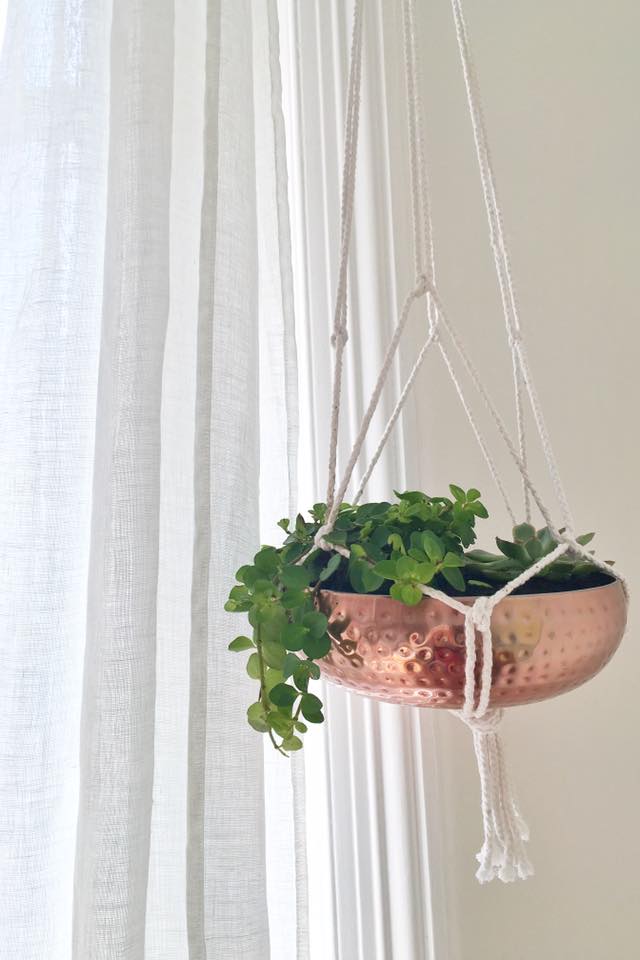
Believe it or not this copper coloured ‘plant pot’ was found in the kitchenware section at Wilko‘s for just £4.00! I’m presuming it’s sold as some sort of fruit/salad bowl but as soon as I saw it I knew it was the perfect plant hanging pot – I have a thing for copper at the moment and I swooned at the added hammered effect on the metal. I did my research to see if it was OK to soil a plant in a metal pot and it turns out it’s fine – the copper is painted only on the outside so it’s perfectly fit for the job!
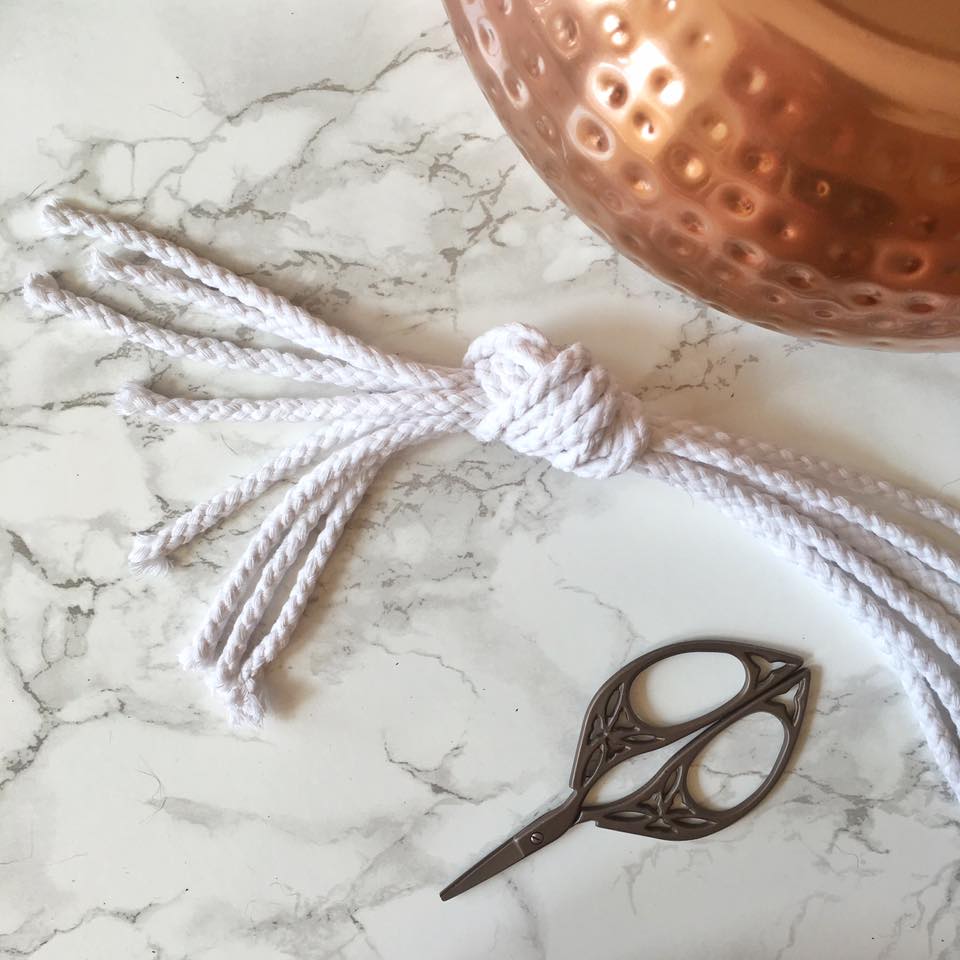
Begin by cutting your 12 metres of chord in to four equal lengths – so 4 measurements of 3 metres.
Fold all four pieces of chord in half, then tie a secure knot at the end. If you wish to have a tassel effect on the base of your hanger then leave about 2 inches of string before the knot. You should now have created eight strands of chord.
I found it really useful having a weighted glass to hold the knot in place for the next stage. I recommend finding a paperweight or something of similar weight so the glass doesn’t move around easily.
Separate your eight strands of chord in to four section (2 strands in each) and begin by tying them together in a double knot. Make sure you are knotting them at equal distance.
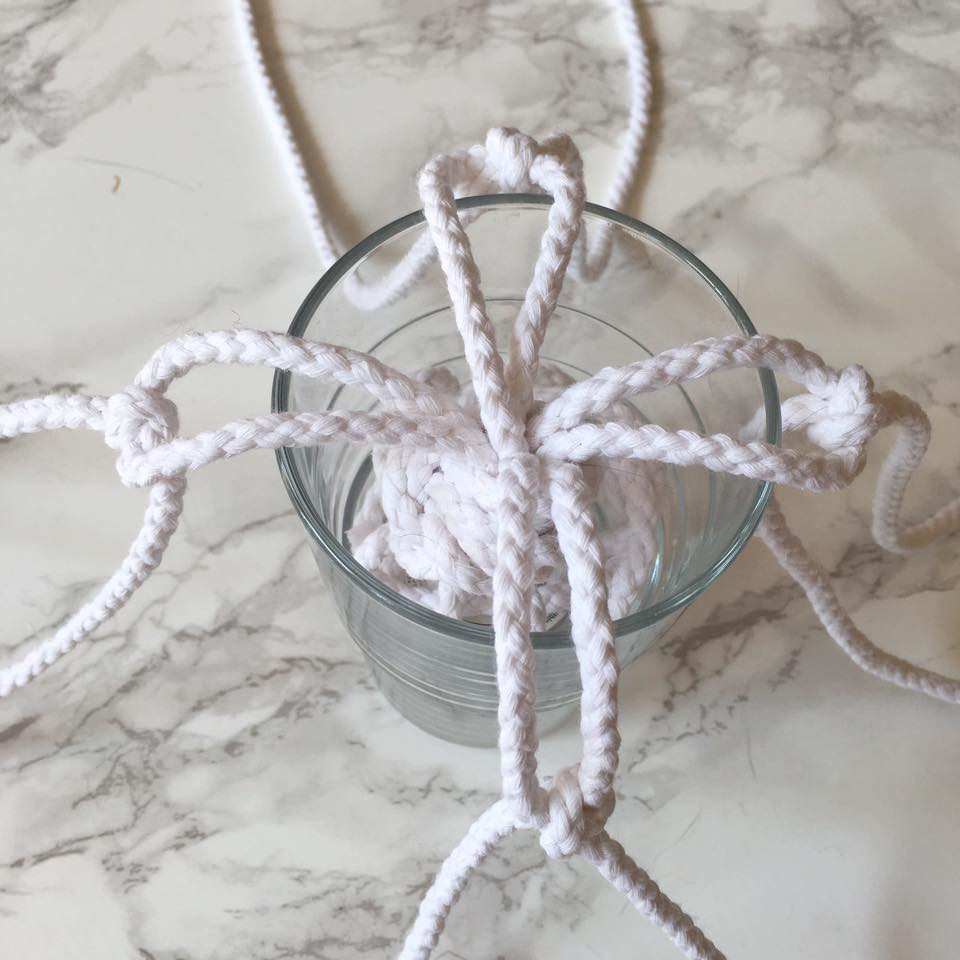
Then, take one strand from one knot, and another from the knot next to it and tie them together. You will see a diamond shape created from the knots and it will begin creating a net formation.
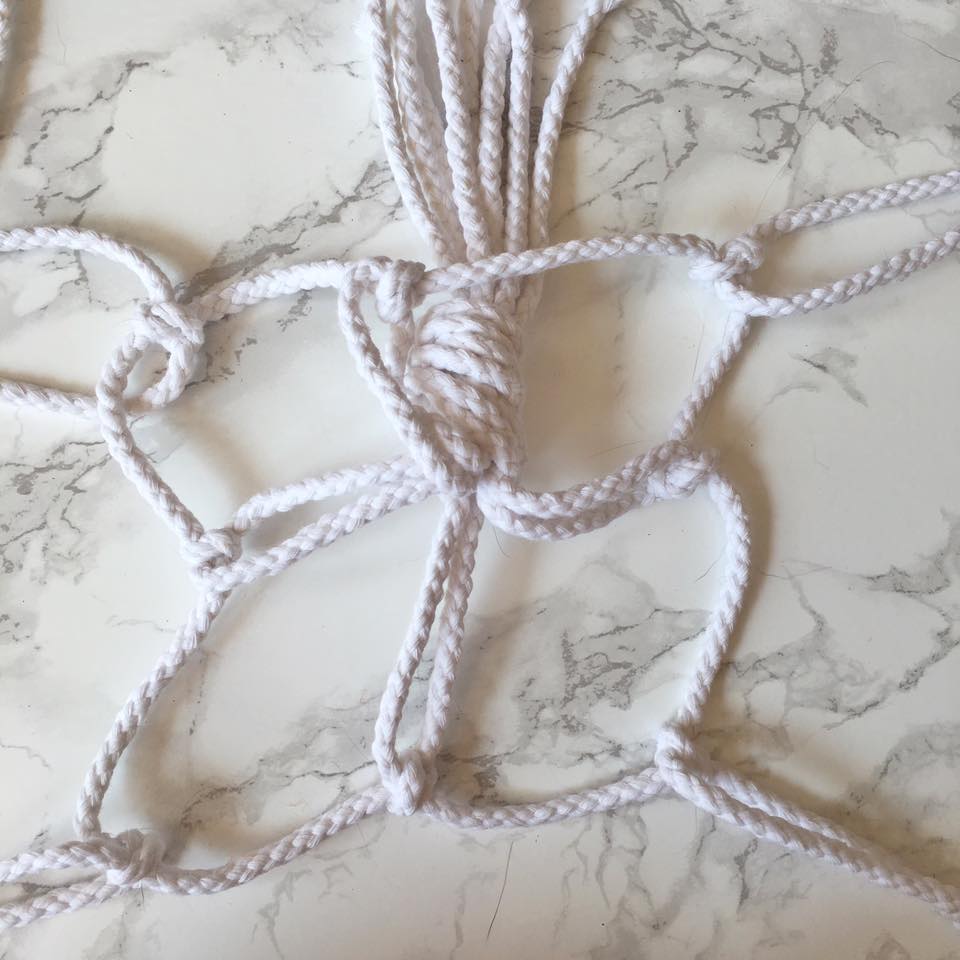
Keep placing your plant pot in the net each time you create another layer of knots. For my hanger I only needed to tie three lots of knots so be careful not to overdo it and keep checking. It will also help for you to see how high or low you want the next knots to be positioned.
When you have finished tying all of the knots, loop all of the ends of string together and continuously wrap your other piece of chord around the ends as tight as you can. Secure with a double knot.
If I had a pound for every time I have typed the word ‘knot’ in this post…
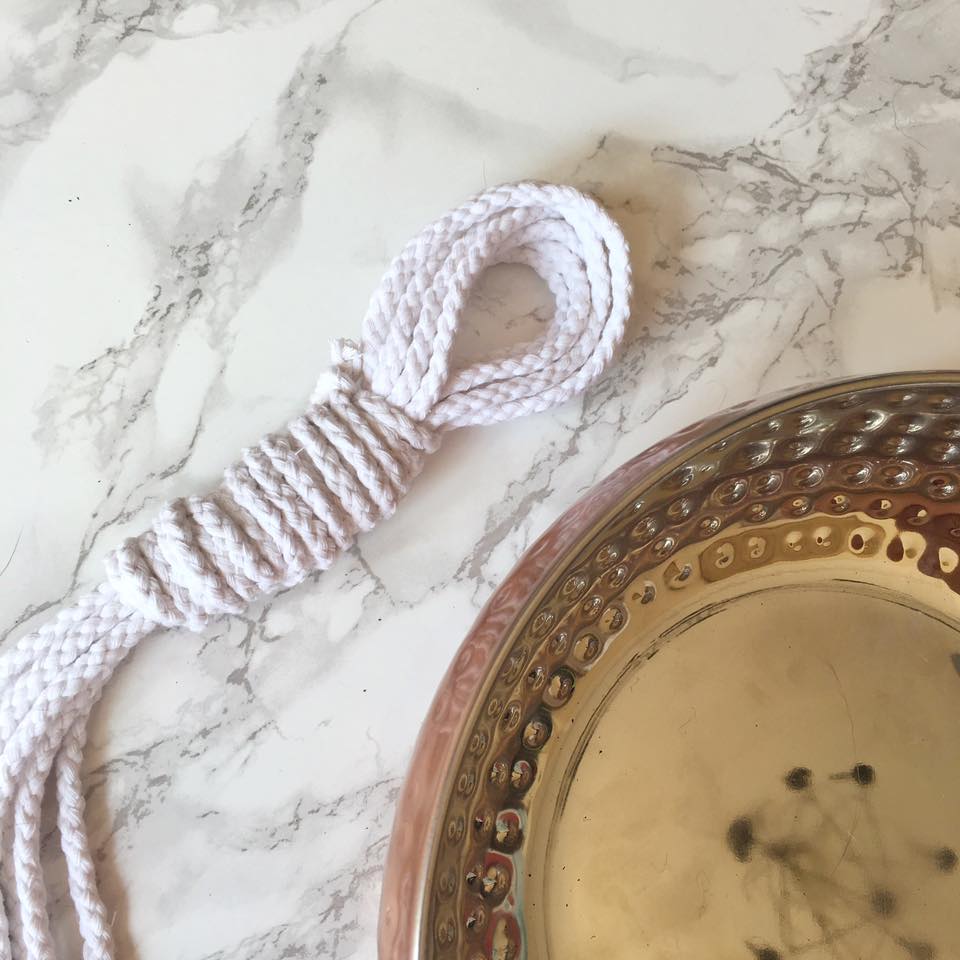
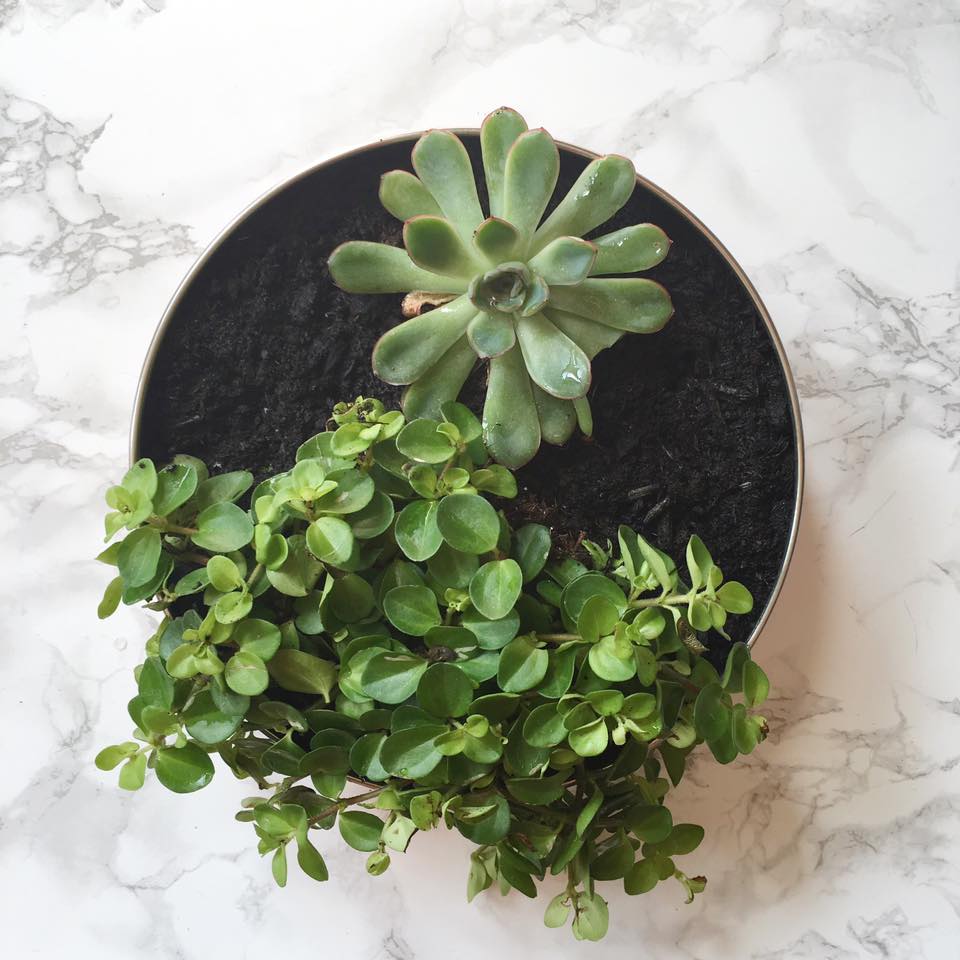
It is now time to pot your plants in your plant pot. I chose a selection of different indoor succulent plants to liven up my craft room – I think they work really well in the copper pot!
Hang your macrame plant hanger wherever you wish, and double check that it’s hung securely! Carefully position your plant pot in to the centre of the net, and manoeuvre it around until you get the perfect angle.
If like me you chose a plant which hangs from the sides, take extra care when putting it in the net to make sure none of the leaves get caught on the chord.
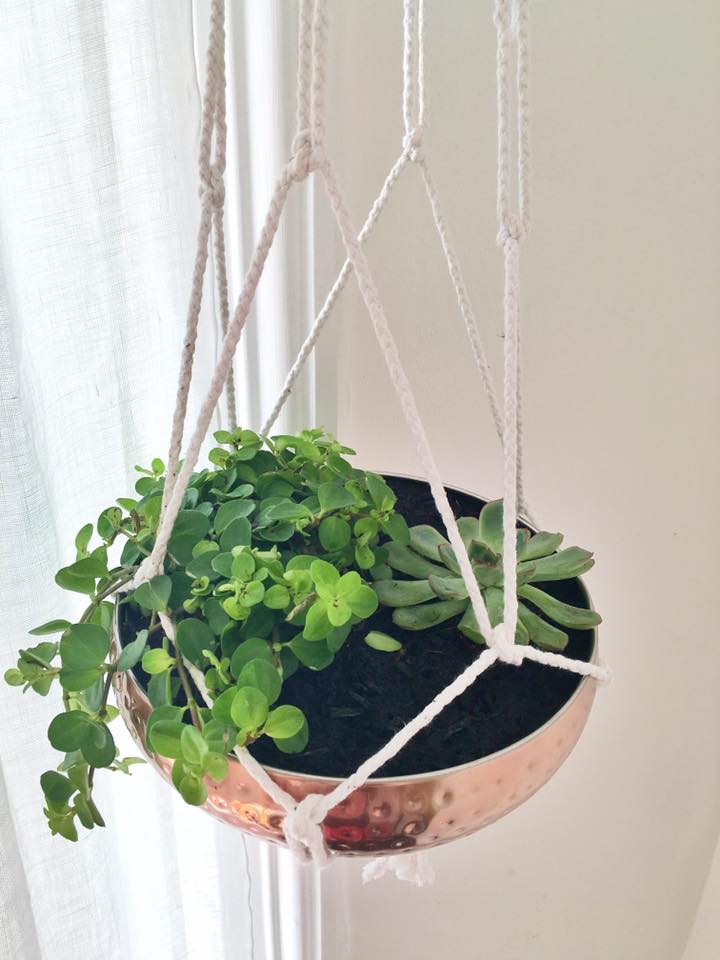
I’m really hoping this plant will continue to grow until it really dangles down from the side of the pot. I absolutely love the ‘floating’ effect these plant hangers create! Succulent plants don’t require too much watering so they make the perfect indoor hanging plant and they’re low maintenance too!
If you’re feeling inspired and are now set out to make one of these macrame plant hangers then please do email me your creations at thatssogemma92@gmail.com to show me the results!
I hope you’re all enjoying this beautiful sunny weather we’ve been lucky to have – enjoy the rest of the week!


