DIY Peg Frame


So with a nice, chilled Sunday off work I inevitably got my craft on! I just love the days when you can take your time to be as creative as you wish without the thought of getting ready for work lingering over you! Here’s an easy yet very clever and beautiful way to transform old
and dreary wooden frames in to something completely different…and practical!
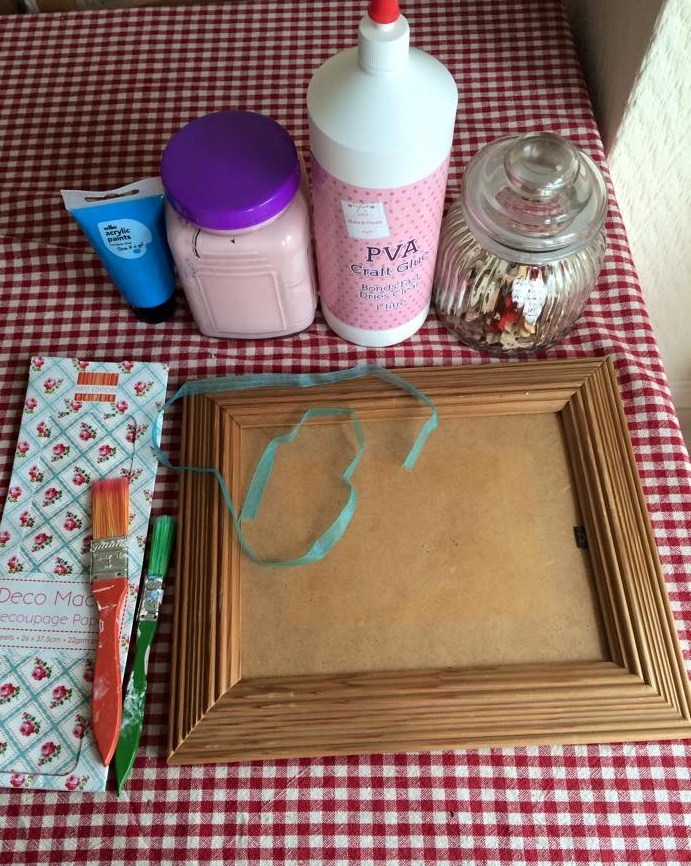
I purchased my photo frame yet again from the thrift shop down the road for £1.50, what a barg! …and with some general household items I was on a mission to transform it!
I even tried something new out for myself! I’ve seen examples of some gorgeous up-cycled furniture painted in 2 different colours then distressed to get the original layered colour to peek through the second, and they looked stunning! I wasn’t quite brave enough to jump right in with a large project so I thought this small photo frame would be a perfect test run!
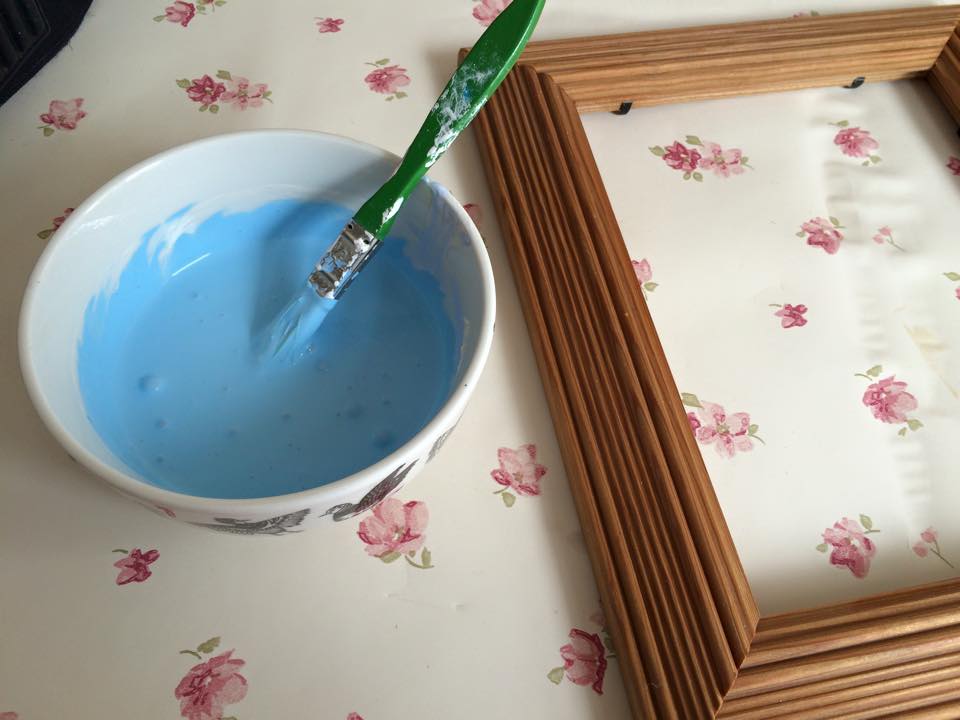
I started off my taking apart my frame and creating this STUNNING sky blue coloured paint by mixing one of my previous chalk paint mixtures with some basic acrylic blue paint. First colour goes on…three layers was needed!
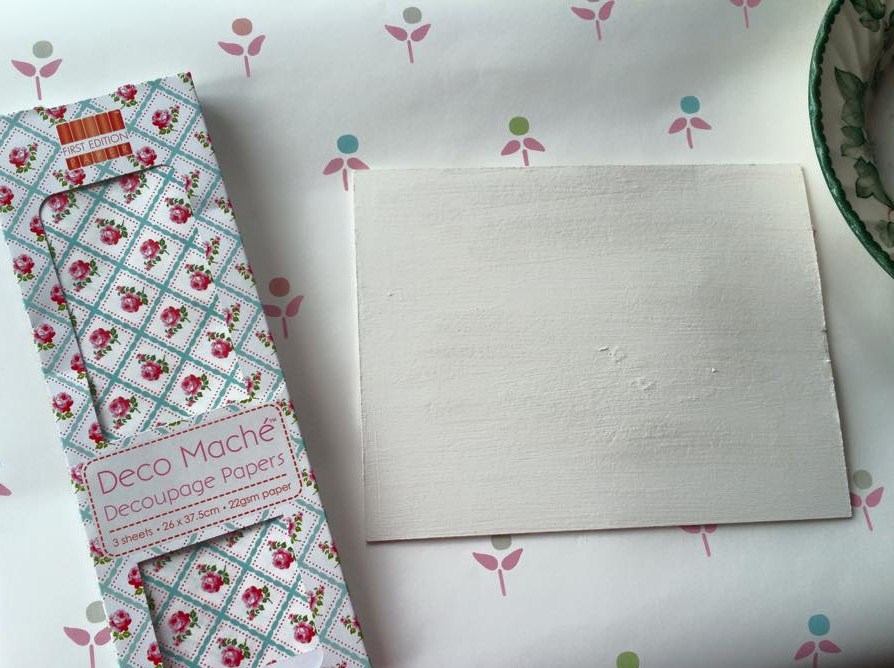
As the first colour was drying off on the frame, I began to paint the back board to my frame in white…ready for me to decoupage on with my Deco Mache paper once it had dried…napkins would also work just as well for this!
Once the blue frame was completely dry (this was a slow and painful process…as the saying goes ‘it’s like watching paint dry’) I painted over the blue in a chalk pink paint which was the same paint mixture that I used in my previous blog post for My Vintage Dresser Top.
When learning how to distress with 2 colours of paint, I discovered from handy tutorials that for best and most effective results paint the deeper toned paint on first and the paler colour second.
At this point, the boredom of waiting for paint to dry had got the better of me! So whilst I waited I finished applying the Deco Mache paper on to the back board of my frame.
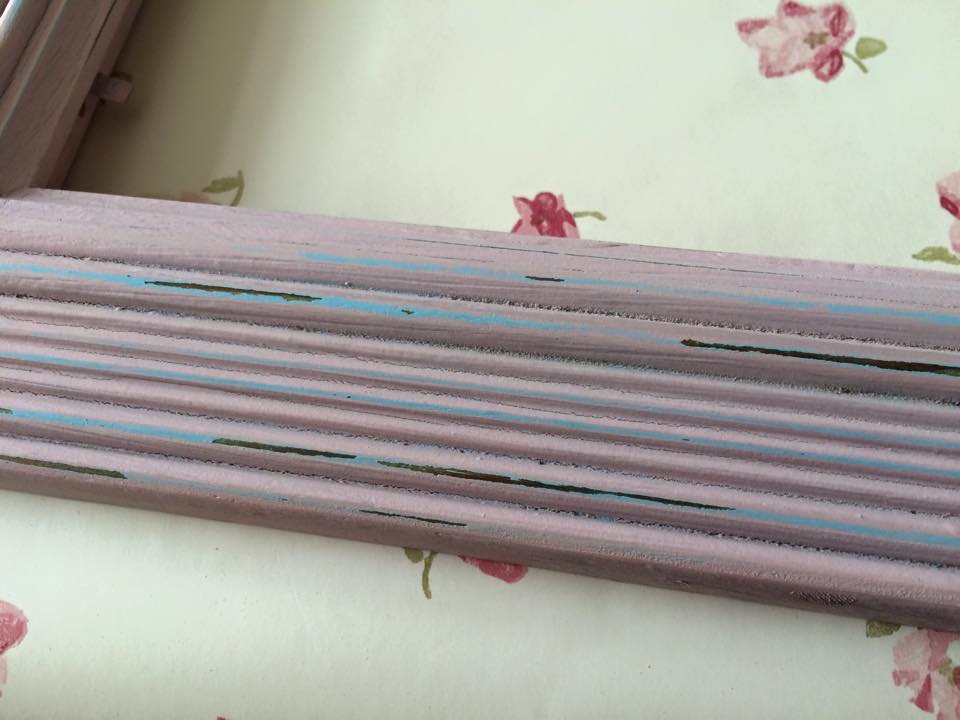
This is when the magic happened! Once all of the paint layers were dried off, I began distressing the frame with sandpaper till the gorgeous blue colour starting showing through the chalk pink.
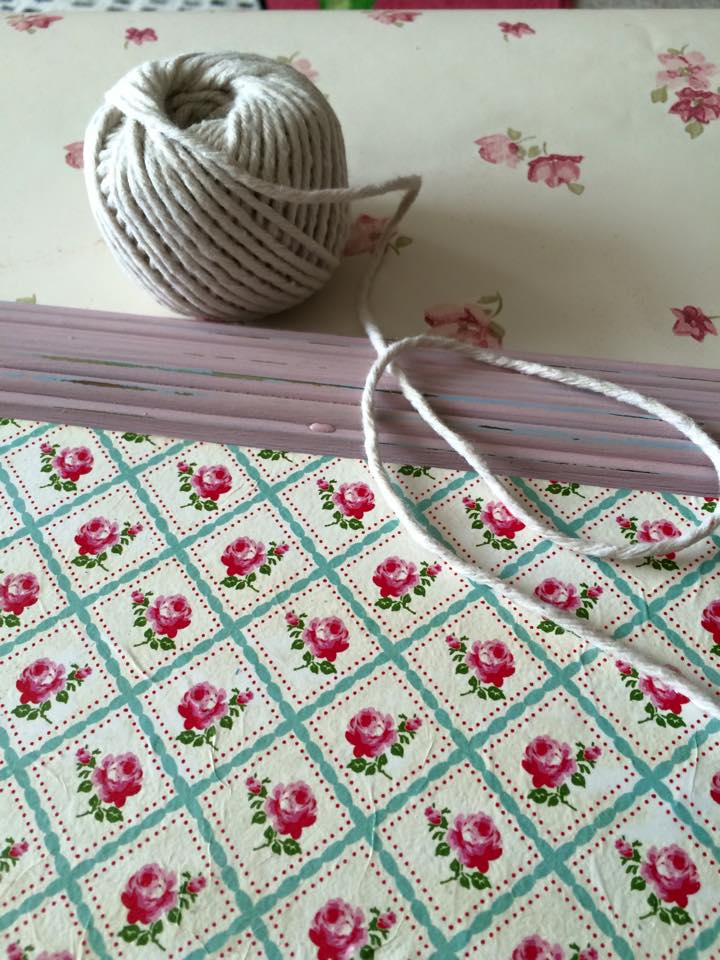
The it was time to accessorize! For my frame I wanted to use basic white parcel string, but obviously any other material such as twine or ribbon would work perfectly
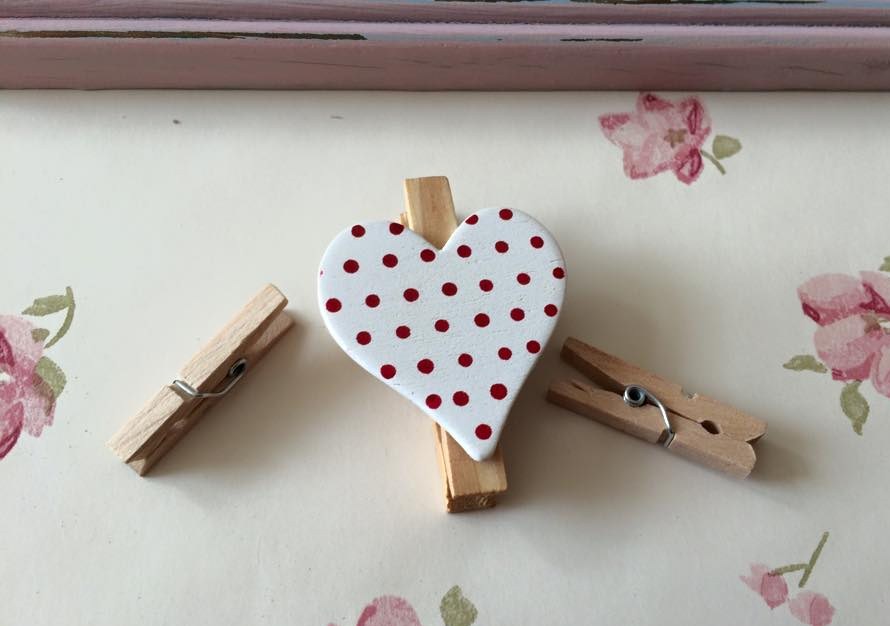
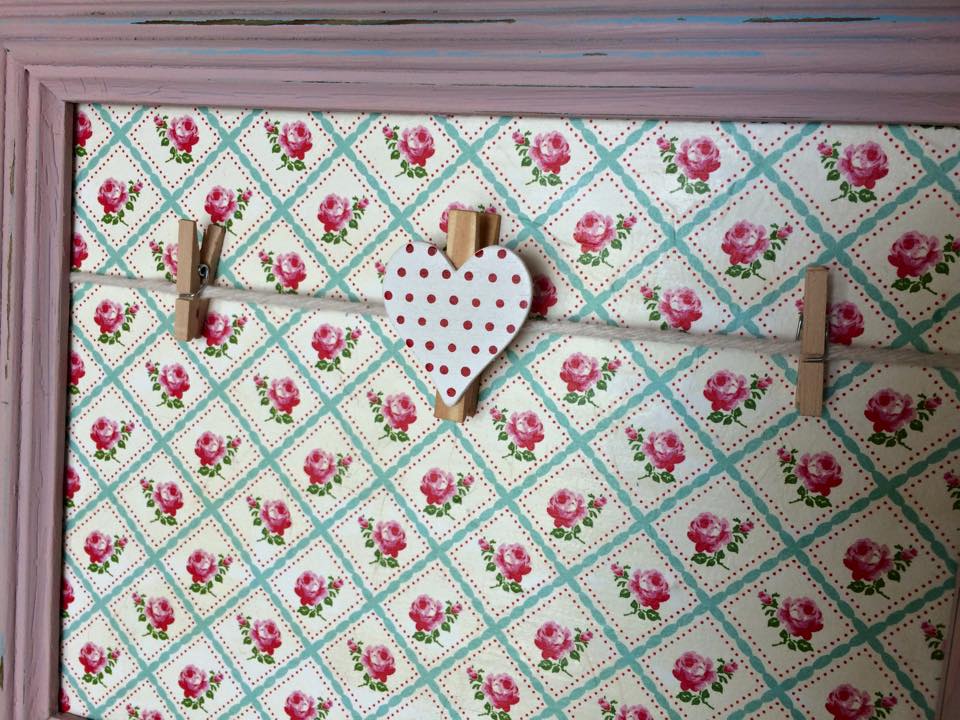
I then gathered up a collection of pegs that I had hidden away, For the size of this frame I used three, depending on the size and shape of your frame you could use as many as you wish! The red polka-dot heart matched my Decoupage paper perfectly!
To attach the string and pegs I tied it round the back board of the frame about three quarters of the way up, securing with a tight knot. For extra stability I used my glue gun to stick down the string on to the back of the board.
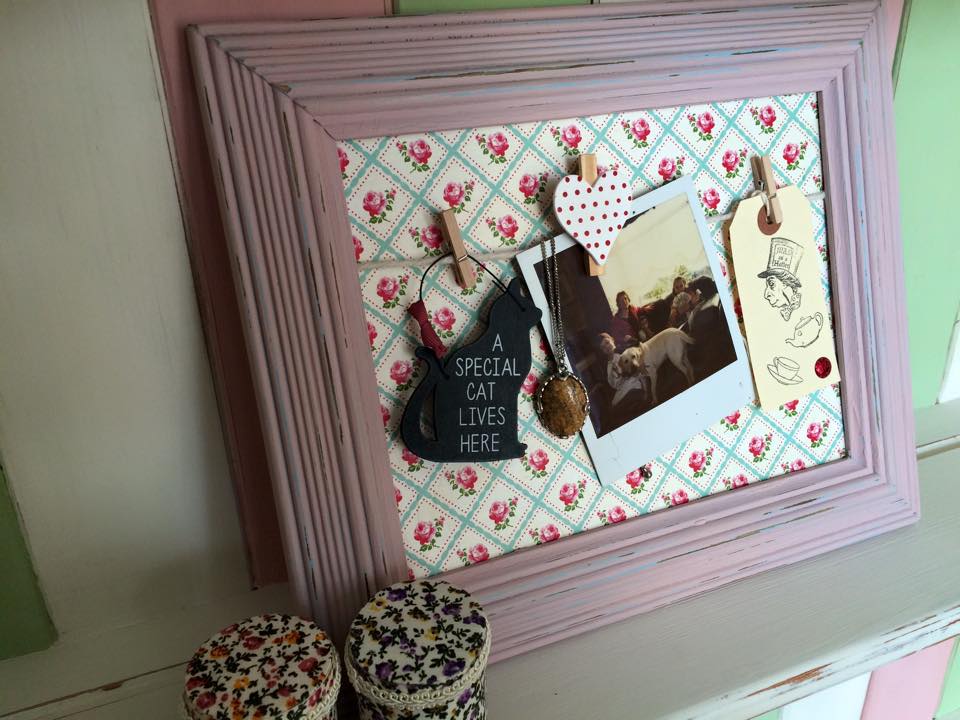
After the decoration was added, all that was left to do was to piece my frame back together and gather some belongings to display on it!
It’s ideal for holding photos, Memos, decorations and even jewelry! I now reckon every room in my home needs one of these beautiful Peg Frames! I love it!
