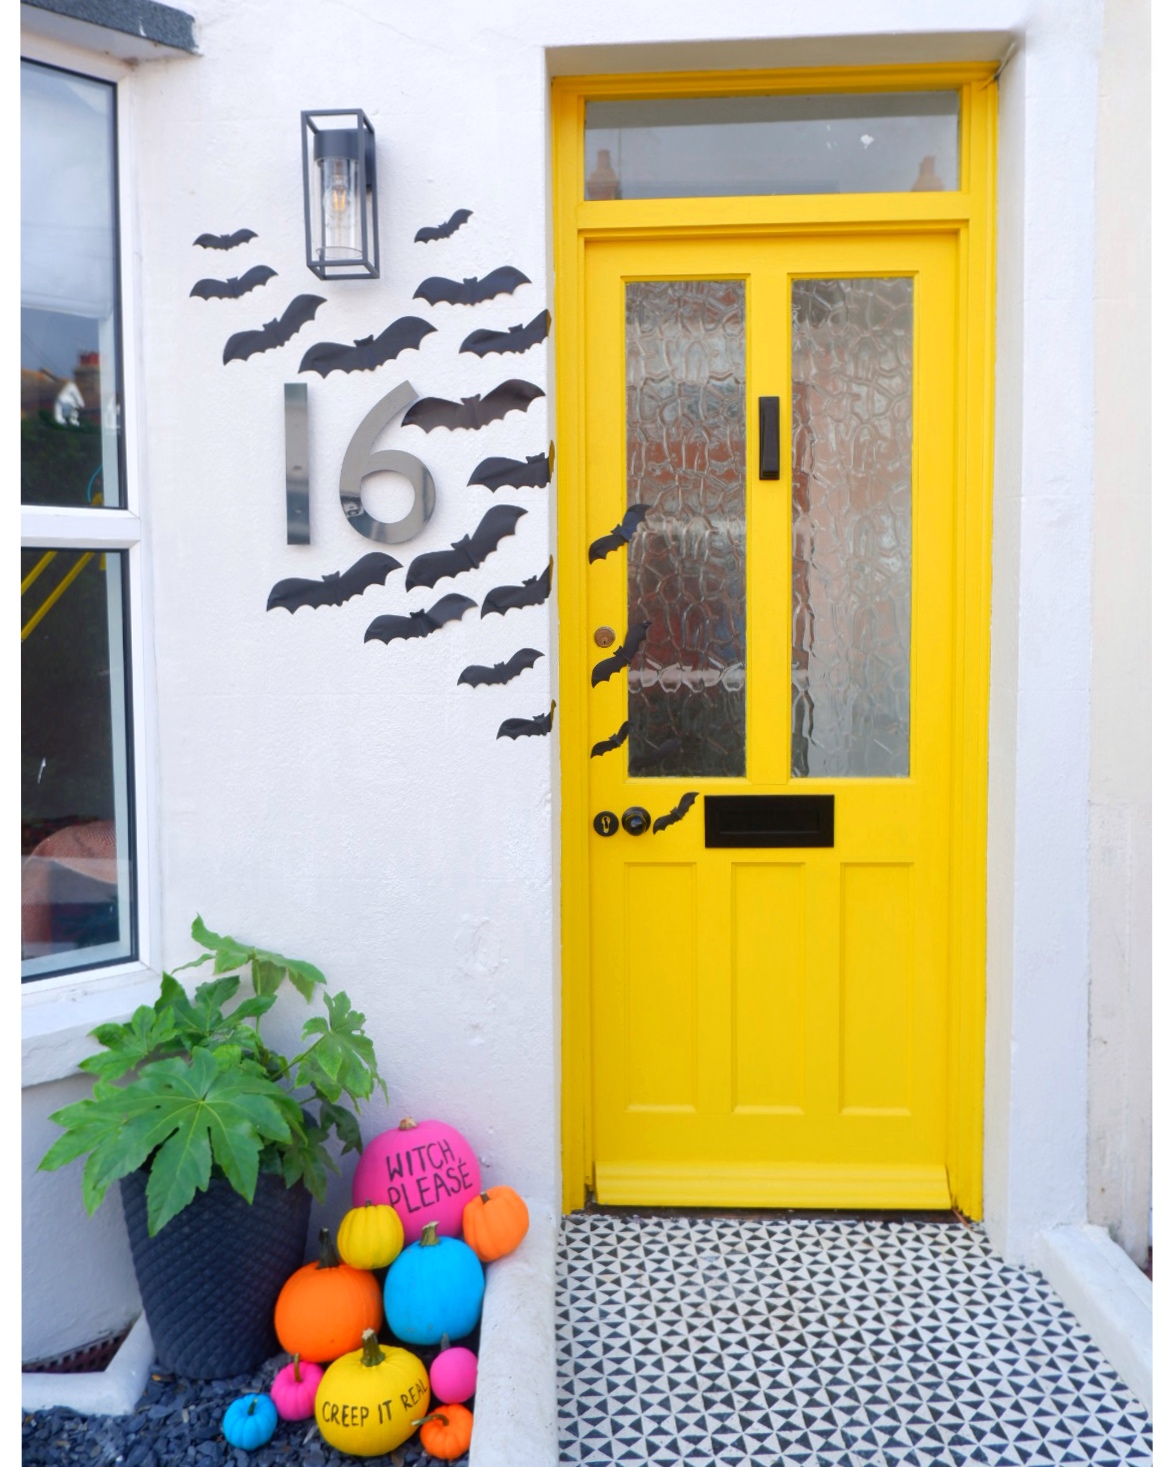
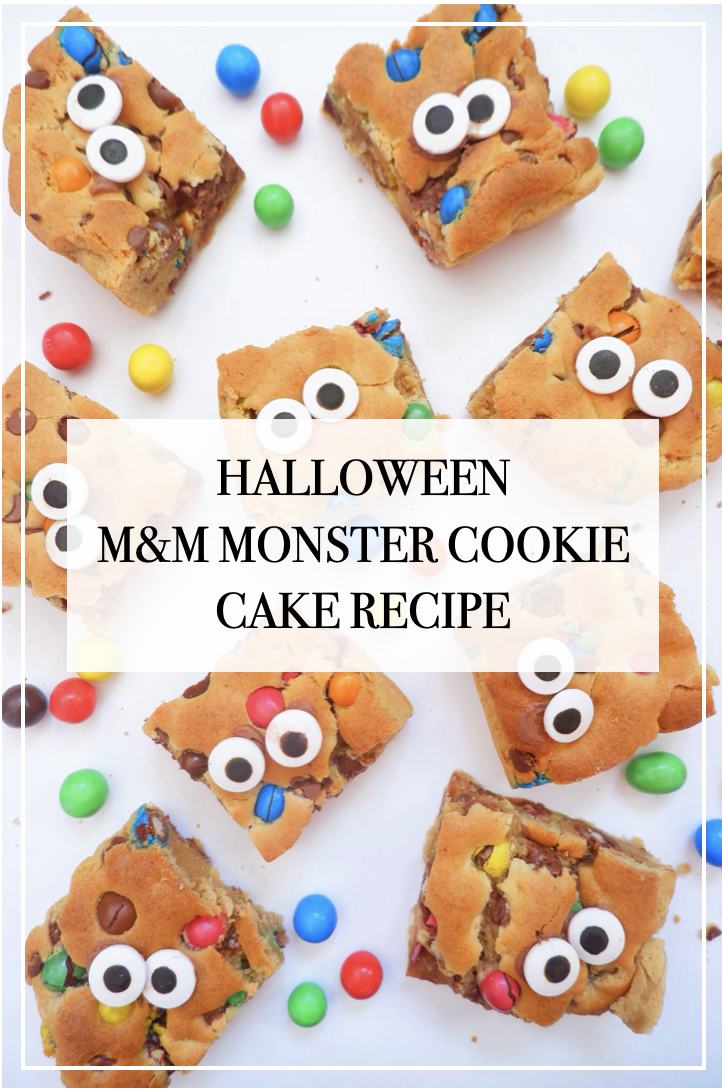
Halloween M&M Monster Cookie Cake Recipe


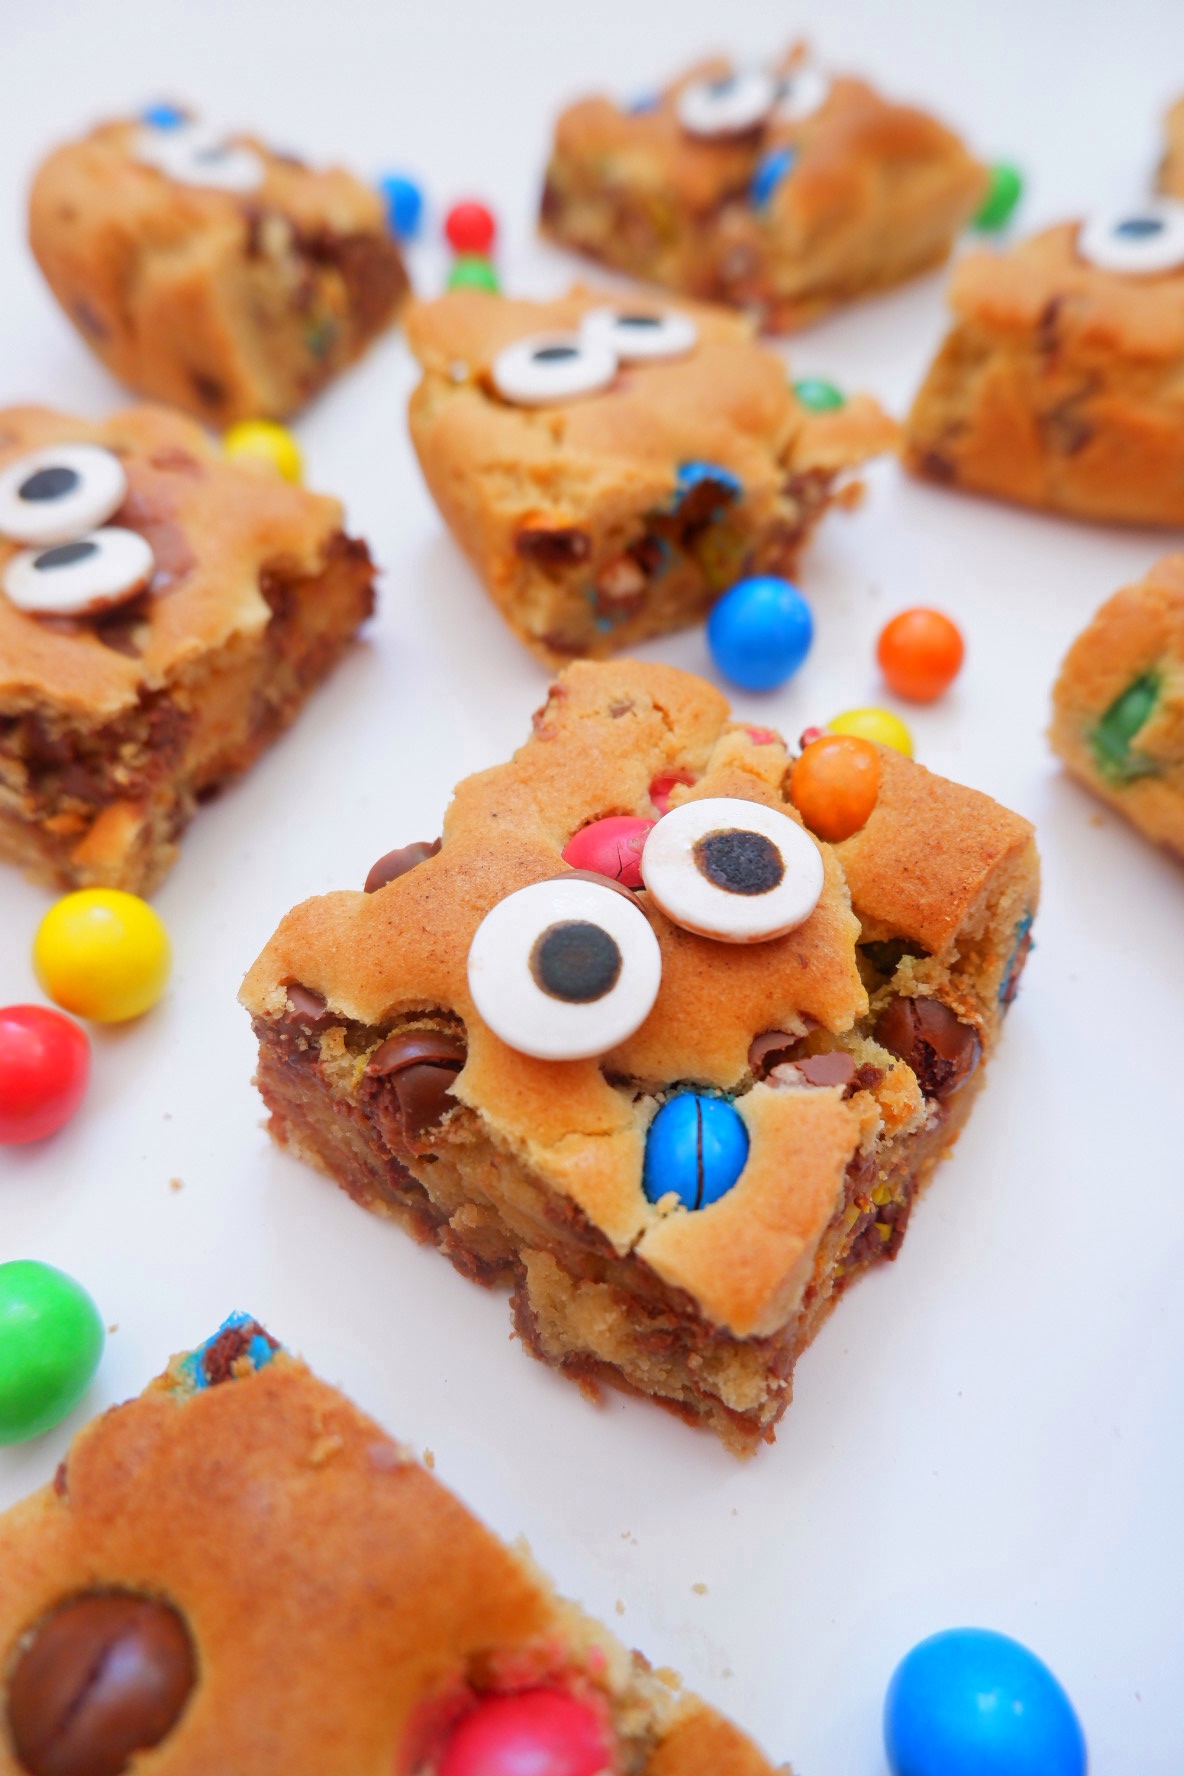
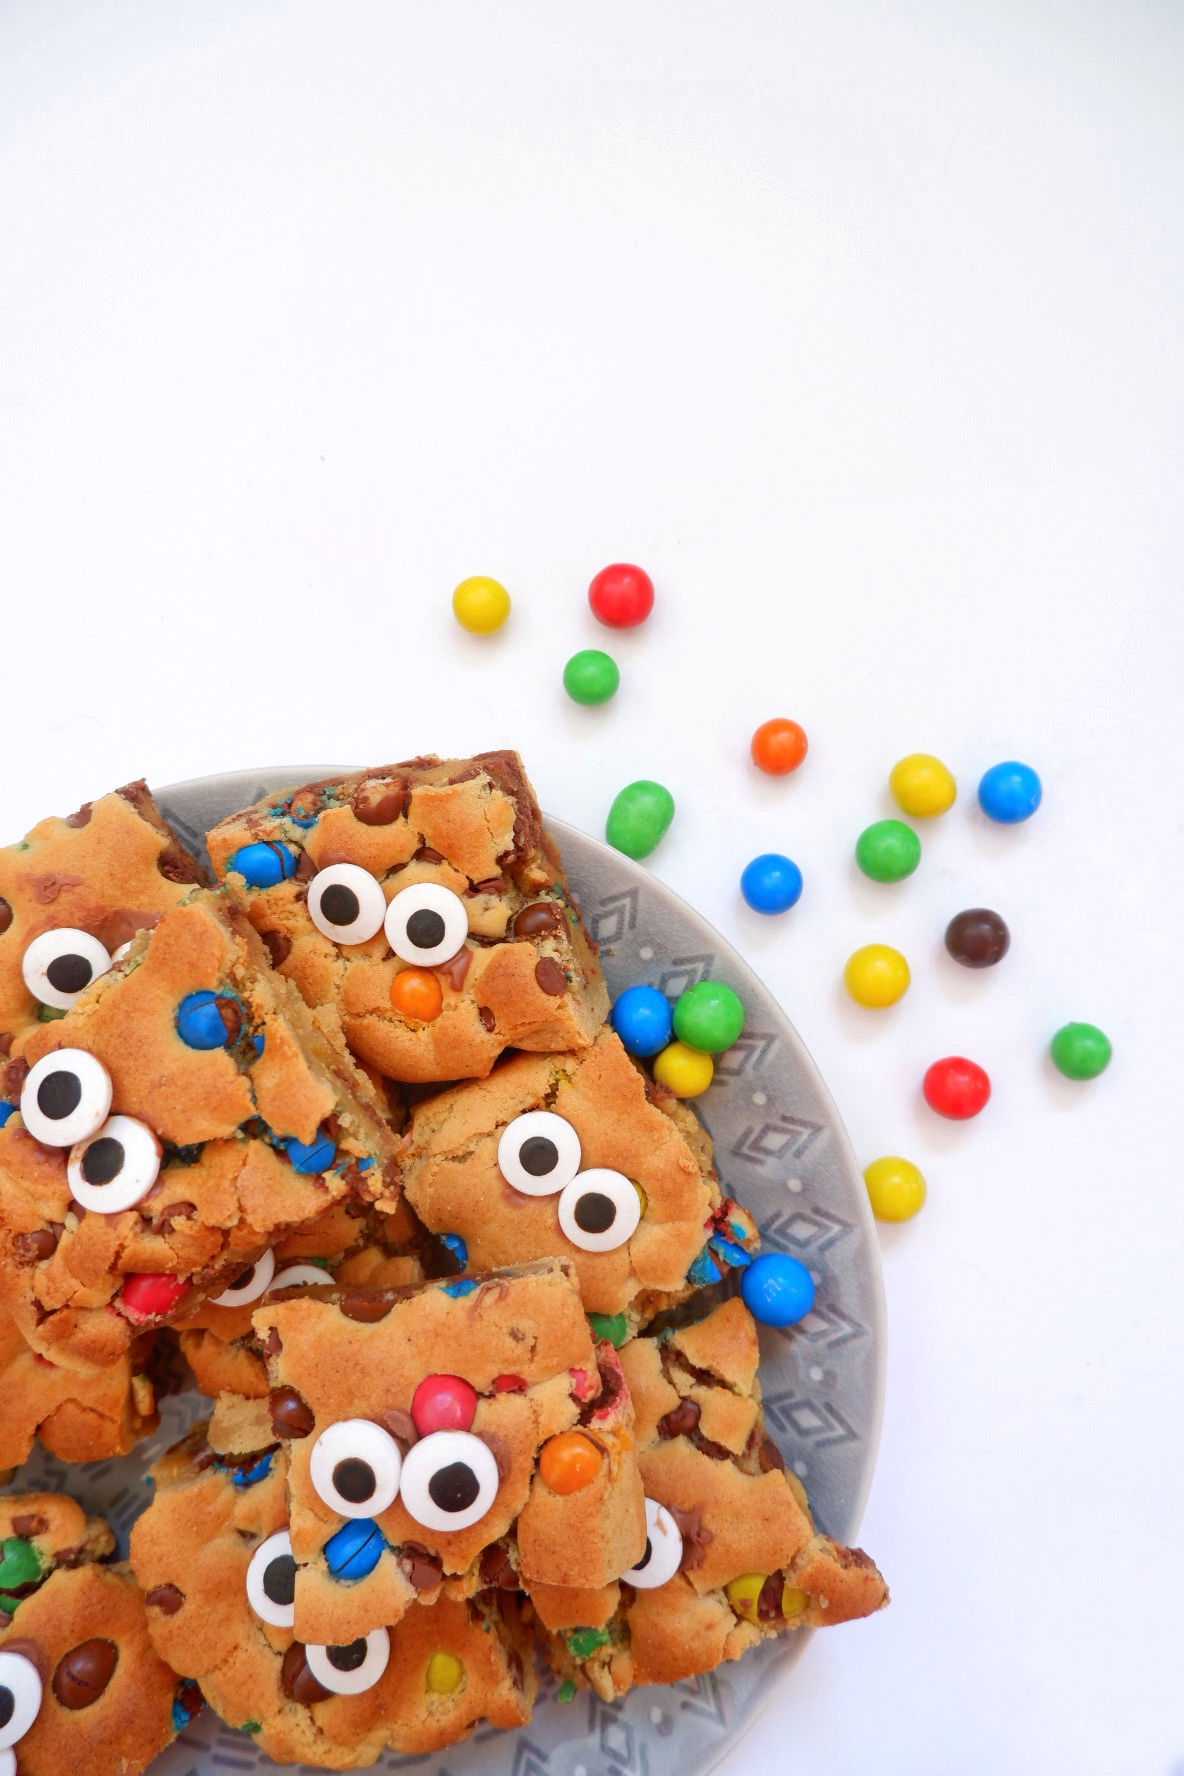
Ready for your tastebuds to tingle? Today I’m cooking up a treat with this simple Halloween M&M monster cookie cake recipe…
It’s been a long time since I baked for the blog! I honestly don’t remember the last time I set up camera in the kitchen, so figured Halloween was a good opportunity to change that!
With a little help and inspiration from Pinterest, I have found this delicious M&M monster cookie cake recipe that I think you’re all going to love. Just for clarification, I’m generally pretty awful at baking. I’m often impatient and rubbish at sticking to the rules. I can guarantee that any baking novice out there can make these cookie treats – If I can, anyone can!
Halloween M&M Monster cookie cake Recipe
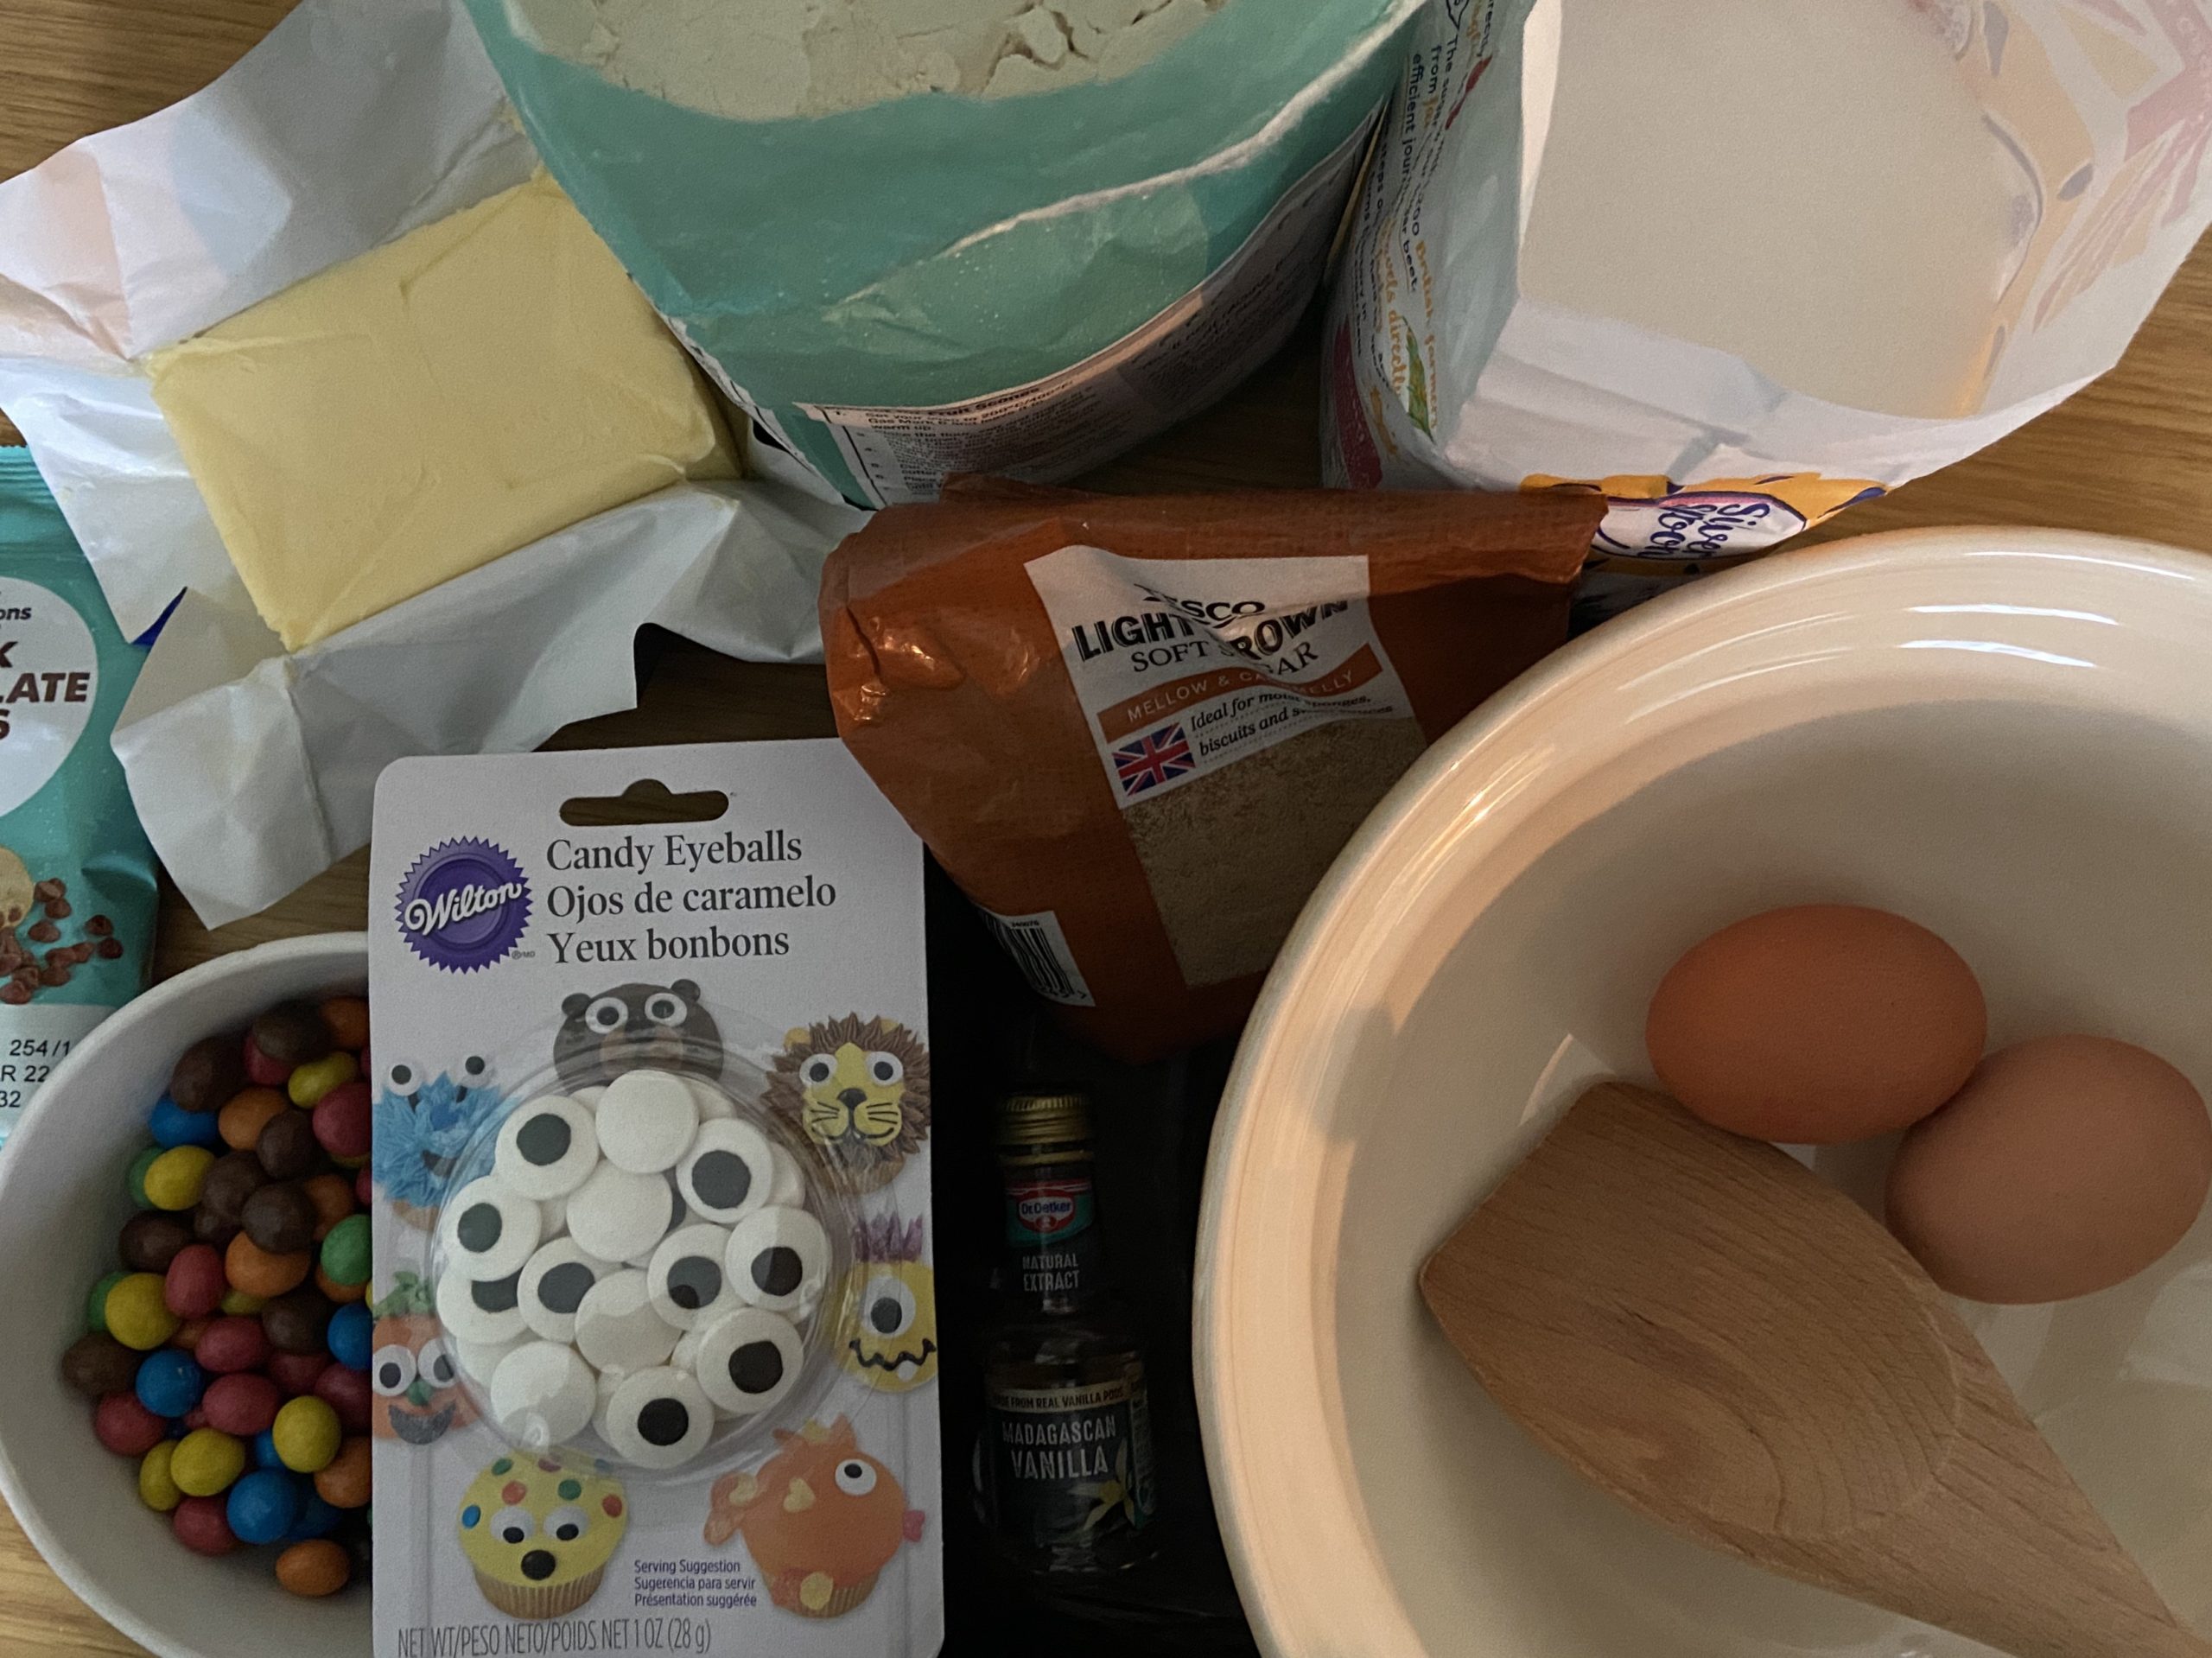
To make these halloween M&M monster cookie cakes, you will need:
Ingredients
- 150g softened butter
- 120g light brown soft sugar
- 150g caster sugar
- 2 eggs
- 1 tsp vanilla extract
- 280g self-raising flour
- 1 tsp baking soda
- 1/2 tsp salt
- 100g chocolate chips
- 200g M&Ms
- Candy eyeballs
Equipment
- Baking tray
- Baking paper
- Mixing bowl
- Mixing spoon
- Metal skewer
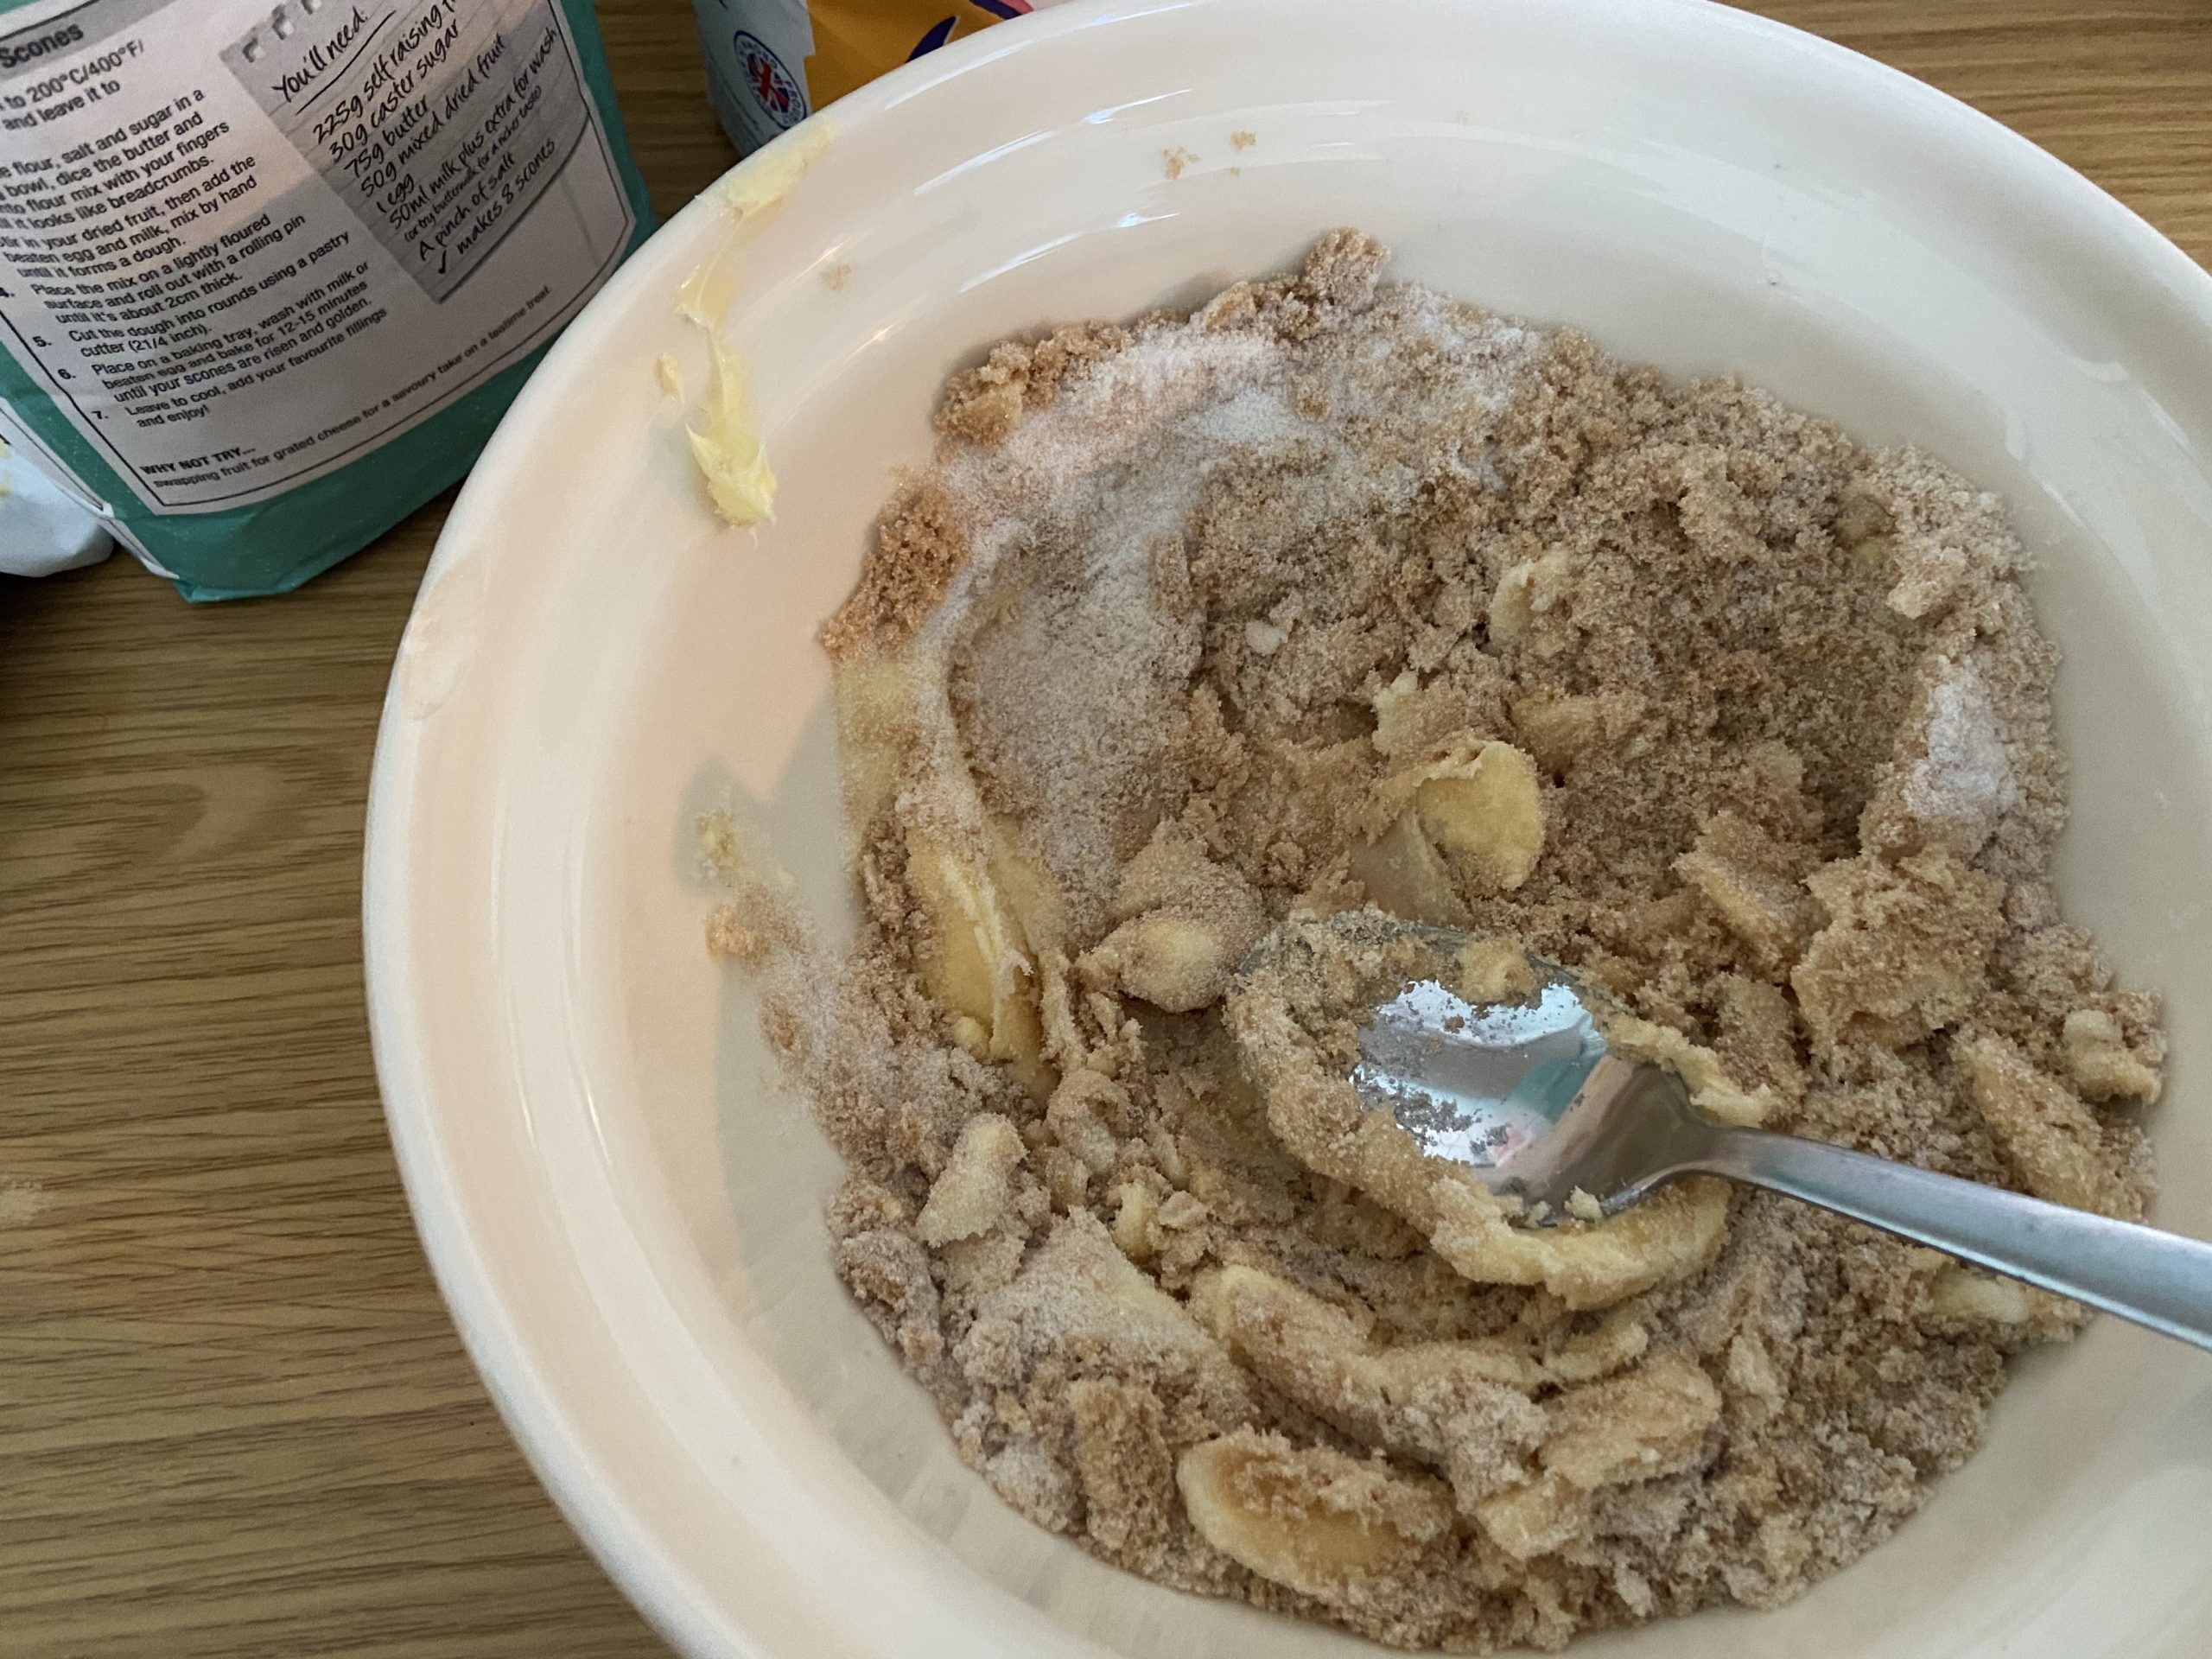
Begin by preheating your oven to 180. Cream the butter & sugars together, and mix well until it forms a thick paste.
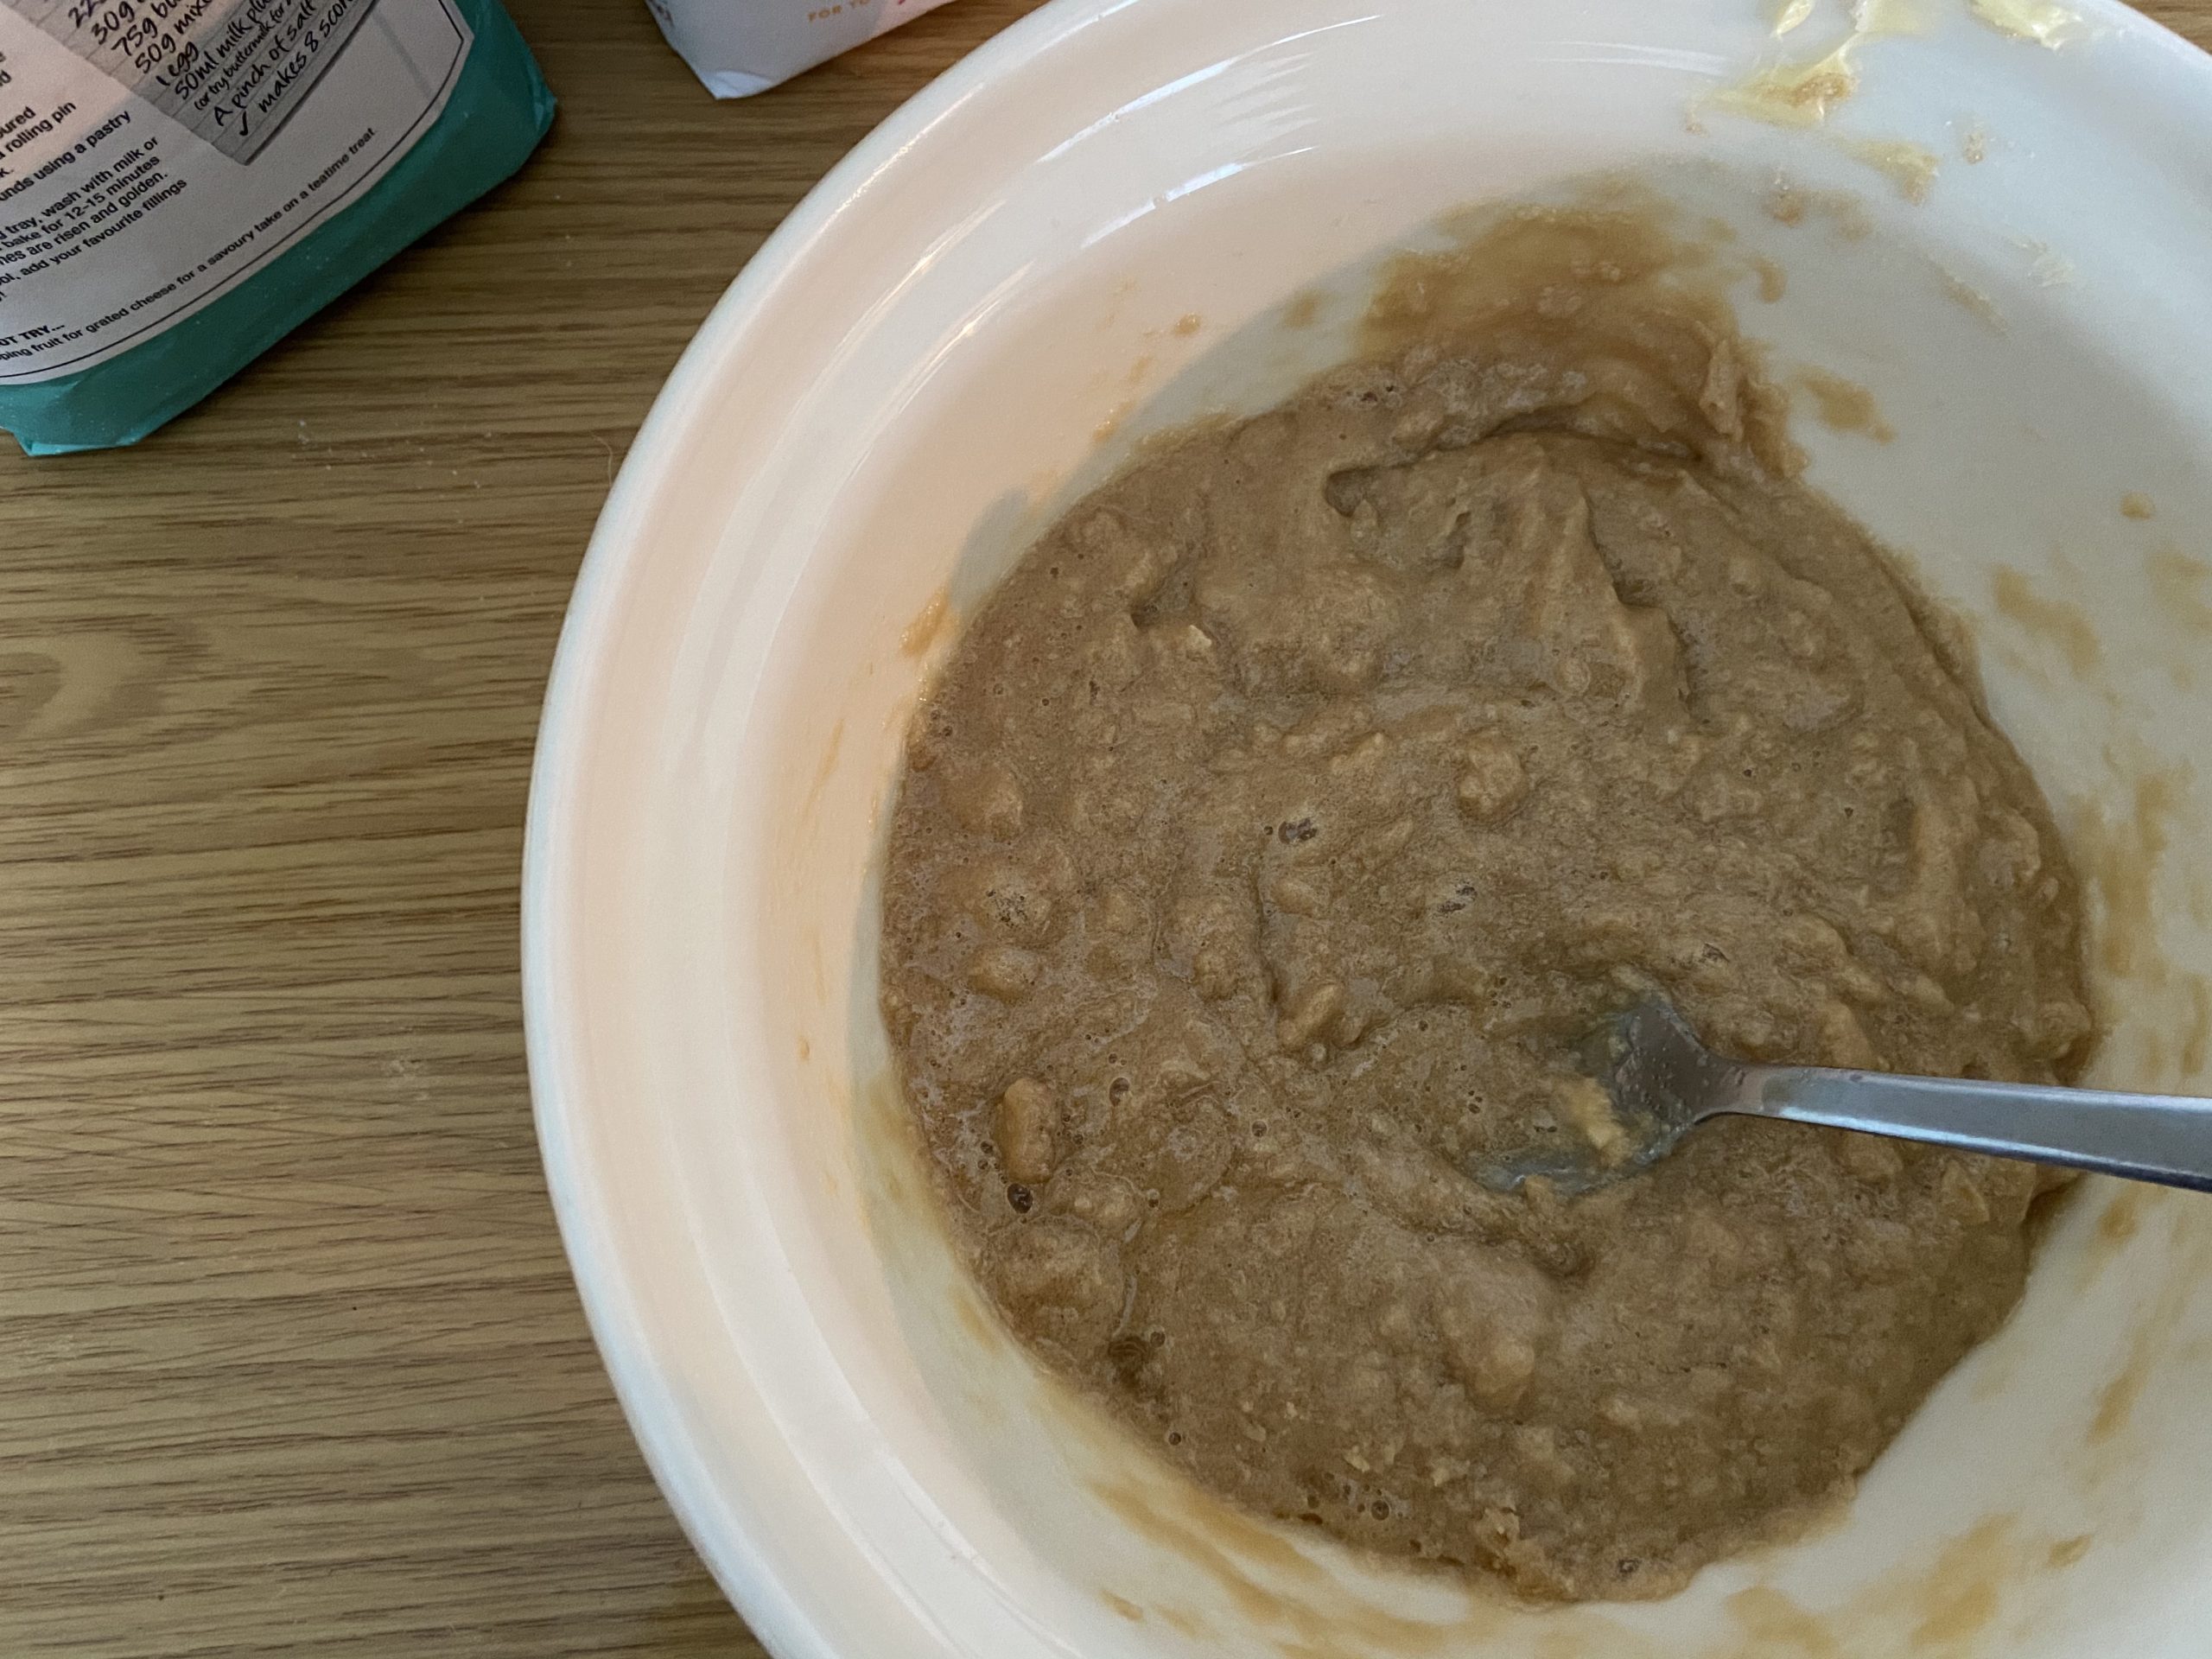
Then, add in the eggs and the vanilla extract. Once mixed in, it should look quite thick and sloppy.
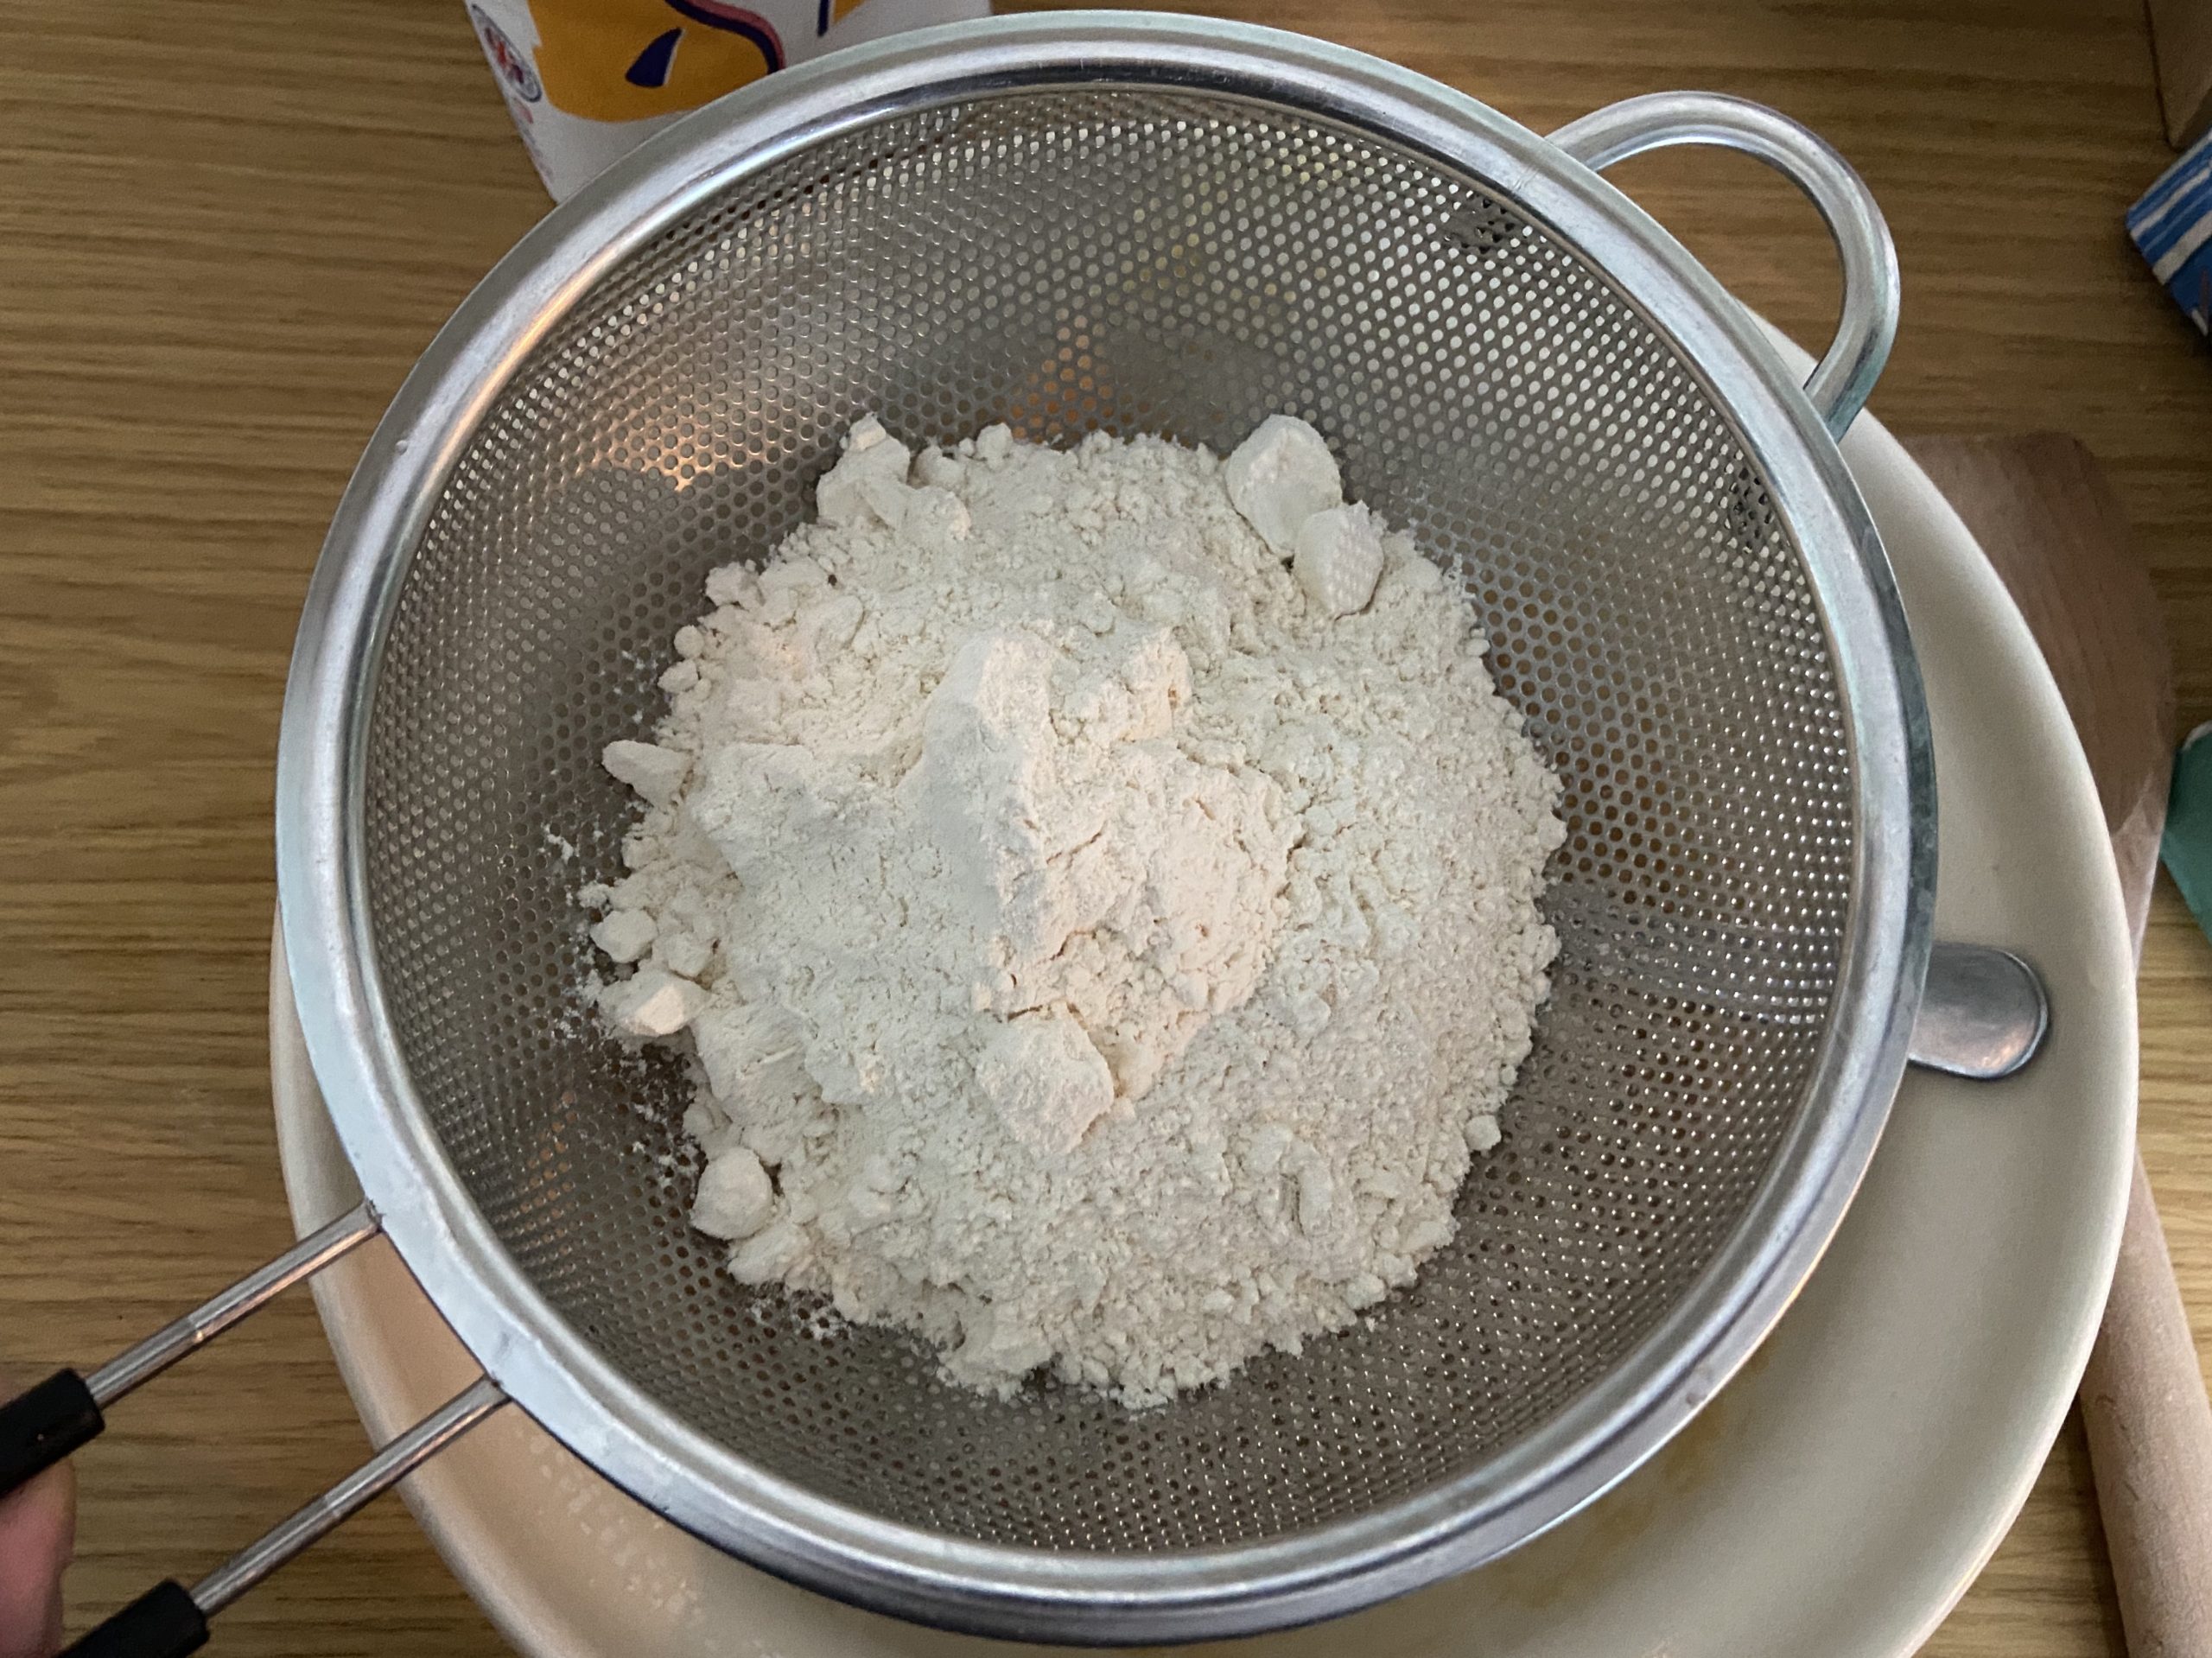
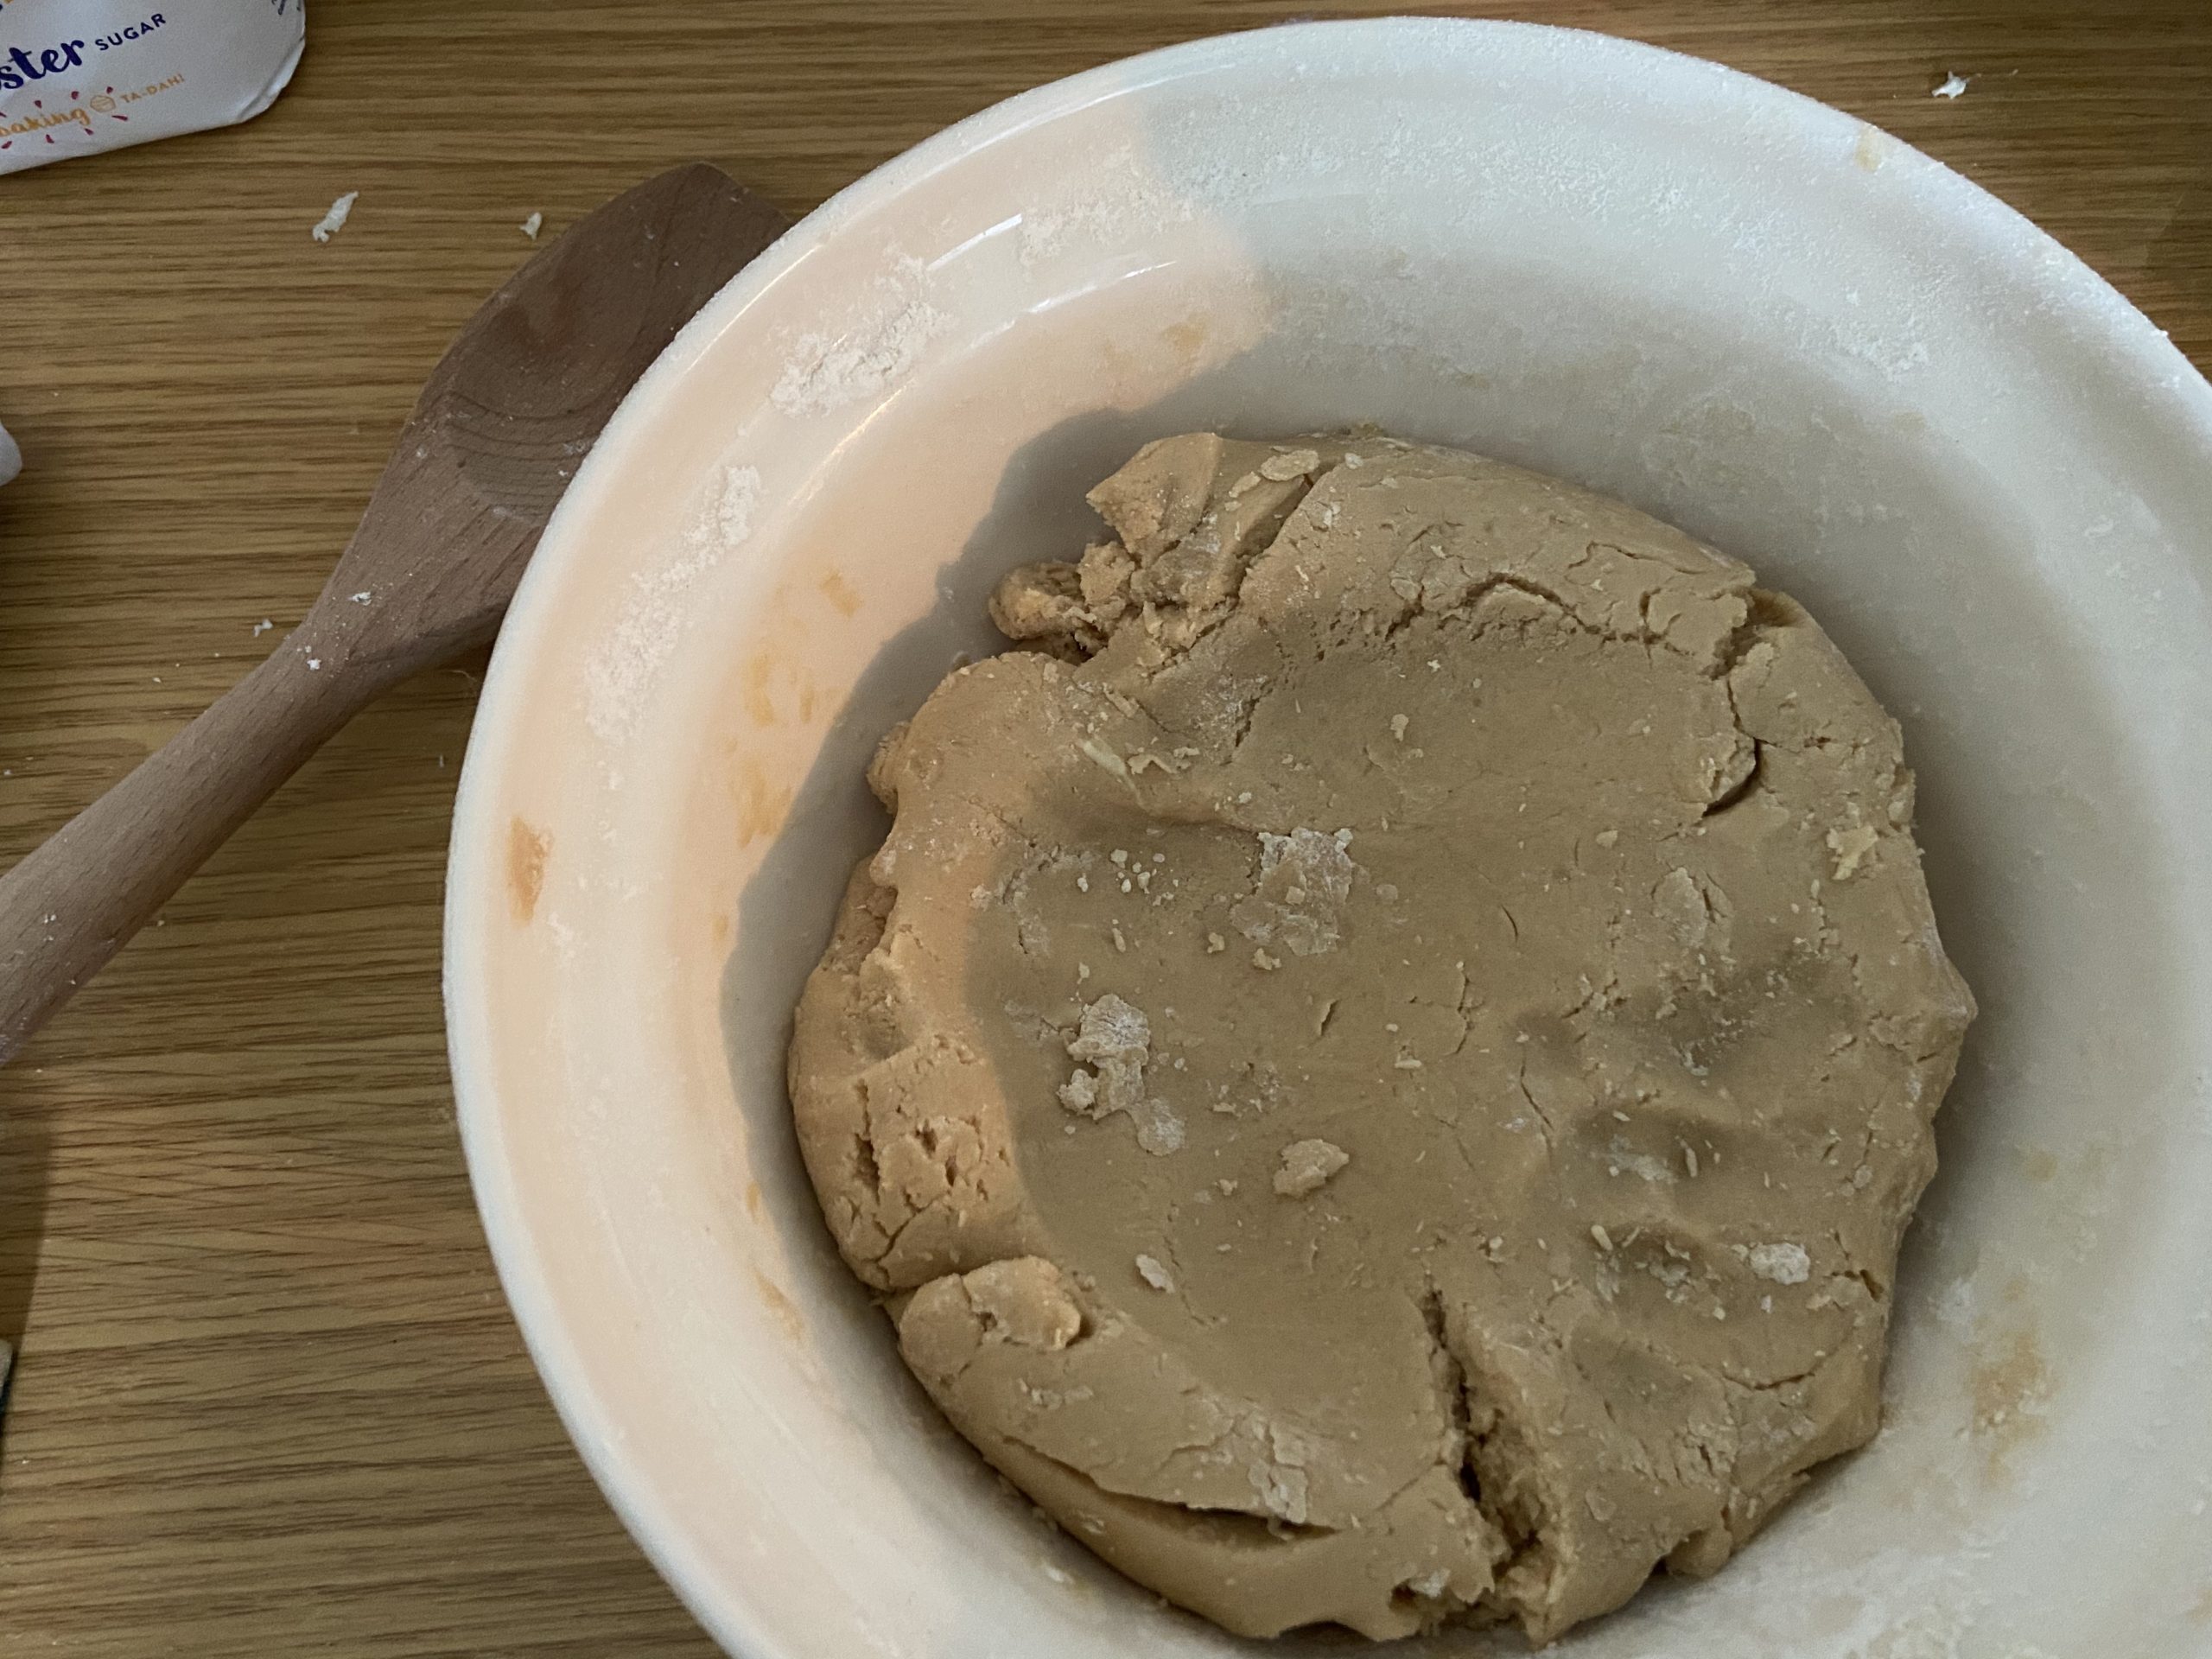
Sift in the flour, salt and baking soda and combine until it makes a soft dough.
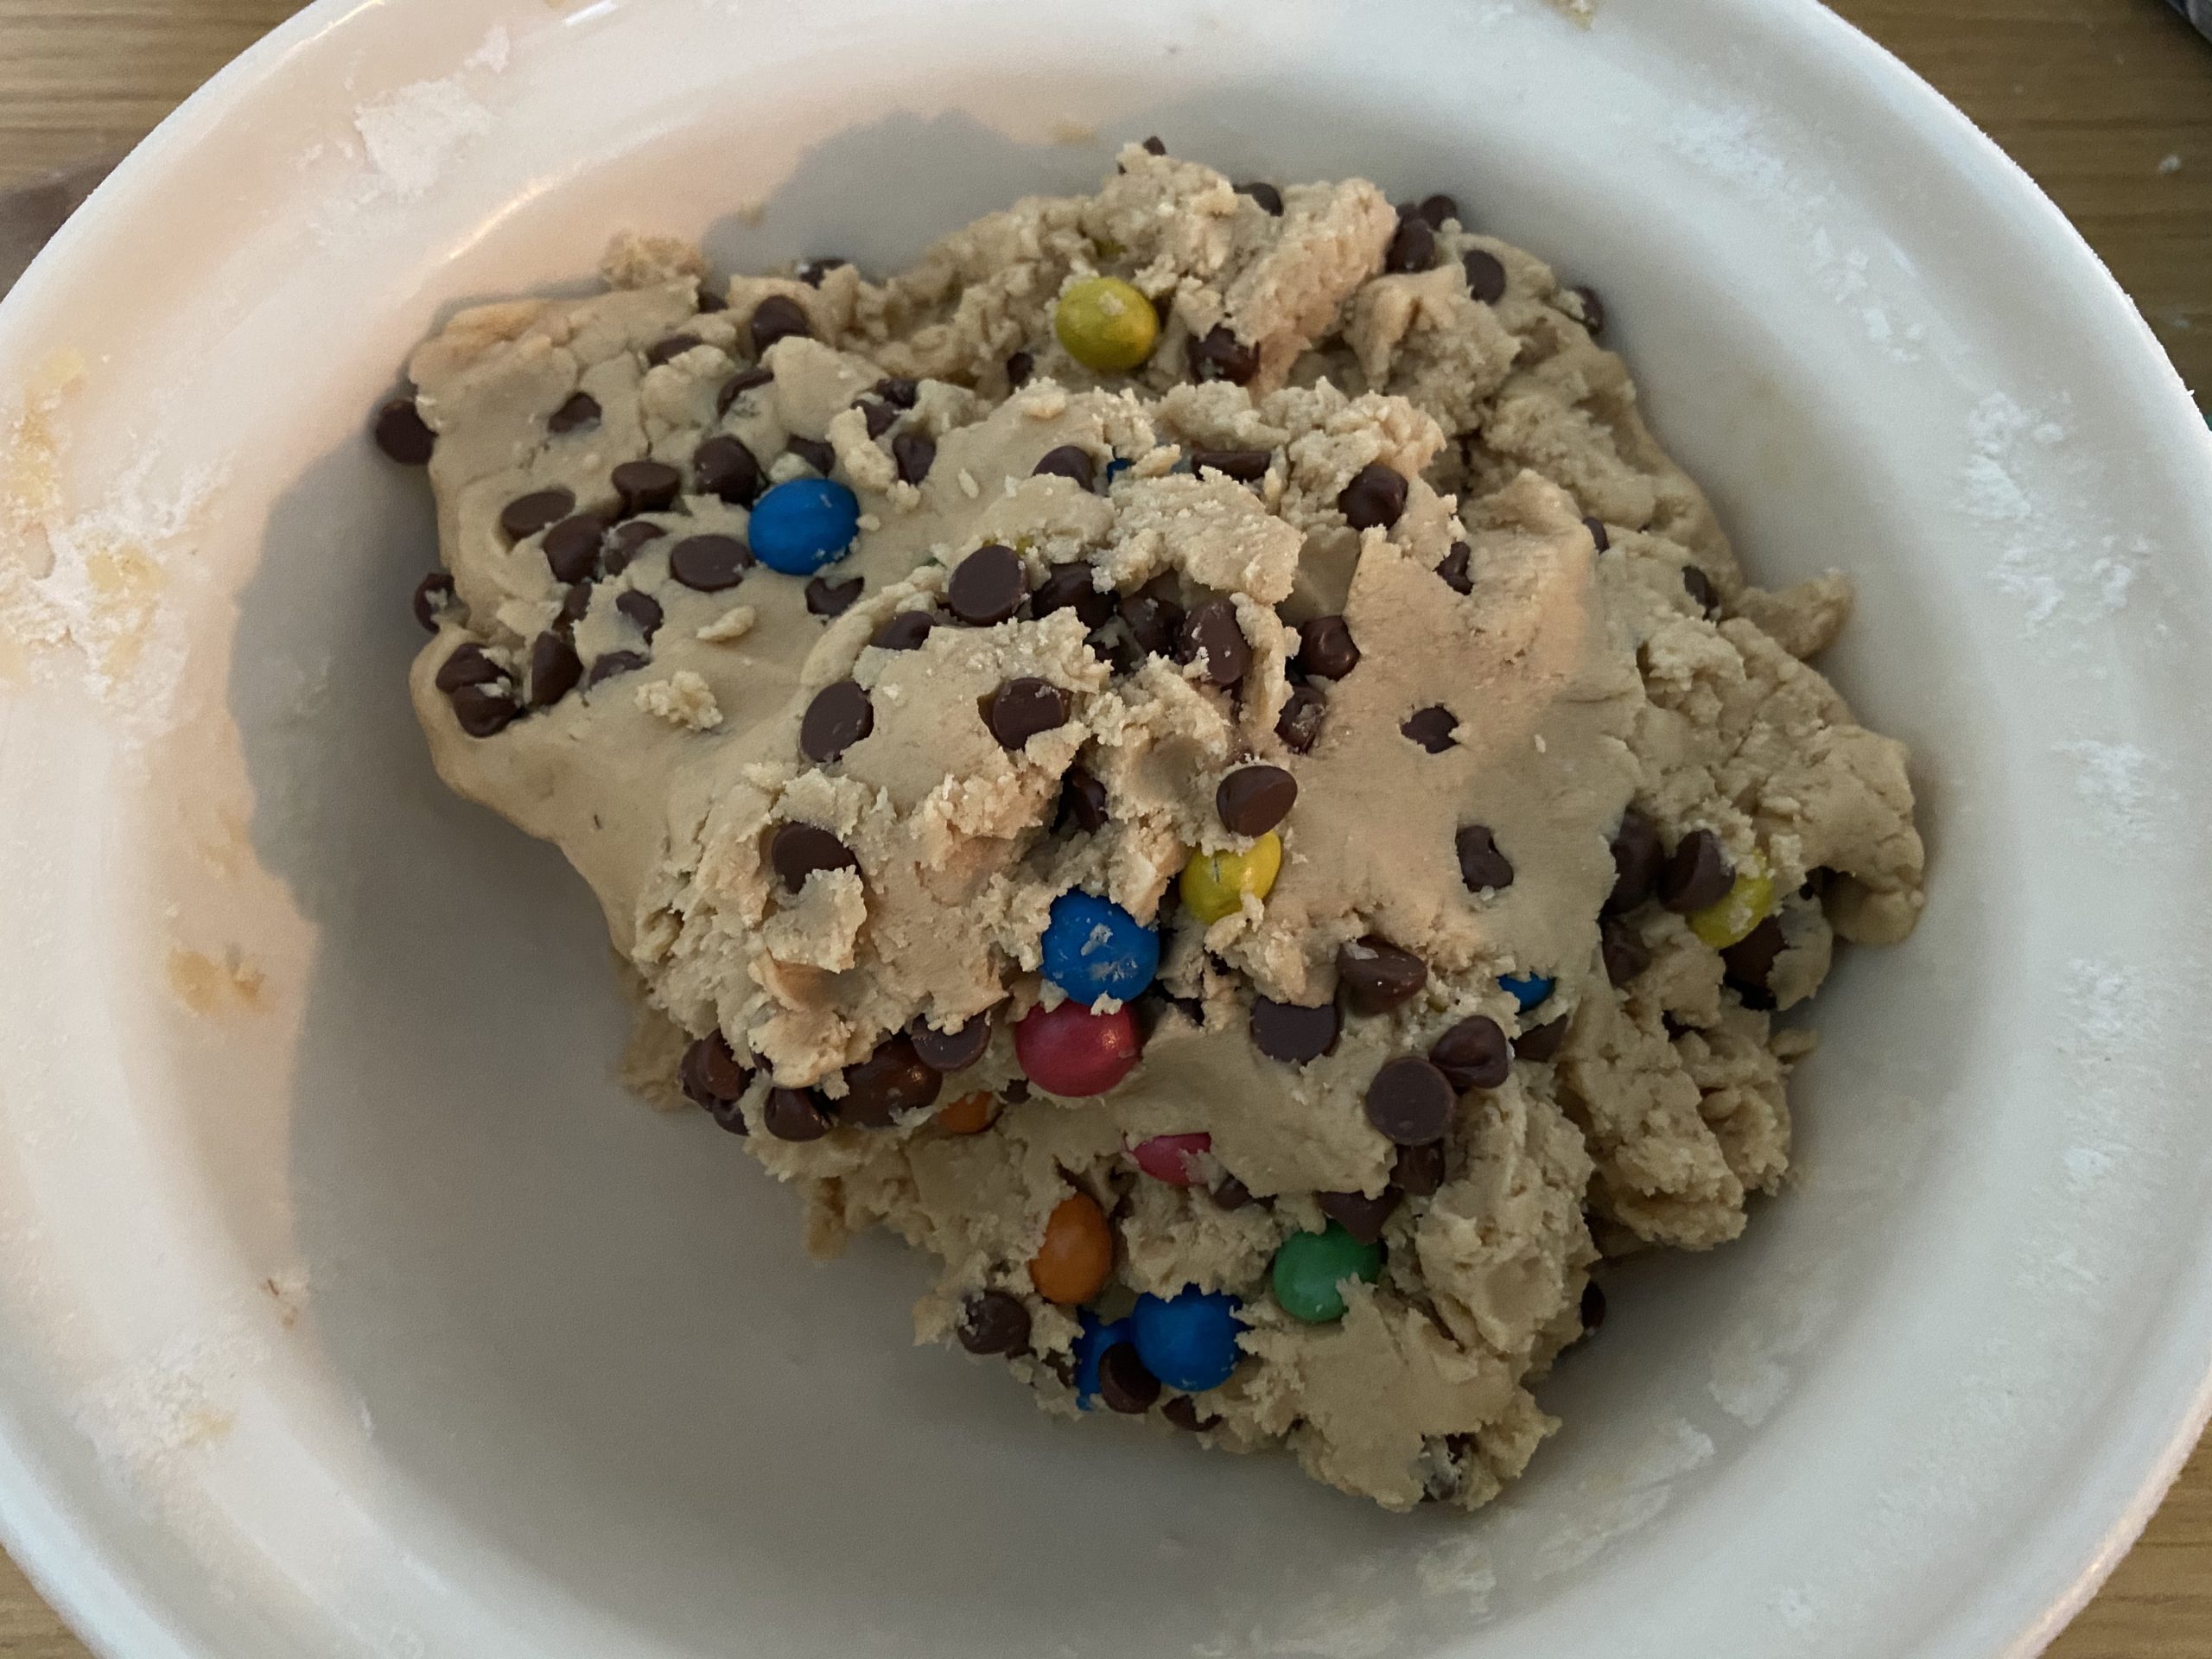
Then, add your chocolate chunks and 75% of the M&Ms to the mixture, mix it well so that they aren’t all clumped together.
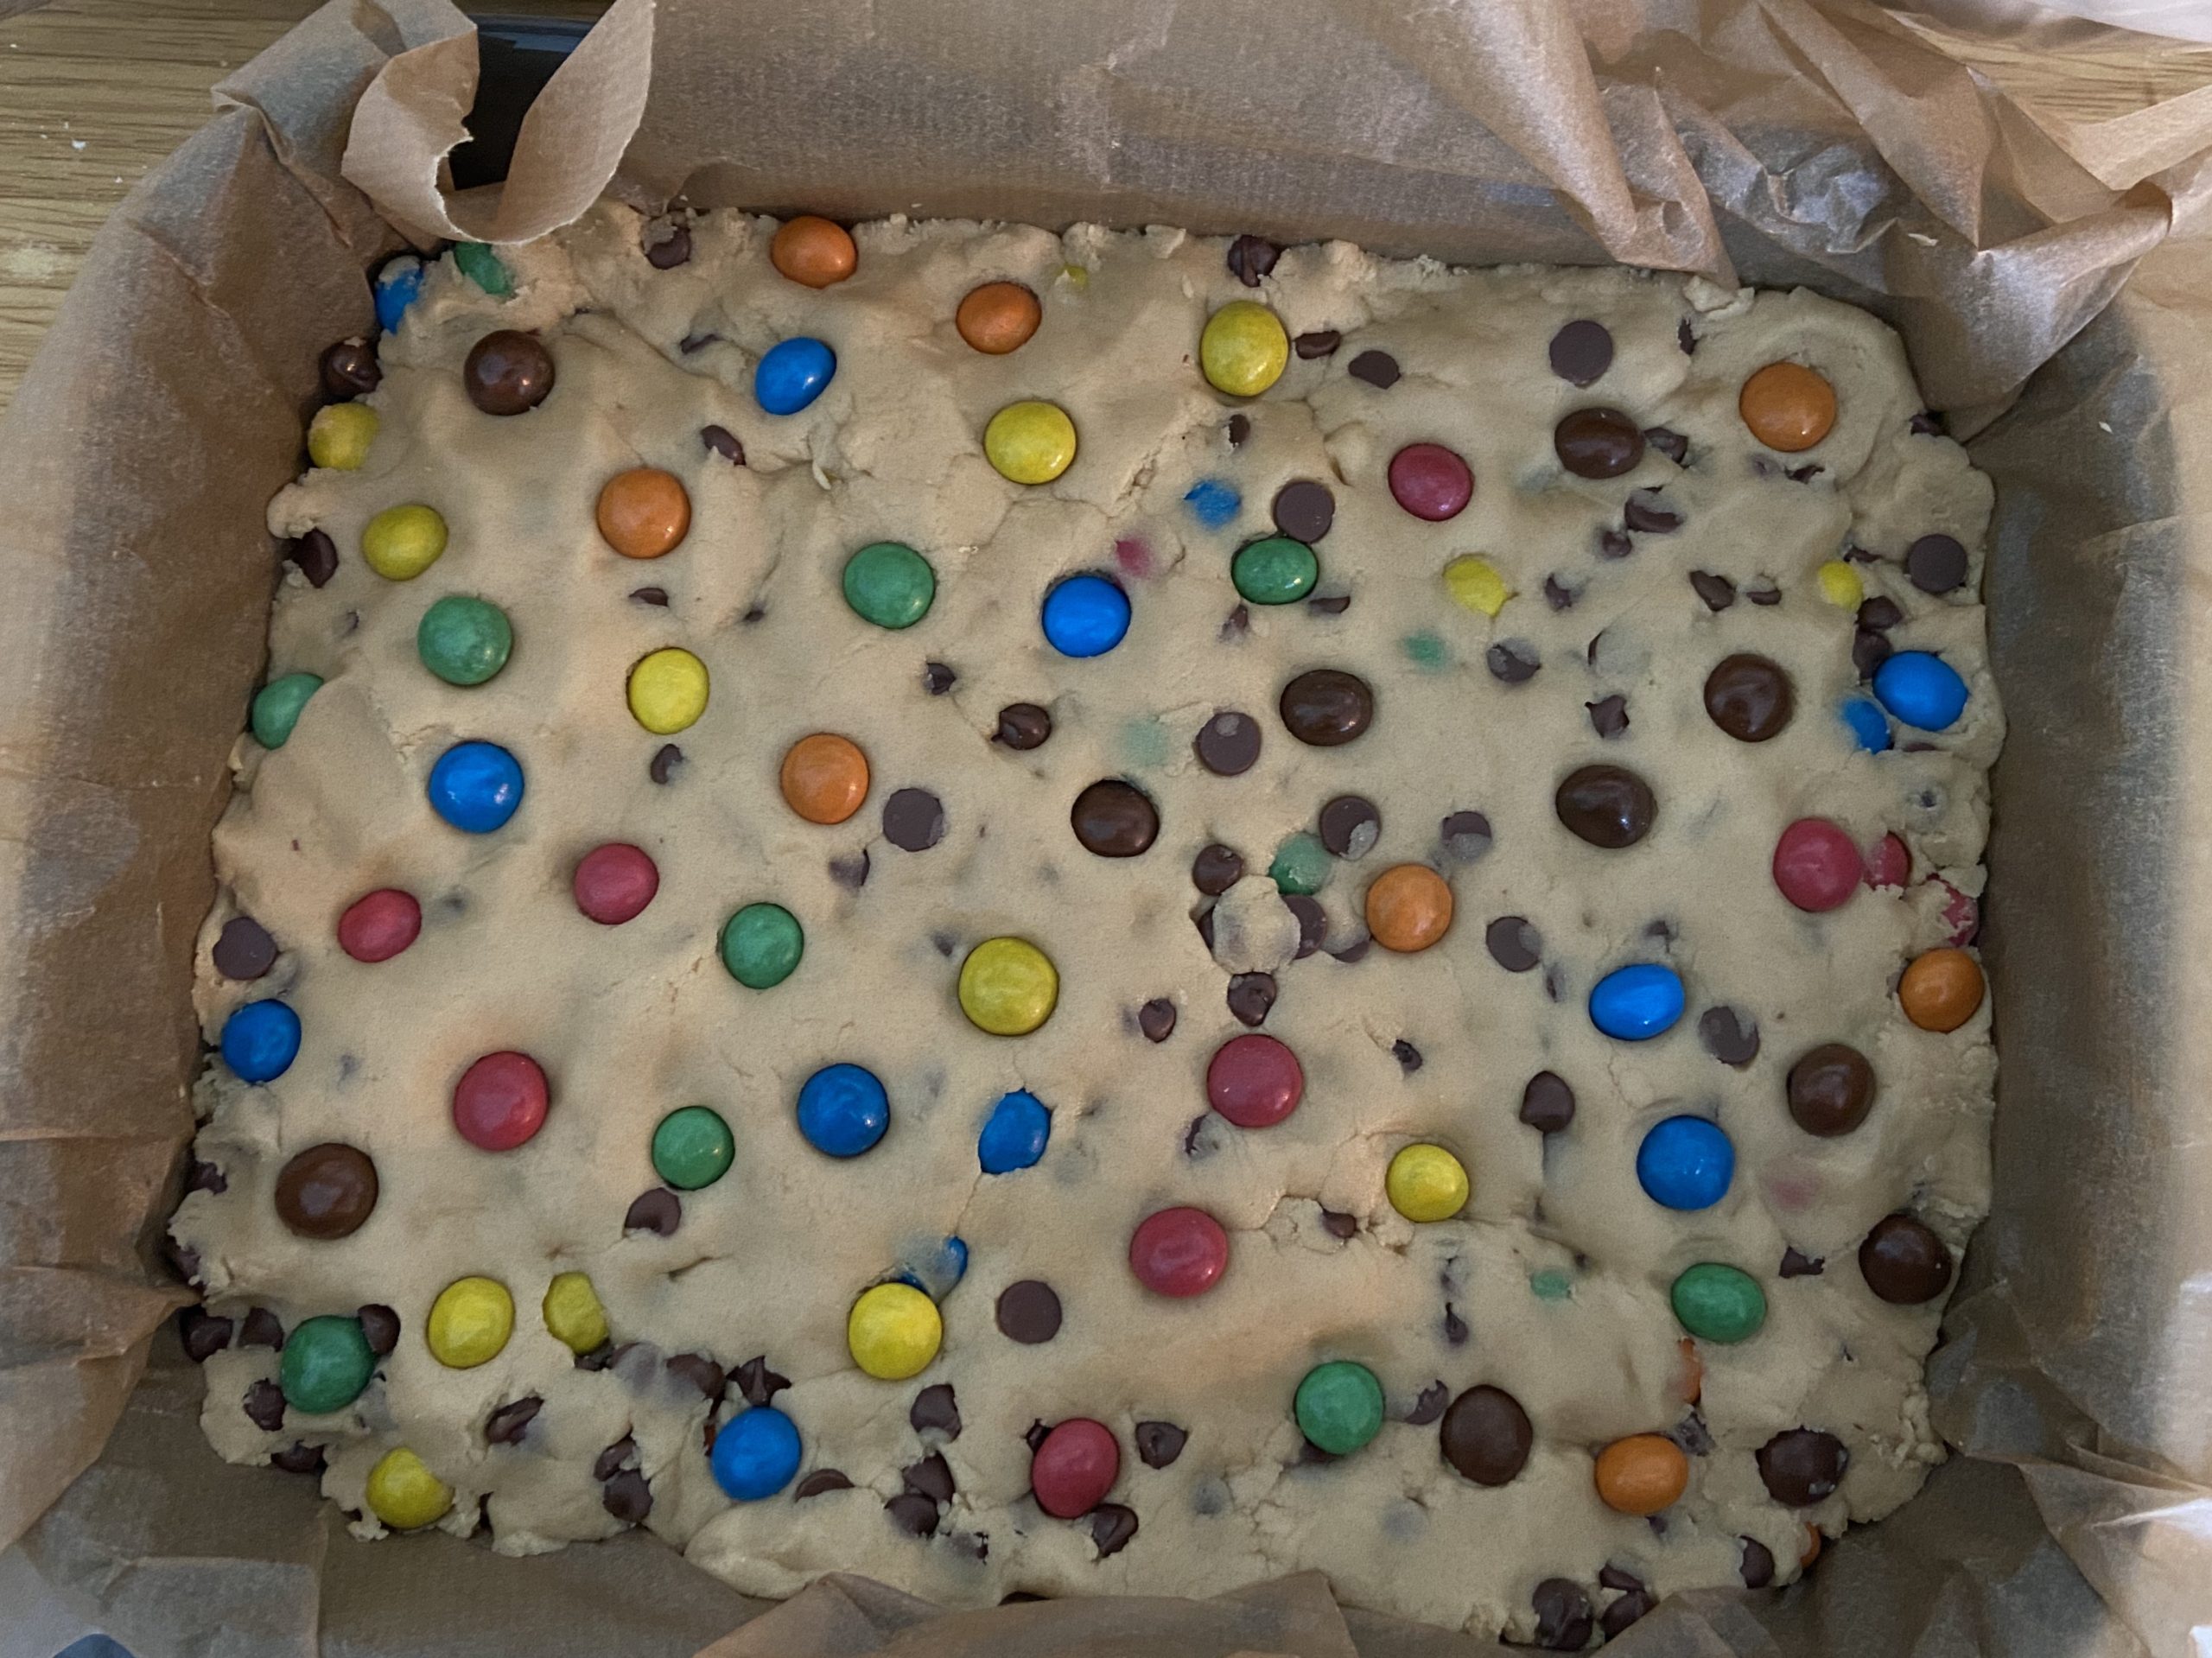
Line the baking tray with baking paper, and put the mixture in to the tray. Spread it out evenly so that it is the same thickness all over. Then, use the remaining M&Ms to scatter around the surface of the dough… Push them lightly in to the mixture.
Place in your oven and bake for 25 minutes until golden on top. Use a skewer to check that it’s cooked inside. If no mixture sticks, then it’s ready! If it needs a little longer, pop it back in the oven for another 5 minutes and repeat this process.
Let cool for 20 minutes then mark out where you want to cut your cakes. Depending on the size you want each portion to be, you will be able to make either 12 or 16. Melt some milk chocolate to stick on the candy eyes once you know where you will be making the cuts.
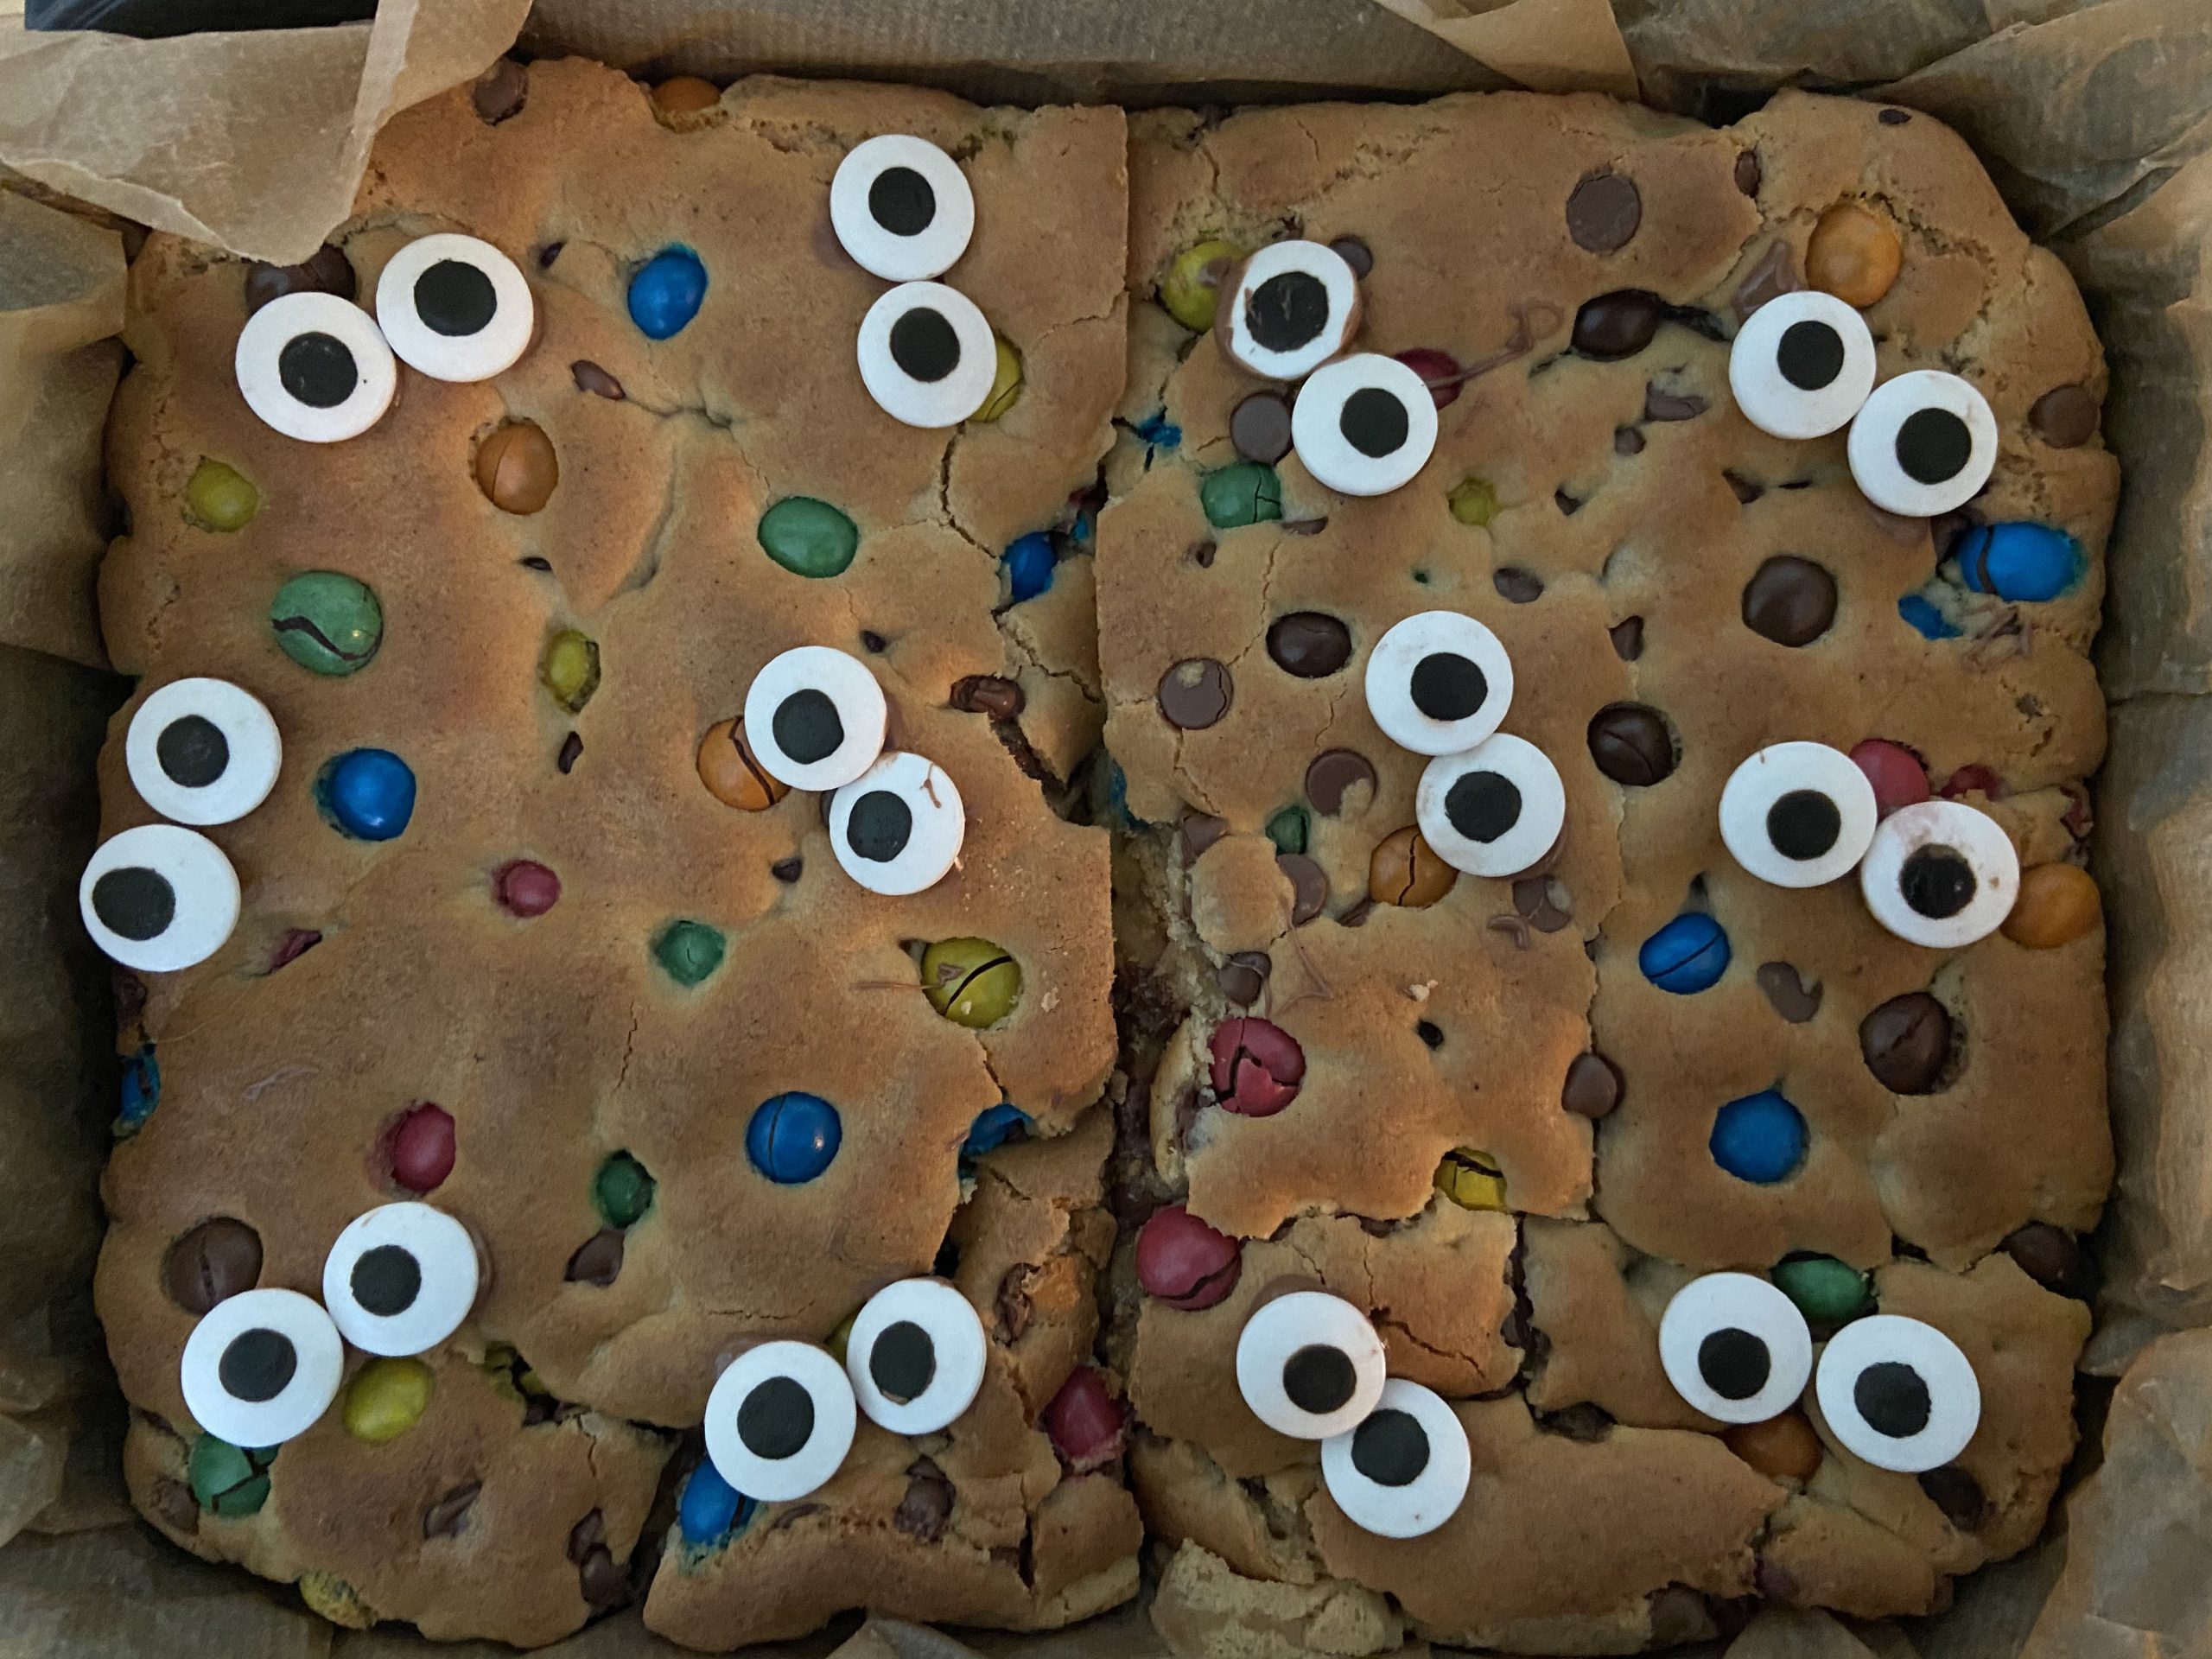
Allow to completely cool for another hour, and then cut your portions.
Enjoy with a cup of tea or coffee!!
YOU MAY ALSO LIKE
DIY Colourful Painted Pumpkins
How to Style a Bar Trolley for Halloween
How to Create a Flying Bat Wall Display
PIN THIS
All content curated by That’s so Gemma.


