Have you Noticed my Noticeboard?

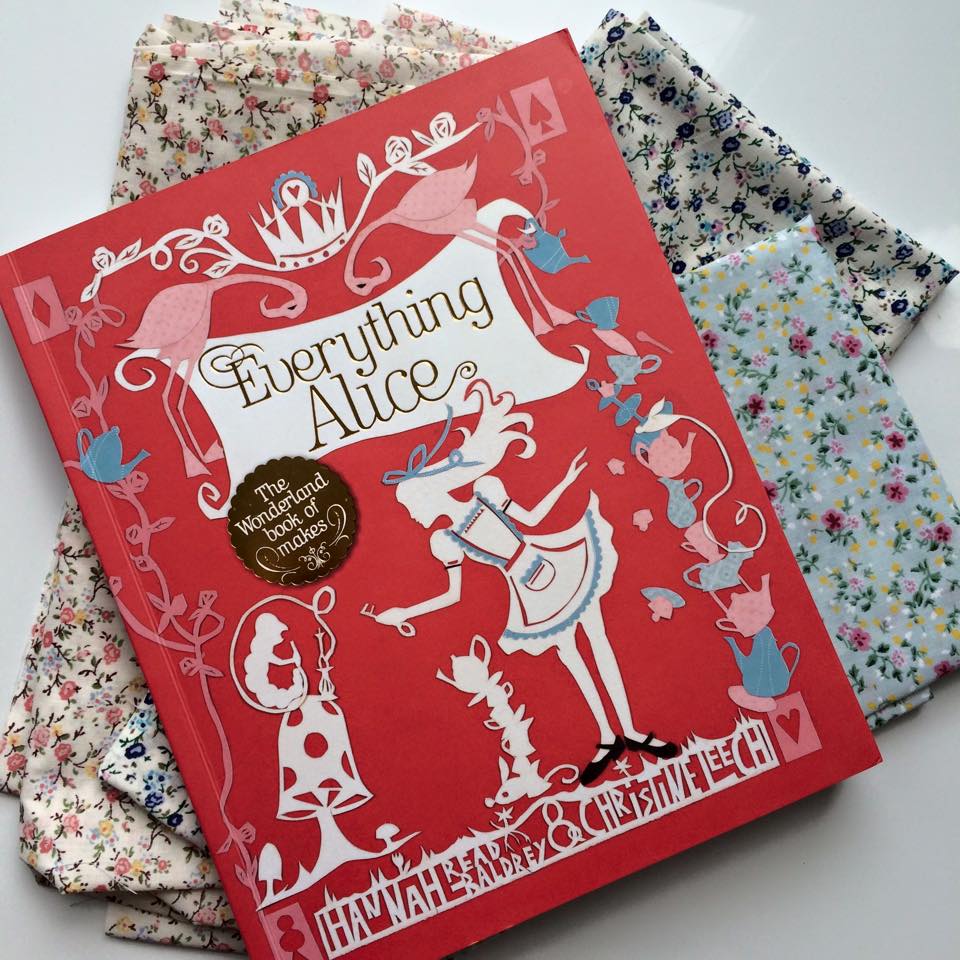
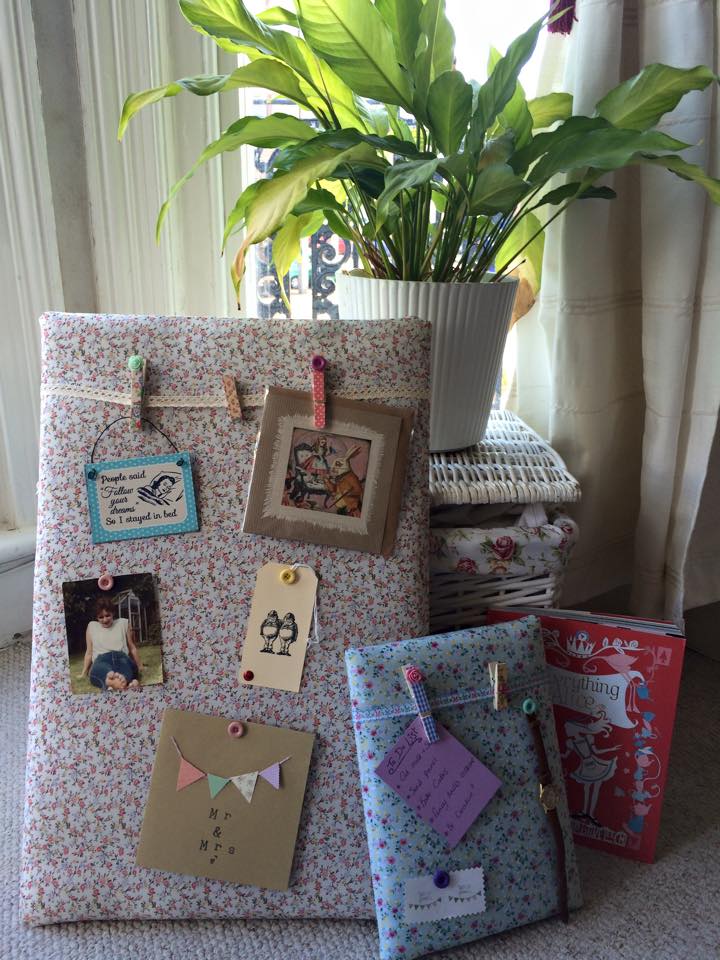
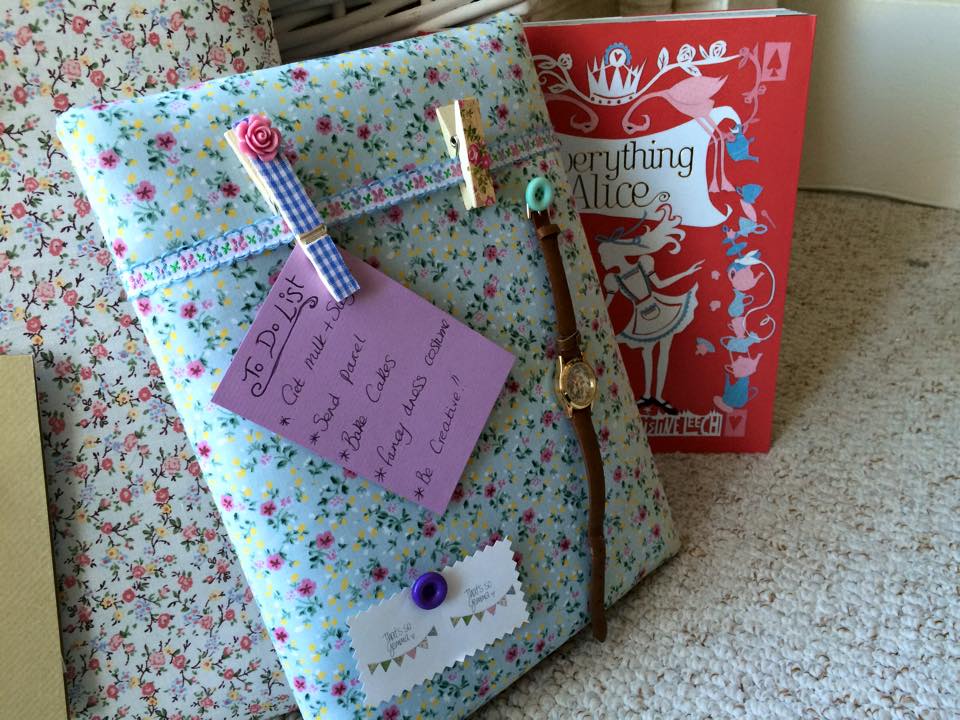
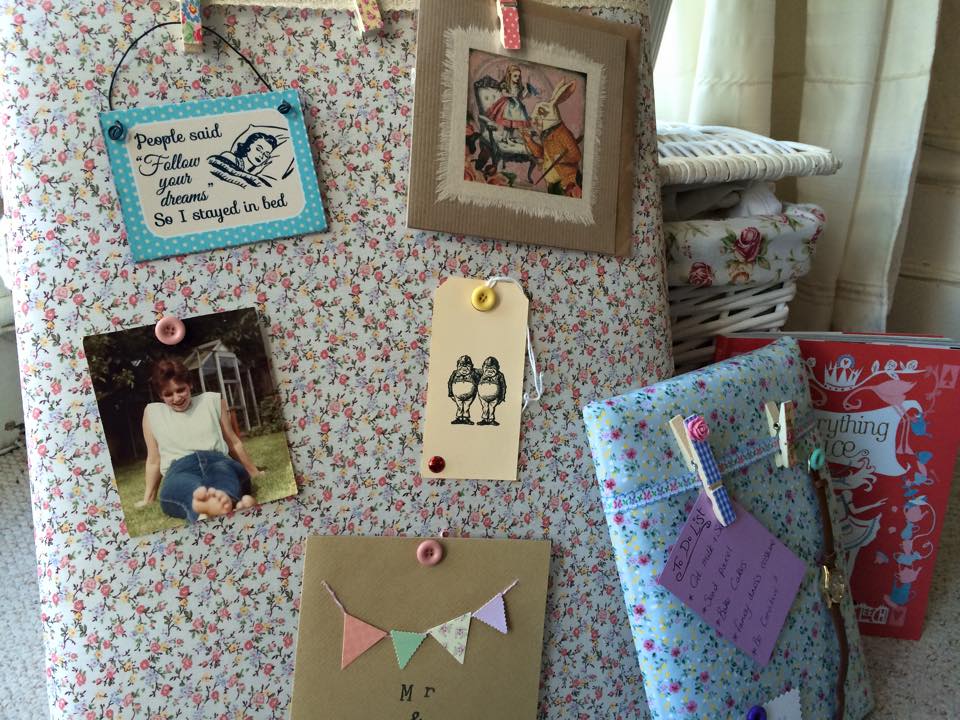
With an ever-growing amount of lists and memos I have lying around on my desk, I figured I really could do with a new noticeboard to keep them all in place… trust me if you could see how much of a state my desk can be at times you’d wonder how I ever have space to actually make anything! I’ve had a slight obsession with the weird and wonderful Alice in Wonderland for pretty much my whole life, and a couple of years ago my mum bought me this amazingly creative book called Everything Alice. Like the original Lewis Carroll book, this craft book has hidden treasures and quirky illustrations that I was tempted to share with you, but instead, celebrating 150 years of Alice in Wonderland this year I’ll keep it a surprise for you to experience yourselves!
One of the makes in this lovely book is a notice board which inspired me to create my own. Instead of using hard board though I thought why not transform the standard office-style cork board and give it a makeover.
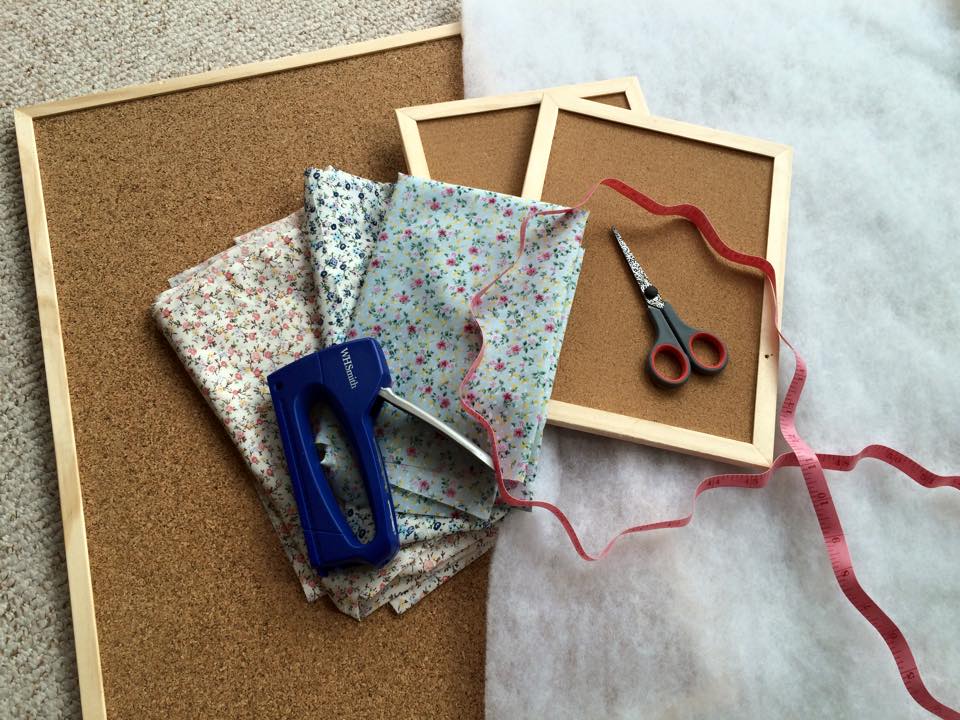
I purchased the cork boards from a Bargain Express store in my local town, the large one costing £3.99 and the smaller ones just £1.00! And with some beautiful floral fabrics, fabric wadding and a staple gun, they we’re transformed!
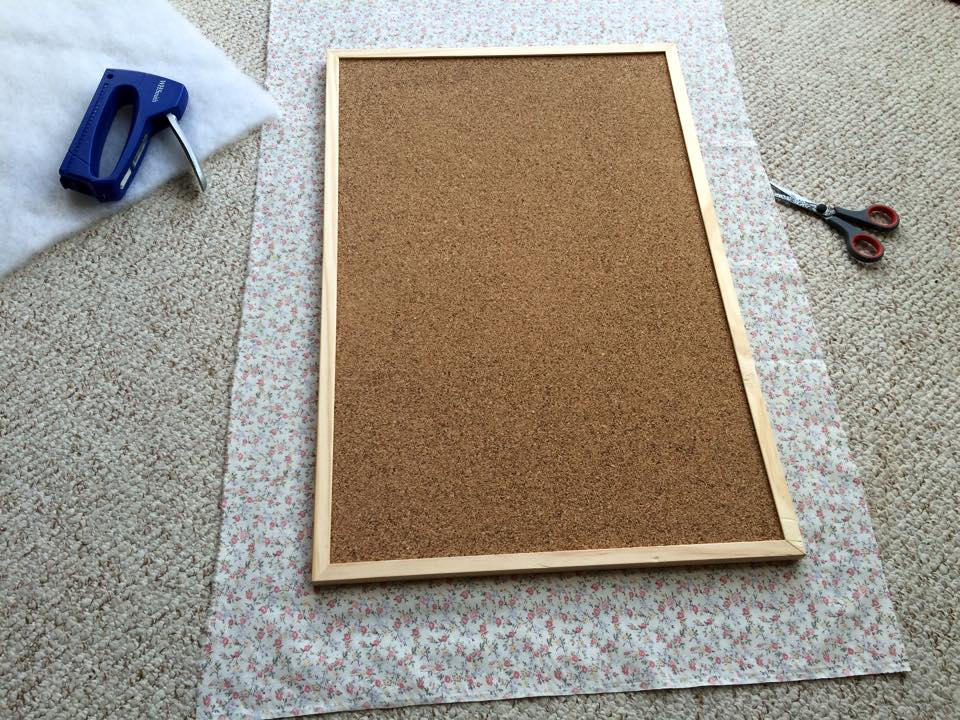
To start with I cut wadding to the same size as the board, and for extra thickness I doubled up on the layers so the pins would have ample depth to stick in! Then I cut the fabric using the board as a guide, leaving a good inch or two as leverage for when I got my hands on the staple gun!
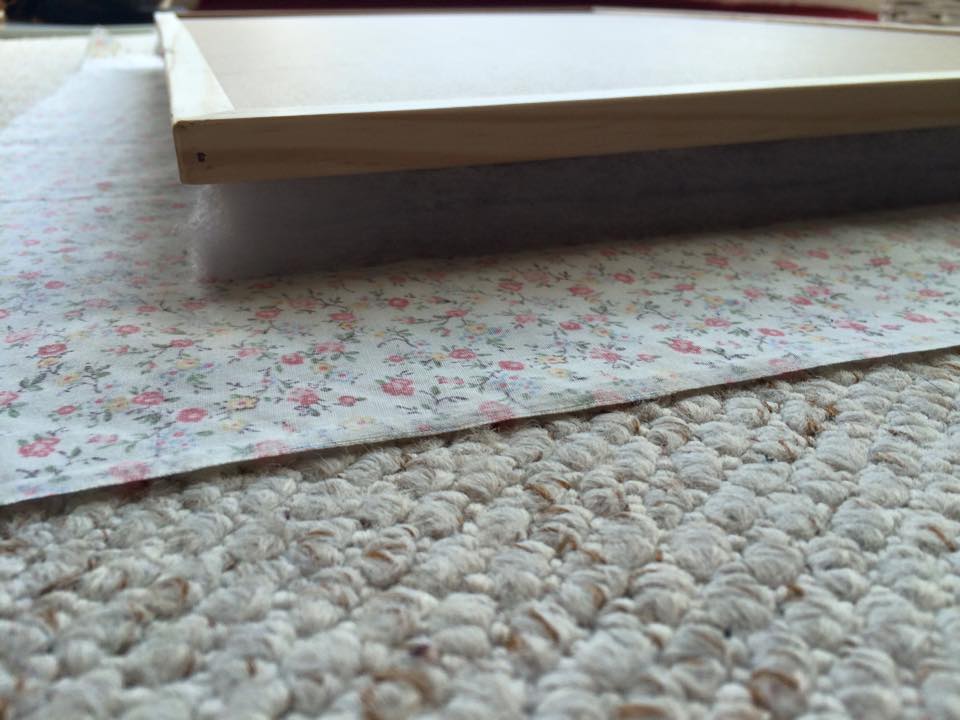
Laying the fabric face down, I then layered my 2 wadding rectangles on top and then finally my cork board face down on top.
They should be in the correct order so that once secured and turned over, there will be the fabric on the outer layer, wadding in between and then the cork board as the back panel support.
Now I got to use the staple gun, and boy, what a great stress reliever! I used the same technique as though I was reupholstering a chair, started with the corners then secured at the sides. As your doing it be sure to tug the fabric so that it’s as tight as possible, so the fabric doesn’t sag at the front when it’s finished. Don’t panic as you are doing it, it will look untidy and scruffy!
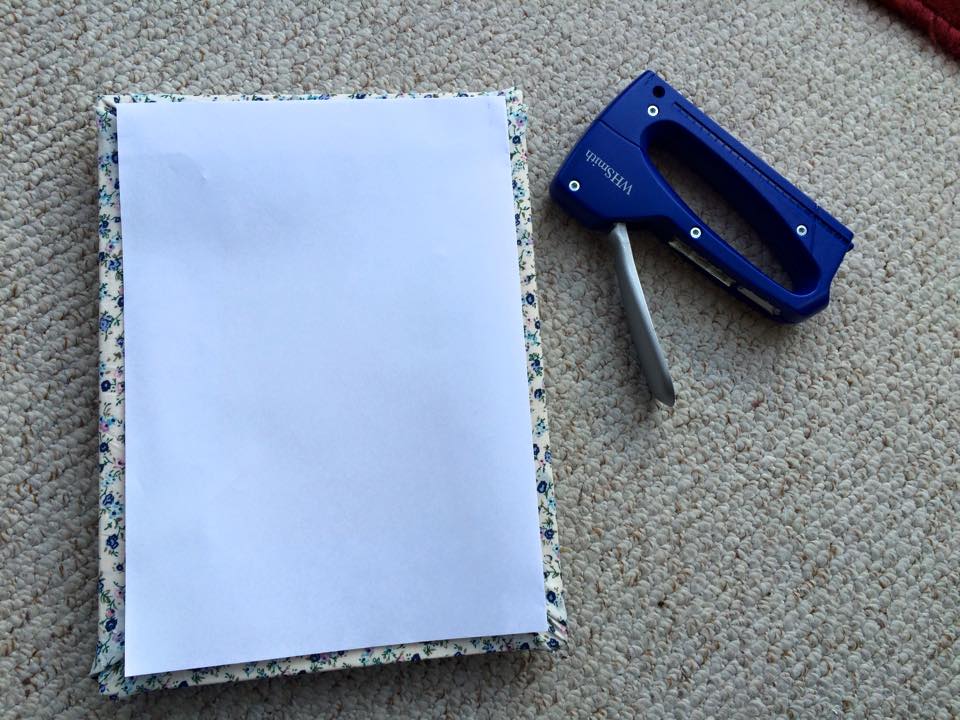
To hide the scruffy corners at the back I attached a piece of card using my glue gun to keep the scrunched up fabric out of sight!
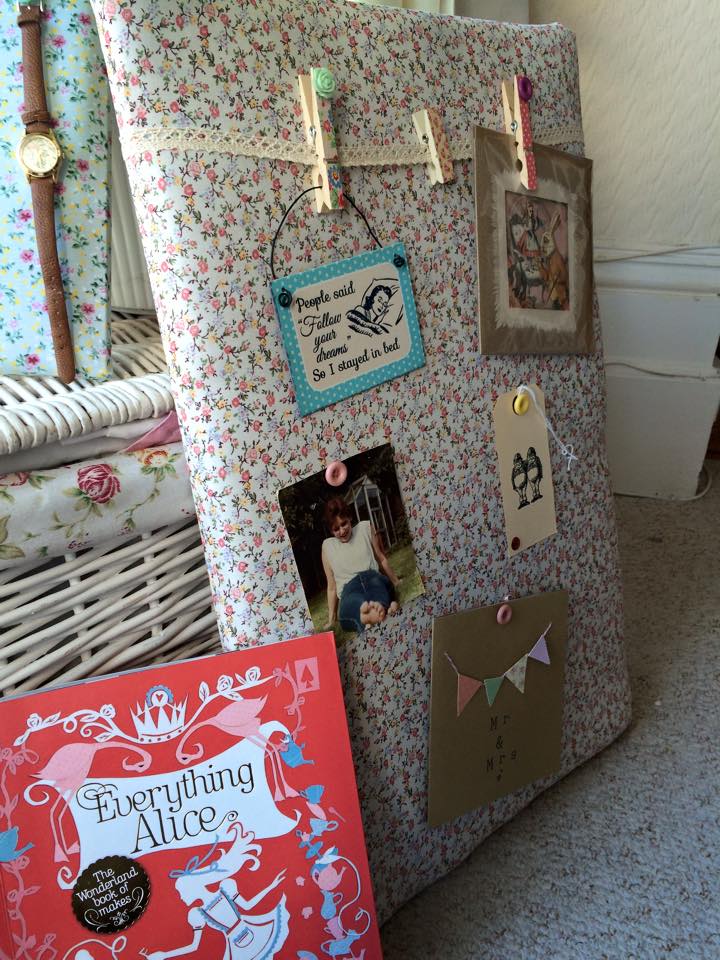
Once the fabric is secured tightly in to place it’s ready to turn over and admire! I also added a piece of ribbon to the top of my boards so that I can peg things on to it as well as pin! Similar to my Peg Frames that I made which if you haven’t seen already then you can read it here!
Now I have a pretty notice board for my desk which was so simple to make and at very little cost! Much better than the horrible dull cork board that it started of as!
Now I’ve got to decide what to make with all of my leftover scraps of fabric!
