How to Create a Flying Bat Display

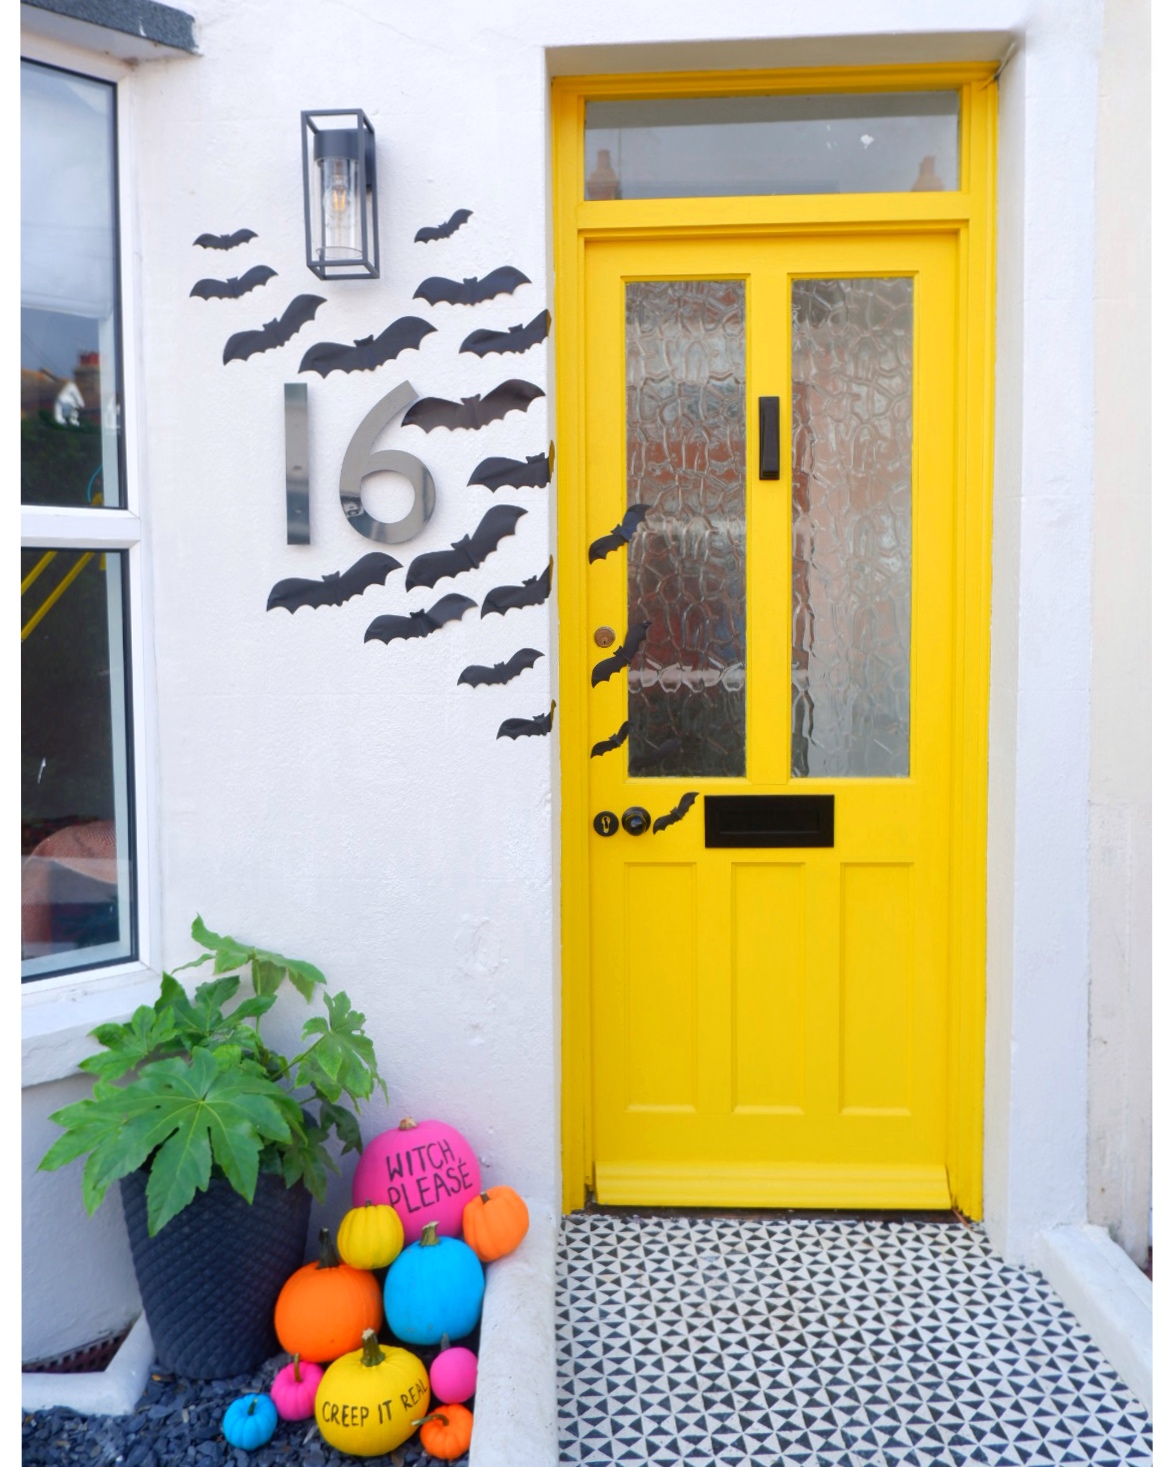
Halloween is just around the corner which means it’s time to get spooky! Today I’m going to give you a step-by-step tutorial on how to create a flying bat display…
Incase you can’t tell, I’m really getting in to the Halloween spirit this year. I kinda figured that this crazy year needed a bit of excitement, therefore I’m just going for it with no holding back. Hopefully this idea can inspire you to get creative with the little ones and make a fun flying bat display for under £8! It’s a really simple DIY that gives off a lot of WOW factor, and it doesn’t break the bank! Halloween can still be a big thing this year if you want it to be. Enjoy this time to get crafty with the family and decorate your home.
How to Create a Flying Bat Display
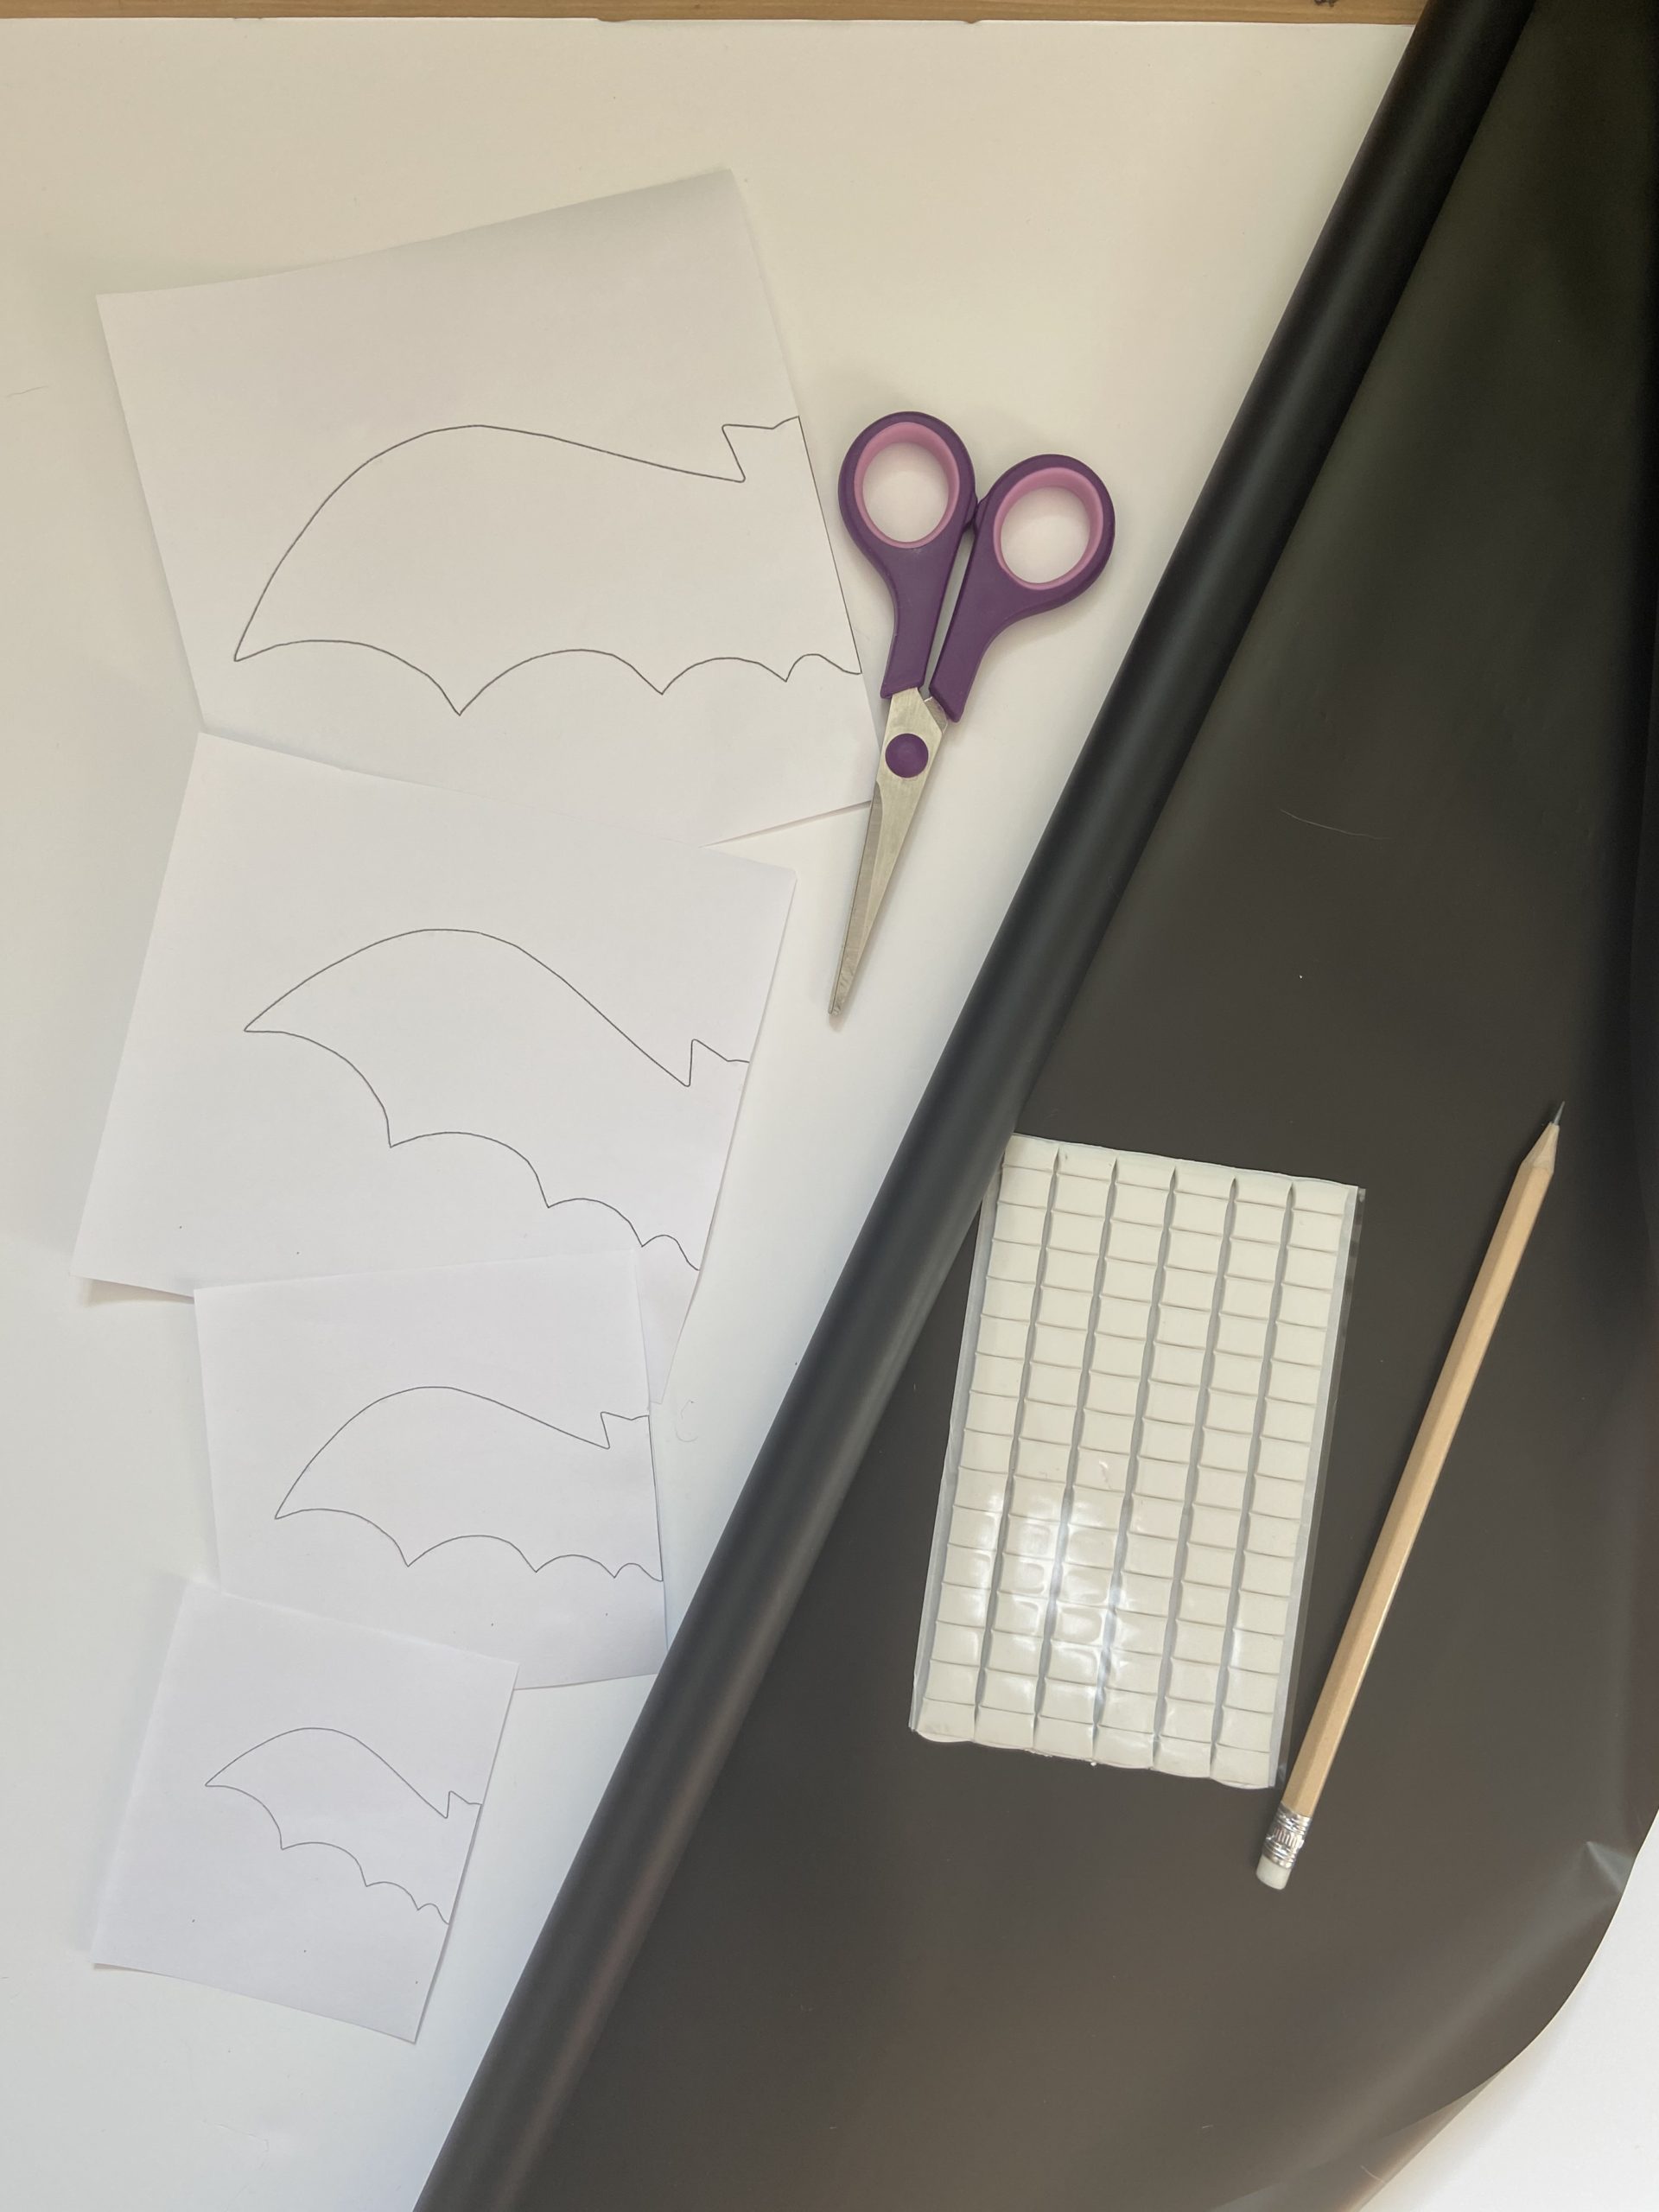
To make a flying bat display, you will need:
- Black cellophane or paper
- Scissors
- Bat template in various sizes
- Pencil
- Strong white tack
NOTE: If you want to create a display inside, then paper would be the best material for your bats. If you want the display to be outside and weatherproof, cellophane is the way to go!
For reference, I found my bat template from this useful source.
You can download the image below, or find another bat template elsewhere (there’s hundreds online!)

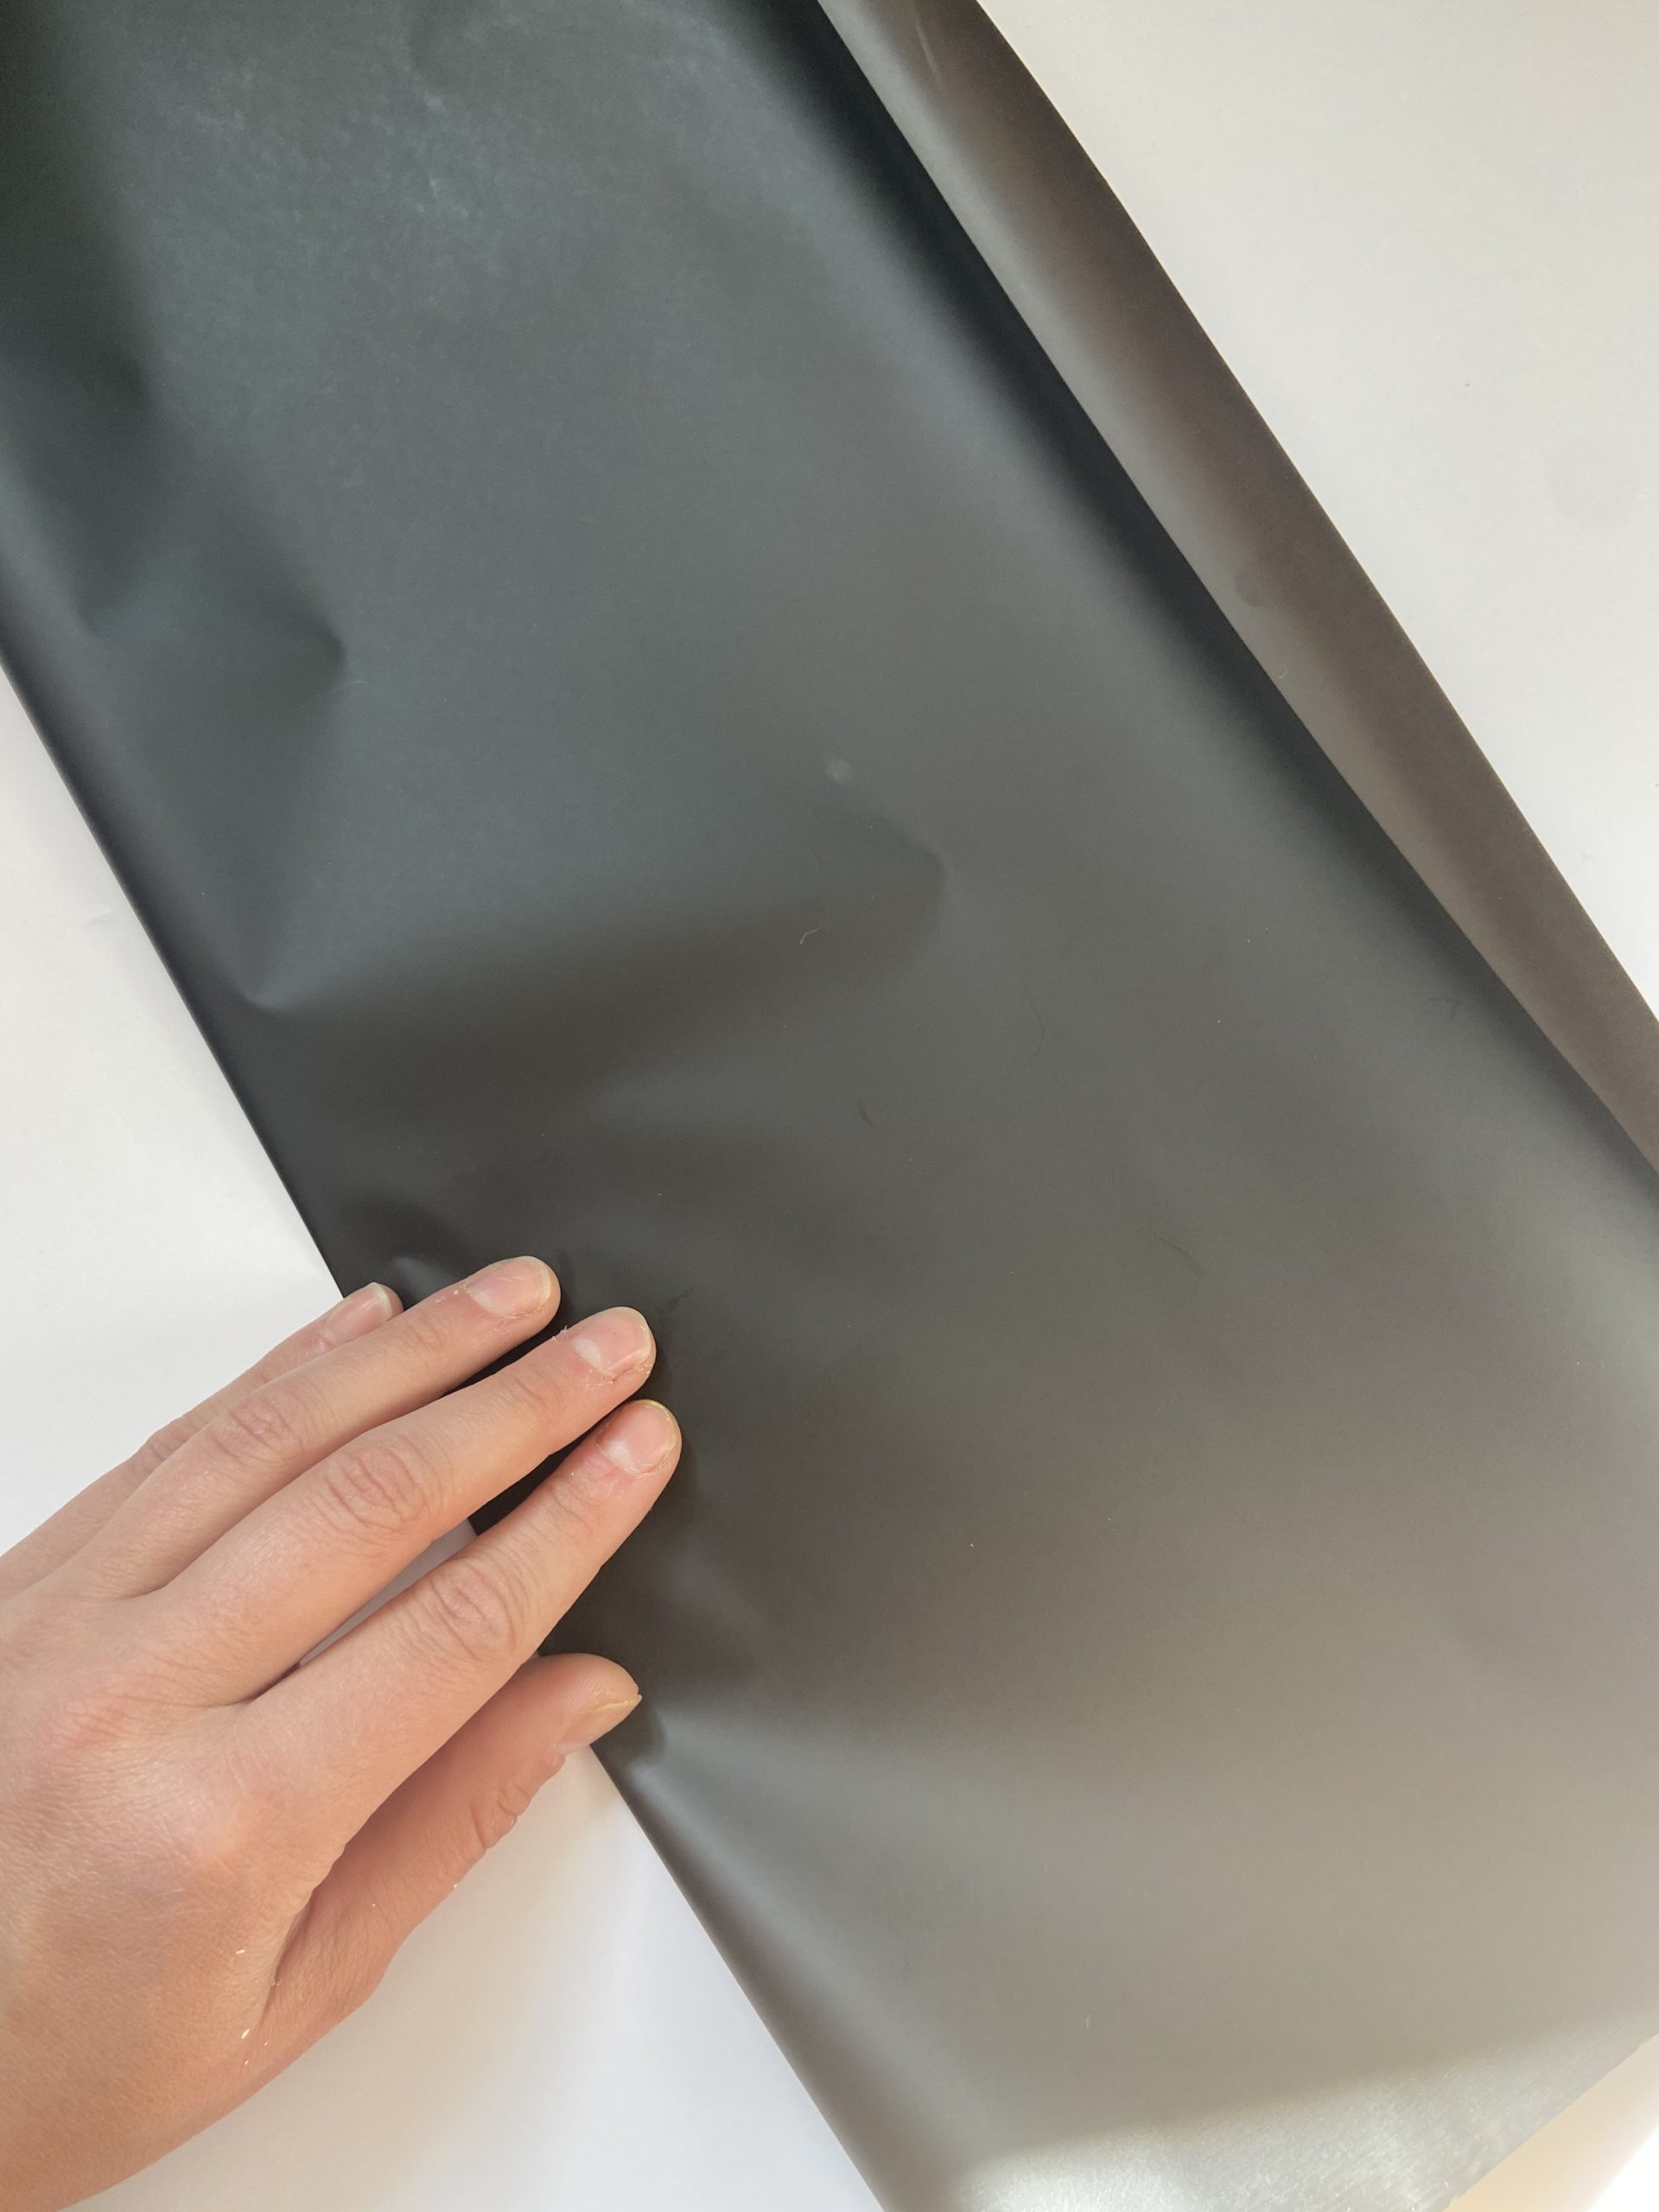
Begin by cutting a strip of cellophane (Approx 30cm wide), then fold it in half.
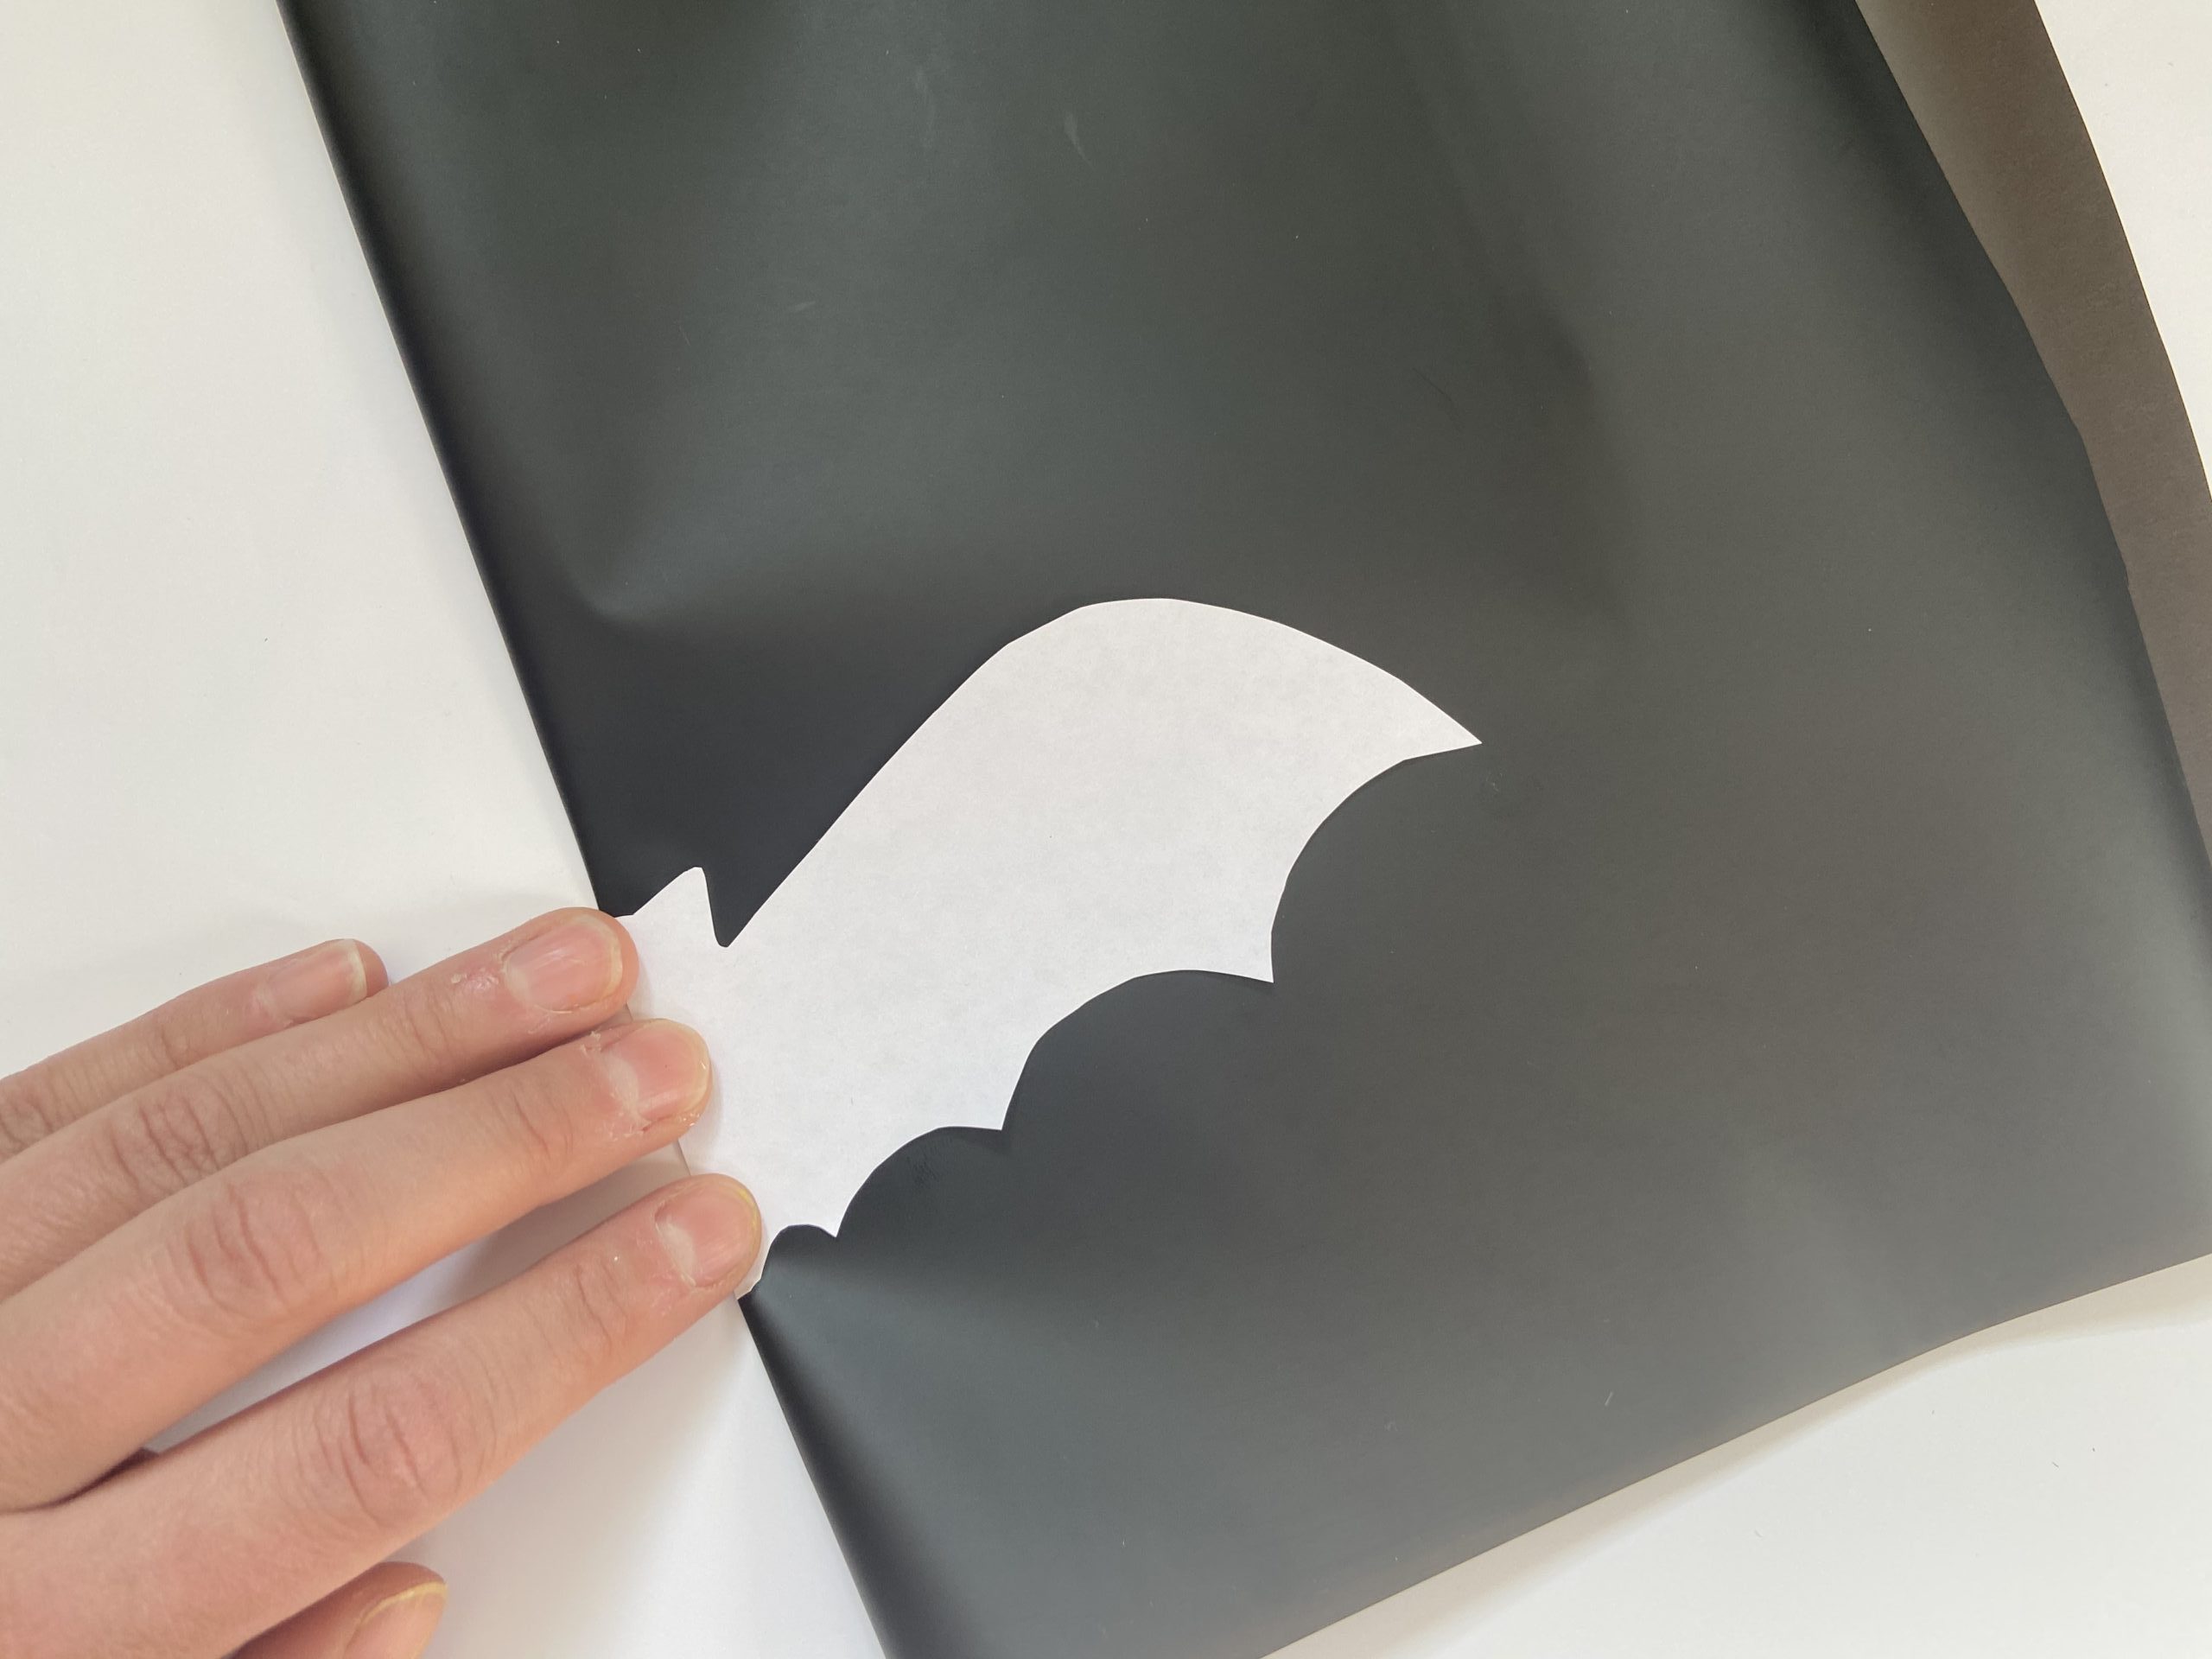
Line up the edge of the bat template with the folded side of the cellophane, then draw around the template to create an outline of the bat shape.
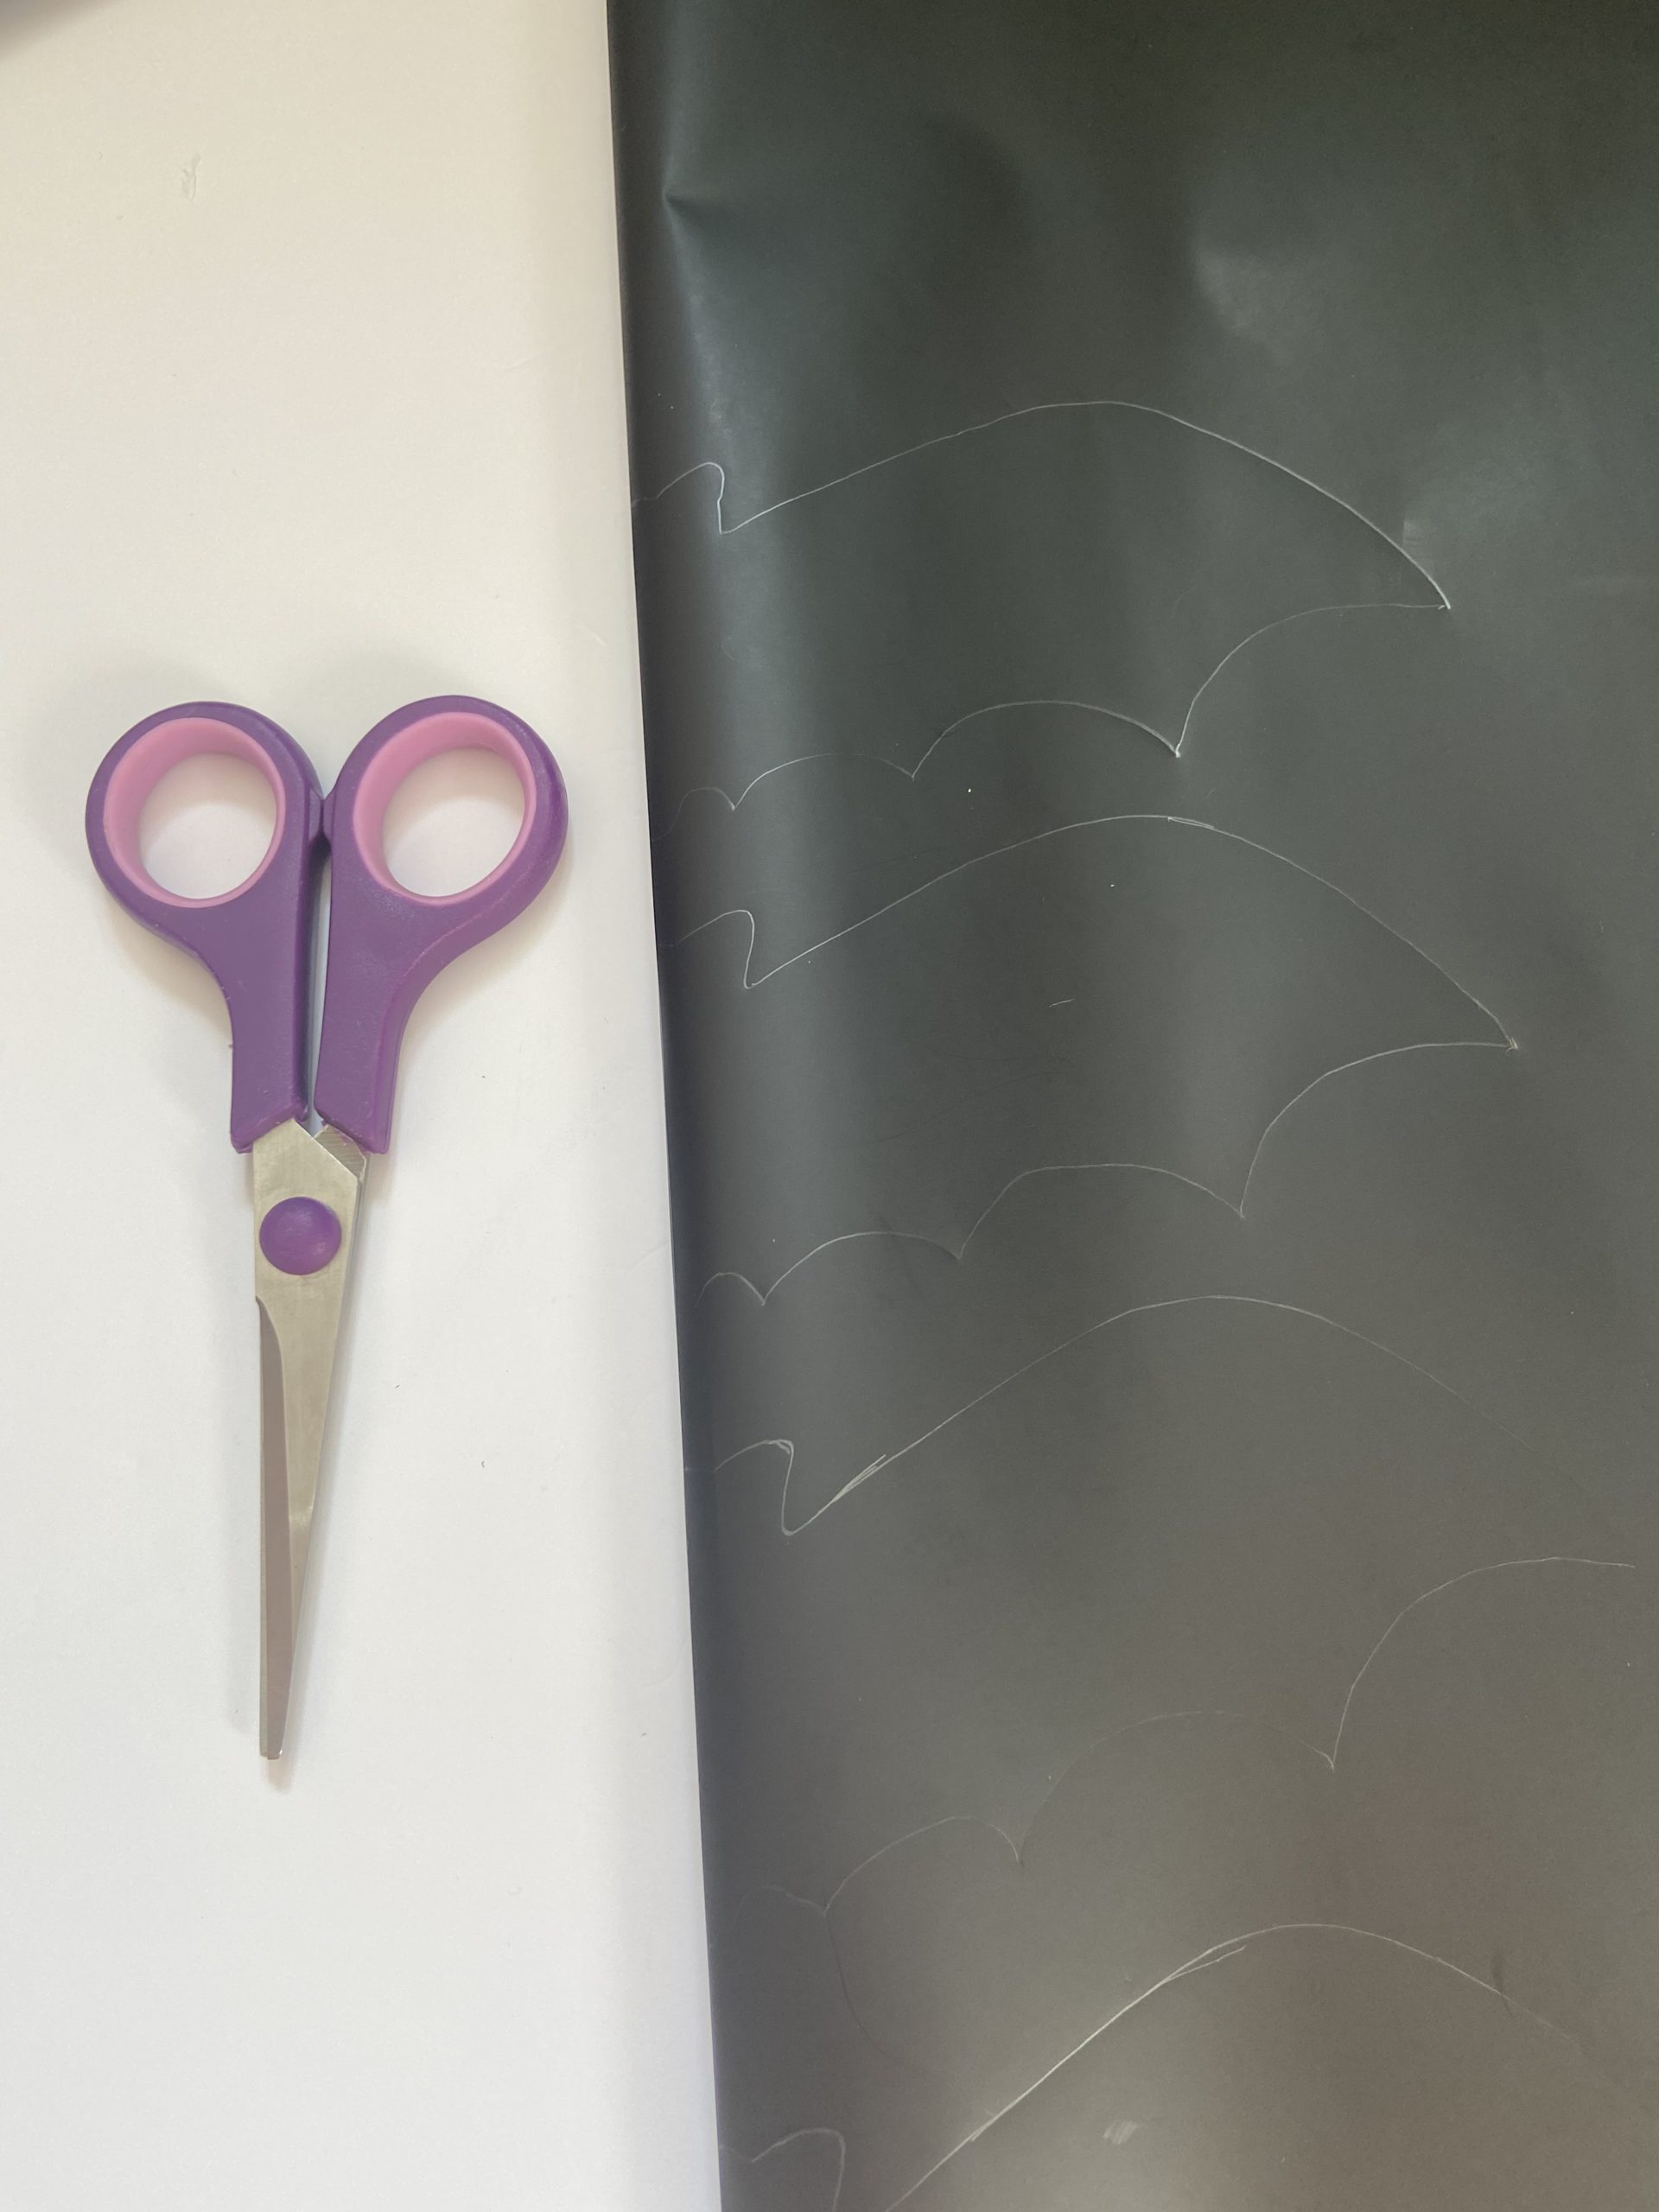
For ease, repeat this a few times, you will need approx 20 bats in different sizes. I used four different sized bat templates, and cut out 5 of each size.
Then, carefully cut around the edge of the template. Slow and steady will win this race. Rushing may cause the cellophane to tear!
Once you have cut the silhouette, unfold to reveal a full sized bat! Repeat this process until you have at least 20 bats.
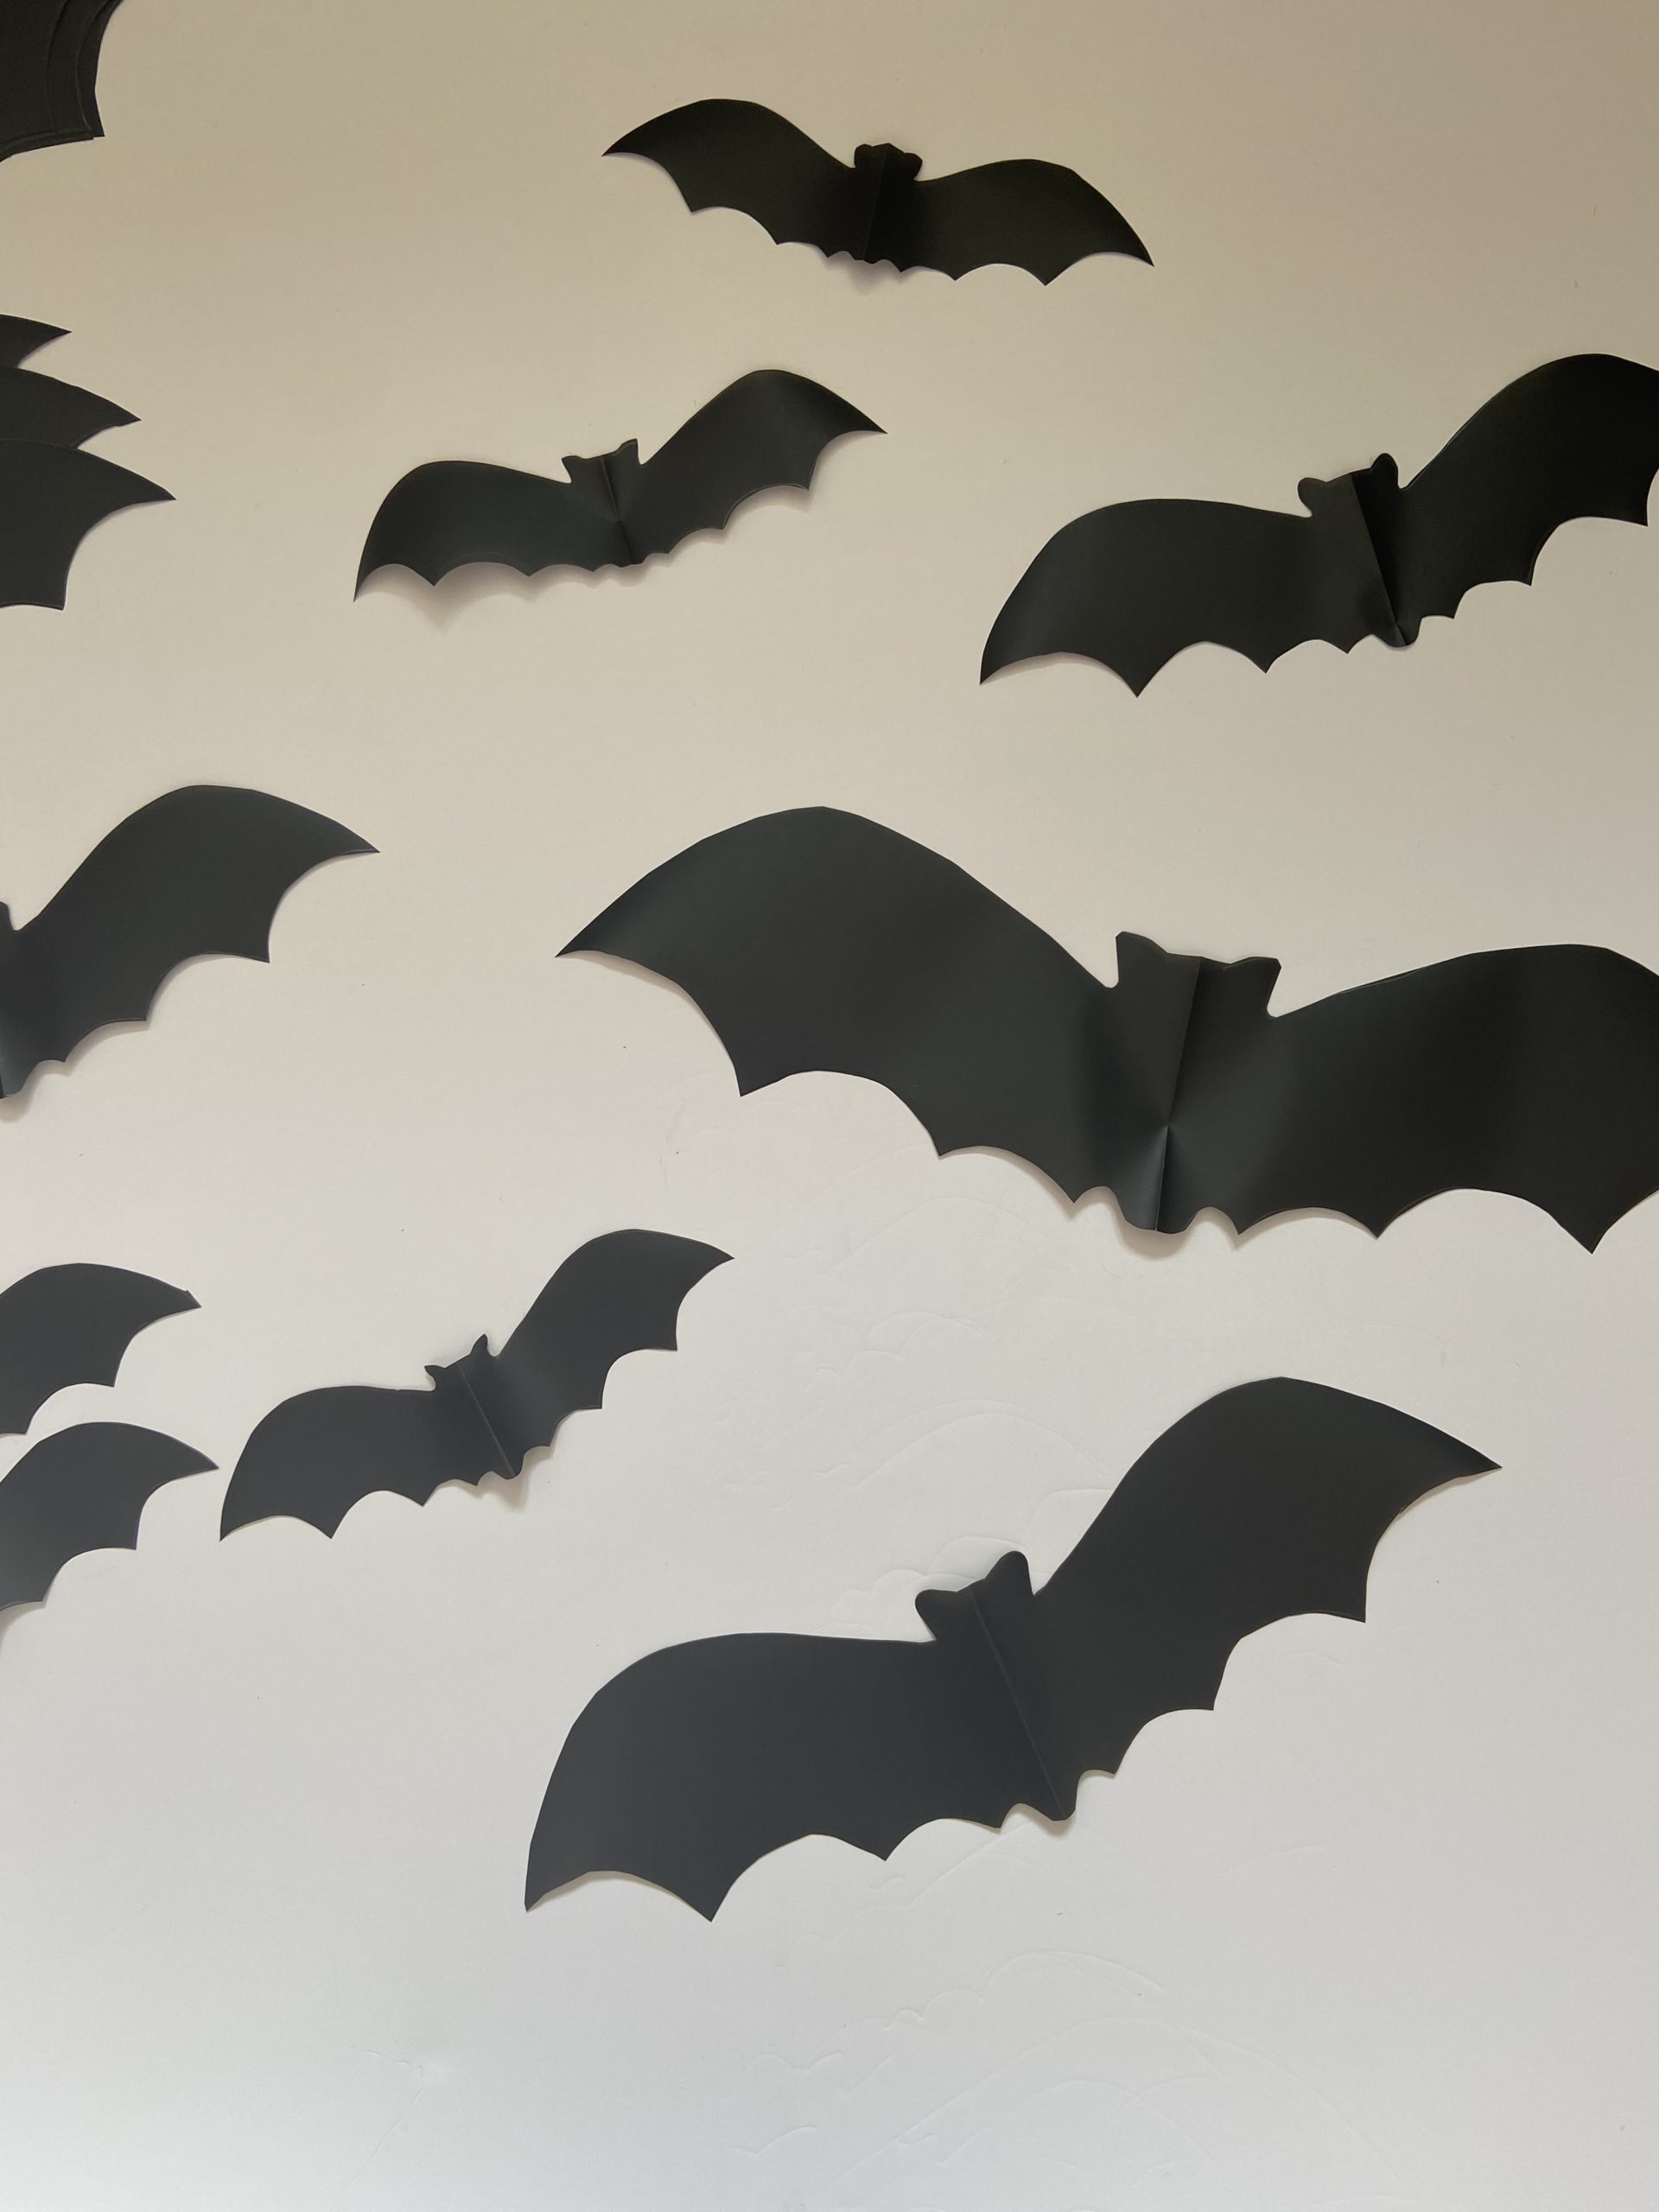
How to arrange the bat display…
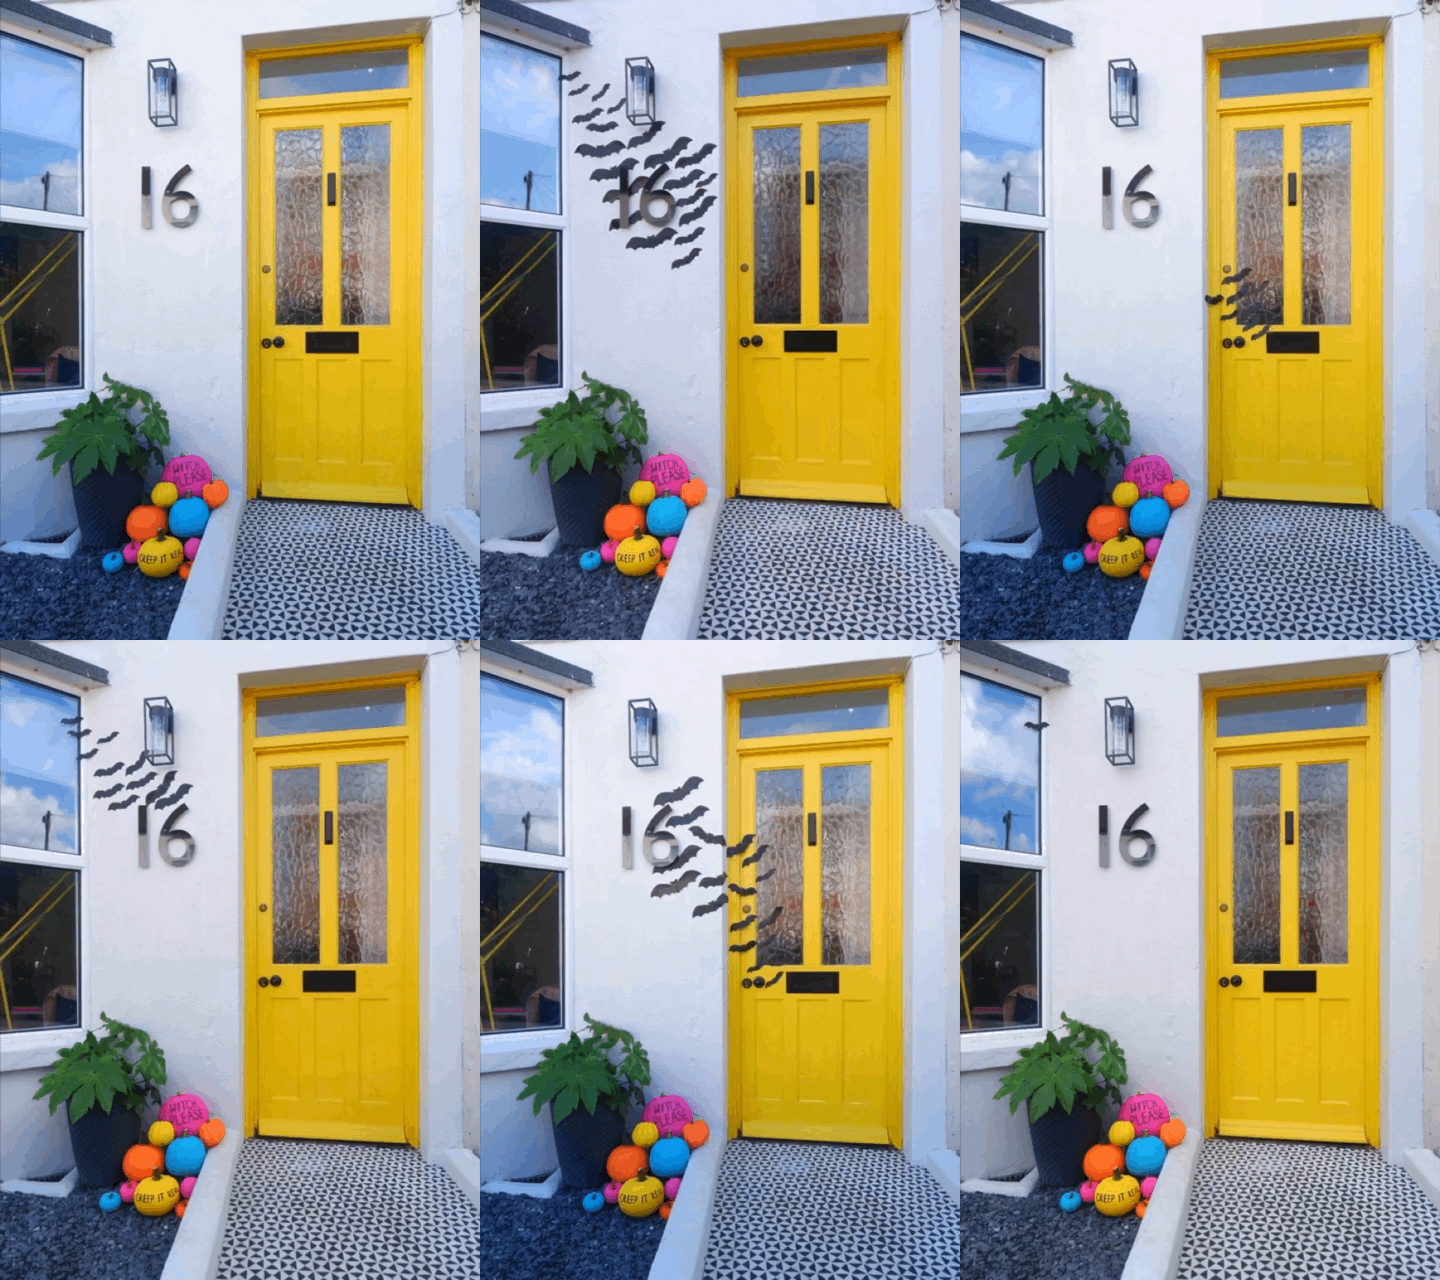
Now it’s time to get creative and arrange your flying bat wall display. Cluster the bats in to a group and arrange them so that they look like they’re getting smaller/bigger either end of the group. This creates an illusions that a group of them are flying in to the distance, or around something.
I used my letter box as a starting space. I used the smaller bat templates to look as though they are flying out of it.
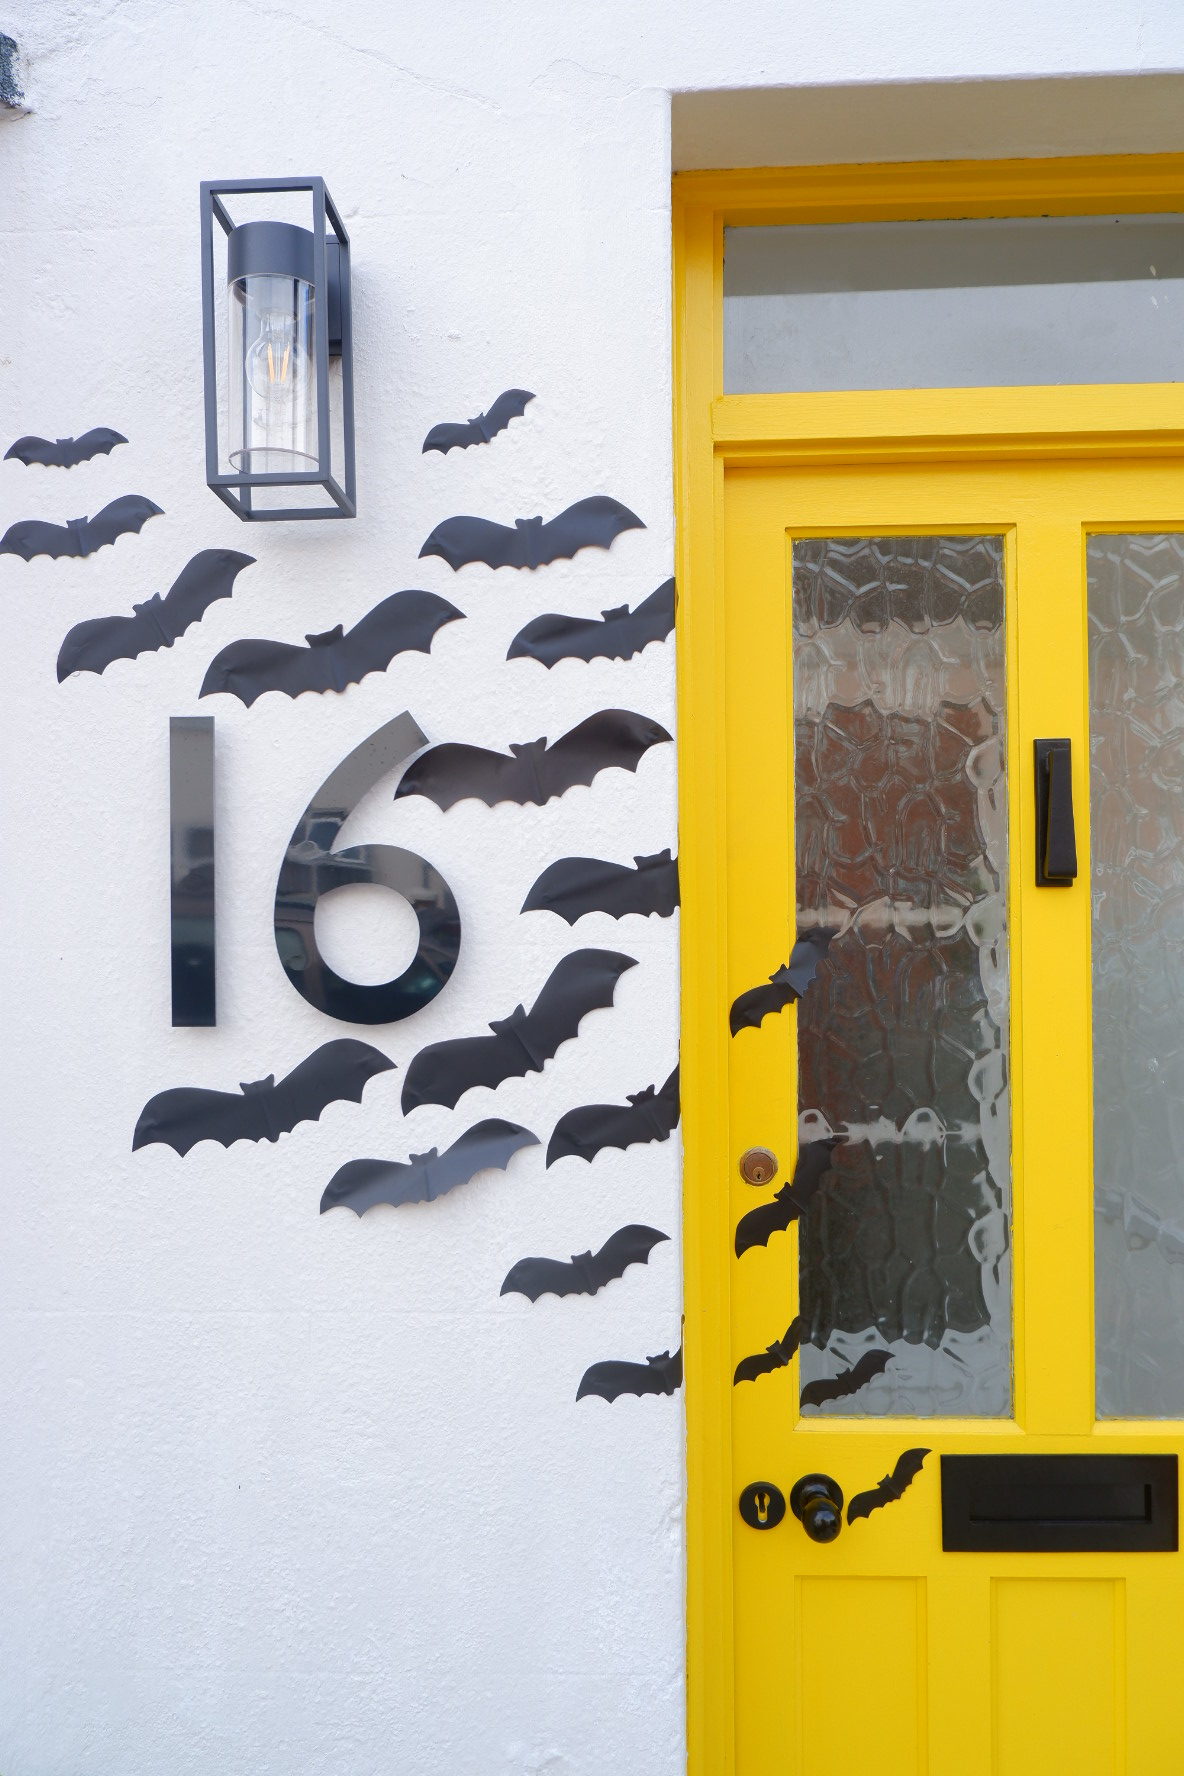
Use strong, water resistant white tack, or another type of temporary adhesive to attach the bats to the wall. You want to ensure that whatever you use isn’t strong enough to peel off any paint when you remove them!
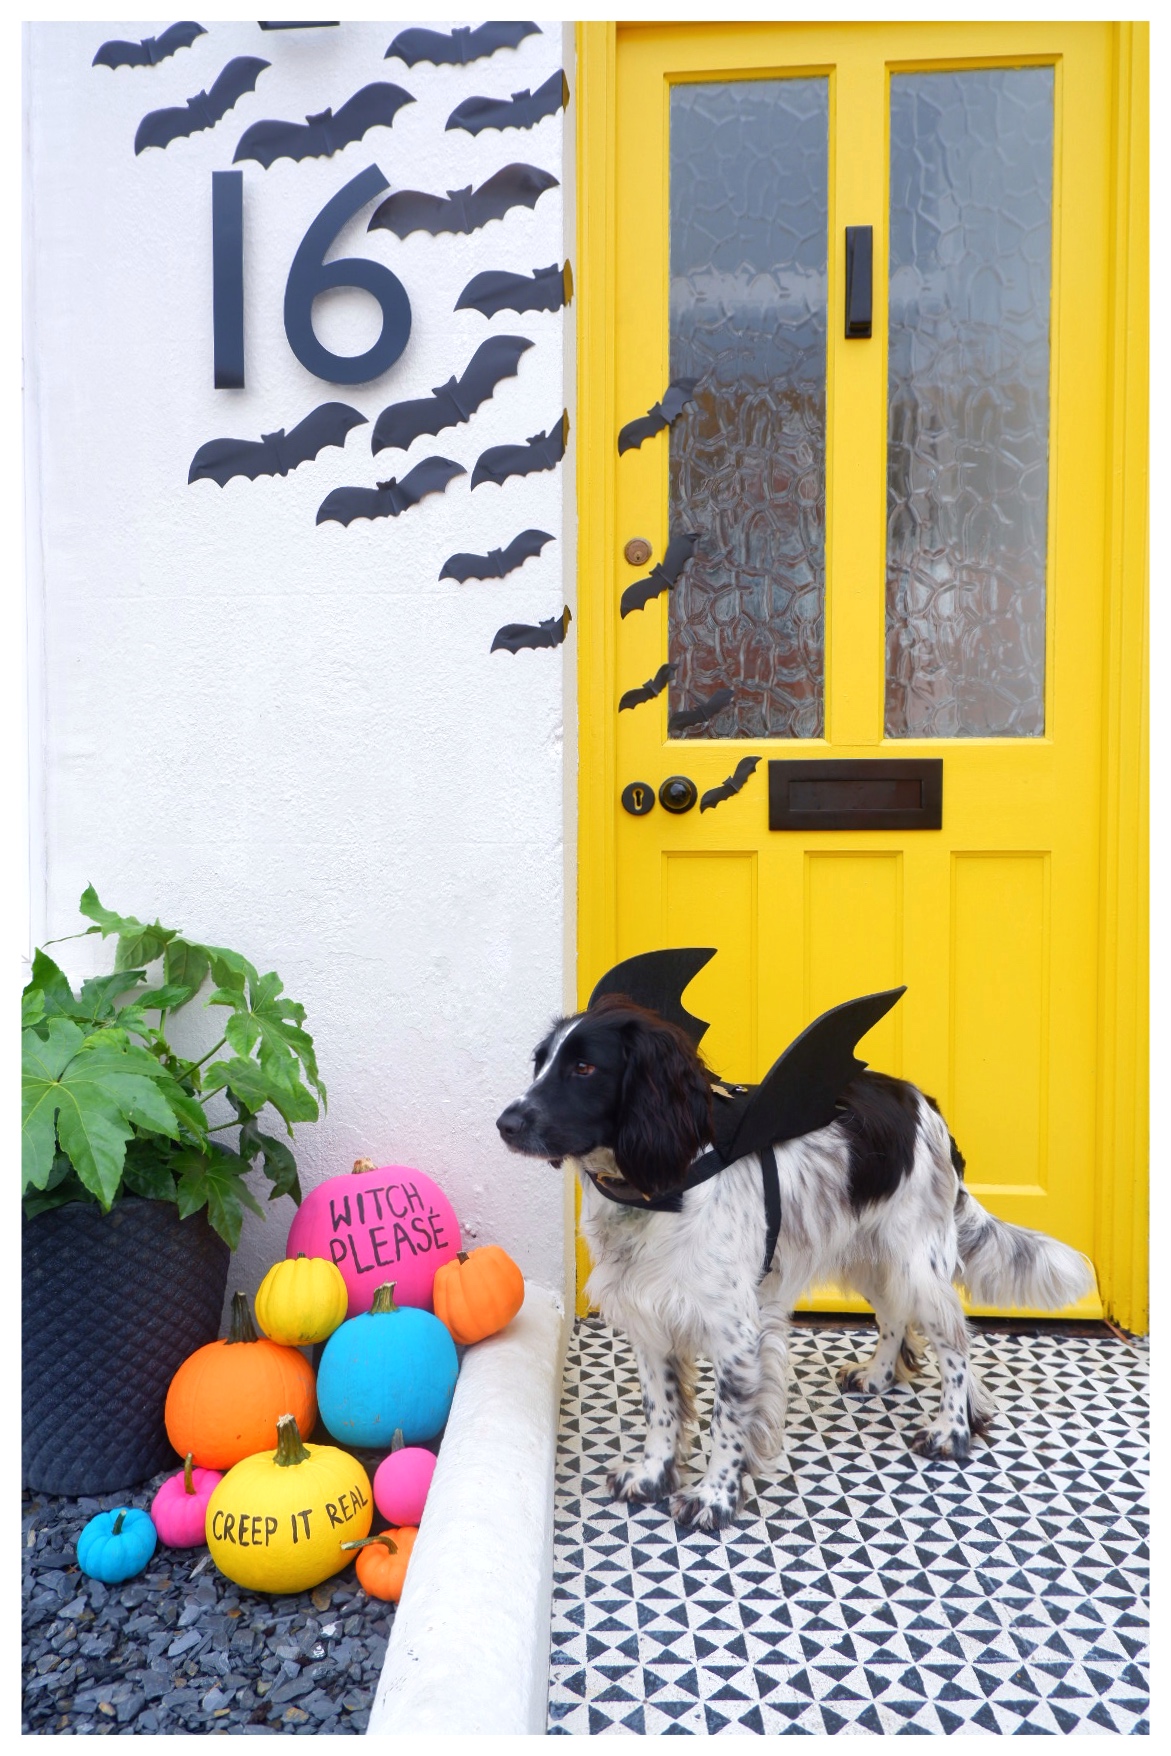
It’s honestly such a rewarding craft to do! I’ve had many comments since assembling mine and it brings a lot of joy seeing passer’s by stop to admire the flying bats outside of my house!
Hopefully this has inspired you to get spooky this halloween… Like a bat out of hell!
YOU MAY ALSO LIKE
DIY Colourful Painted Pumpkins
How to Style a Bar Trolley for Halloween
DIY Rainbow Tassel Wall Hanging
PIN THIS
All content curated by That’s so Gemma.


