How to Sand and Varnish Pine Floorboards

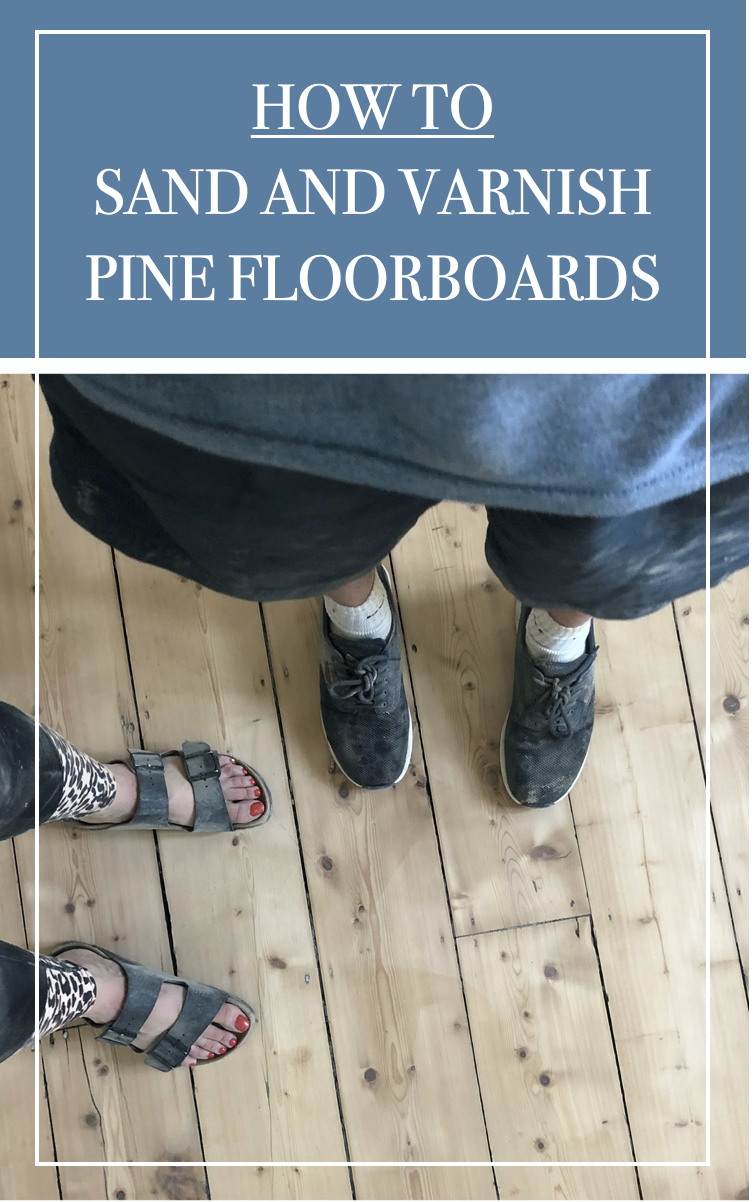
I’m here to give you my tips and advice on how to sand and varnish pine floorboards. I learnt quite a lot when renovating our 1898 home last year, so I want to share my tips and advice on this topic with you…
It’s taken me a fair few months to conjure up the momentum to write this post. Why? Well, let’s just say that I had a bit of a DIY disaster when it came to sanding the floors in our two-bed Victorian home last year. Don’t worry though, it wasn’t actually involving the original pine floorboards… I’ll reveal all later in this post!
How to sand and varnish pine floorboards…
I honestly learnt so much from doing this in our home last year. And if I could find a post like this for ‘dummies’ I would have been thrilled. A lot of the posts/videos on this topic have been created by people who work in the trade and do it often, so it was somewhat unnerving learning from someone who made it look so easy. However, one thing I can tell you is that is actually IS easy. As long as you have the right tools, you don’t need to worry at all.
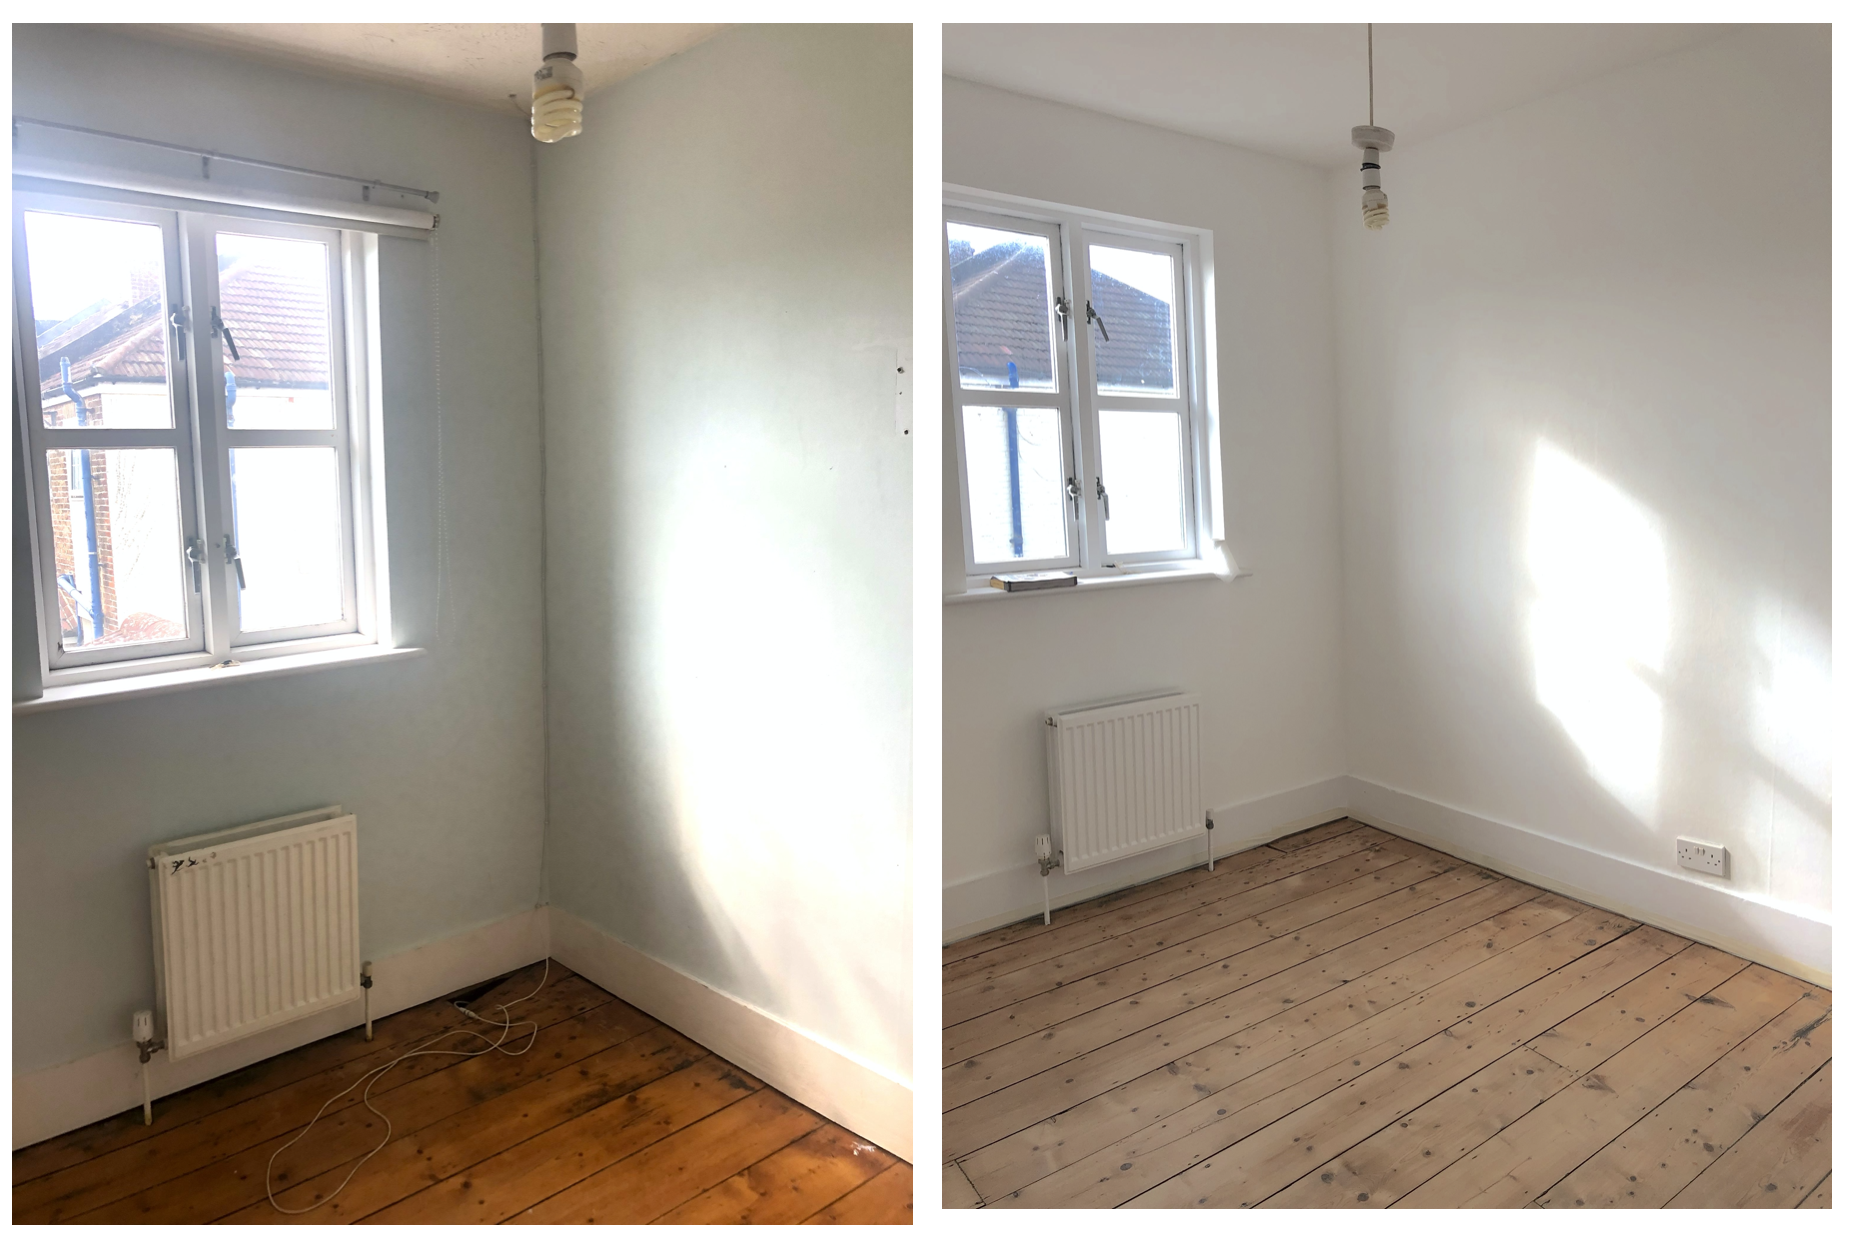
So, let me start with showing you the floorboards before we got our hands on them…
Before we sanded the floorboards

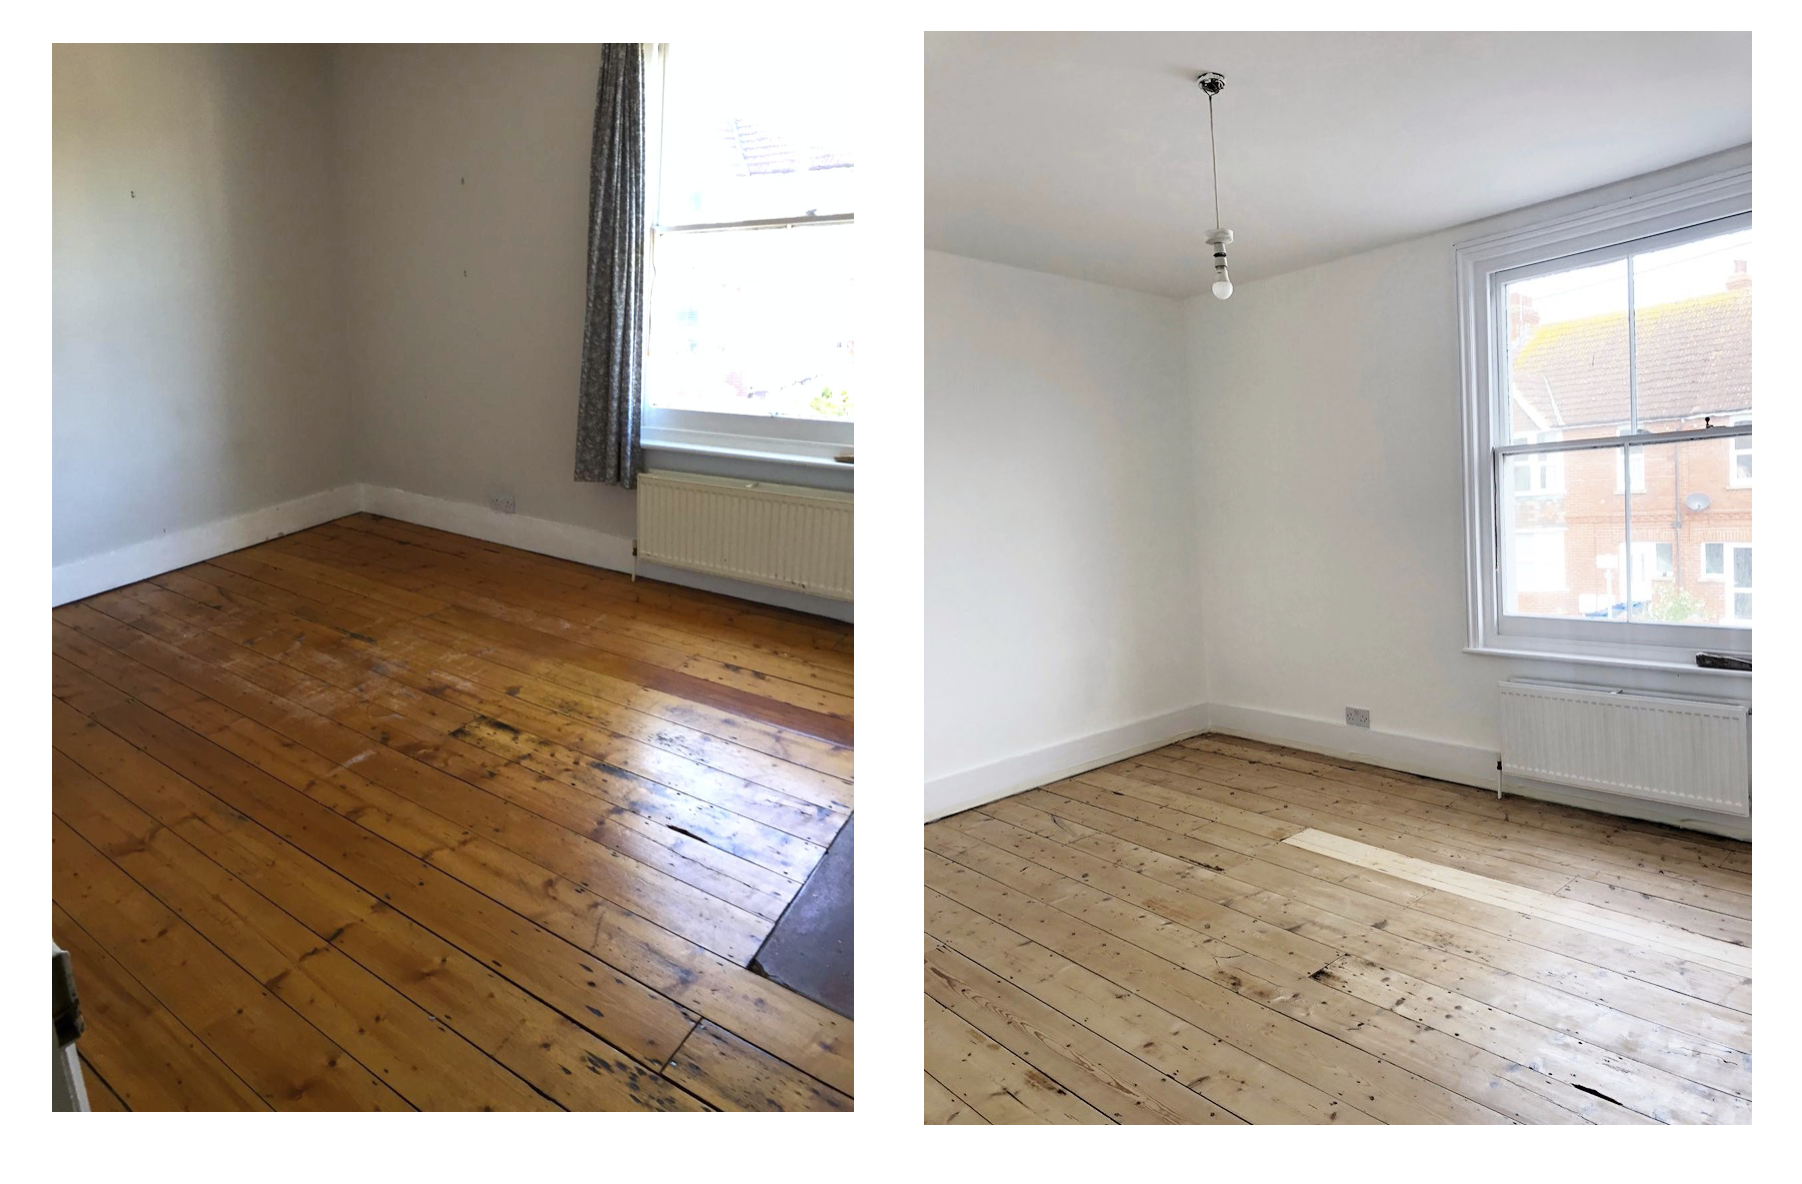
As you can see, they were quite worn and a very rusty shade of orange. It just wasn’t the desired look we wanted and you could see they’d clearly darkened with age over the years. We were without a doubt going to do something about it, and the only option was to strip them back to the bare wood and start again.
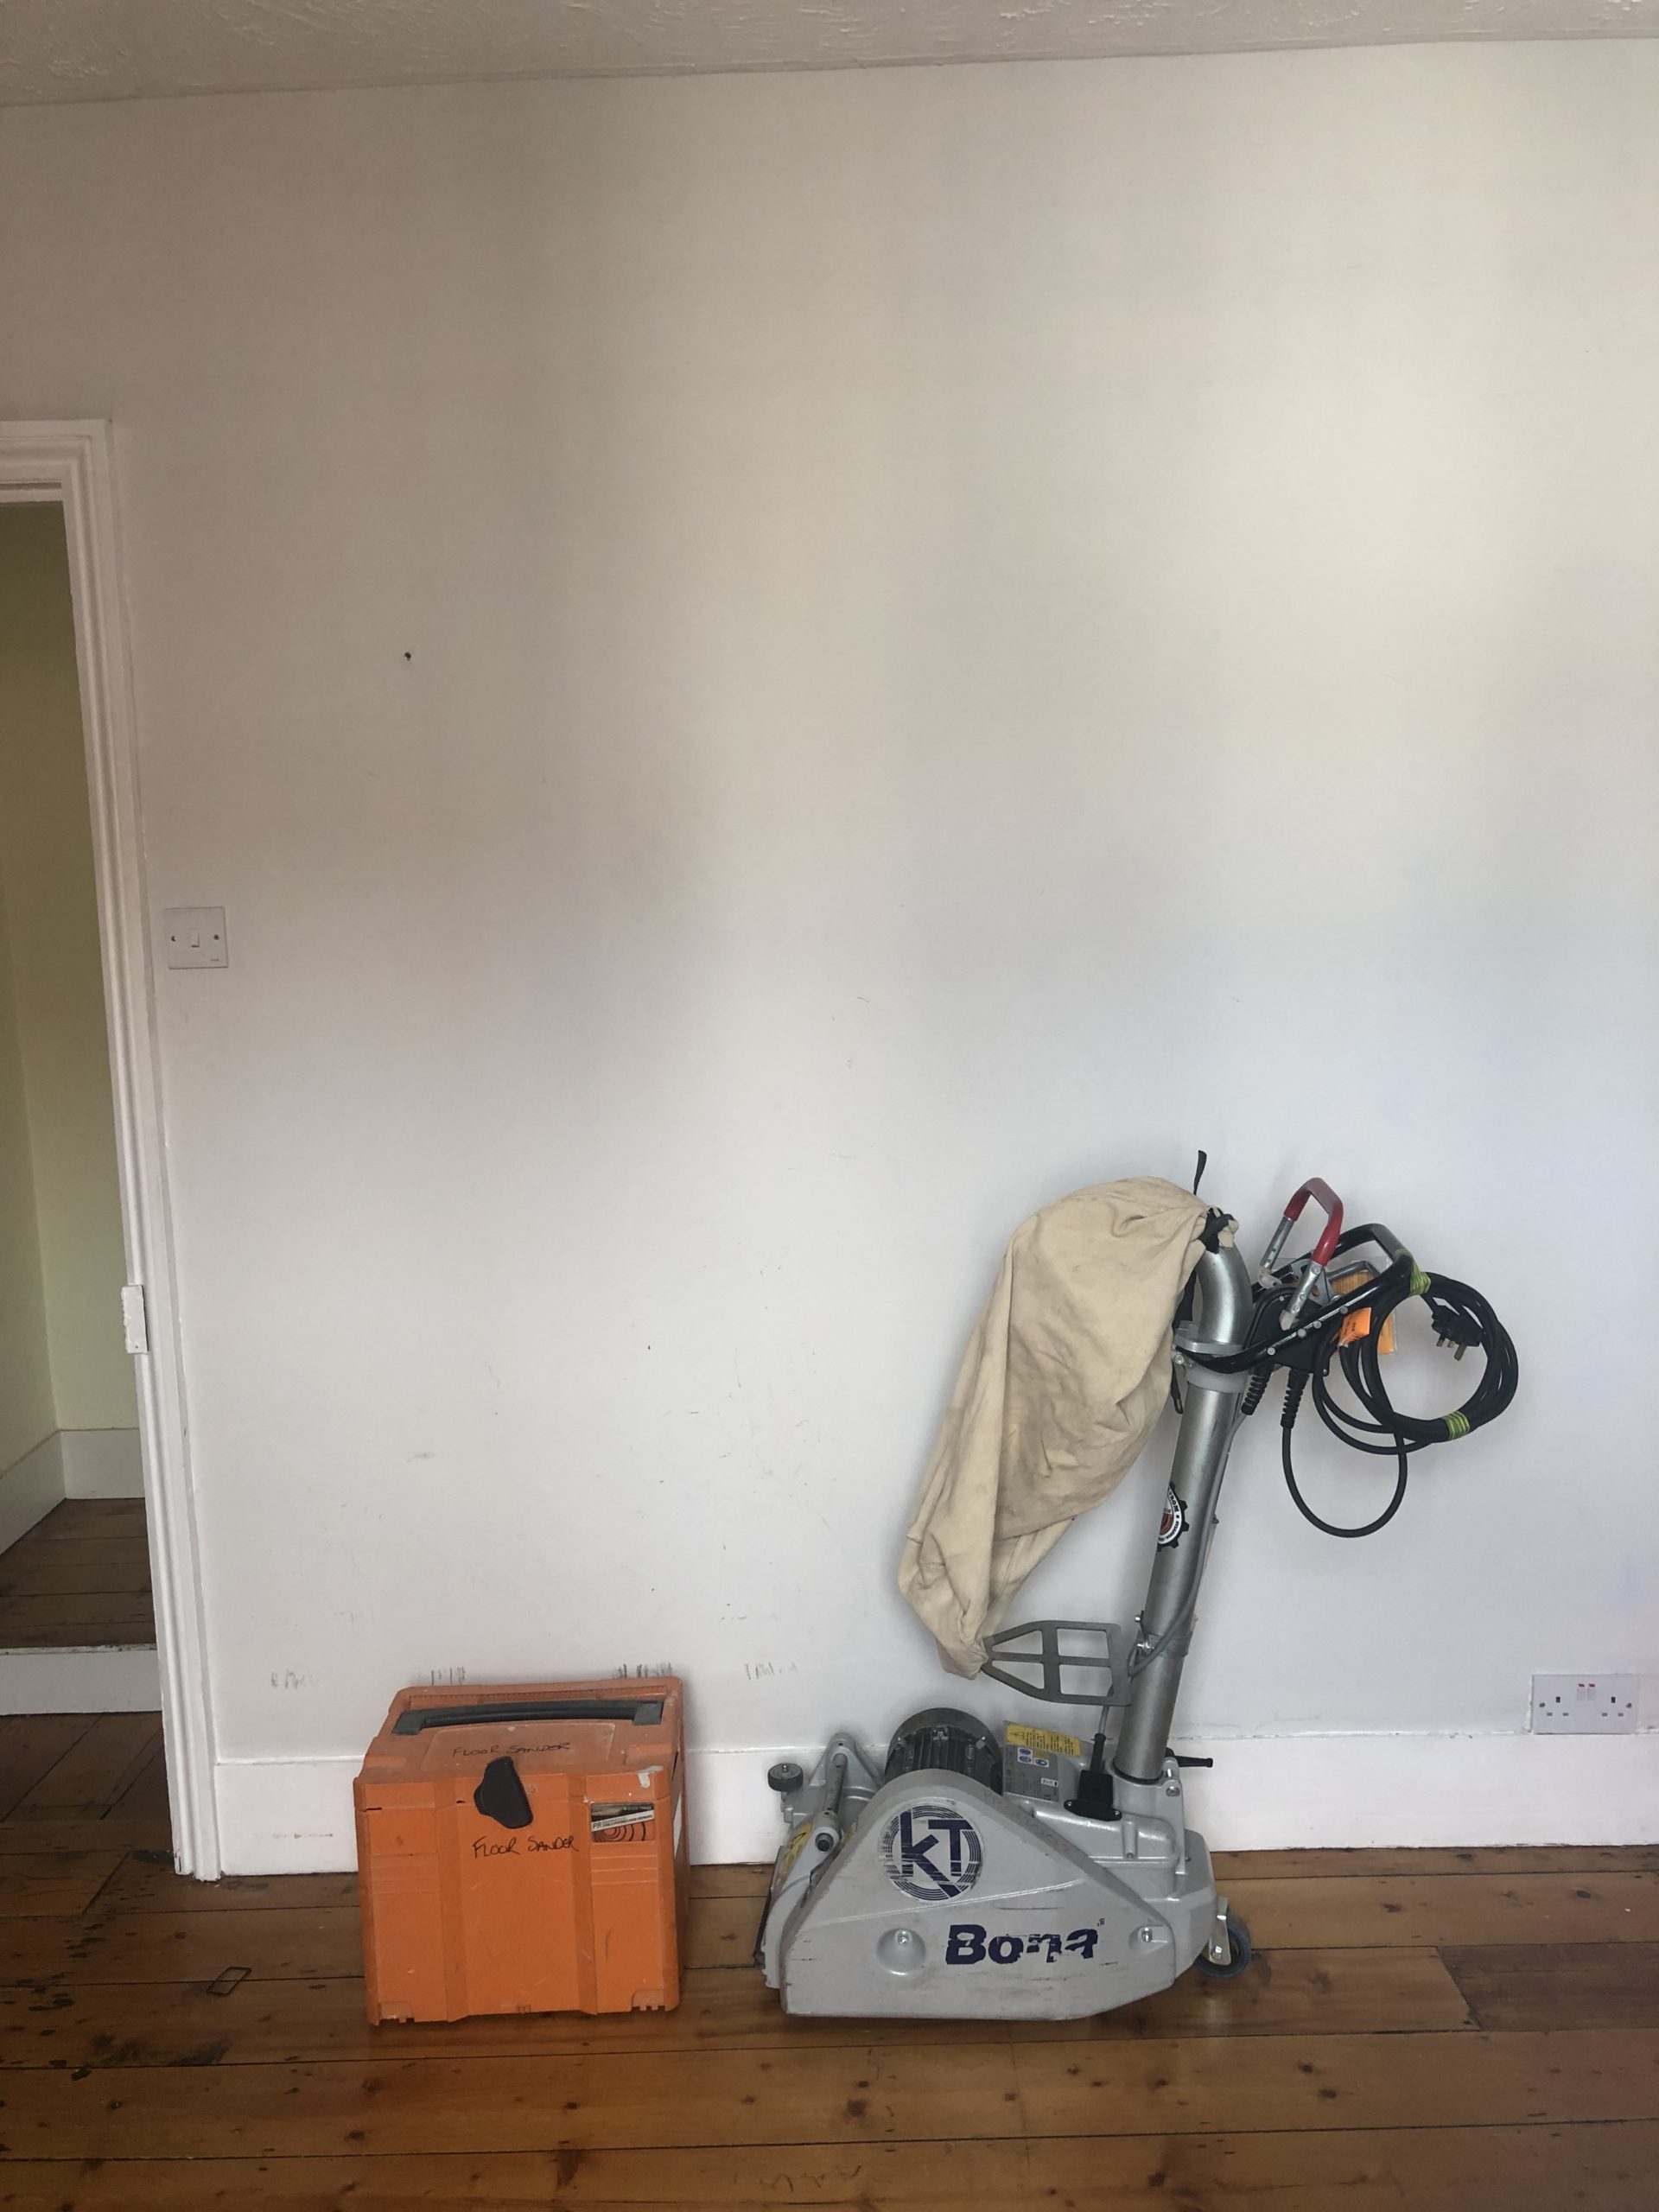
At the time I was so nervous about sanding the floorboards. I mean, they’re 120 years old – can you imagine if I bodged it up?! I did some research on various sanders and found one that sounded perfect for a first-timer. The sander we used was called the Bona Scorpion floor sander and I hired it from PR Industrial Tools in Hove. You can however hire this sander from many other places!
Make sure you understand the machinery
When hiring a sander from a tool hire store, make sure you ask for a demonstration on how to fit the sand paper rolls & use the machine. This should be customary anyway. On this particular sander, there was two handles to control it. One which released the sanding pad up & down off the floor, and the other which turned the sander on and off. It was really quite simple once I knew how it worked.

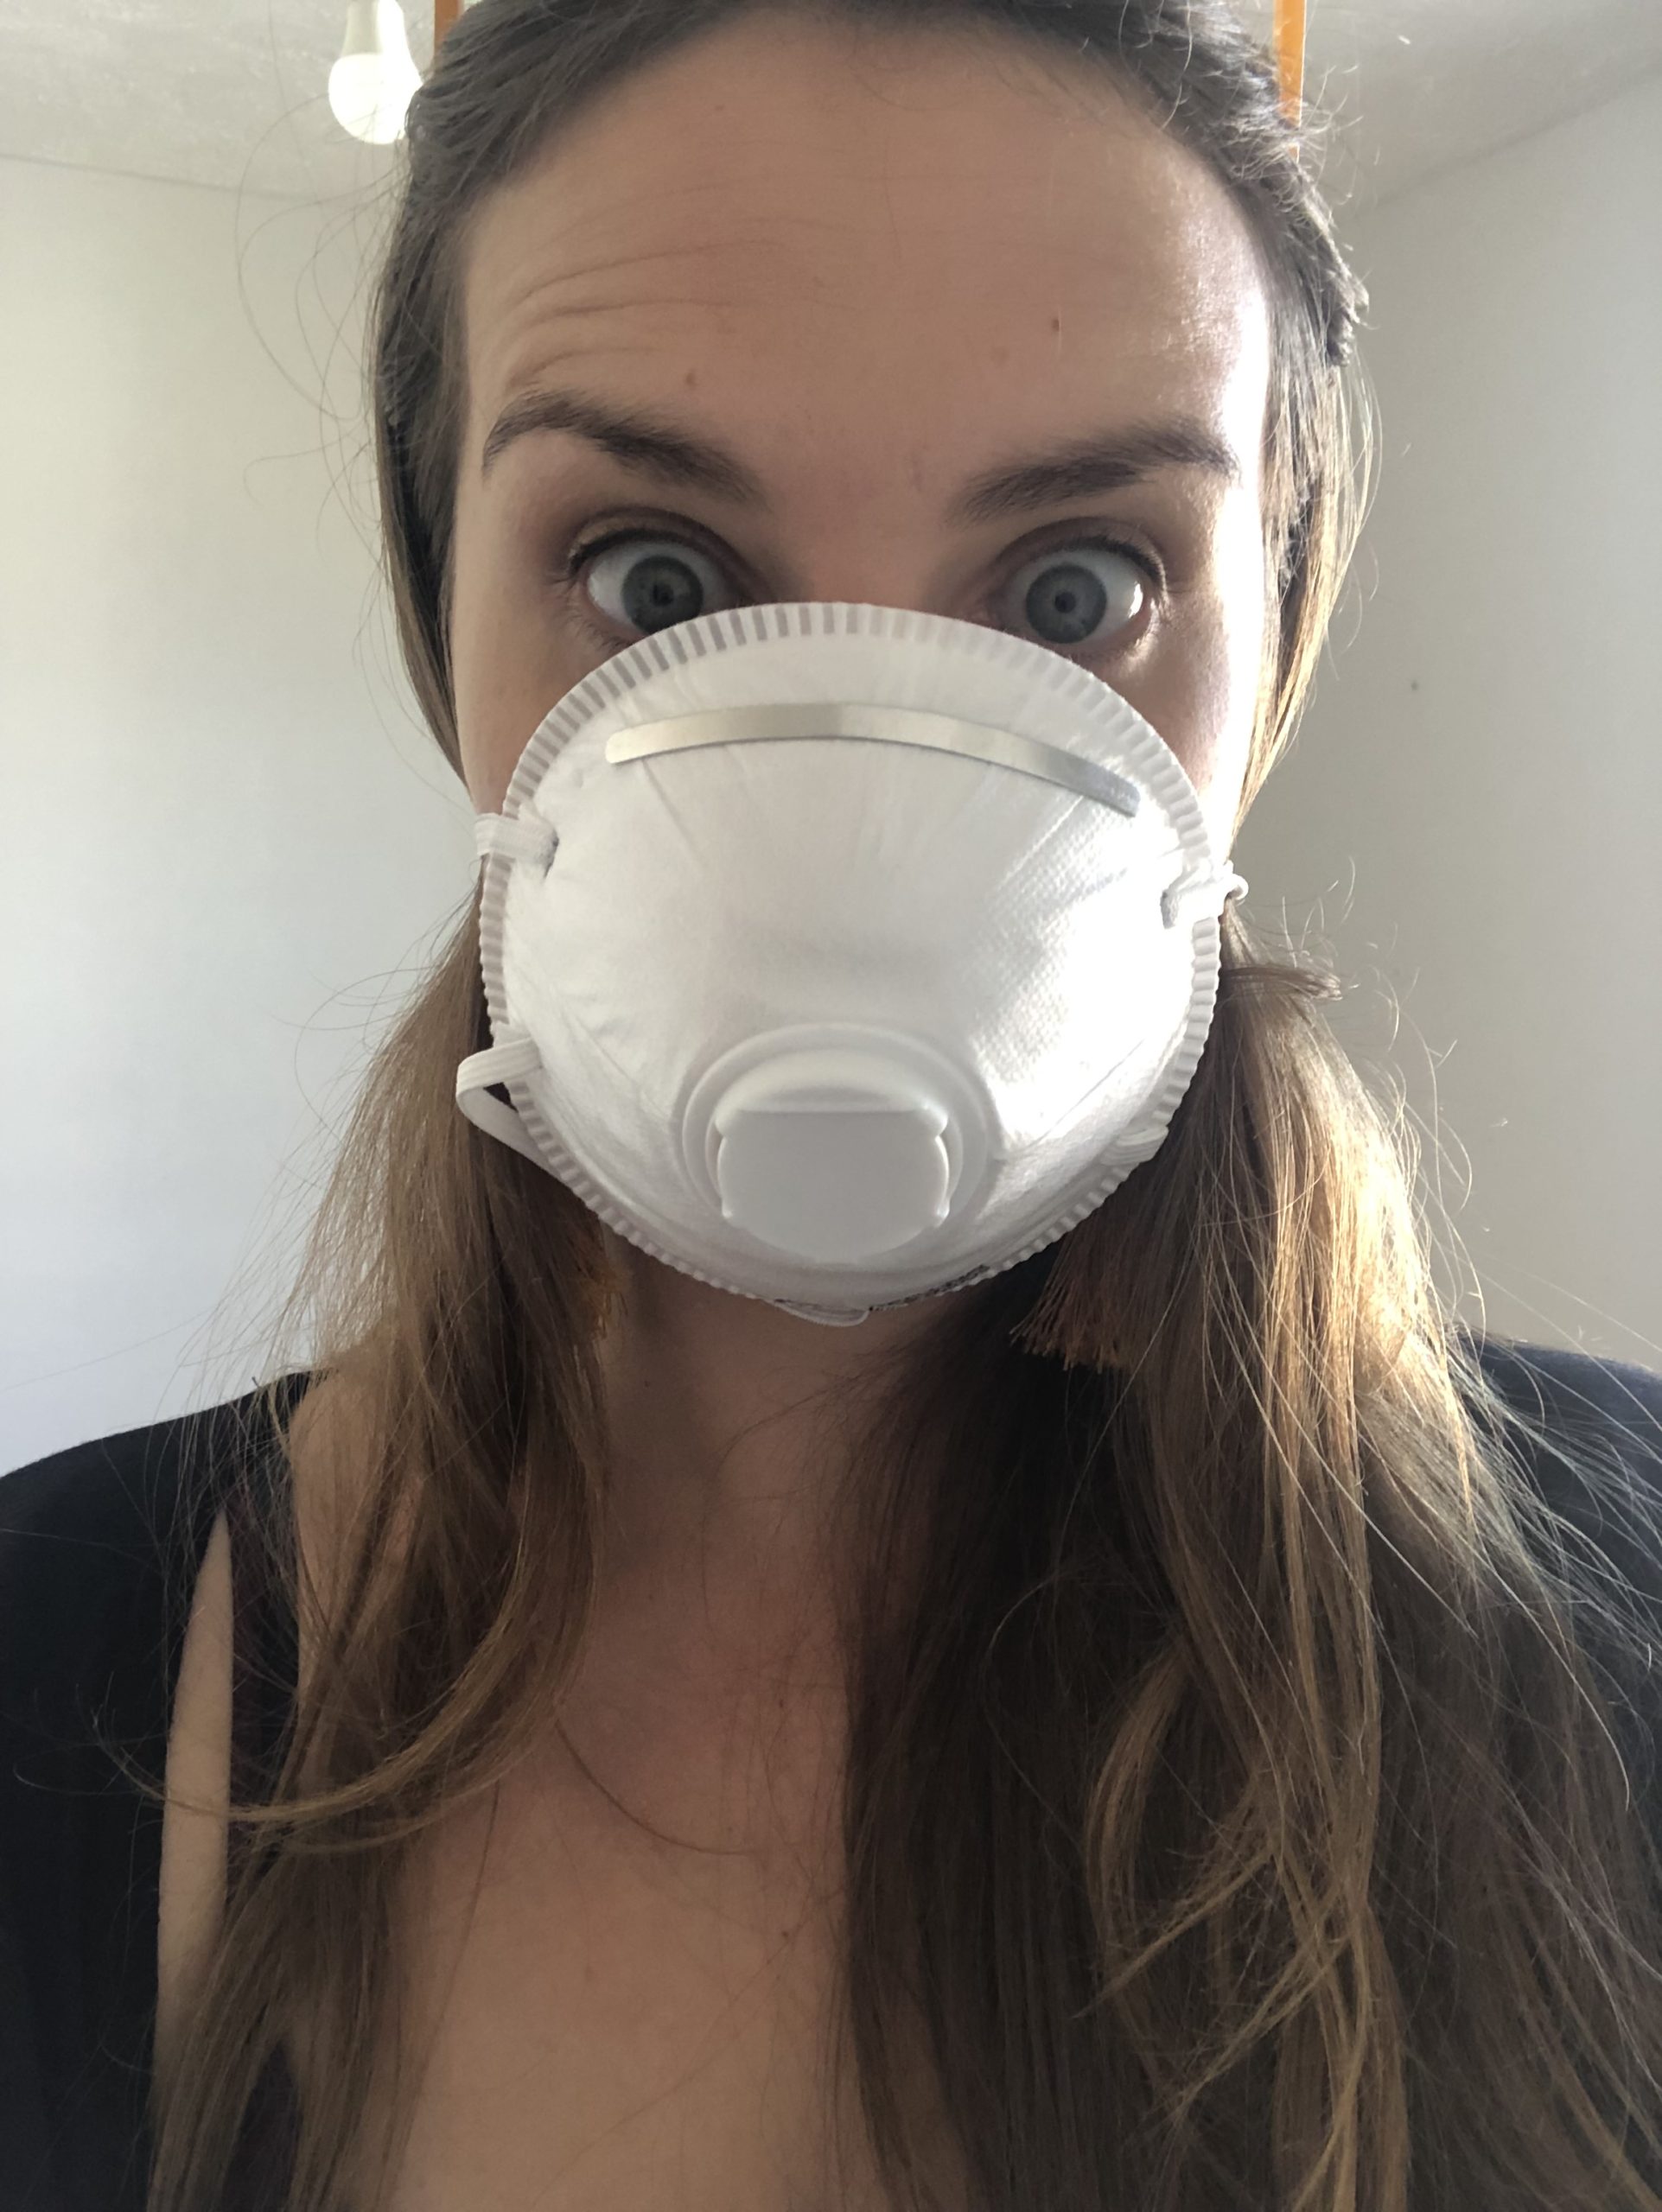
Before you judge me, yes I know it was stupid to be doing this in sandals and a skirt. This post is titled ‘for dummies’ and I was exactly that. I didn’t think I was going to start sanding on this particular day hence the attire, but every day after that I was wearing appropriate clothing & footwear. And guys, you MUST wear a mask because sawdust will go everywhere despite the bag that’s supposed to catch it. You’ll have sawdust bogies for at least a week afterwards, just saying.
What grade paper should you use when sanding the floorboards?
This was a big question I had and I’m quite happy I can pass this info on. It really helped me once I understood the different strengths of the sandpaper. Oddly, the numbers work backwards. The lower the number, the coarser the paper. So 40 for example would run over your toes and leave the bone bare, whereas 240 would probably be a good hair removal tool and possibly a light graze… Not the most appropriate example but that’s what I’m going with. Just to clarify: Do not actively put your toes under the sander, it will undoubtedly hurt.
The lower the number, the coarser the paper…
The shop assistant at PR Industrial Tools told me to begin with 120’s , and then finish off with 240’s. But advised me that if I didn’t feel the 120’s was working hard enough, I had to go back and start with 80’s. You have to work your way back up the numbers. If I had needed the 80’s (which I didn’t), I would have then had to do a round of 120’s AND finally 240s.
In this order:
120 – 240
or
80 – 120 – 240
It’s very important to finish off with 240 as this really smoothes out the wood and gets rid of any sharp edges/splinters.
Once you’ve finished using the floor sander, you should have a room that looks a little like this

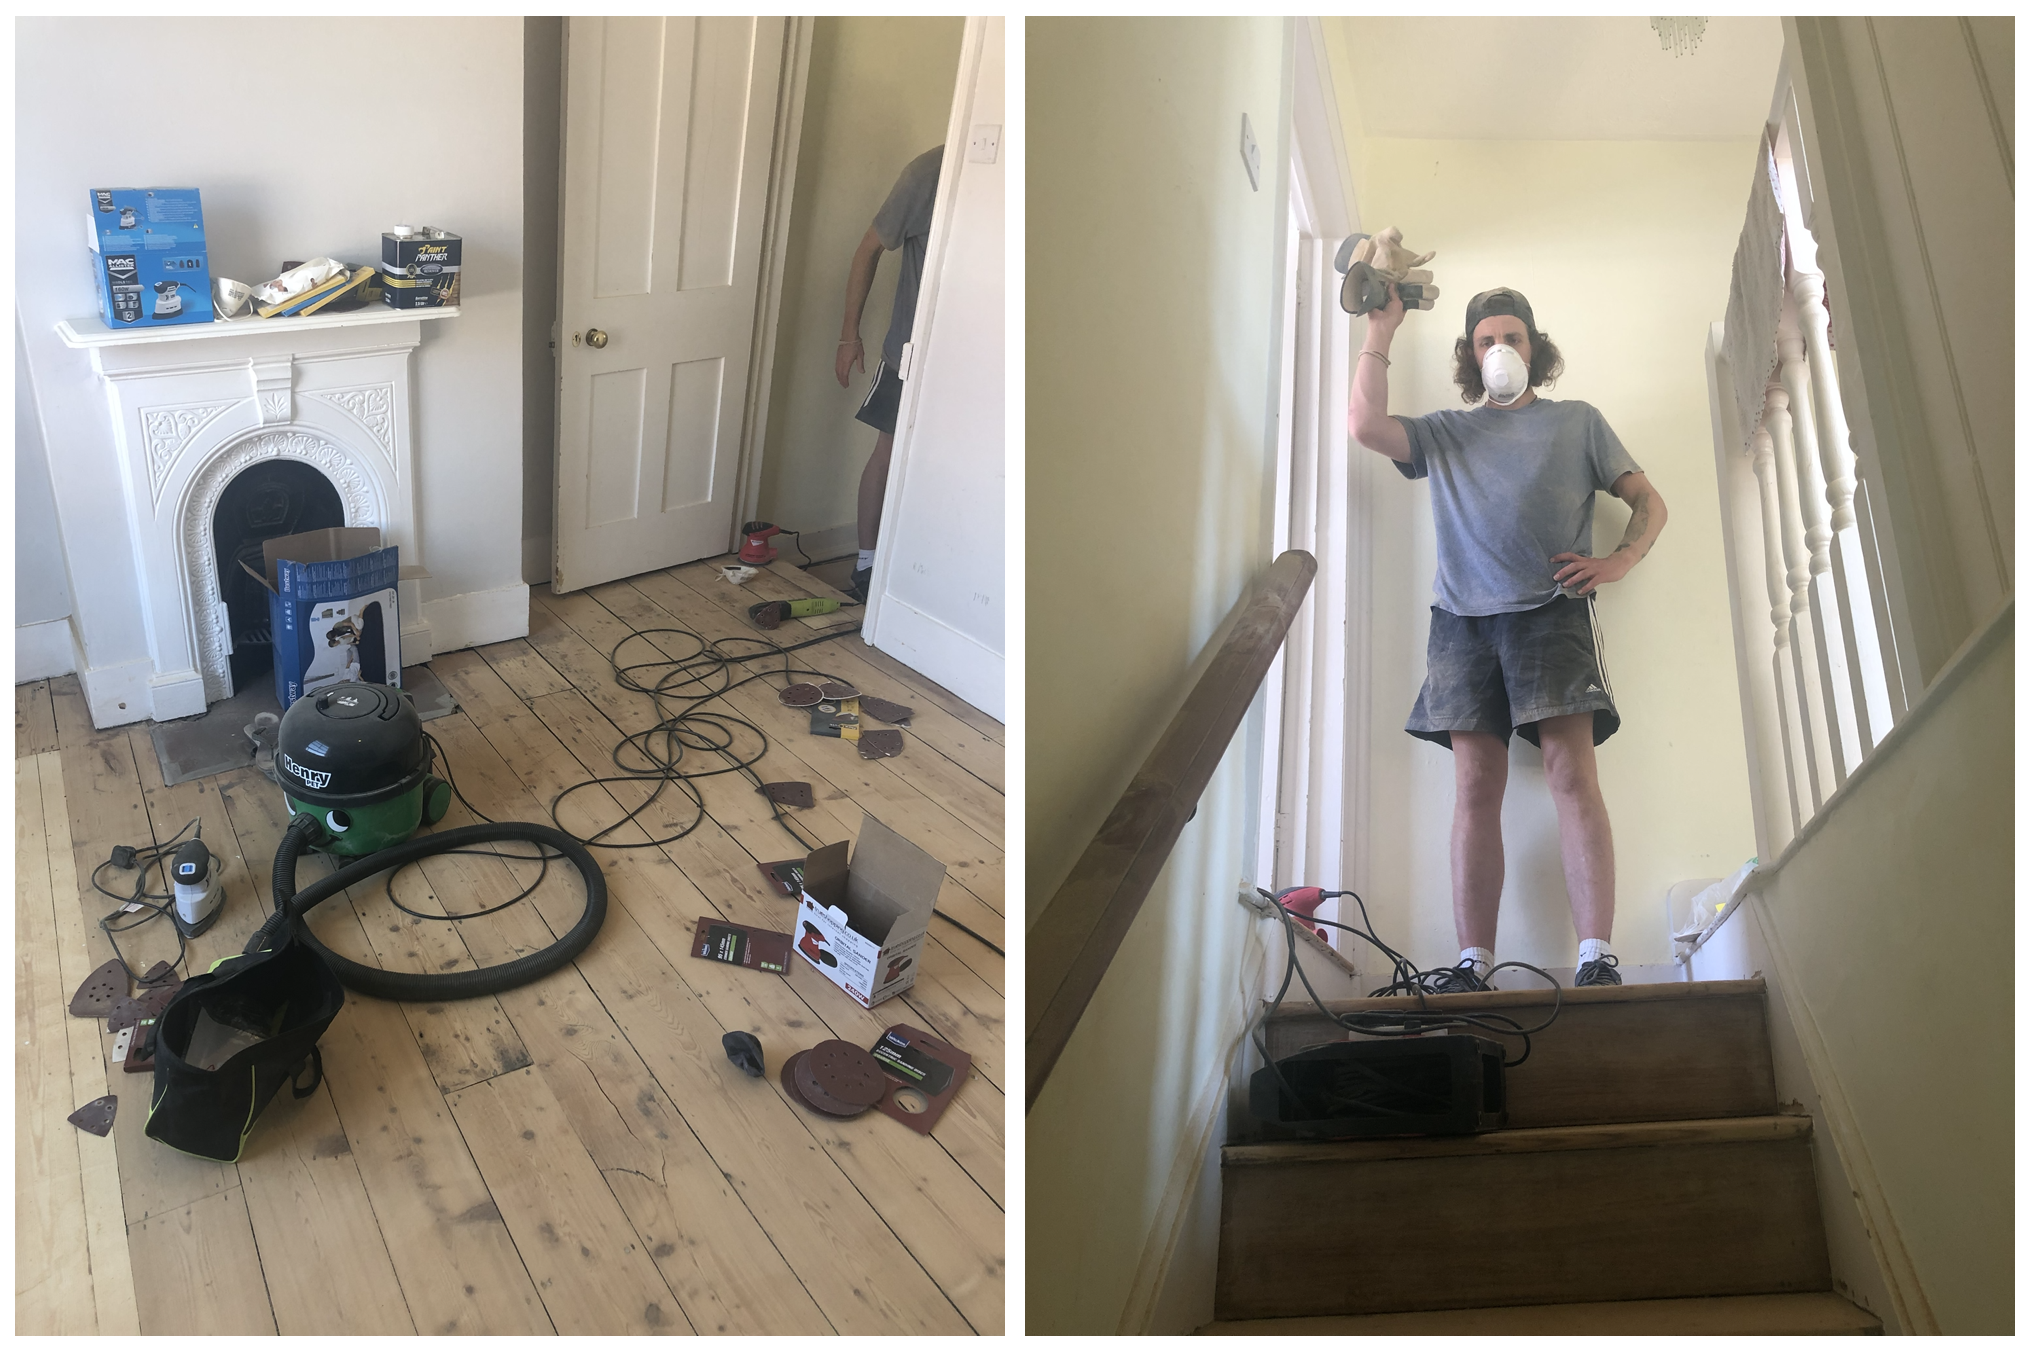
Now it’s time to tackle the edges. There’s two way of doing this. You can either hire a rotating sander specifically for doing the edges, or you can use a standard handheld electric sander (like any one you’d use on furniture etc). We used a mixture of both, but be warned the rotating sander is VERY heavy and requires a lot of strength to use. It’s a bit of a balancing act trying to hold the sander bent over whilst trying not to get your feet in the way – quite honestly it really hurt my lower back but it may have been because I wasn’t using it/holding it correctly – again, I was a newbie!
Use the same method around the edges…
Although it took quite a bit longer, I ended up sticking with the handheld sander as I felt more comfortable with it. You will need to use the same sand paper strengths as before. 80 – 120 – 240.
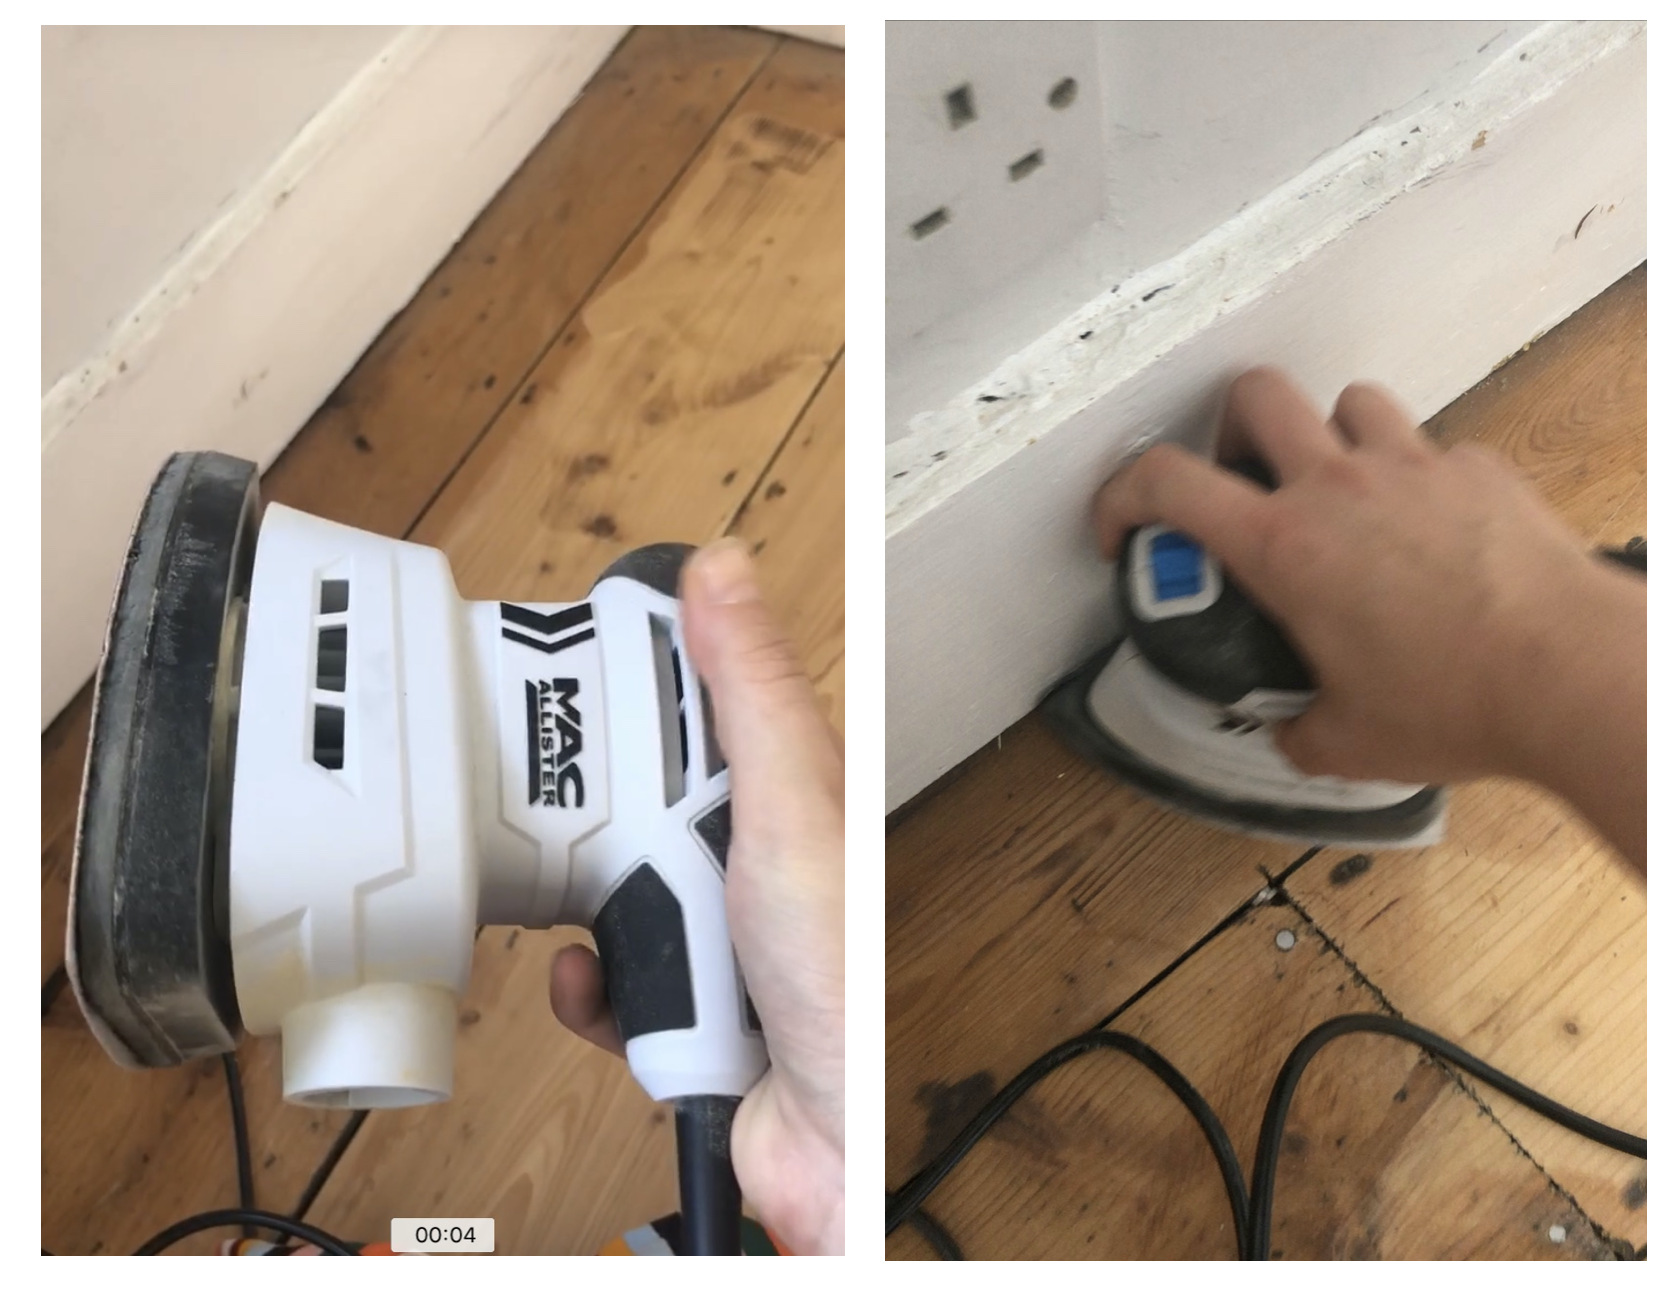
I won’t lie to you, the whole sanding process is EXHAUSTING! The edges are most definitely the toughest and it takes a fair while to sand off old varnish. It’s a painstakingly slow process, but I promise you it’s very rewarding at the end. Make sure you have plenty of hand cream, your hands will get dry. Oh and ensure you have plenty of sand paper pads as you’ll go through them like hot cakes.
The hard part was over, and we could finally relish in our gorgeous natural pine floorboards! This is when we decided that we didn’t want to stain/varnish them in a different colour because we knew they were already a perfect shade. It’s hard to tell exactly what colour pine floor boards will be under all the varnish, but we were lucky enough to reveal natural, pinky/beige boards!

Fixing small cracks & holes
I was kindly informed by one of my followers on instagram a clever way of filling in unwanted holes/cracks in the floorboards. Generally we quite liked the aged look but some of the cracks were a little bit bigger than we’d liked.
Don’t throw away your sawdust!!
Honestly this was the best advice I received. Keep a few cups of sawdust that you created from sanding the floors. You can use this to make a mixture that can fill in unwanted cracks/holes.

YOU WILL NEED
- Sawdust
- PVA glue or PVA bond
- a mixing bowl or tray
- Putty knife/scraper

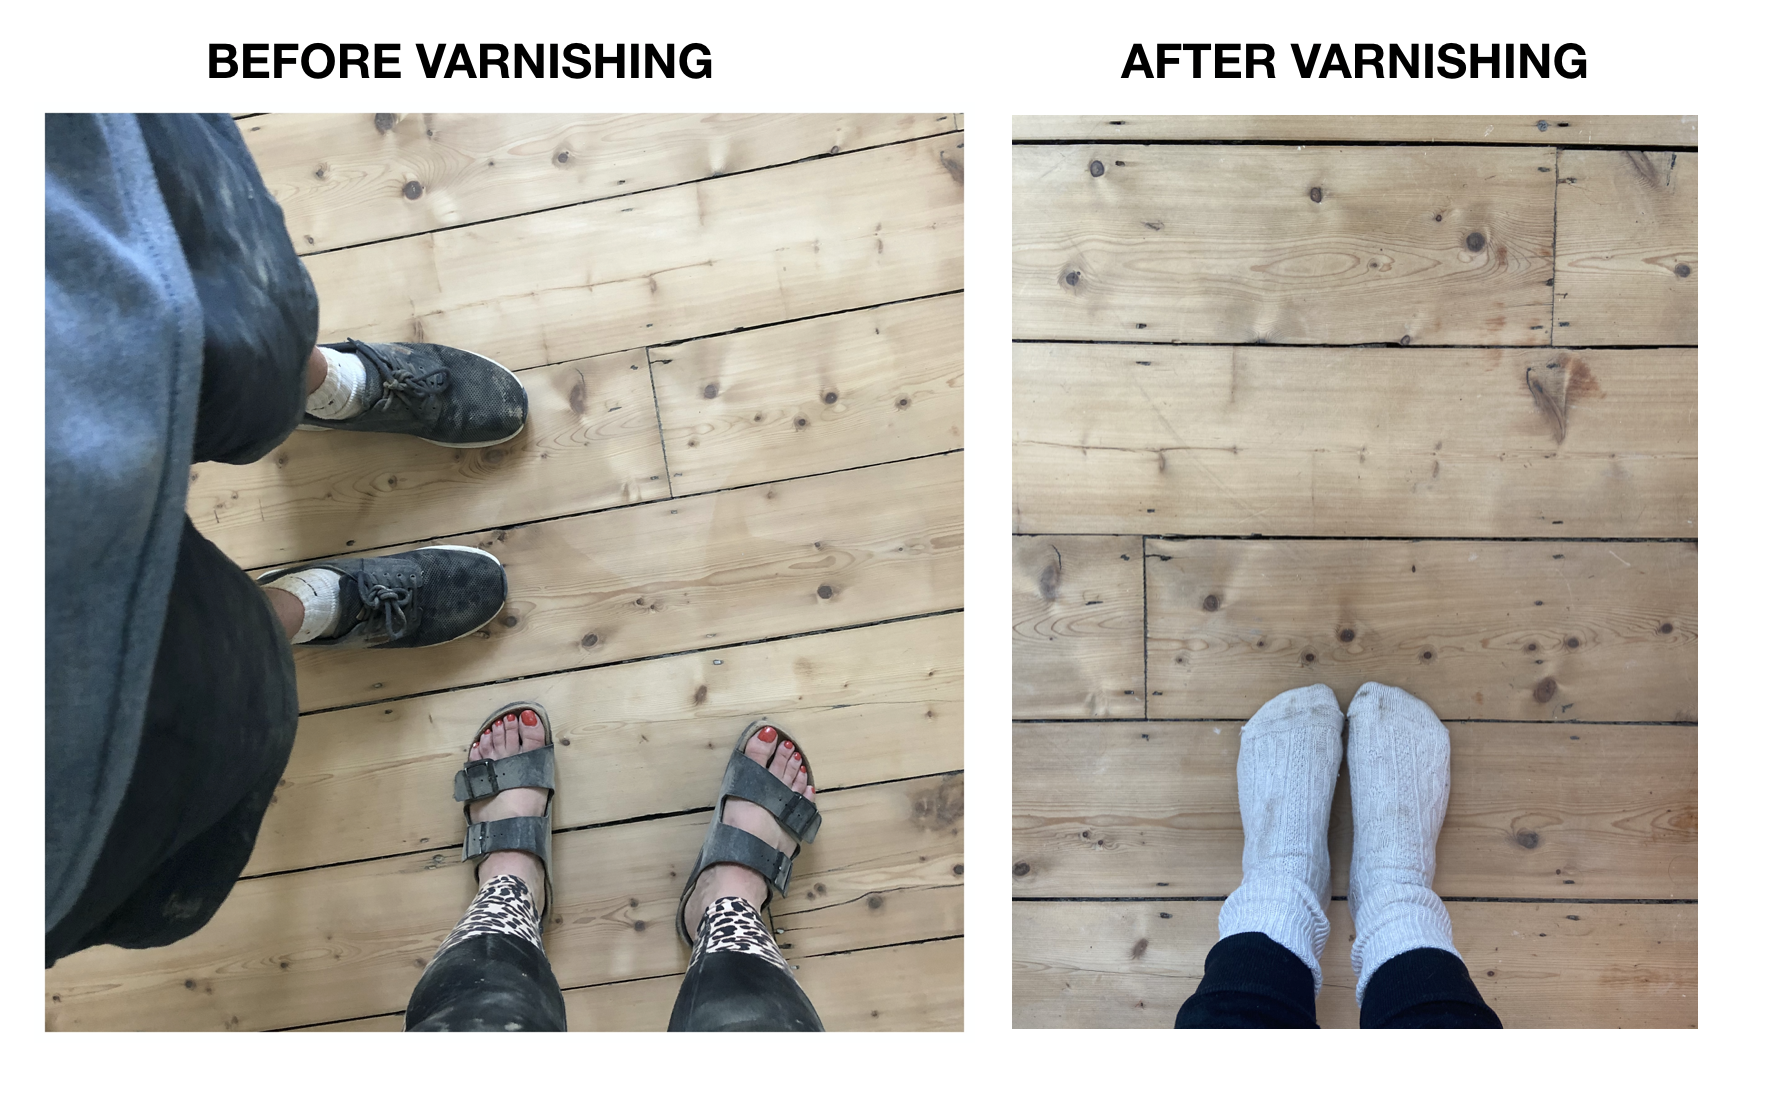
Once all the floors had been sanded, cracks filled and the whole house hoovered, it was time to varnish! As mentioned before, we decided not to stain/recolour our floorboards, so opted for a clear finish. Again, this took a lot of research and I lost hours learning the differences of varnish and hard wax oils. Honestly, I still don’t know what’s better for the wood, but I do know that I’m very happy with the product we ended up using. We decided to go with this Quick Dry Polyurethane Clear Floor Varnish by Johnstones. It has a subtle satin finish, so it’s not at all glossy.

In terms of how it affected the colour of the boards, it didn’t. It just enhanced the natural grain of the wood which is beautiful. It’s exactly the same as if you add a drop of water on top, that’s a great way of testing what it will look like. Once the varnish had dried, you really could not tell the difference…
How much did we use?
We painted two coats in total which was the recommended amount on the tin. So far after 5 months it’s held up very well. It’s easy to clean & washable. Thus far it has protected the wood from a coffee accident, a rather drippy nose bleed and lots of muddy paw prints! So all in all, I’d definitely recommend it if you’re just as clueless about what to use as I was!
MY DIY DISASTER
I’m wondering how many of you scrolled down just to find this?
Well, as promised I want to tell you about my rather big DIY disaster which caused me literal blood, sweat and tears. I feel like others can definitely learn from my mistake, so here I am revealing all.
We weren’t as lucky in the lower ground of our house to be blessed with original pine floorboards. Instead we has cruddy old chip board under an awful yellow stained 70s laminate that we knew we had to rip up. After looking at different flooring options we decided to lay down new pine boards, in hopes that over time they would age and become similar to the original floorboards upstairs.
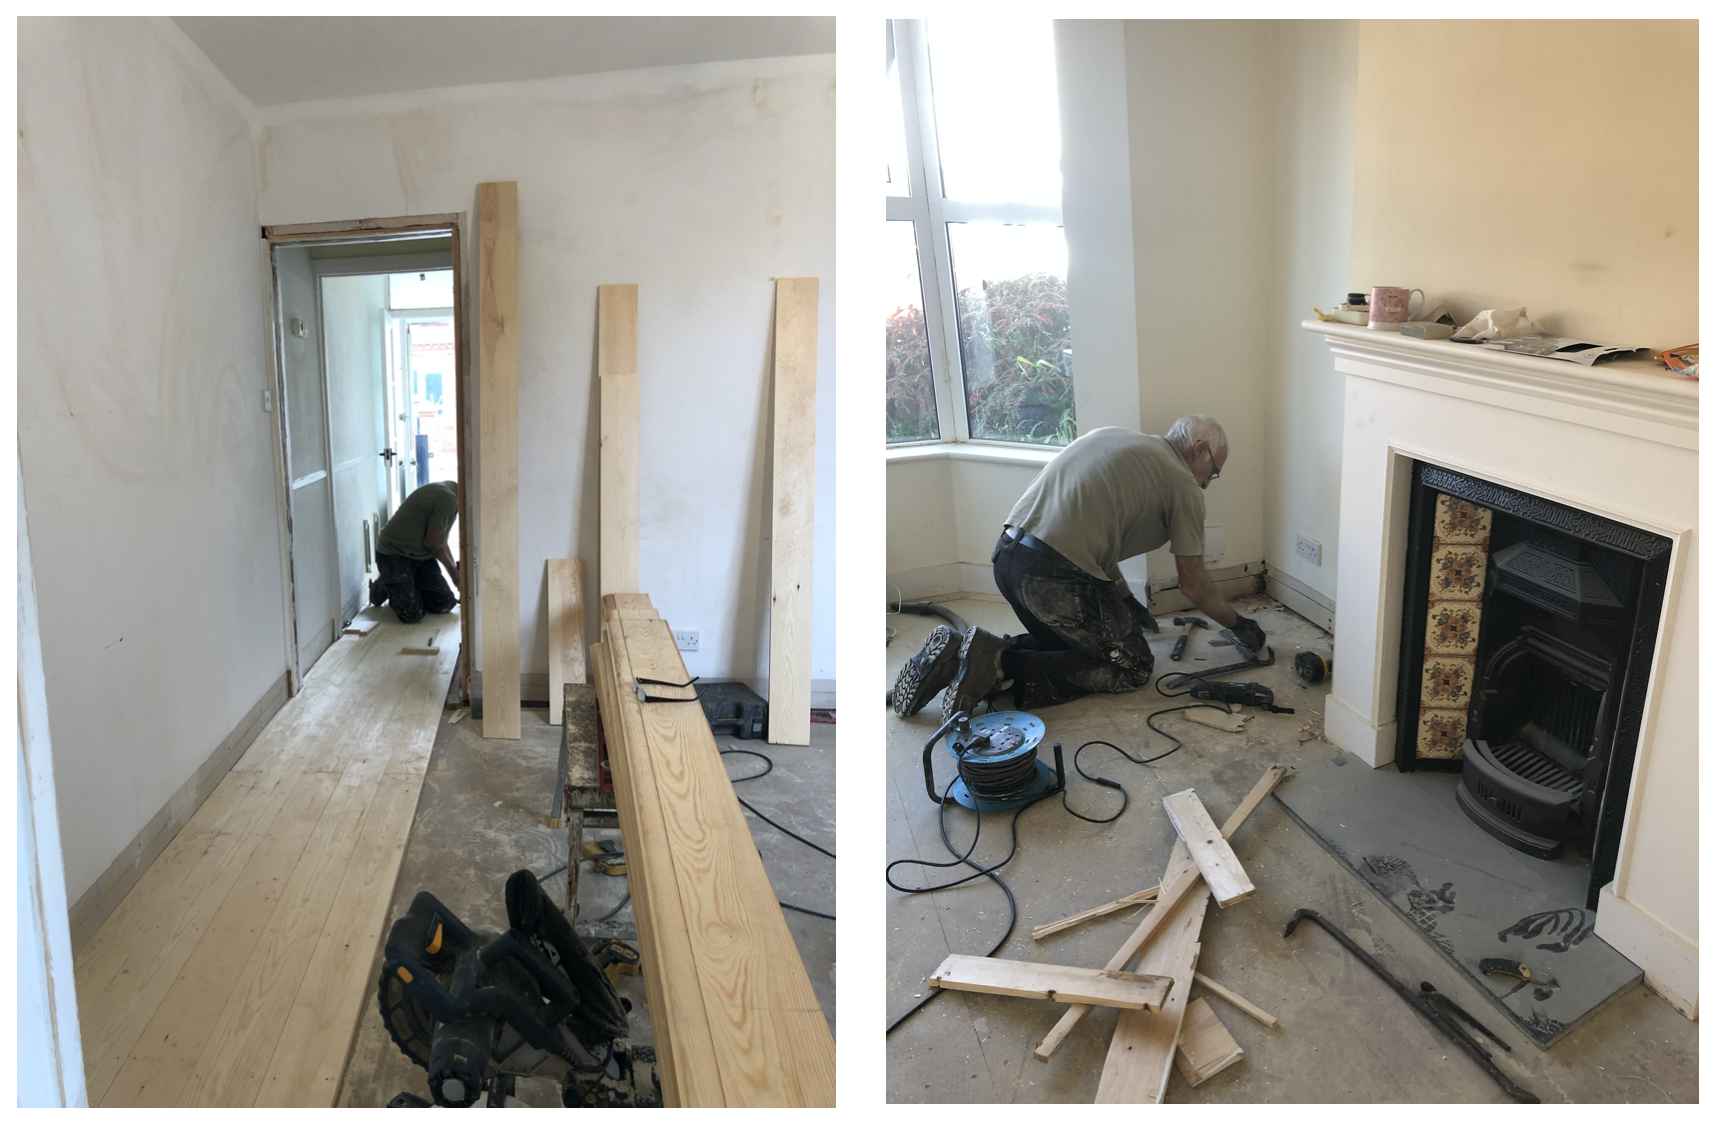
We spent £860 on the new pine boards & skirtings, and about the same again on labour to fit it all. It wasn’t a cheap fix but we knew it would add so much value to our home and enhance it’s character. It looked bloody amazing, and suited the house perfectly.
Now it was time to choose a stain for the wood. I was searching for a fair few days and made loads of visits to various trade stores on the hunt for a stain that would match the older pine floorboards as similar as possible. It was near enough impossible. Generally, you don’t get tester pots for floor stain which I think is ridiculous considering it’s such a huge decision to make. Every stain sits differently on different woods, so it’s very much a guessing game.
Always test larger patches of different woods…
There was only so many times I could go in to trade stores and cheekily ask if they would mind opening the tins and doing a small swatch on one of our pine boards. But trust me, that is NOT enough to gauge what it will look like on a larger scale.

To cut a painstakingly long story short… We chose a colour, it was the WRONG colour, I felt incredibly sick.
Somehow after spending hours sanding the upstairs floorboards to rid them of their dark orange colour, we’d put the same awful tone on our brand new floorboards downstairs. Honestly, I made myself ill with stress and was so angry with myself. I longed to like it. Every time I walked in to the house I wished to open the door and think that it wasn’t too bad, but it was horrible.
What had we done?!
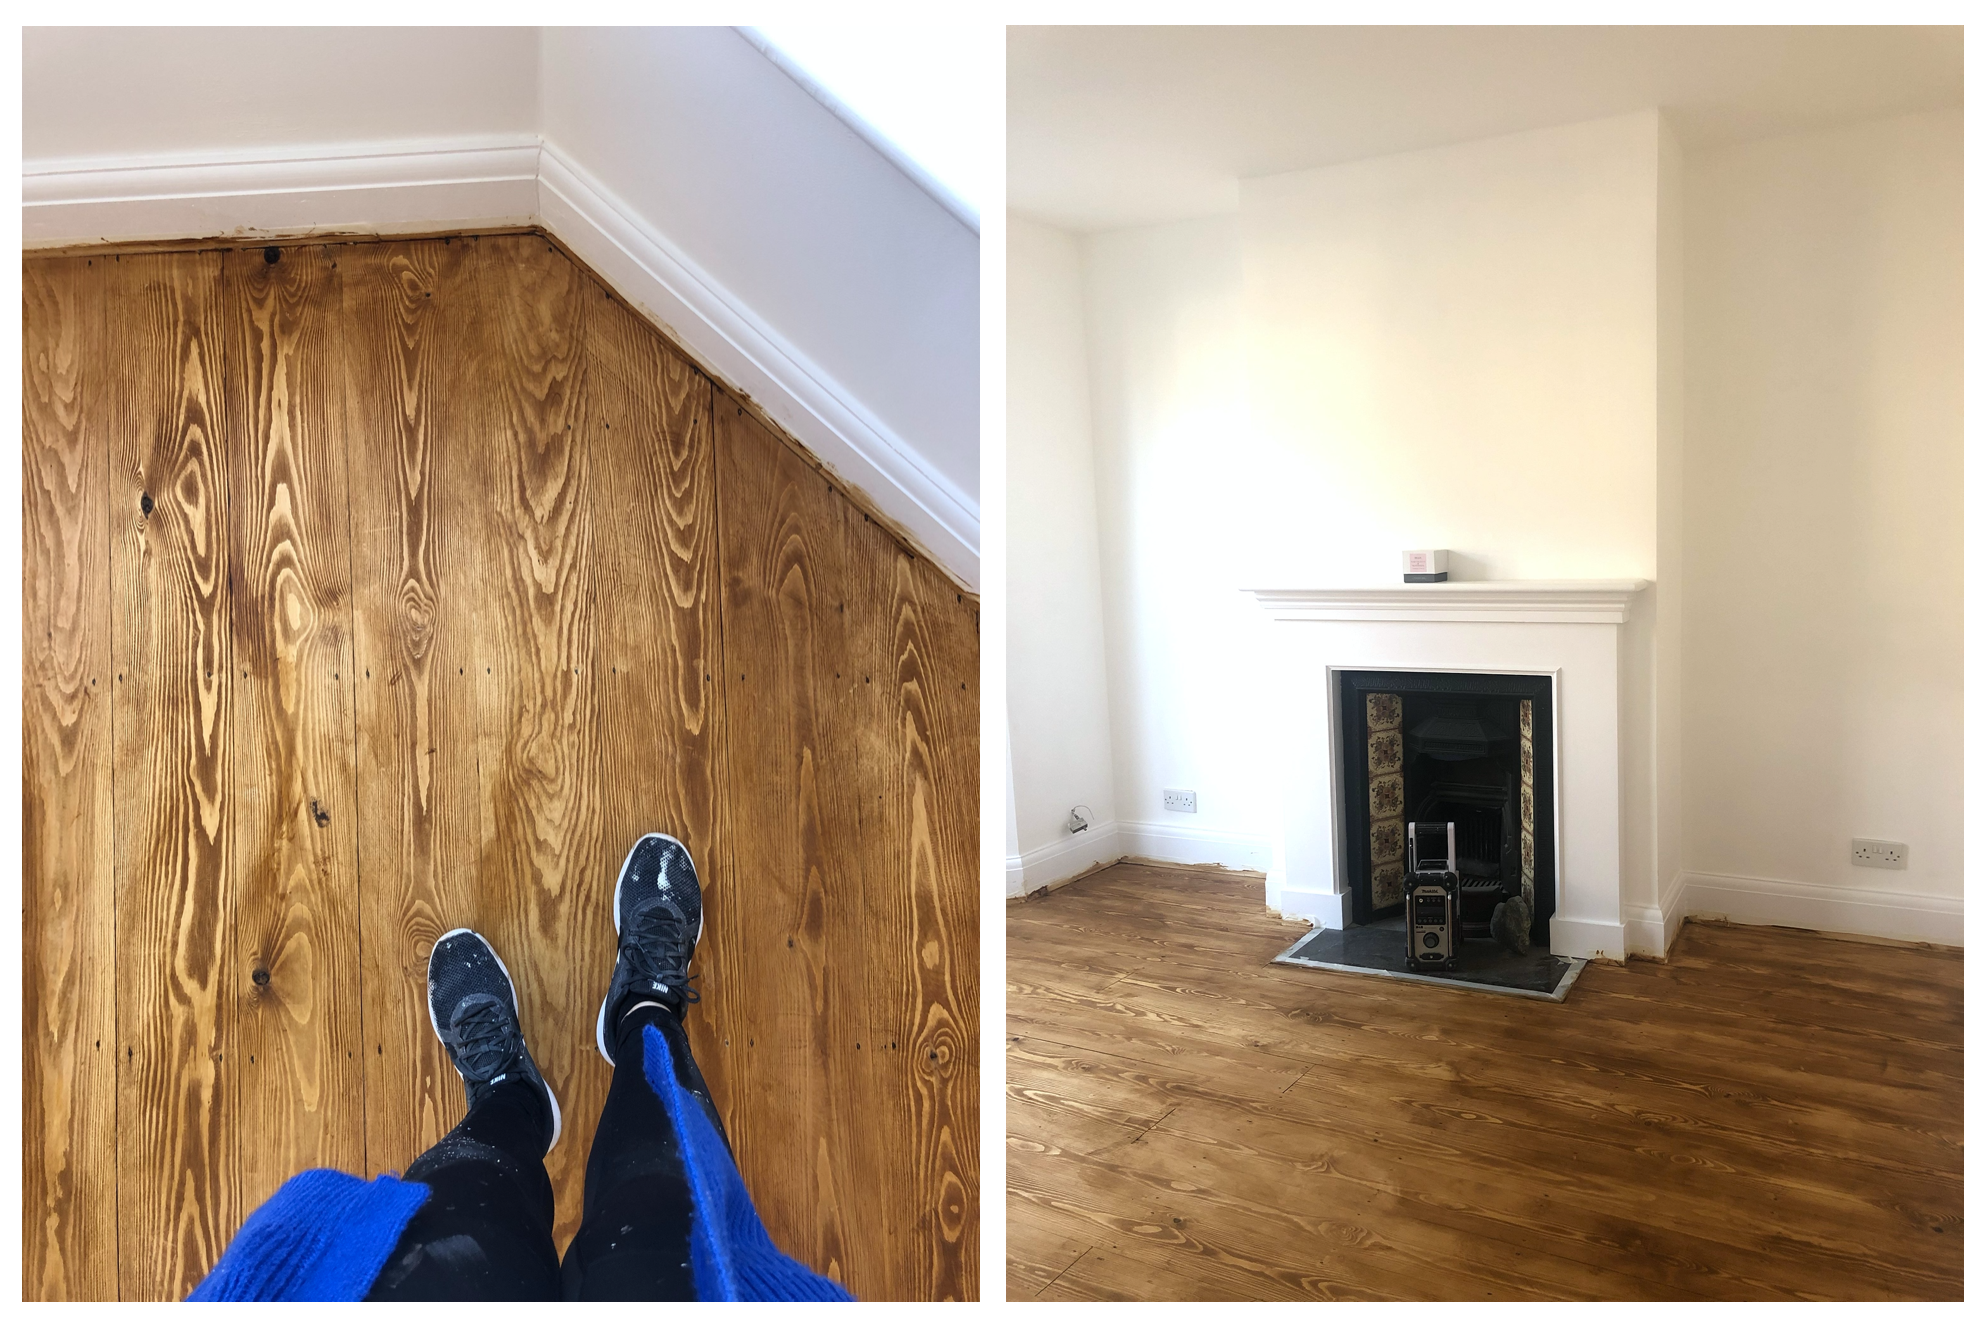
Alas, there was absolutely no way I could continue walking through the door forever more looking at that orange floor stain. The stain had seeped in to the new pine boards and over the 24 hours became lighter and more orangey. It was hideous, and it was only going to get worse. The orange had to go, and there was only one way to get rid of it…
I knew it was going to be hard, and I knew I was going to ache… But it was time for the return of the sander. The Bona Scorpion floor sander once again made a very unwelcome appearance in our home…

12 excruciatingly painful hours later, the orange floor stain had gone. I still have very sore and tender feelings about the time I spent removing it all. It was really difficult as stain seeps in to the wood deeper than varnish.

Nevertheless, I did it. And boy did I feel better for it. My mood instantly lifted despite being in horrific pain! I spent the next day in bed ill because of what my body went through, but it was totally worth it. As I mentioned before, the edging sander is so so heavy and caused a lot of pain to my lower back.
Moving forward…
It was time to choose a new stain. AND make sure I made the right decision. With the help of Instagram, someone pointed me in the direction of Liberon wood dye and very kindly sent me a couple of samples that they’d painted on to new pine. Honestly, the powers of Instagram and the amazing DIY community supporting each other is amazing!
In the end, I made my mind up on using Liberon palette wood dye in medium oak, but I watered it down by 50% so that it was a lot lighter. This again was something I later, that I wish I had known before. You could see on the samples that already it was a much nicer colour compared to the first orange stain!
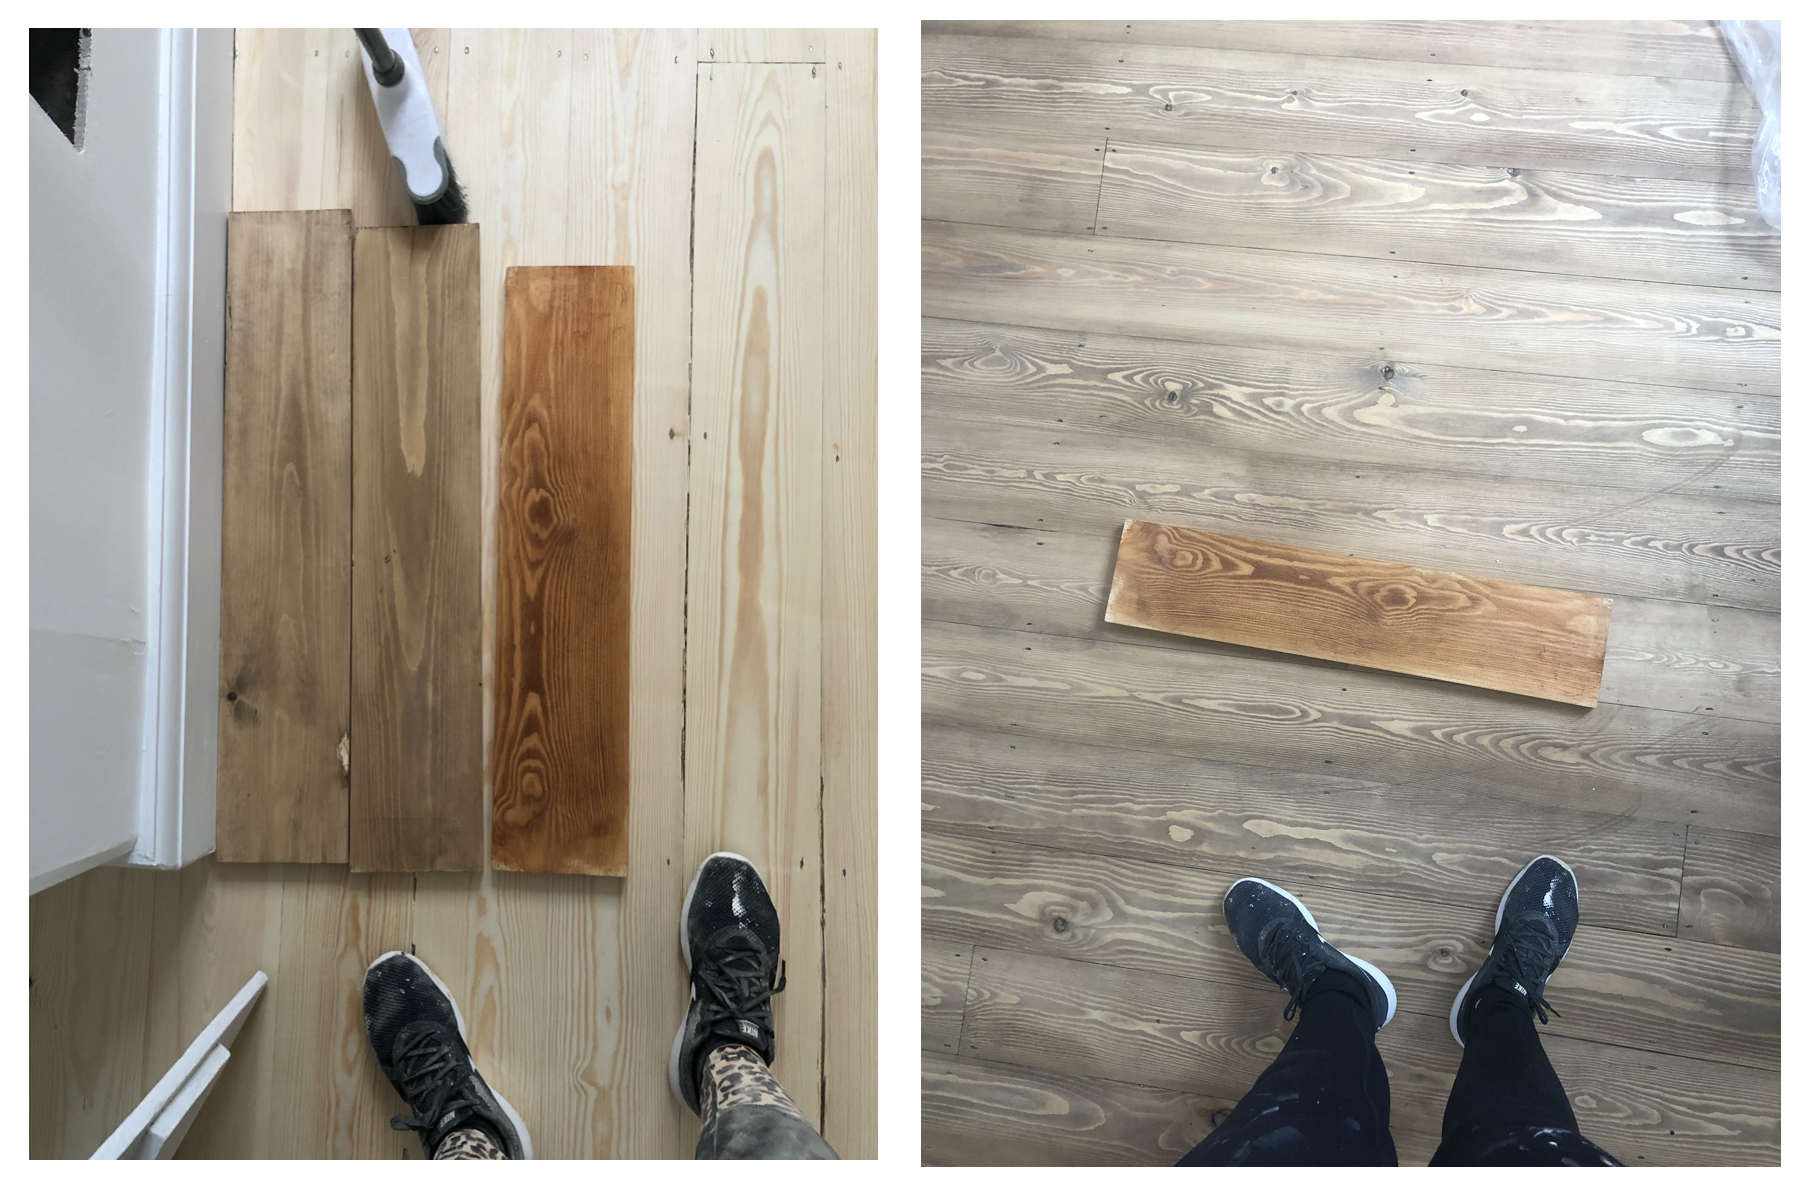
It looked so much better, and finally we could enjoy all of our hard work. Sanding it back and re-staining it all was the best decision I’ve ever made, despite the agony I went through to do it!
Learn from my mistakes…
Moral to this tale? Don’t rush in to choosing a stain for your floor. If you’re even the slightest bit unsure, invest in a small tin and test it properly on a few pieces of wood with different grains. Experiment with different strengths until you get the perfect blend for you… It is possible, it just may not be one you can buy instantly off the shelf. Learn from my mistakes!
Can you understand now why it took me a while to get round to writing this post? Even just having to re-write this experience gives me the shudders!
Please don’t hesitate to get in touch if you have any more questions…
Believe me, I’m more than happy to offer my advice on the topic of floor sanding, staining & varnishing! I feel I’ve got quite a lot of first hand knowledge on it all now. If I’ve missed out any info that you’re keen to know, contact me at gemma@thatssogemma.com .
YOU MAY ALSO LIKE
How to Choose the Right Shelves for Your Home
Interior Hacks with Ikea to Help Makeover Your Home
6 Simple Storage Solutions to Help Battle Against the Clutter
PIN THIS

All content curated by That’s so Gemma.
Bona Scorpion floor sander was hired free of charge in return for social media coverage.
This post may contain affiliate links.


