How to Stencil a Fireplace Hearth

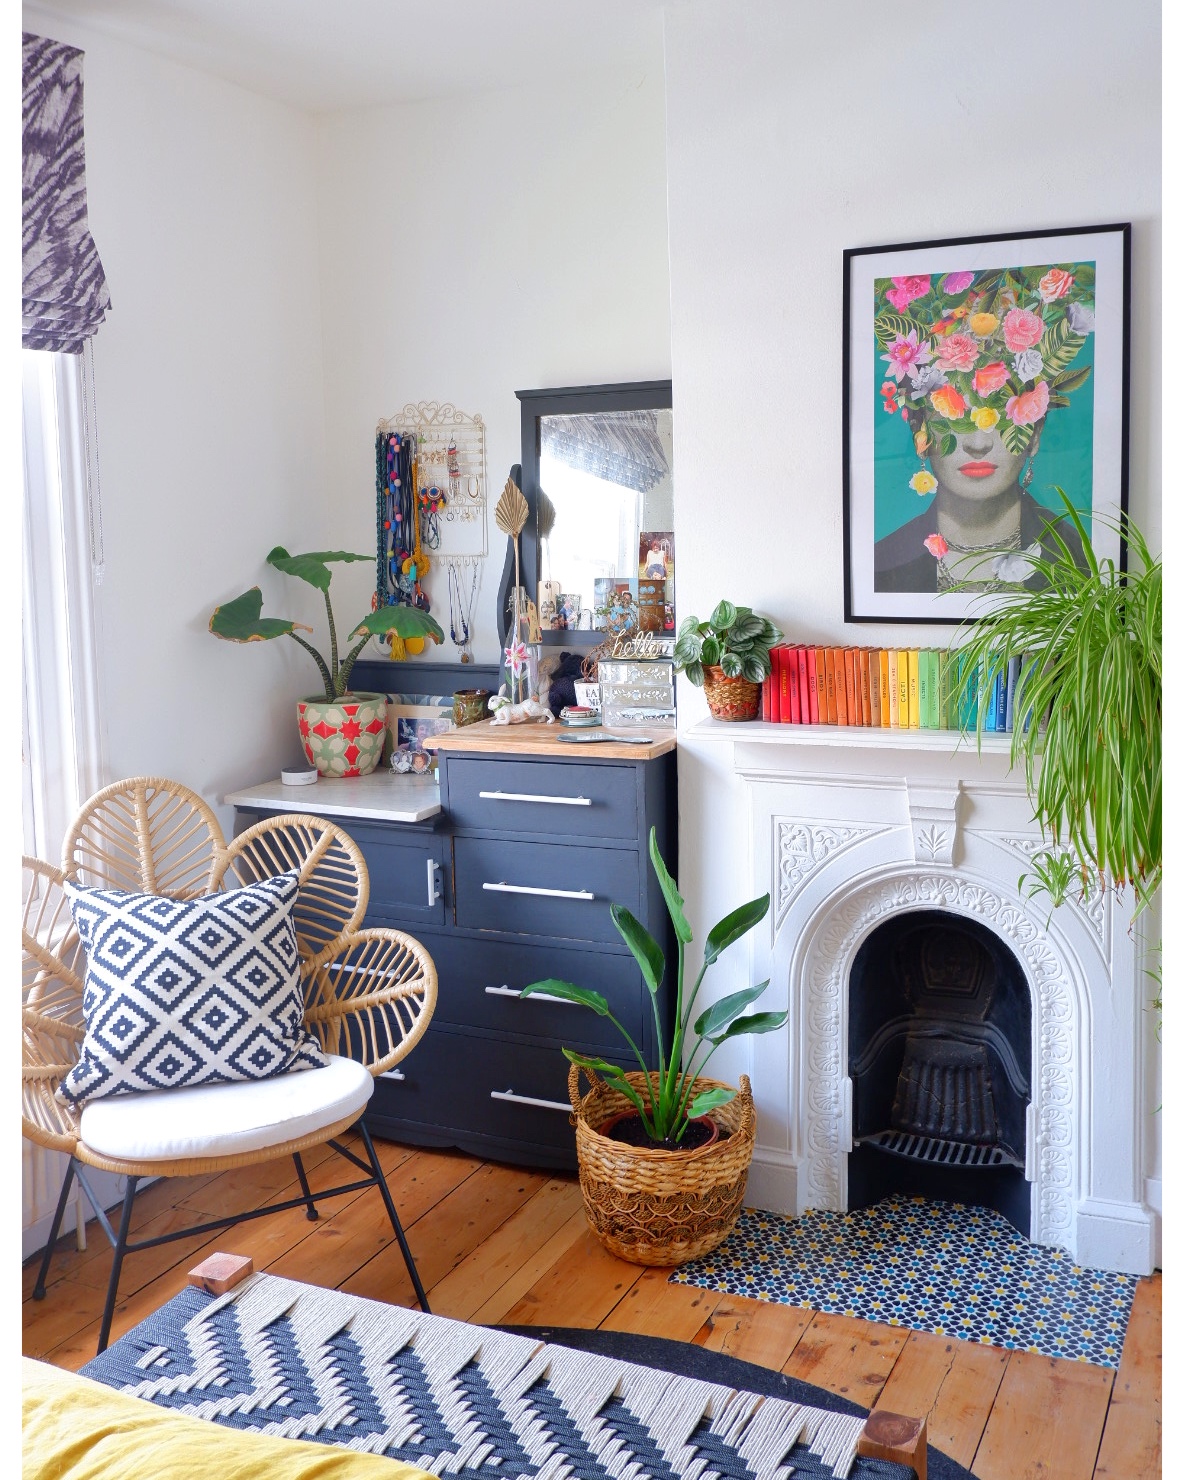
How to stencil a fireplace hearth. Learn my step-by-step guide and watch my video tutorial demonstrating how I completely transformed my fireplace hearth…
I think I’ve officially caught the stencilling bug! Ever since I finished my fireplace hearth I’m now looking for other places around my house that I can stencil. Stencilling is a fun and easy way of transform a surface or piece of furniture without having to splash the cash. You can essentially transform something from drab to fab with just a lick of paint, and it’s very easy to do once you know how.
The Fireplace…
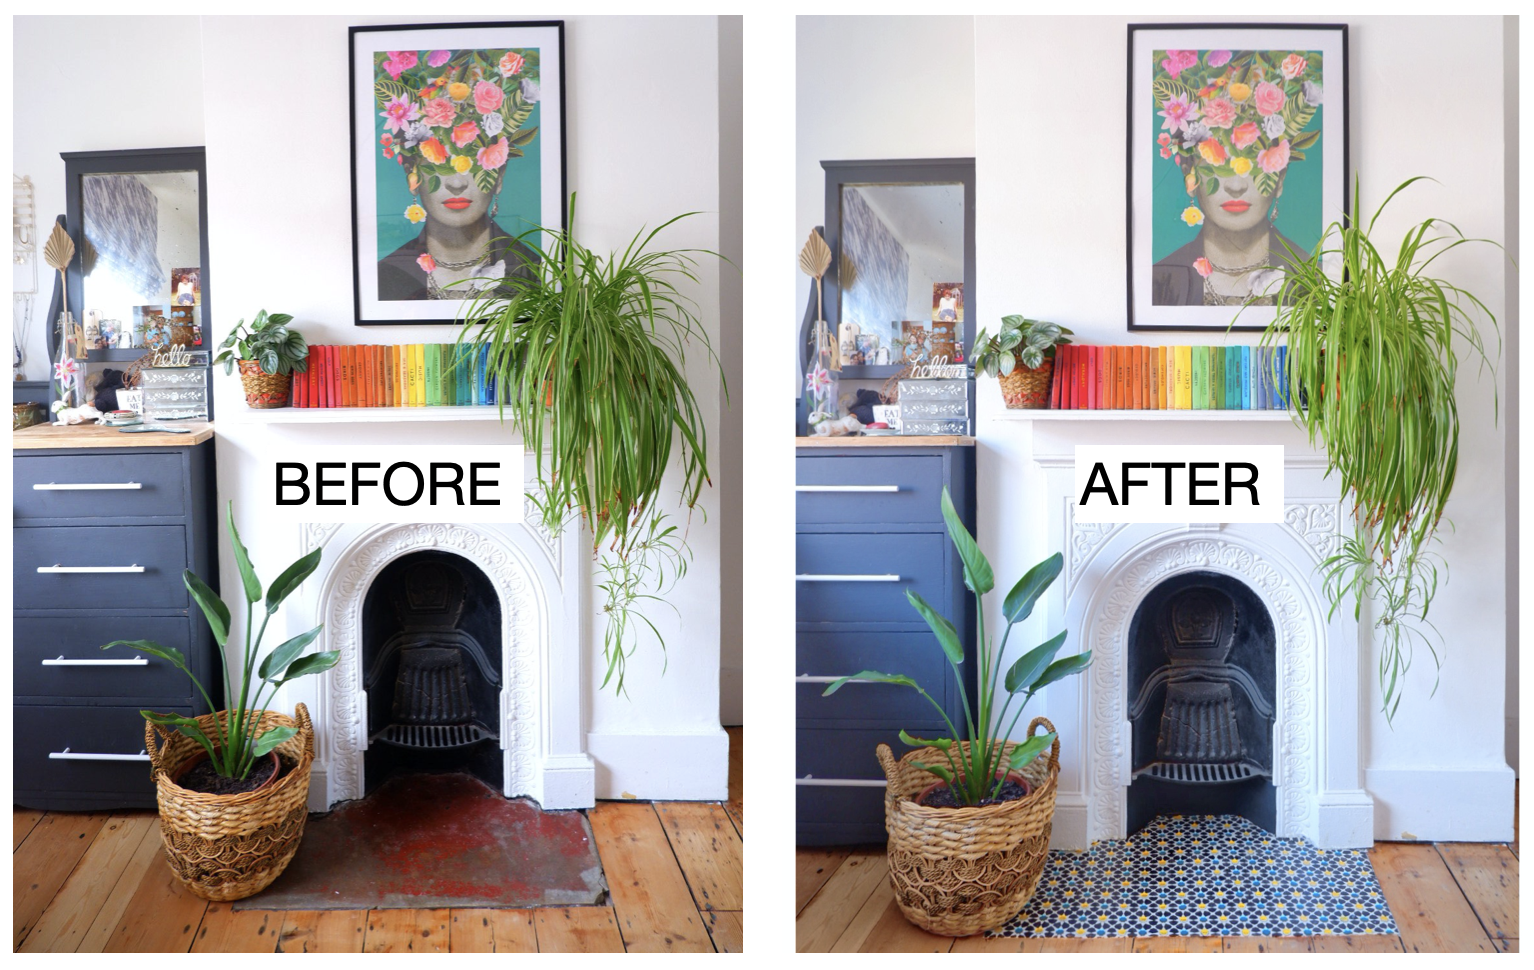
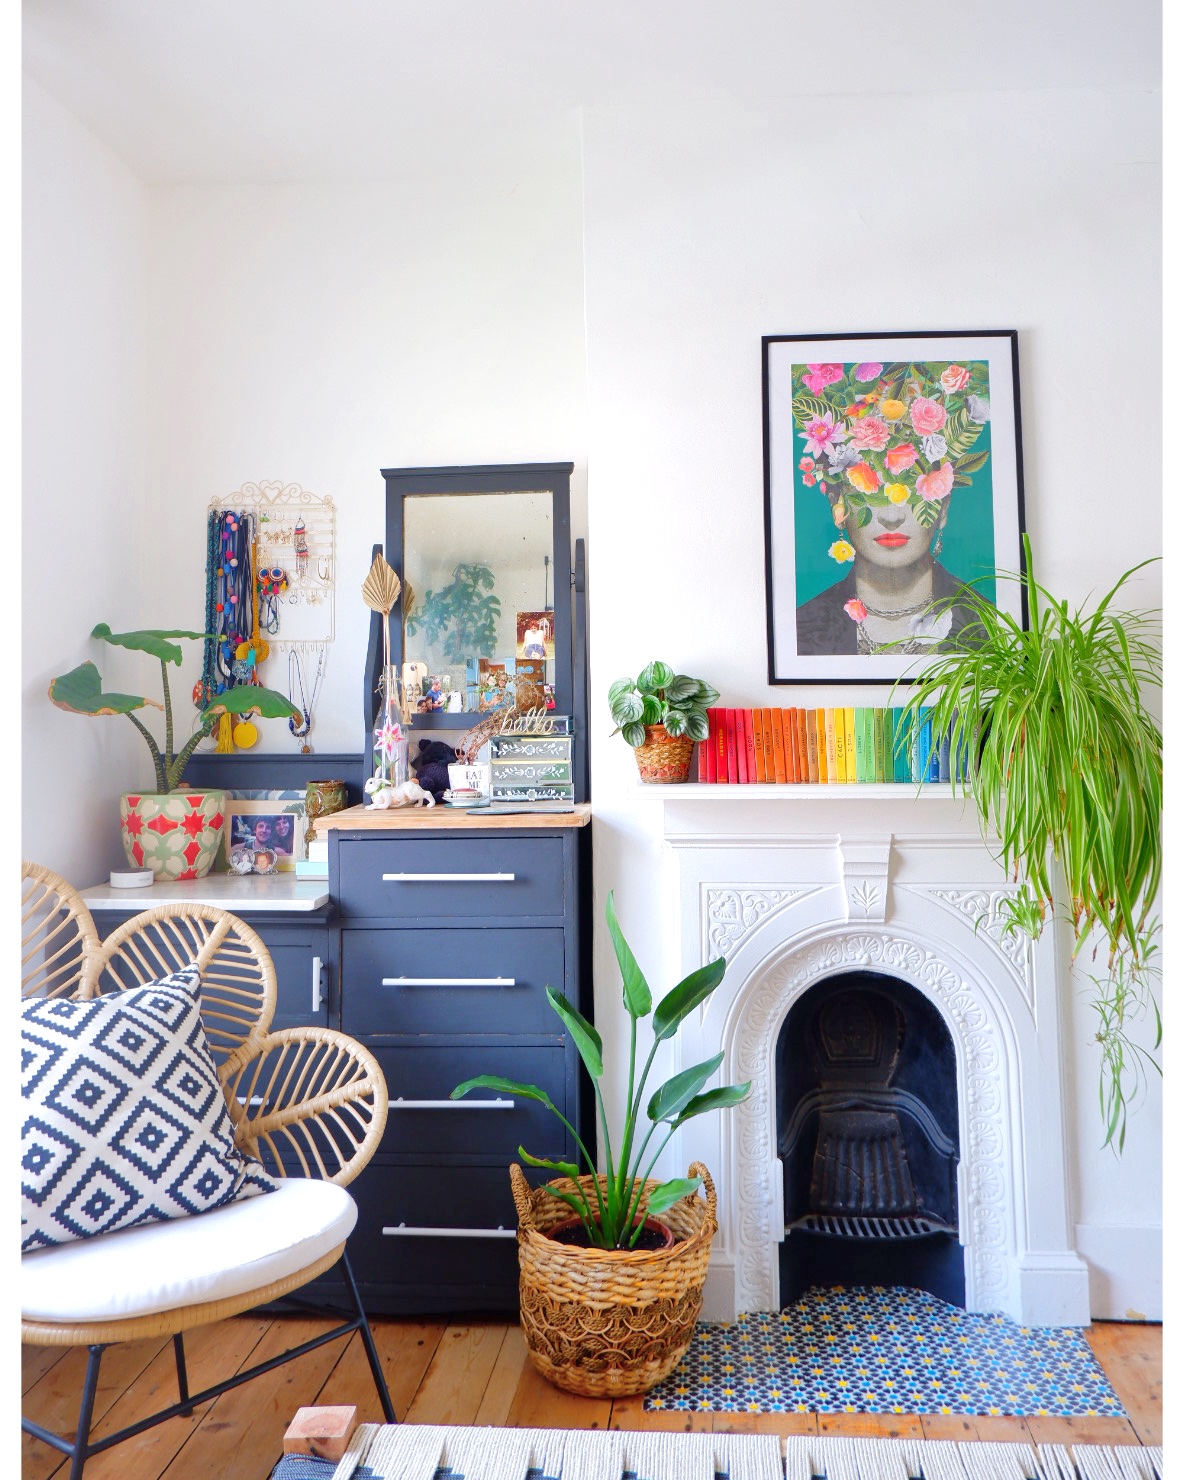
My fireplace hearth was a bit of an eyesore to begin with. On the whole it is a stunning, original feature which was one of the many characteristic factors that caught our eye in this house. Cast iron chimney with a intricately detailed fireplace surround…The dream! The hearth however was a little lack-lustre. A worn, red painted lump of concrete which was damaged at the corners.
It definitely needed some love and attention. At first I was thinking we would knock out the concrete and replace with new tiles… A job out of both mine and Tom’s capabilities, so it would have required getting a tradesman in to do the job. Doing this would have easily cost 4X the amount though, so it was never at the top of the DIY to-do list.
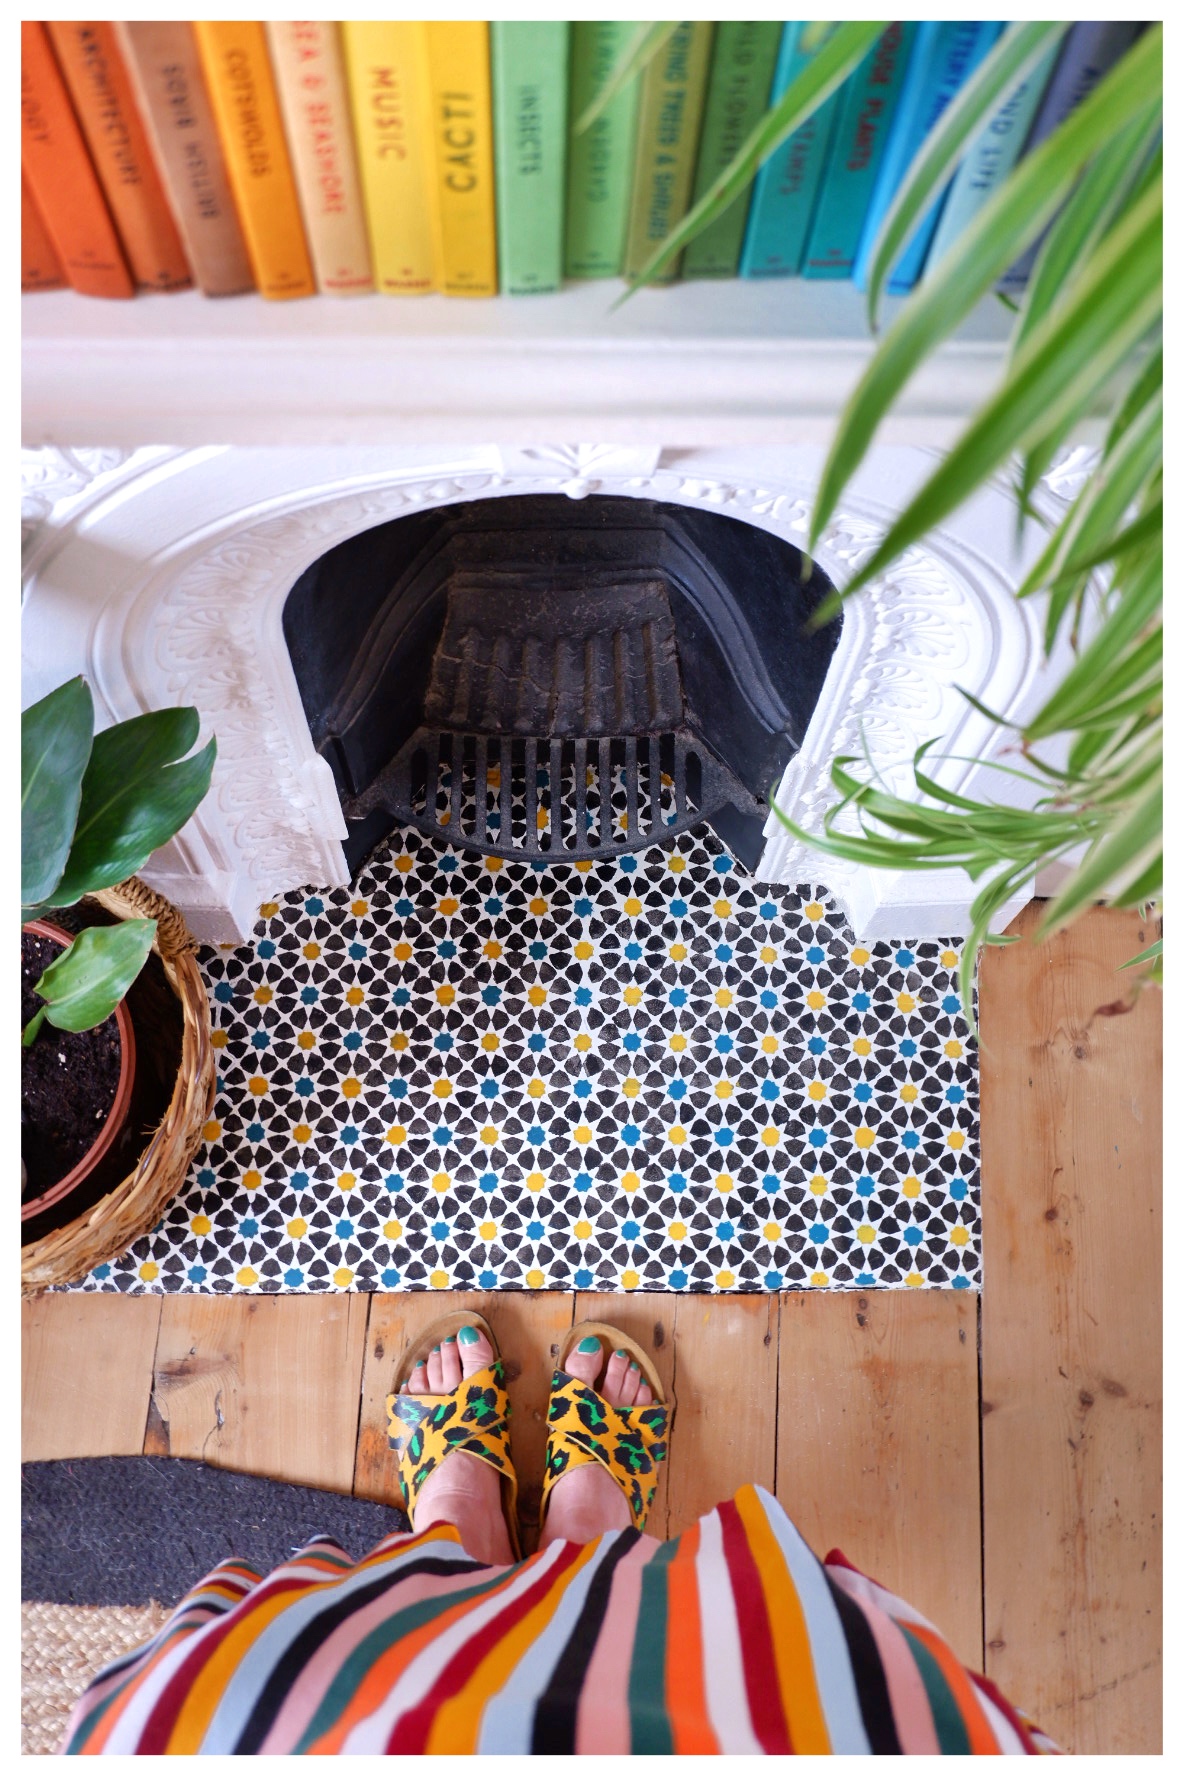
Prior to this project, I had previously stencilled my patio slabs during our garden renovation. It got me thinking about up-cycling the concrete fireplace hearth instead of knocking it out. I knew that if I gave it a bit of TLC to repair the damage, and used an appropriate paint then I could easily create the same effect of tiles simply by stencilling it.
Believe me, I’m so glad I did this as it saved us a lot of money. I’ve listed all the costs at the bottom of this post for reference.
How to stencil a fireplace hearth
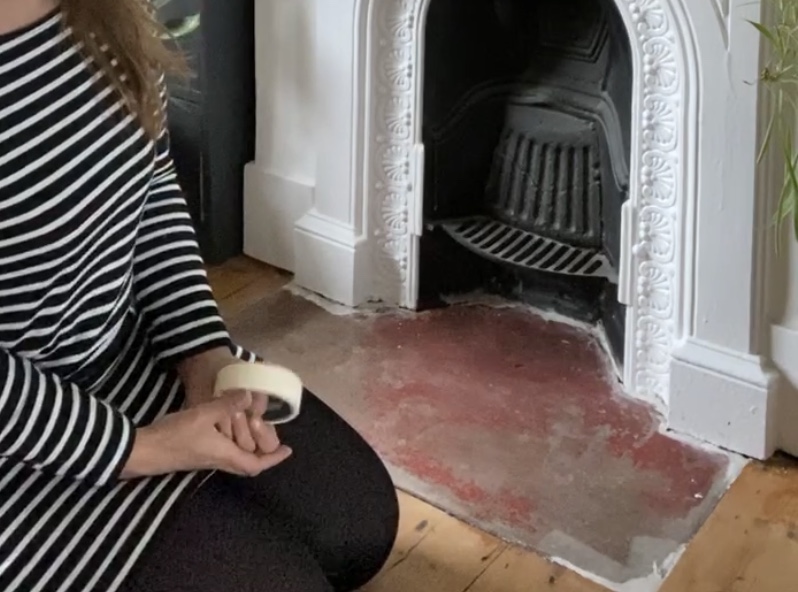
To begin with, I spent some time repairing the damage by filling in the cracks and smoothing it all down. I used a concrete crack filler to do this, and sanded the area down with 240 grit sandpaper so that the paint would easily adhere.
Then, I painted my base coat which I chose to be white. I used a masonry paint from Wilko called ‘Pebble White’.
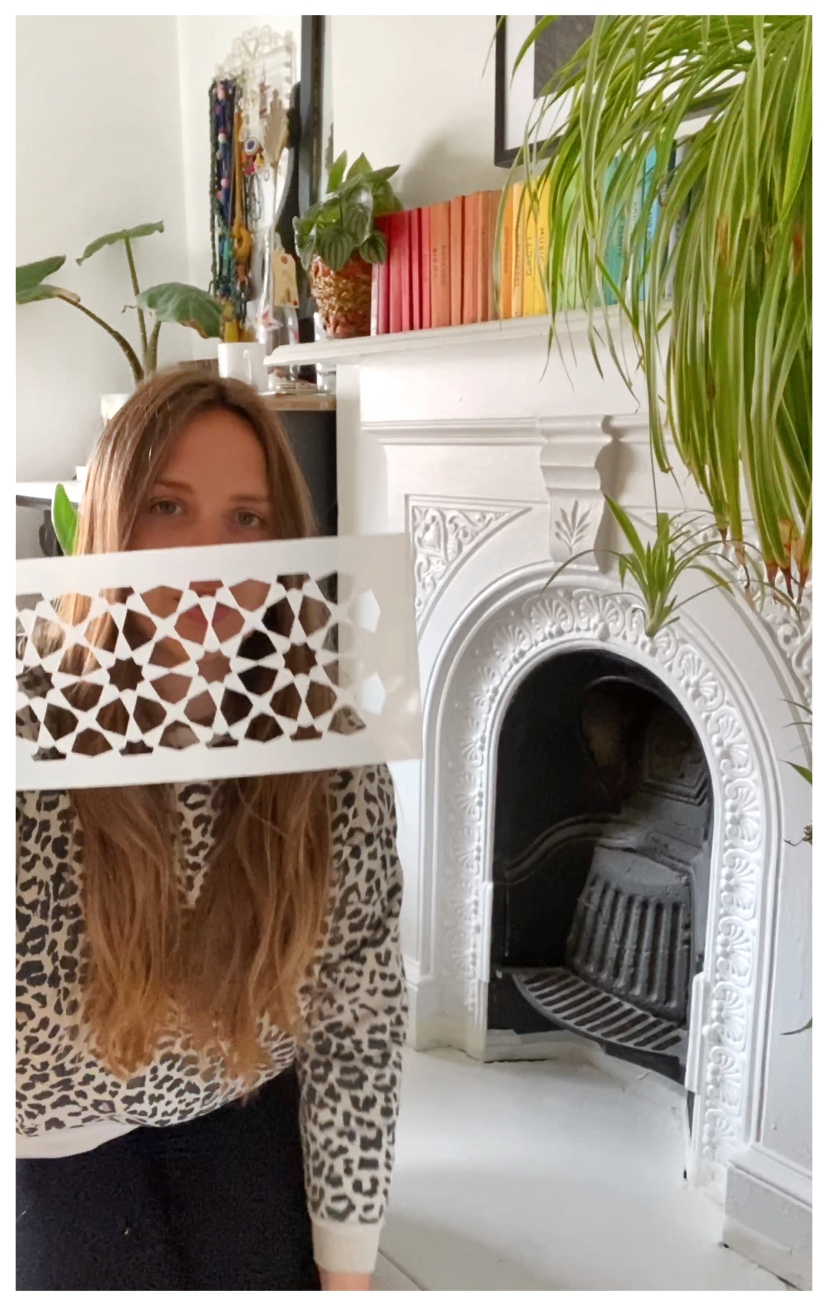
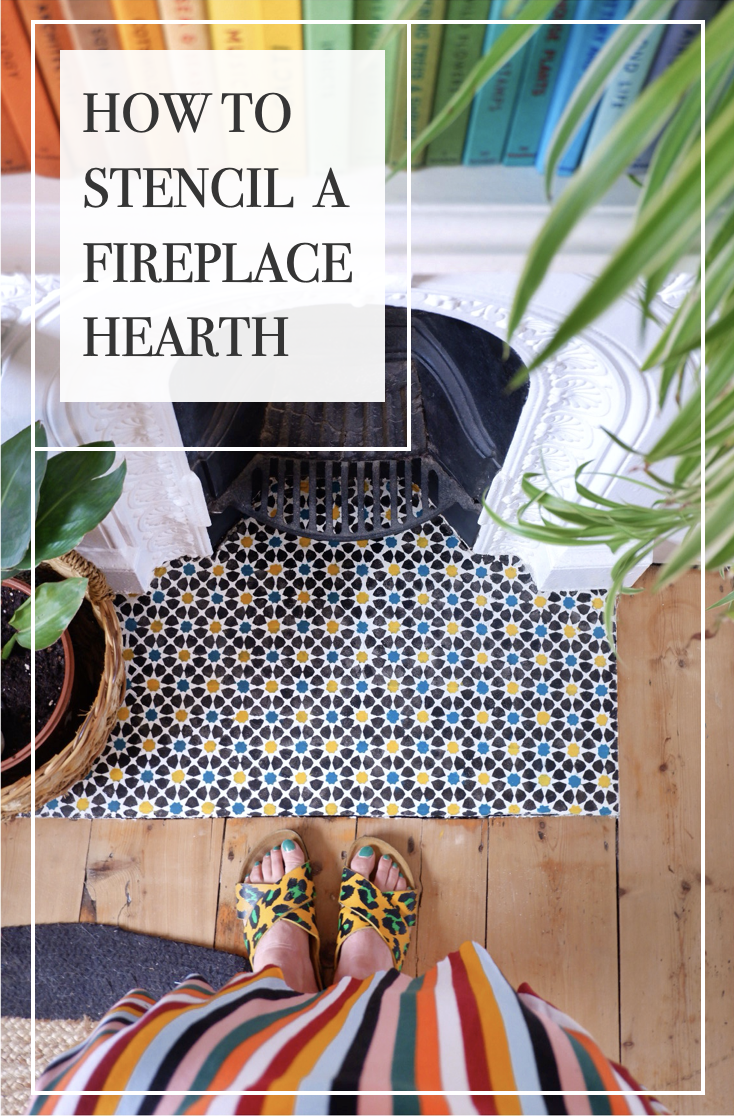
It was then time to stencil. I stumbled across an amazing company called Dizzy Duck Designs who have 100s of different stencil designs to choose from. The stencil I chose was a border stencil called AMIRA.
I wanted the pattern to be quite small and intricate, so I ordered the small stencil measuring just 8cm x 15cm. I knew this would make the job a little more time consuming and fiddly, but also knew it would offset the fireplace surround perfectly.
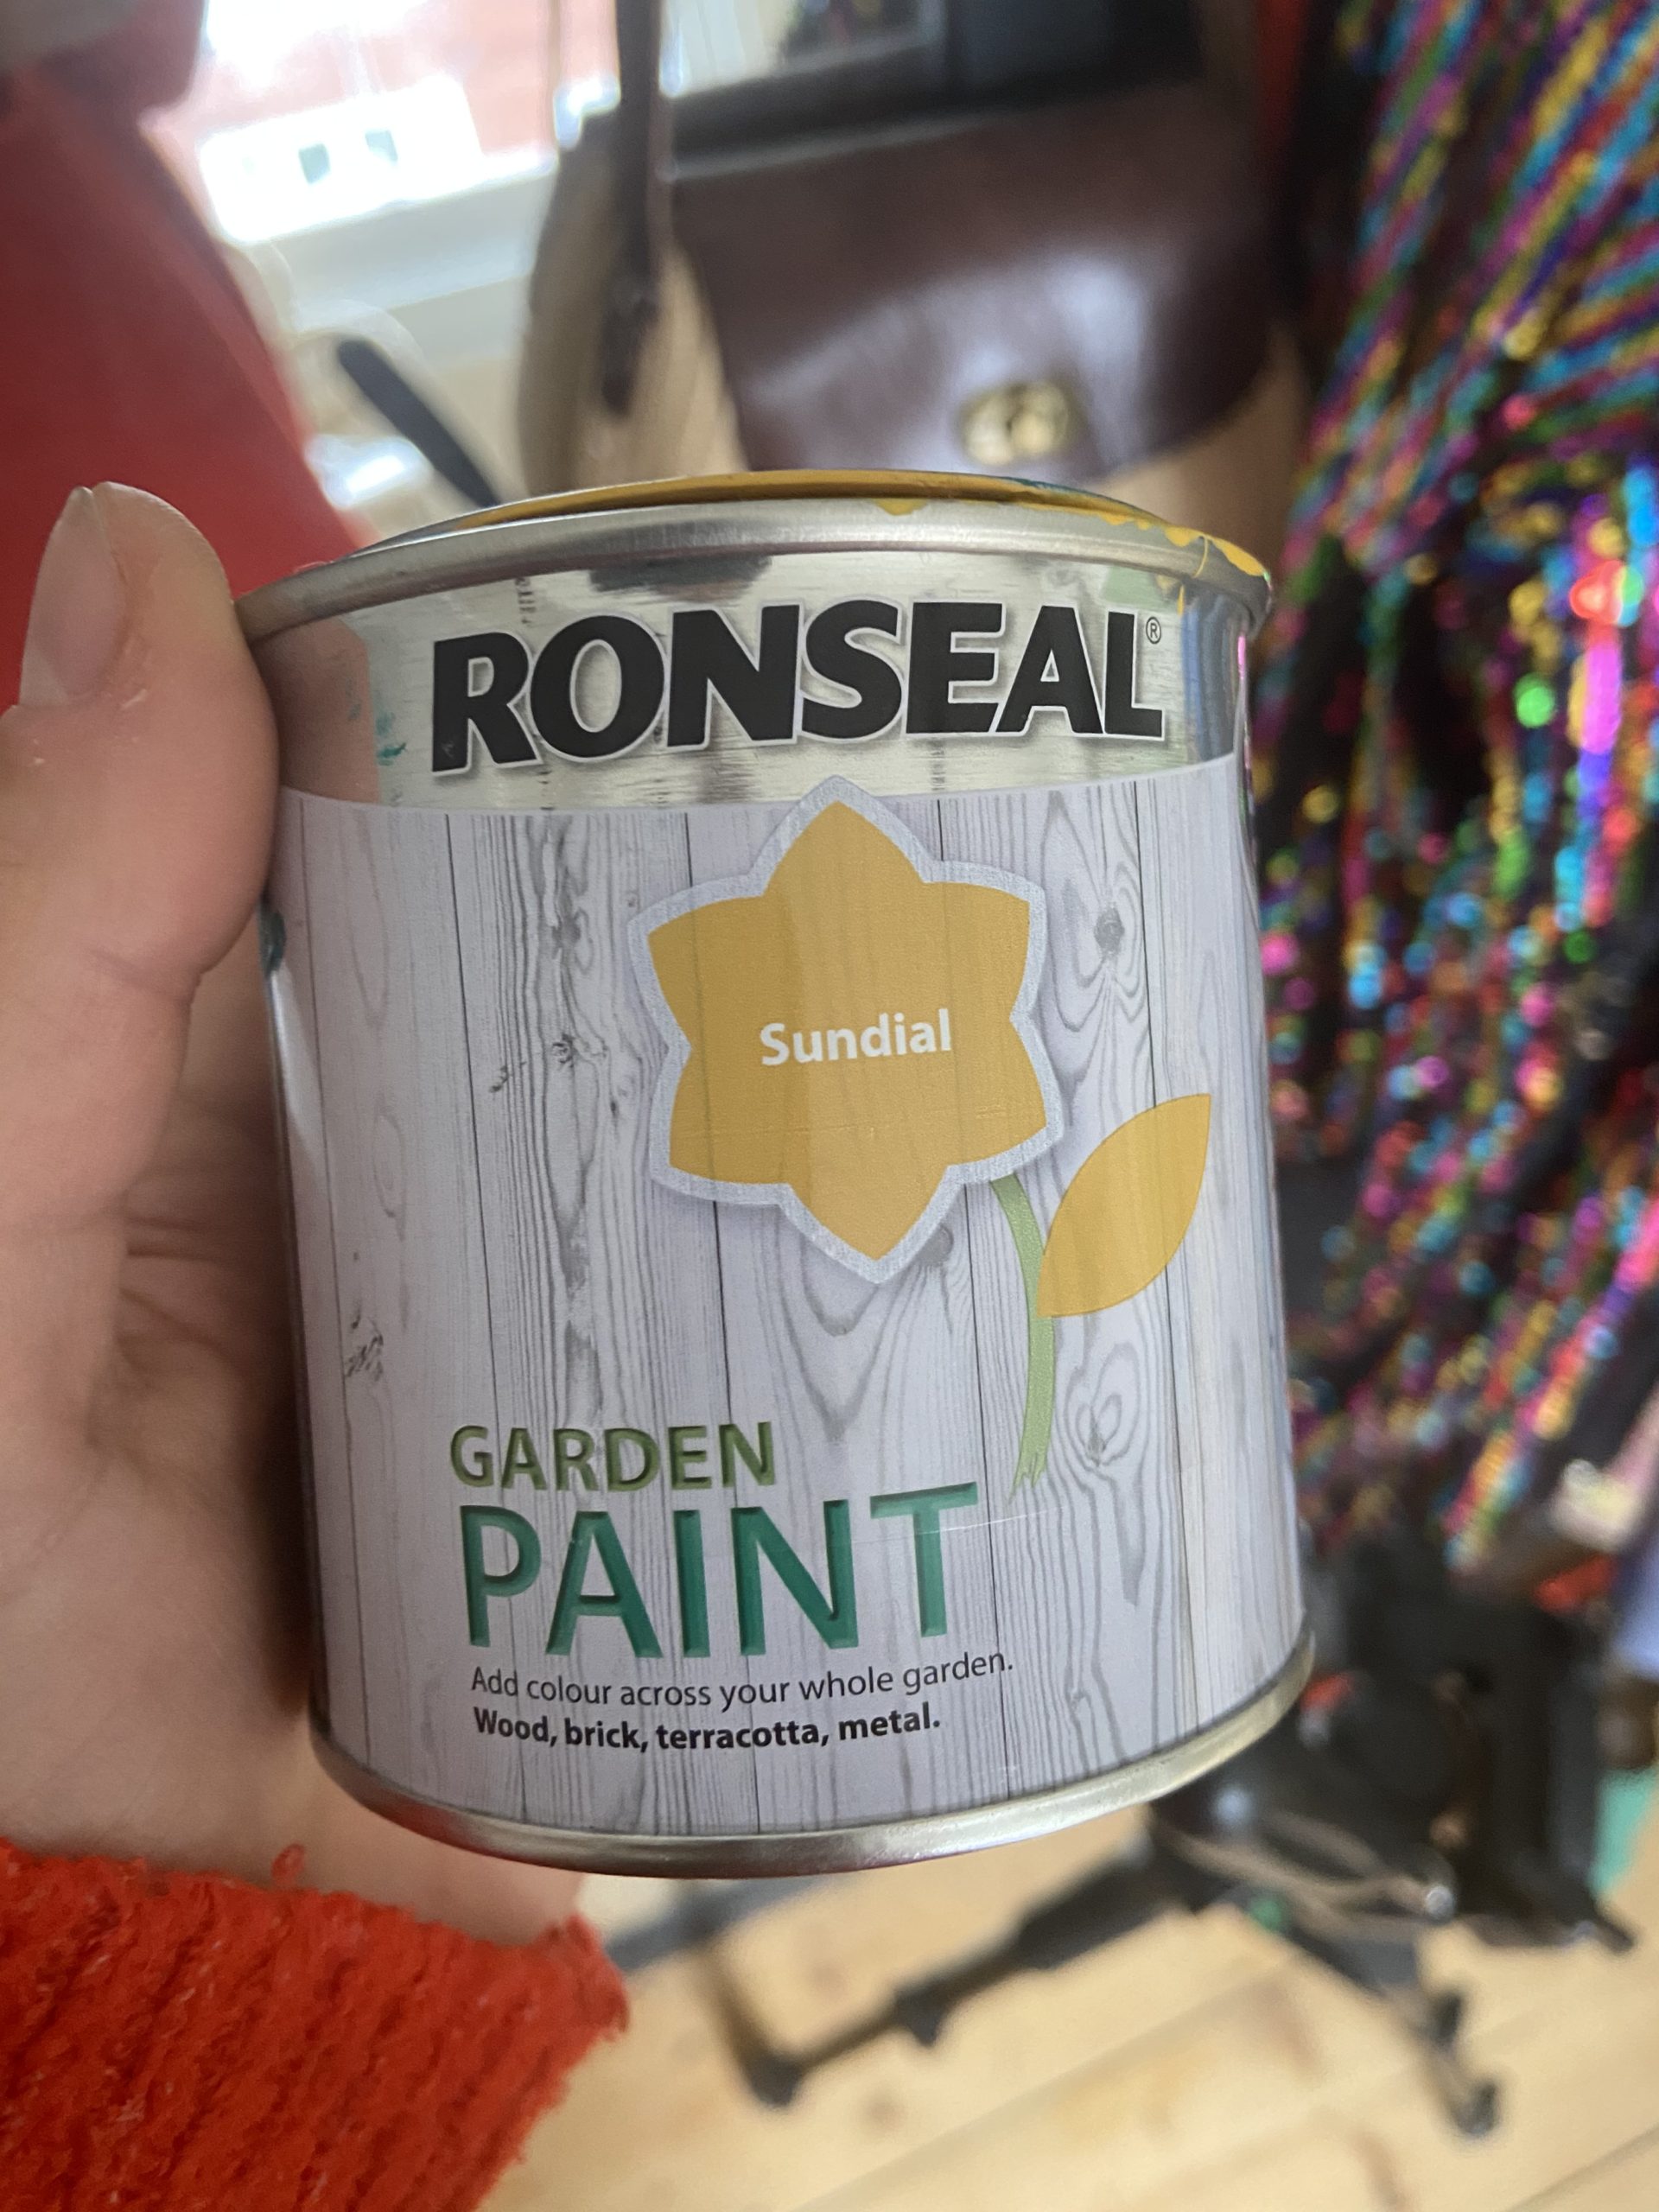
For the stencil I used Ronseal Garden Paint which is suitable for a number of surfaces including brick. I knew this would be ideal for the concrete hearth and that it would take to the white masonry base coat too.
For the stencil I used colours Blackbird, Sundial and Peacock.
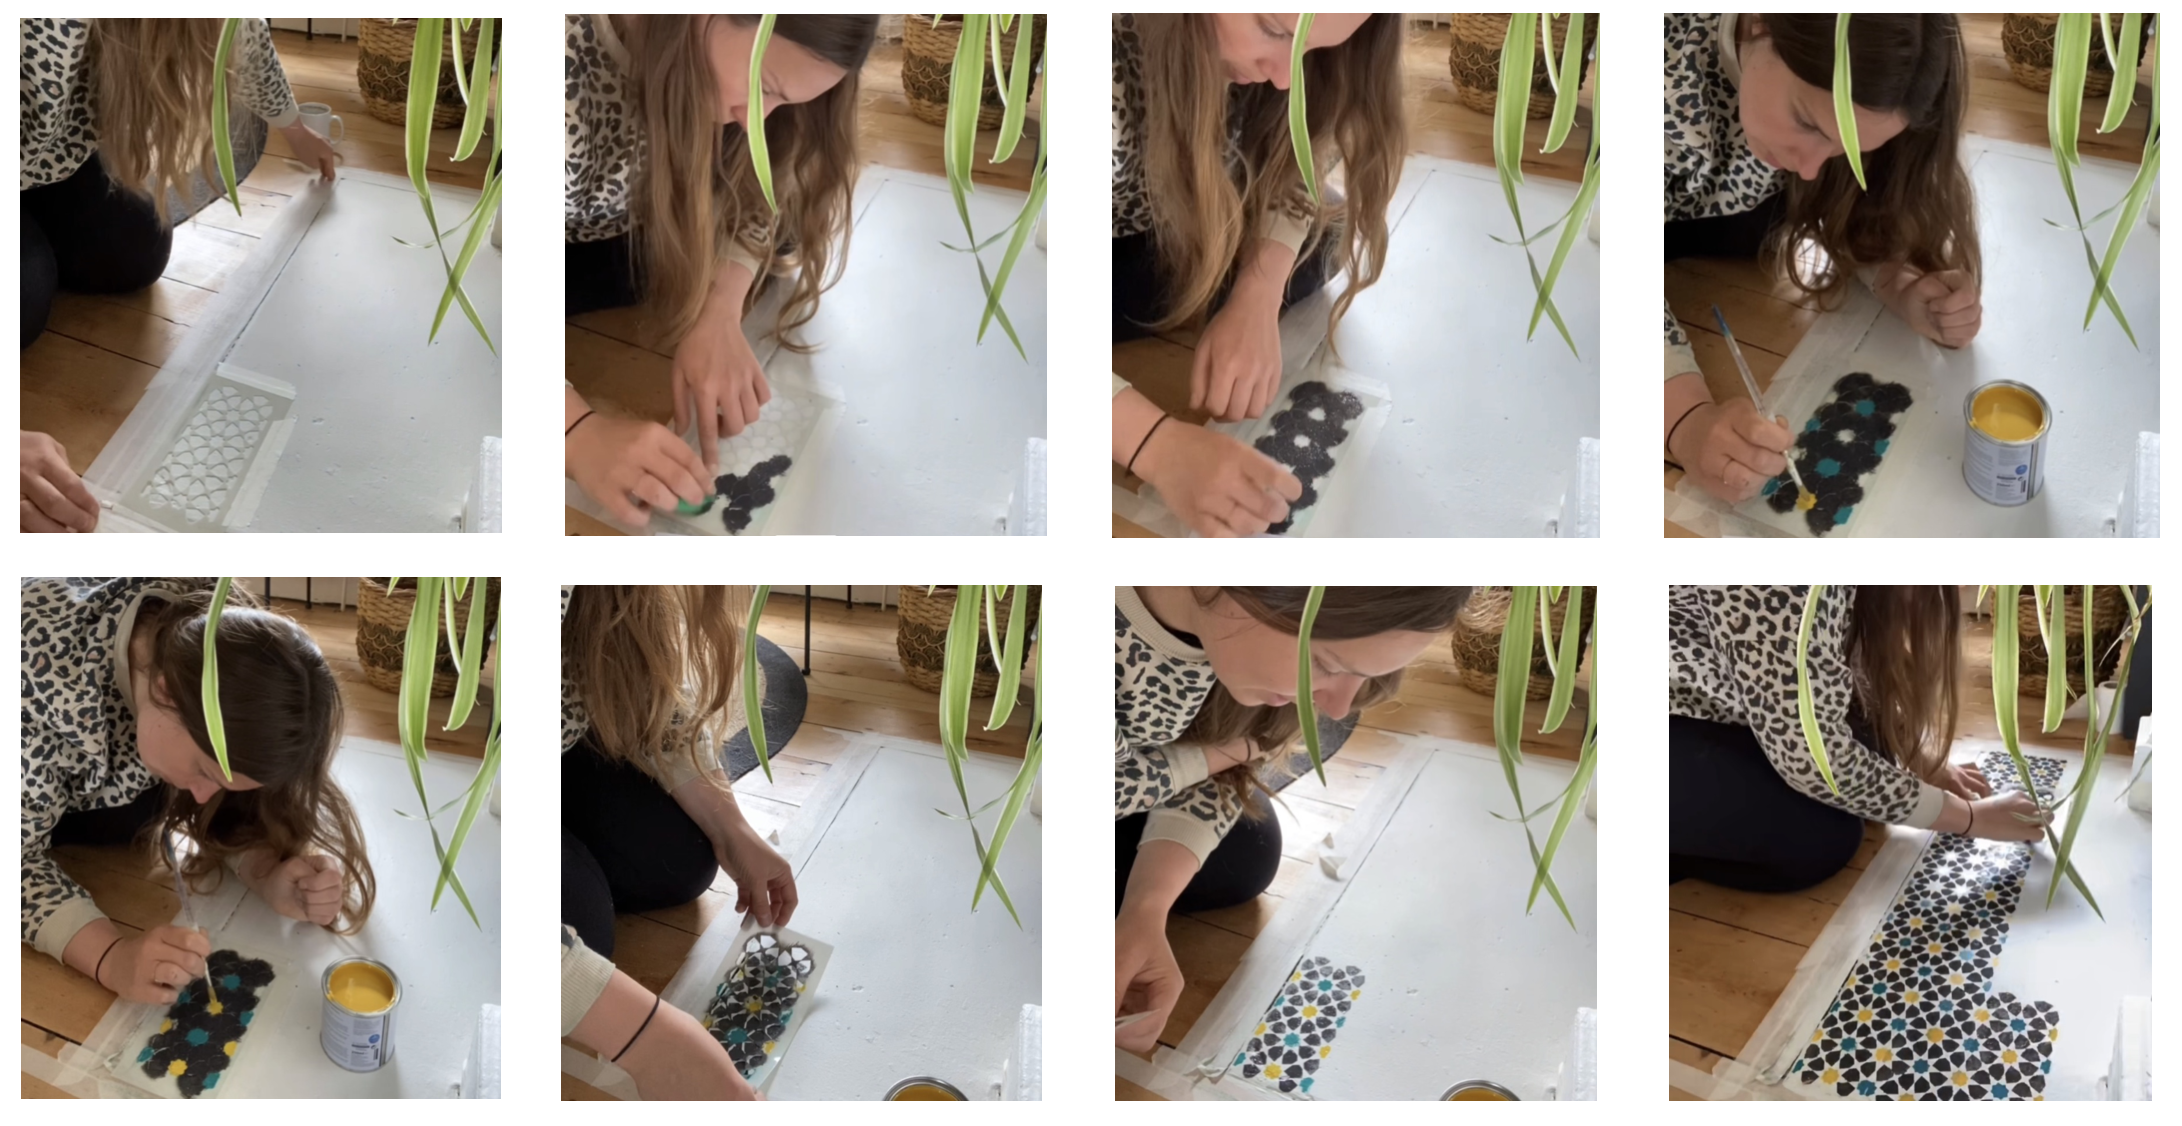
It was a long process, and I had to be patient and allow the paint to dry in between. I’m not going to lie, I may have sworn a few times but it was very rewarding each time I revealed a newly stencilled area.
YOU WILL NEED
- Stencil
- Paints of your choice
- Masking tape (to hold the stencil in place)
- Stencilling brush or sponge (I found a sponge to be a lot easier!)
- Something to test/blot on (I used card)
- Patience!
I made a full video tutorial on the whole process so you can see exactly how I did it and what techniques I learnt along the way. You can watch it below for inspiration!
View this post on Instagram
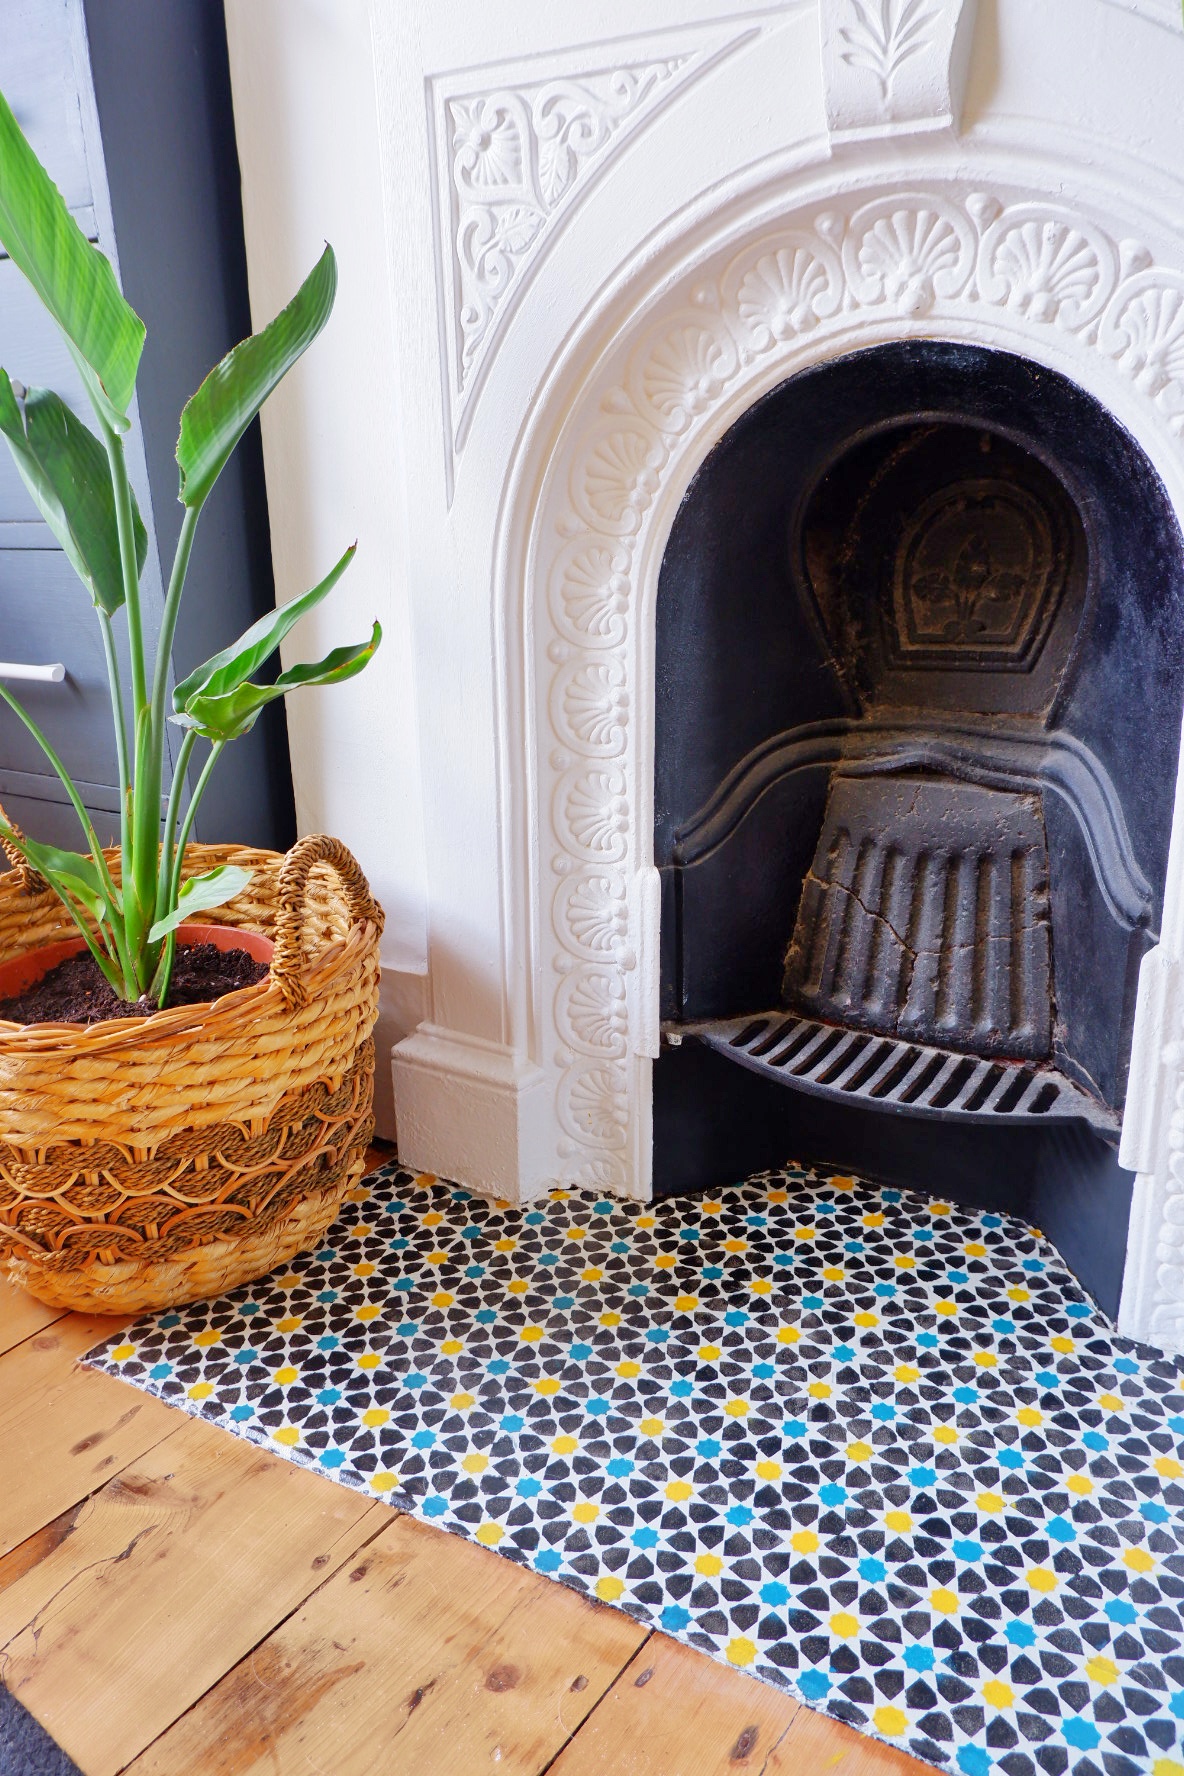
I’m so pleased with the outcome. It has made the whole fireplace even more beautiful and added a nice pop of colour in the room. As mentioned before, this was far more cost effective than having the concrete replaced with tiles, and it gave me something creative to do.
Total costs
- Stencil – £10.98
- Ronseal tester pots – £4 each
- Masonry paint was leftover from another project, but cost £14 for 5litres.
- Craft sponges – £2.99
- PVA bond – £4.99
Total: £44.96
A bargain, and I’ve got plenty of paint still leftover!
YOU MAY ALSO LIKE
5 Reasons Why Artificial Grass is Perfect for Pets
Storage Ideas for Every Room in Your House
How to be Colour-Confident in Your Home
PIN THIS
All content curated by That’s so Gemma.
This post may contain affiliate links.


