How to Transform Your Front Path with a Stencil

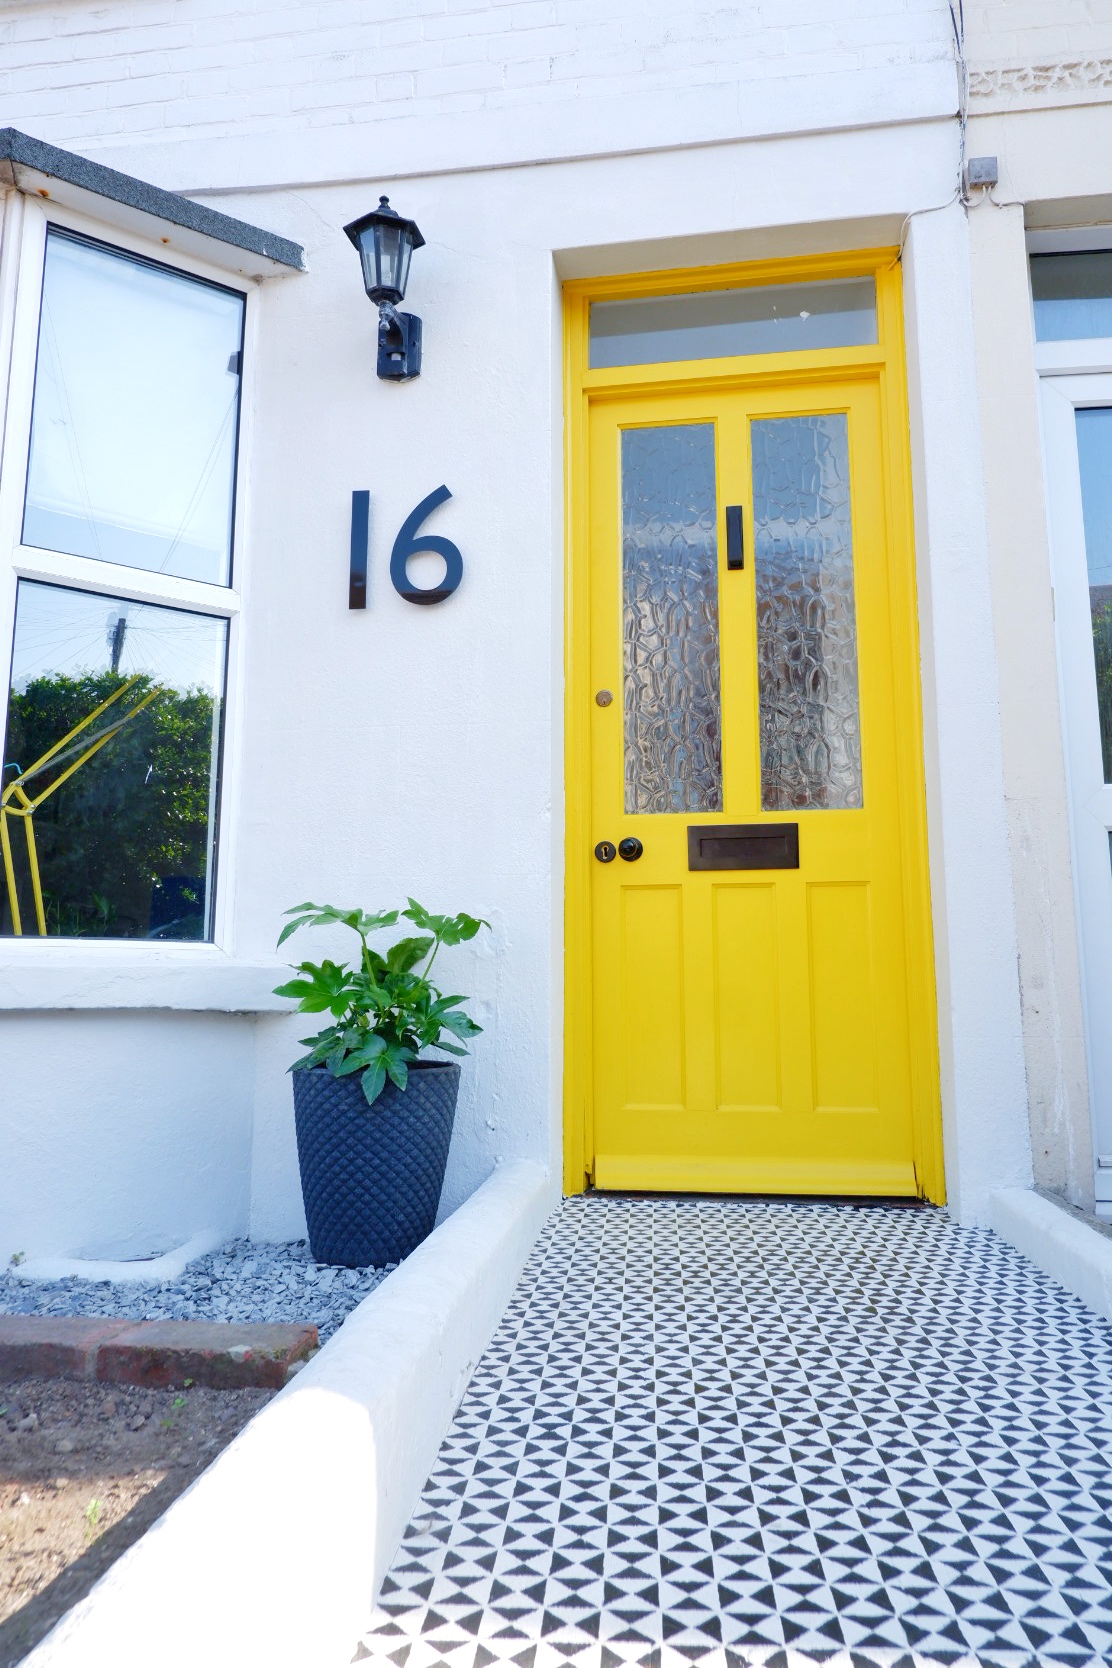
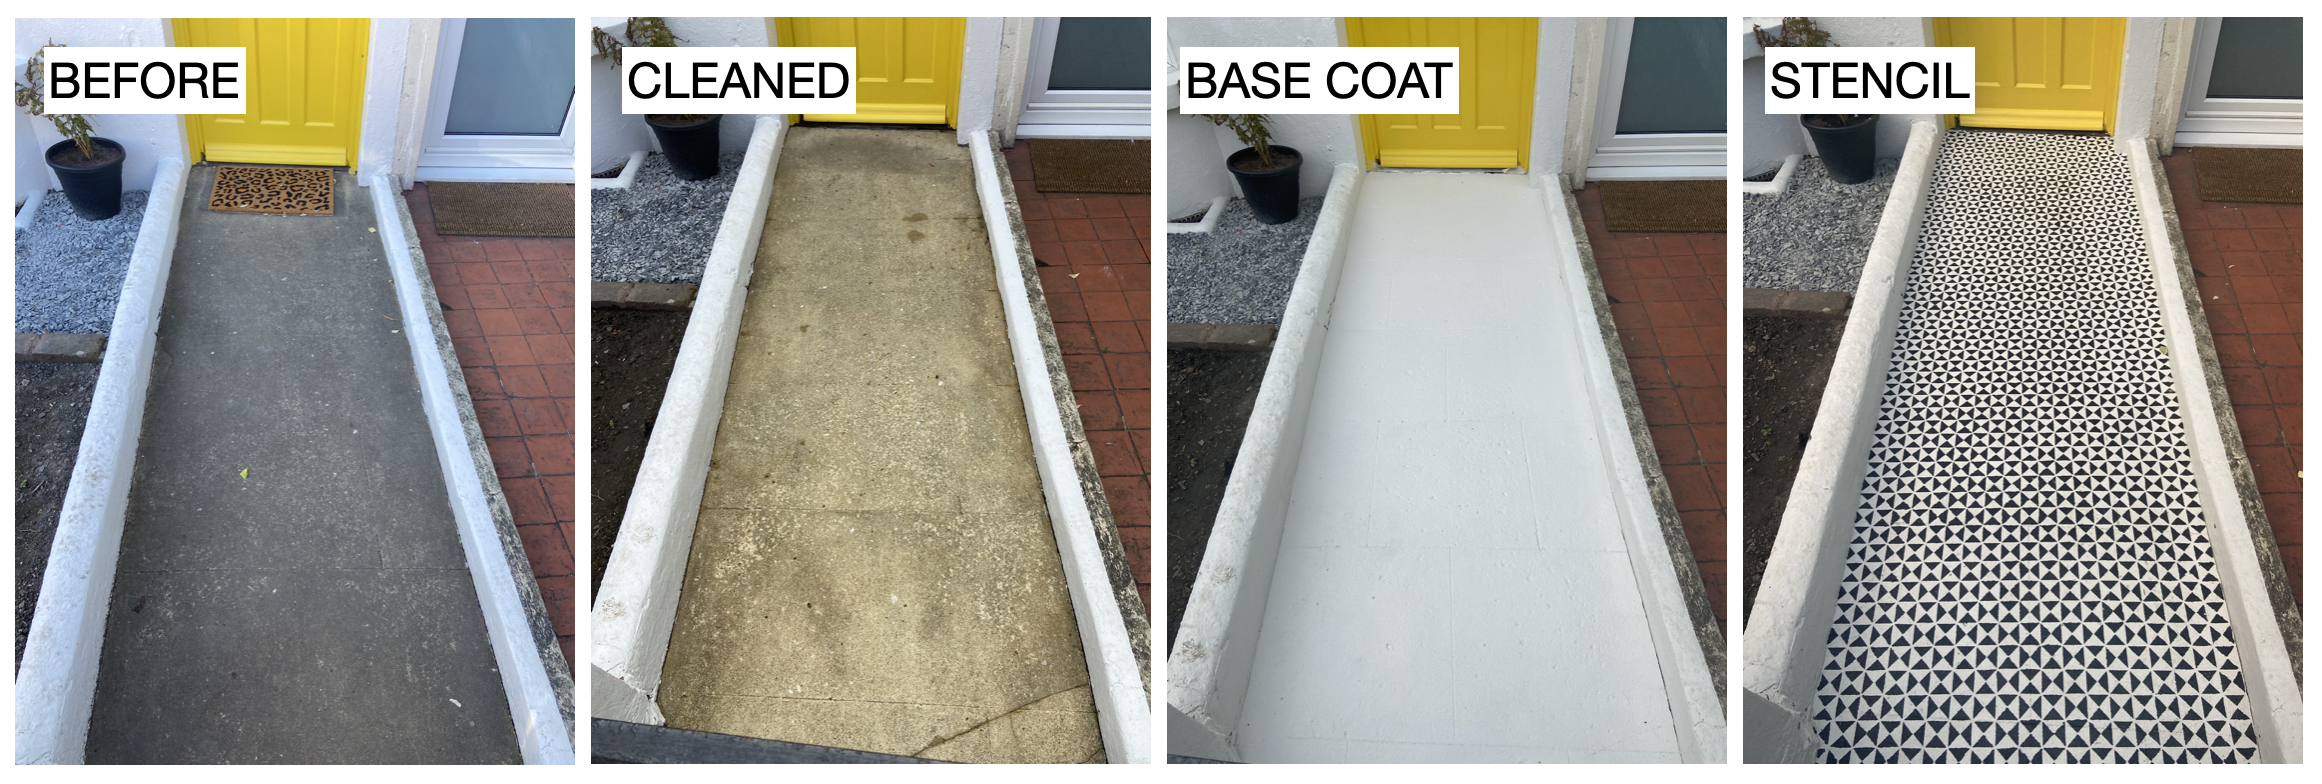
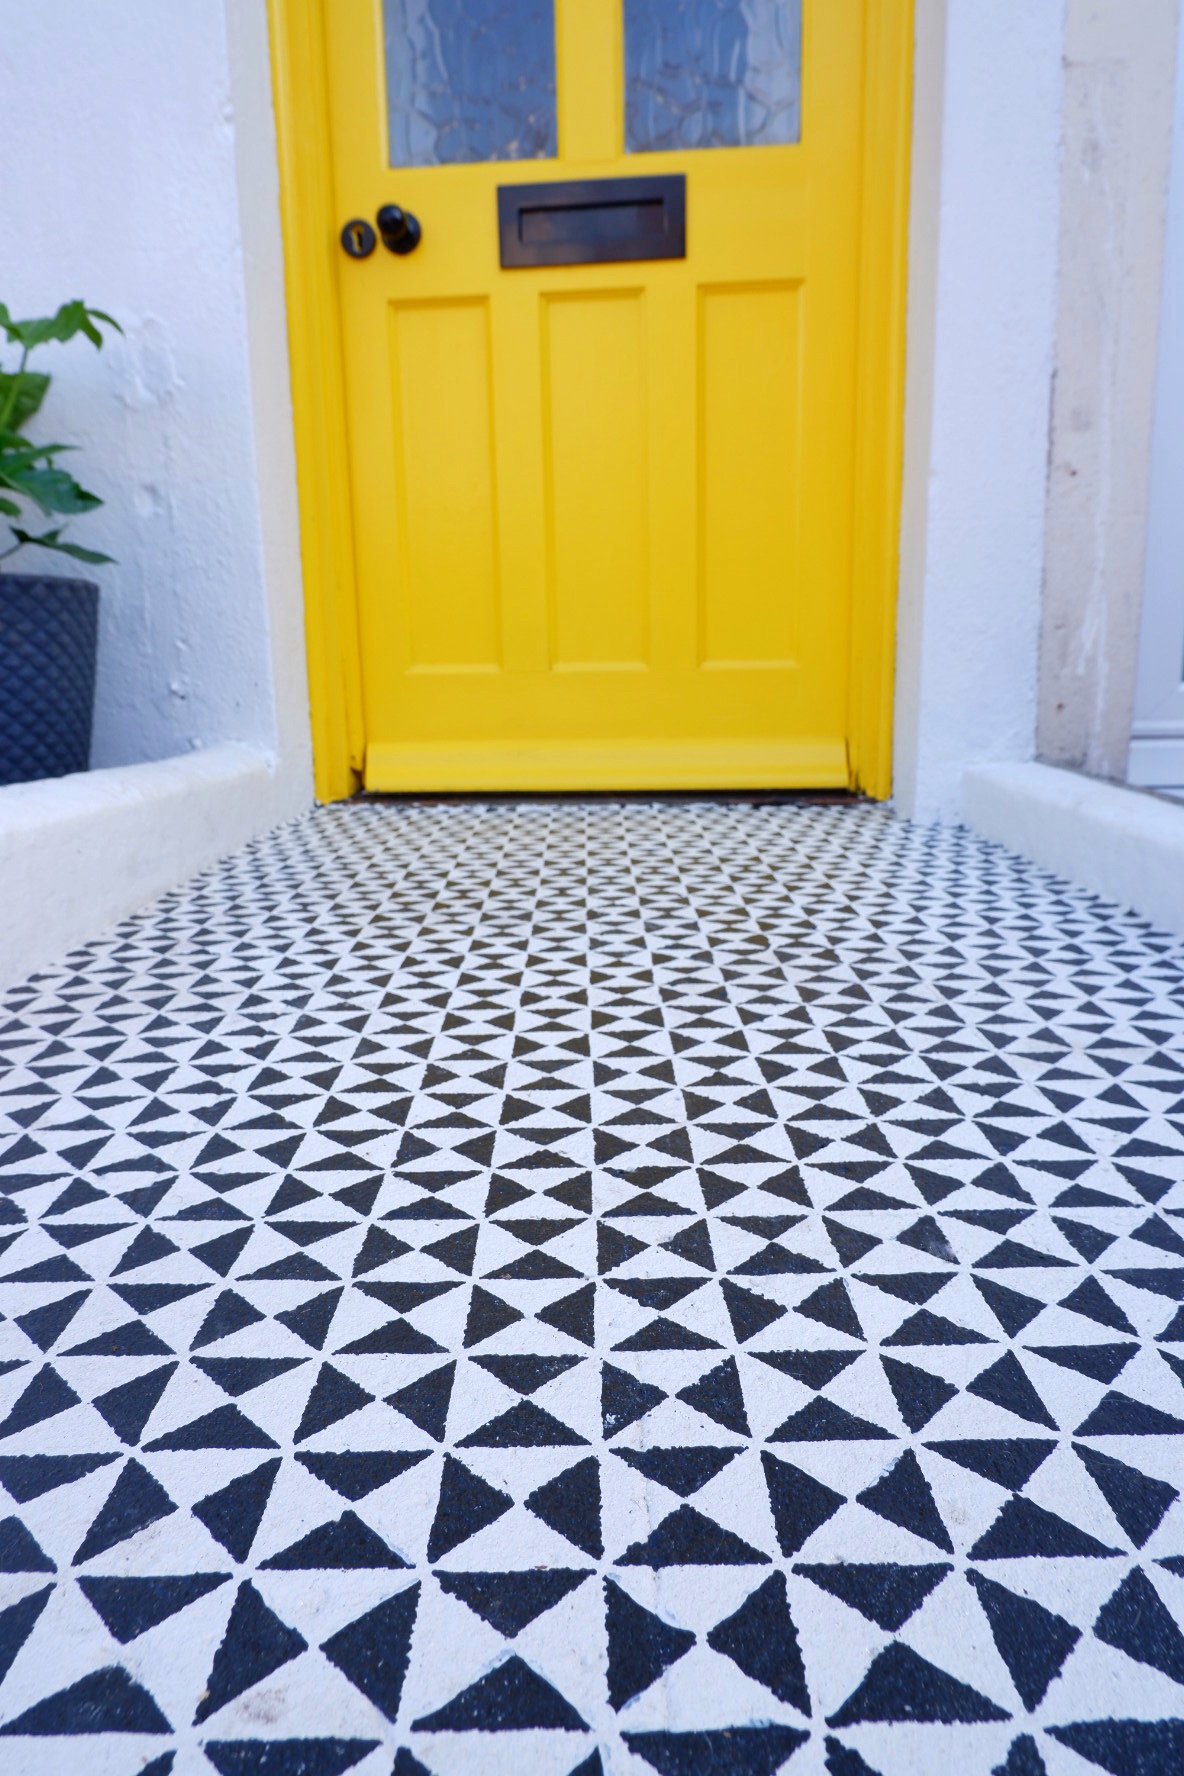
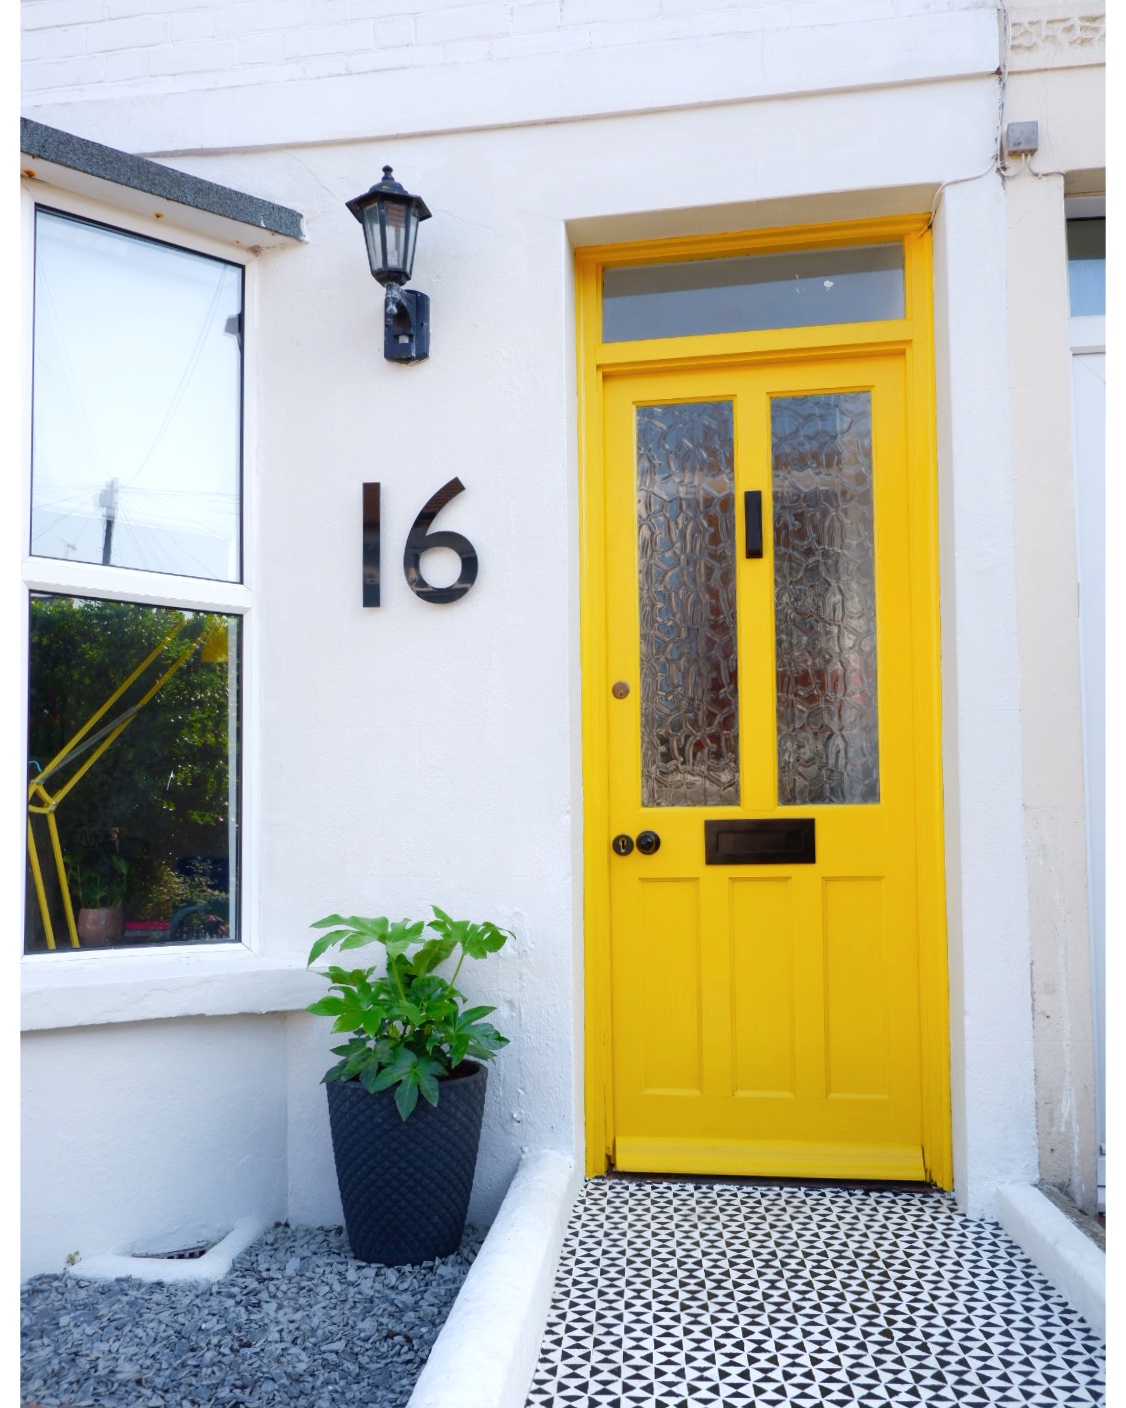
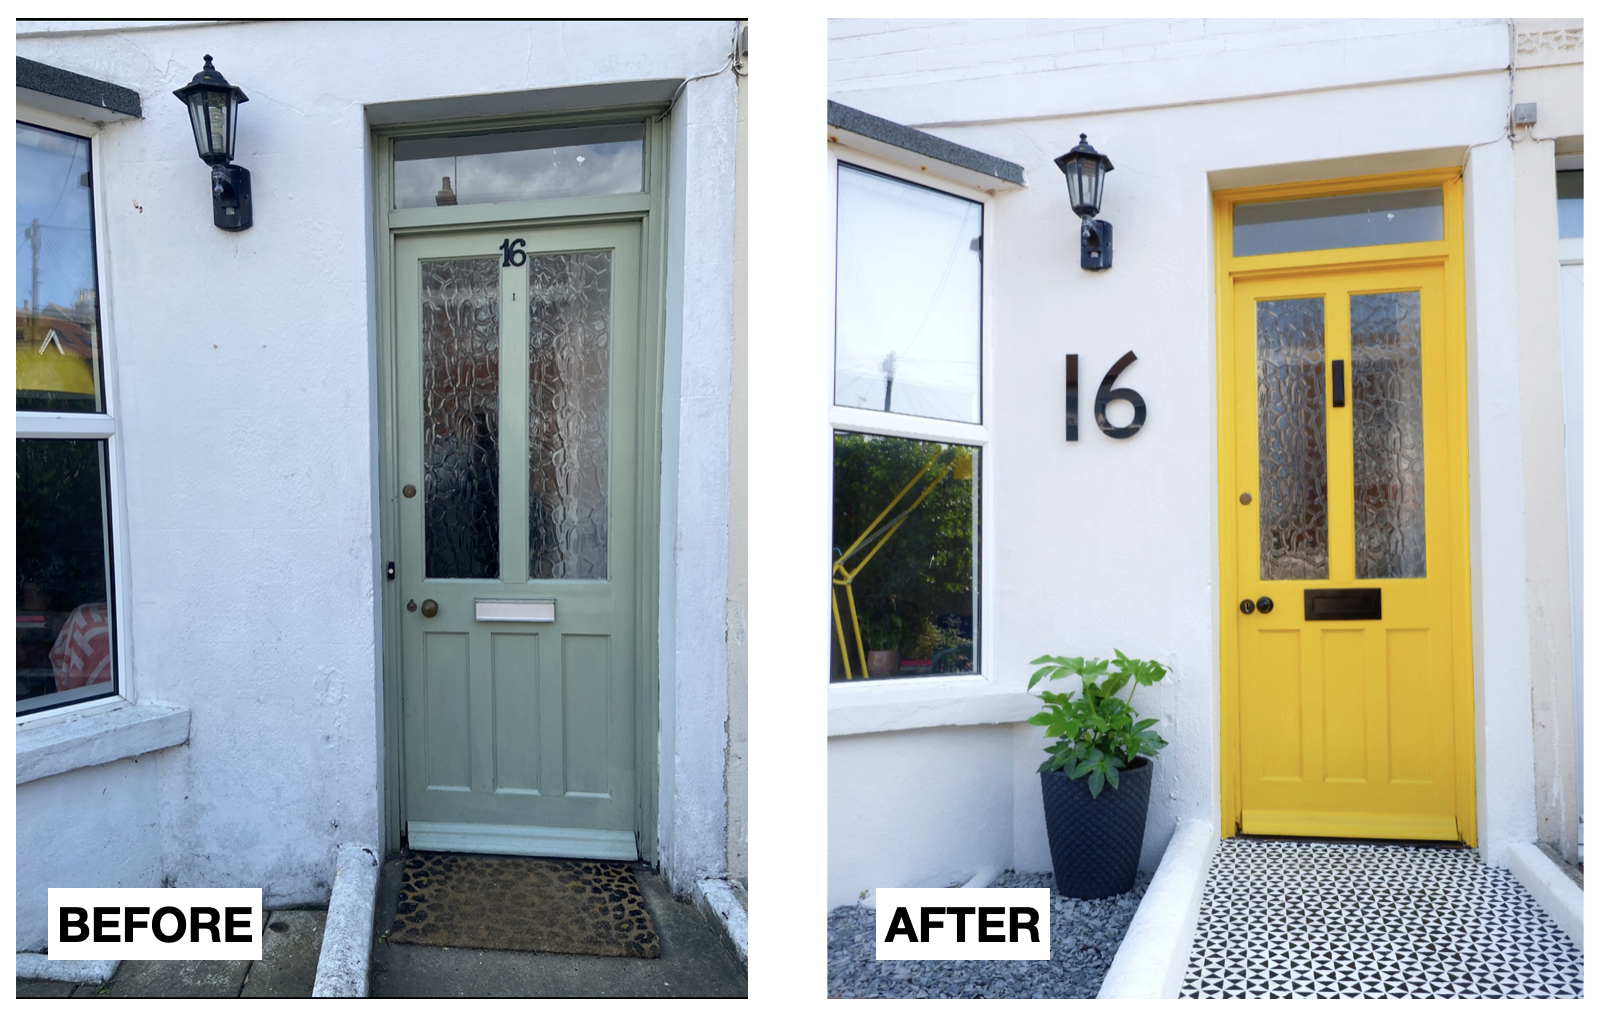
Big reveal! The front garden has had a mini-makeover over the past month. I’ve made some exciting & cost-effective changes to transform the space with some simple DIYs. Now, I want to show you how to transform your front path with a stencil…
DIY can be quite costly, especially if you’re hiring in trades. Ever since we moved in to our house in August last year, I’ve made it my mission to tackle different DIY projects myself. It’s been great fun thinking outside of the box and really pushing my creative skills. It’s also been fantastic having something to keep me occupied during lockdown.
One DIY that I am officially obsessed with is stencilling! You may remember my previous stencilling posts for my patio slabs and fireplace hearth, both great projects that have added so much character to the house. Needless to say that when it came to planning our front garden renovation, stencilling the front path was the first option for me!
How to transform your front path with a stencil…
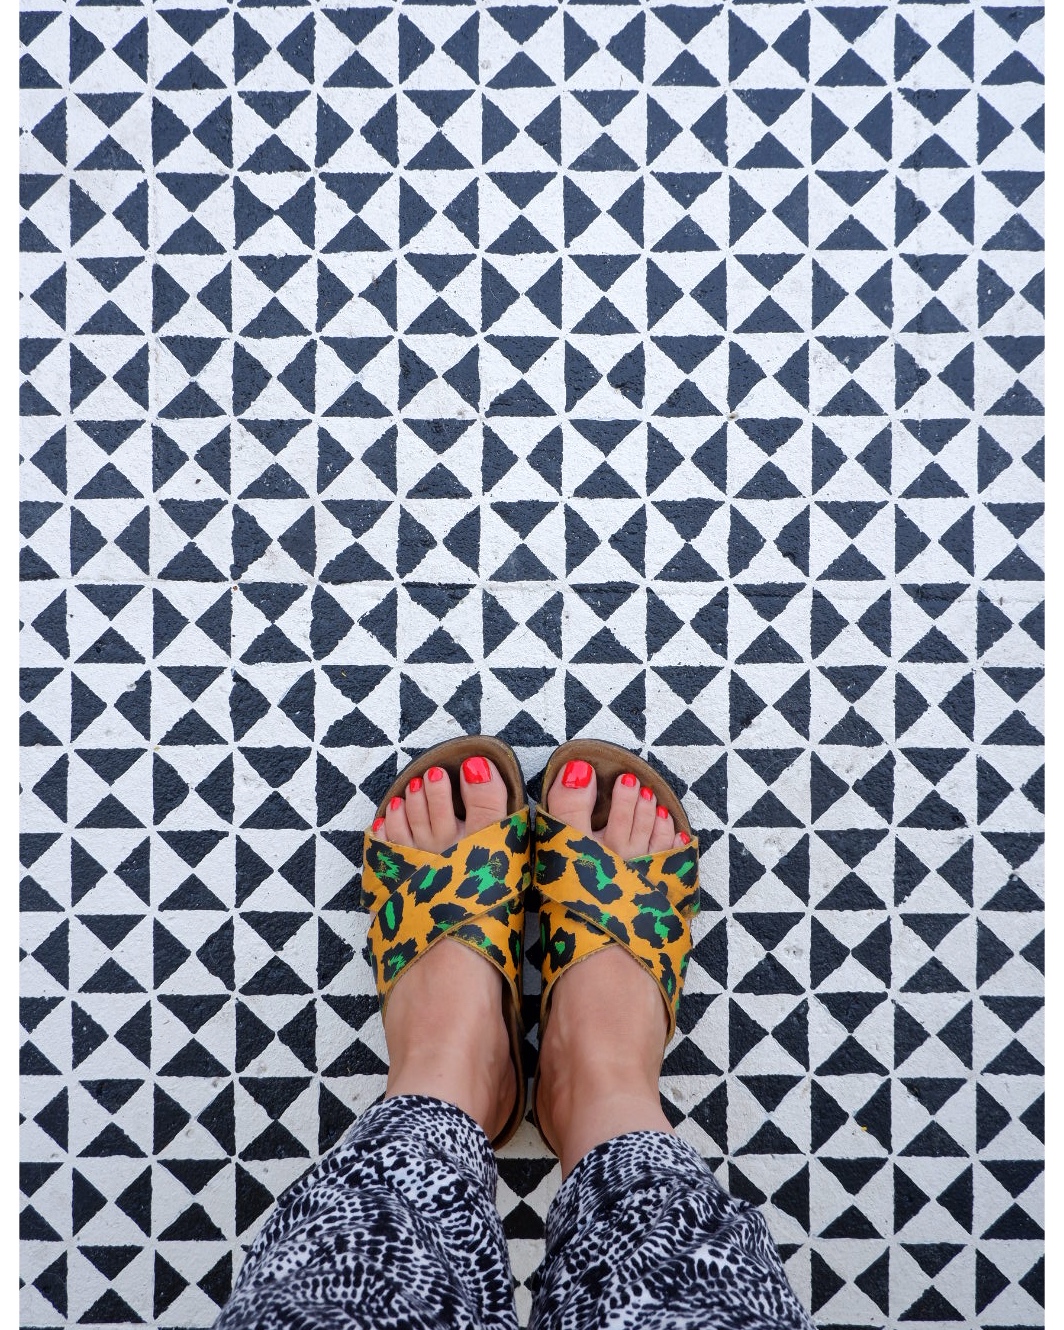
Stencilling is a cost-effective way of transforming a surface from drab to fab with just a lick of paint. It gives the same effect as tiles for a fraction of the cost. Not to mention it’s also really good fun and very rewarding. It gives you the option to choose from many different patterns and in any colour of your choice, which means you’ll have your own bespoke feature that you’ve created yourself.
There are some tips and tricks that I have learnt about stencilling that I want to share with you to help you. I’ve created this video tutorial below which talks you through the different stages of stencilling and the thought process behind it. Turn the volume up so you can hear me!
View this post on Instagram
To tackle a stencilling project, you will need:
- Stencil
- Paint in your chosen colour. If you are stencilling on to concrete or brick you will need masonry paint.
- Painting tray
- Paint roller. If your surface is flat, use a paint roller. If it’s not flat, use a stencilling brush or sponge with dabbing motions. DO NOT brush the paint on, it will seep under the stencil.
- Sponge
- Small paint brush. For the fine tuning!
- Something weighty to hold the stencil in place. I used tester pots of paint.
- Tape measure. To measure the area properly before positioning the stencil.
My four top-tips to remember when taking on a stencilling project…
- Clean the surface first! It is so so important to ensure the surface you are stencilling is thoroughly clean before stencilling. If there is any dirt on the area, the paint won’t adhere properly and will end up chipping.
- Don’t use too much paint! If you are using a roller, ensure that there is very little paint on the brush. It is better to go over it multiple times with less paint, than once with too much. If you use too much paint, it will undoubtedly bleed under the stencil and end up looking blotchy.
- Overlap the stencil every time! Don’t just line the stencil up and hope it’s in the right place. Always overlap part of the stencil and take time to ensure it’s positioned perfectly. Otherwise, the pattern won’t match up properly, and that’s a recipe for disaster!
- Have a LOT of patience! Stencilling requires a lot of patience. You need to be prepared to allow time for the paint to dry slightly between coats, and will also need to clean the stencil a few times throughout the project too. If you rush, there will be visible mistakes. Just take it slow and keep a steady hand – it will be totally worth it in the end, I promise!
Total costs…
So, how does stencilling costs compare to tiling? Here’s a breakdown of what I spent to complete this project.
- Stencil – SAMARA tile stencil, 6″ multi tile. £34.98 from Dizzy Duck Designs
- Base coat paint – ‘Pebble white’ Masonry paint. £14 for 5litre from Wilko
- Stencil paint – 2 x tester pots of Valspar ‘Charcoal Sketch’ masonry paint. £8 from B&Q
- PVA bond – £4.98 from B&Q
Total cost:
£61.96
That’s a vast difference comparatively to the cost of outdoor tiles & adhesive, and hiring in a tiler to complete the work. For me it’s a no brainer if you’re working to a tight budget!
I hope this has give you some inspiration! Be warned though, it’s very addictive!
YOU MAY ALSO LIKE
How to Stencil Concrete Patio Slabs
How to Stencil a Fireplace Hearth
Plan & Complete a Garden Renovation
PIN THIS!
All content curated by That’s so Gemma
May contain affiliate links.

