Ladies Toilet Transformation: How I completely redesigned a ladies public loo (WOOH!)

I sure do pick my jobs don’t I? Well, actually this job picked me. I would like to mention before beginning this post that there is a hefty 23 minute long video for y’all to watch (if you wish, it’s pretty longers) right at the end of this post, so you can see the full day by day transformation to see how the process went down.
A few months ago it was mentioned to me that the ladies toilets needed a ‘spruce up’ in a local pub, The Rose and Crown, that I have worked in on and off for the past six years. They know me well enough in there by now to know that I have a background in interiors, so eventually it was hinted, and then suggested that I should take on the job. Now, give me a living room or a bedroom to redesign and I would HAPPILY oblige. I have experience in those sections – let’s stick to the pretty rooms yeah? A ladies public loop-de-loo is NOT something of the ordinary to come up as a job, so as you can imagine I was a little overwhelmed with this ‘where the frickin’ frick do I begin’ feeling.
This was NOT a lick of paint job. This was a full wham-bam; shred it, gut it, get-rid-of-it-all job. Bish Bash Bosh, ‘holy crap there’s no turning back now’ kind of job. Yup.
I was given the deadline of the end of November for all construction work to be completed (which by the way I was successful in doing so, I’ve just taken my sweet time getting round to writing this post). I began by making some mood boards for inspiration to create an overall final look which had to stay tucked up in my little head for quite some time. On Keynotes I created a design brief of what needed to be done and what I would have to get. You can see in my fancy slideshow below my pre-construction designs.
After doing some researching and sourcing some of the decorating materials, I settled on this final plan…
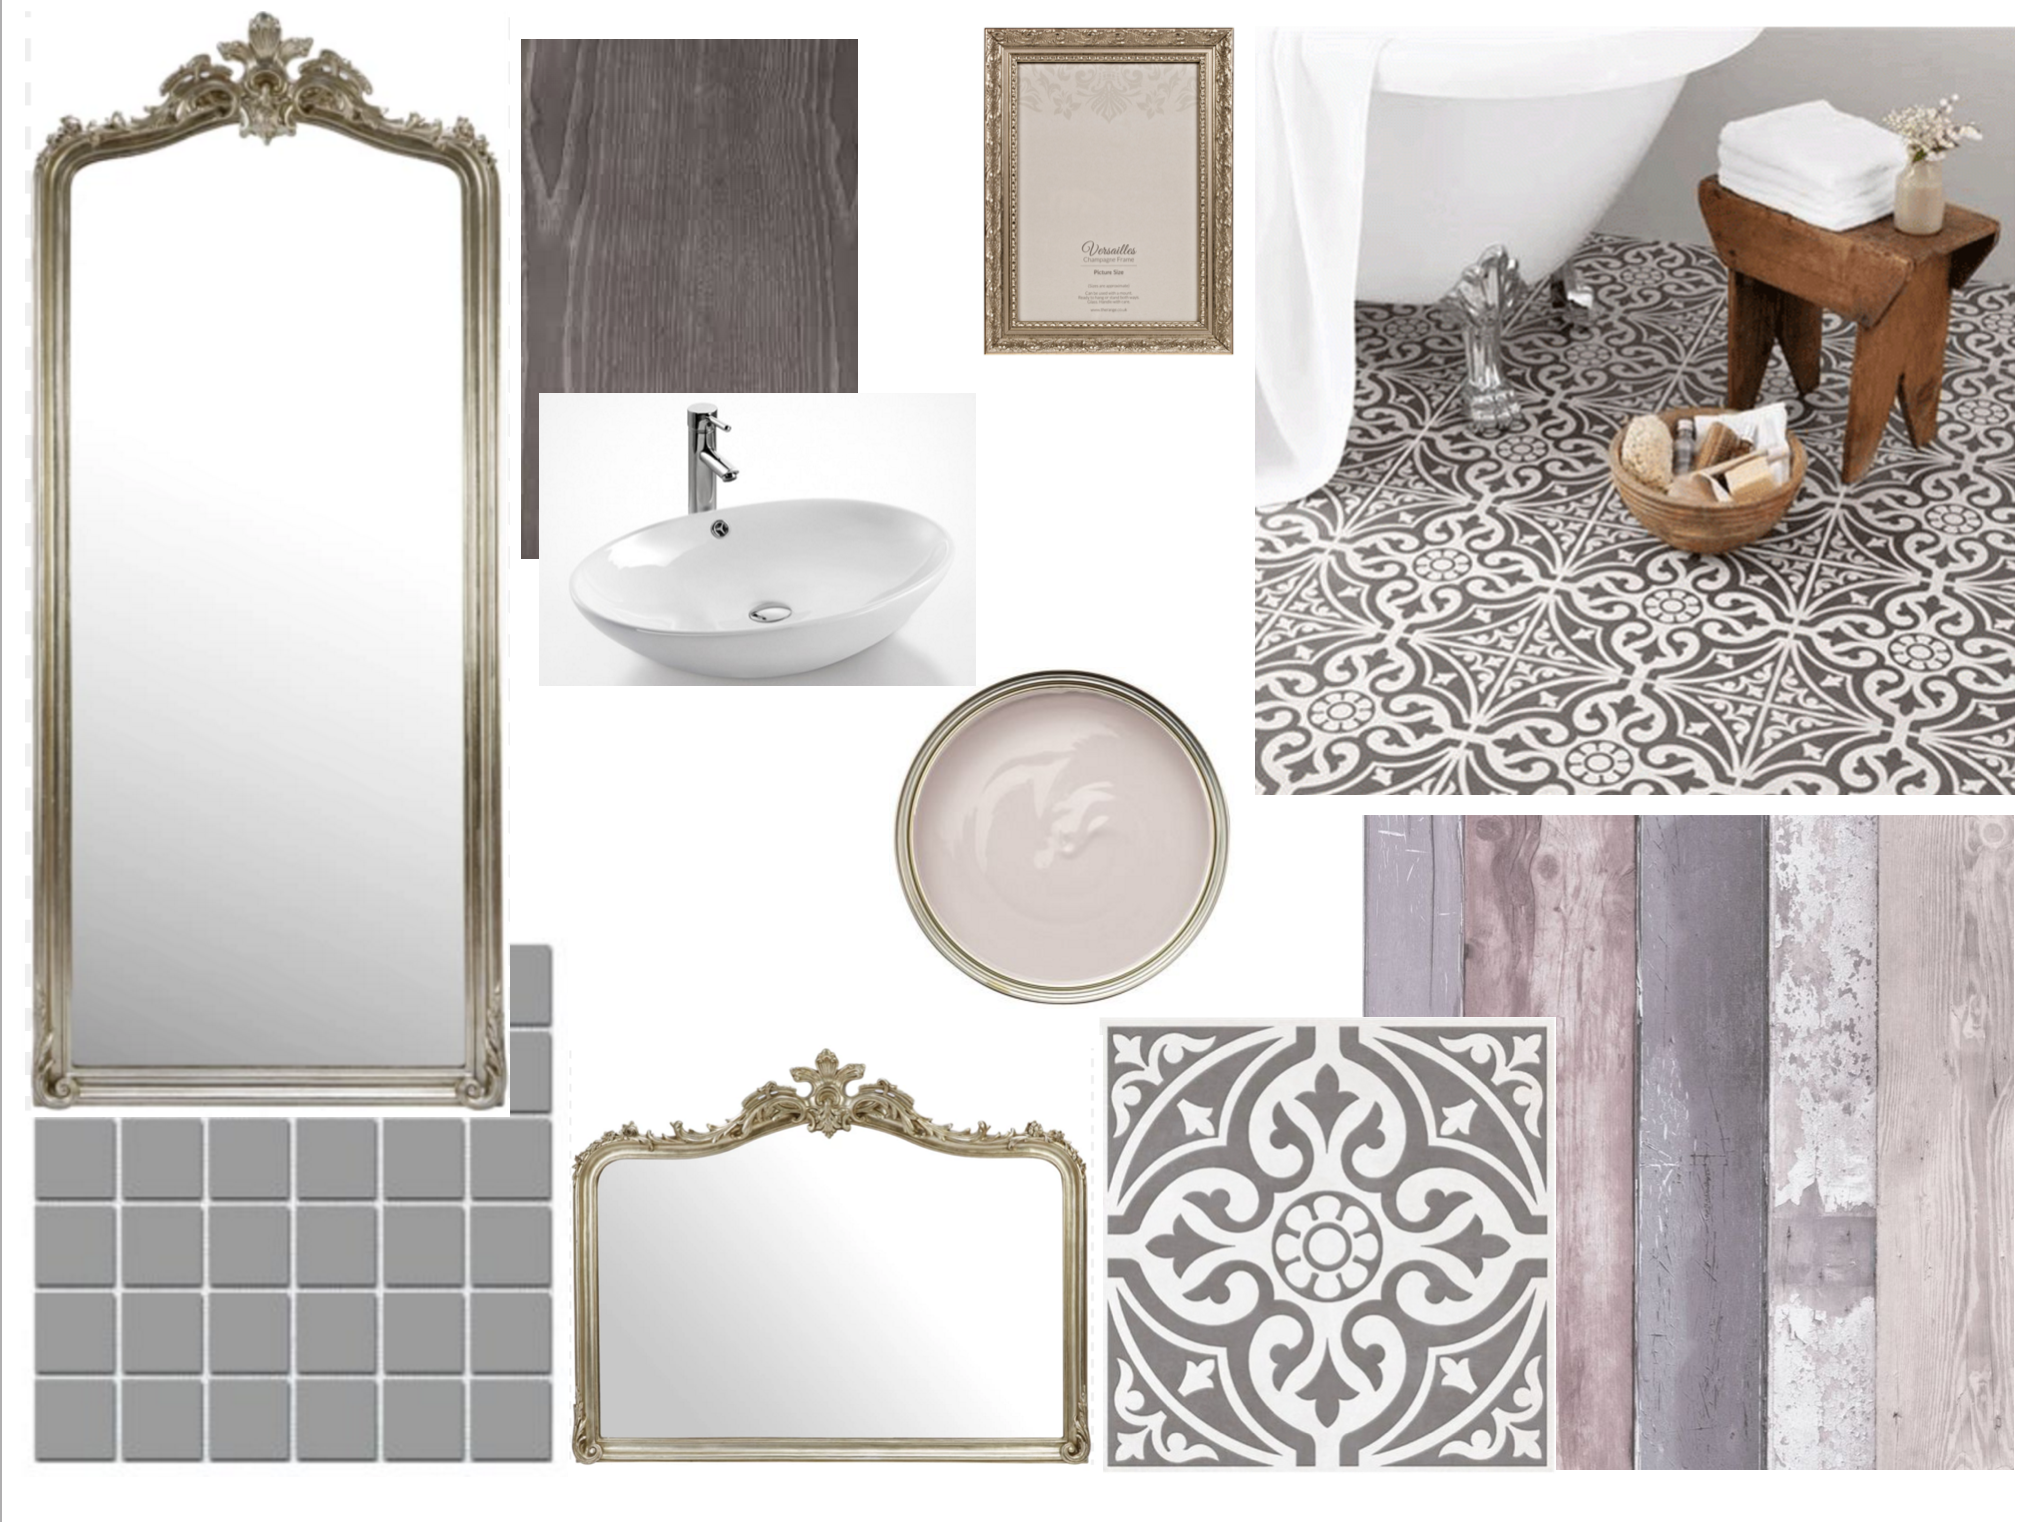
Incase you’re interested, here’s a shopping list of links where you can buy some of the fancy schmancy-ness.
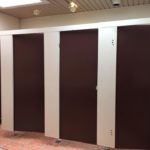
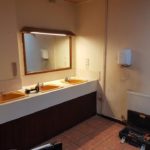
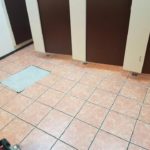
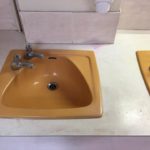
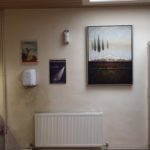
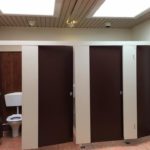
So, let me fill you all in on what this droddy room looked like before the makeover. It had damp walls, dreary paintings, and very cranky old toilet cubicles with dodgy locks. The sink area was worn and even though I actually quite liked the old 80’s retro yellow sinks, they sure as hell looked their age in that setting. Every time I entered the room to take measurements/assess the plans you can imagine how hard it was for me to vision anything nice in there with those godawful surroundings. I mean yikes, there was an untiled manhole covered up with a piece of old manky carpet, yuk. The ‘ceiling’ was a big piece of baby poo coloured corrugated metal, the hand dryer had mould growing around the base (nice) and the spotlights were almost dangling out of their sockets. It needed work, and everyone knew it. Better yet, it gave me more of a challenge.
I began sourcing the best place to buy toilet cubicles. Yeahp, never thought I’d be tackling that one. Toilet cubicles is one of those things that you just never should know-never would know things to buy. In the end I found a company with great laminate coverings (very important) with low budget costs so it was a no brainer. Trust me I battled through three other cubicle companies before finding Venesta. It was a bore, and a brain-ache. Then, sending my cruddy little drawings of the measurements in the room made me feel an ickle bit vulnerable… What if I got it wrong and bodged the whole darn thing up?!
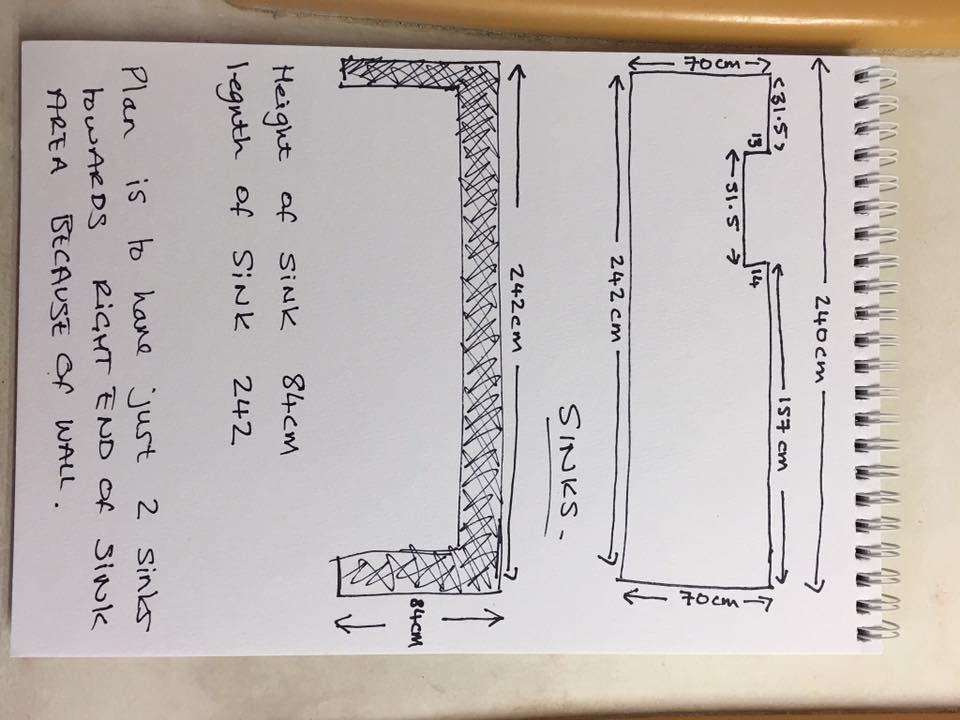
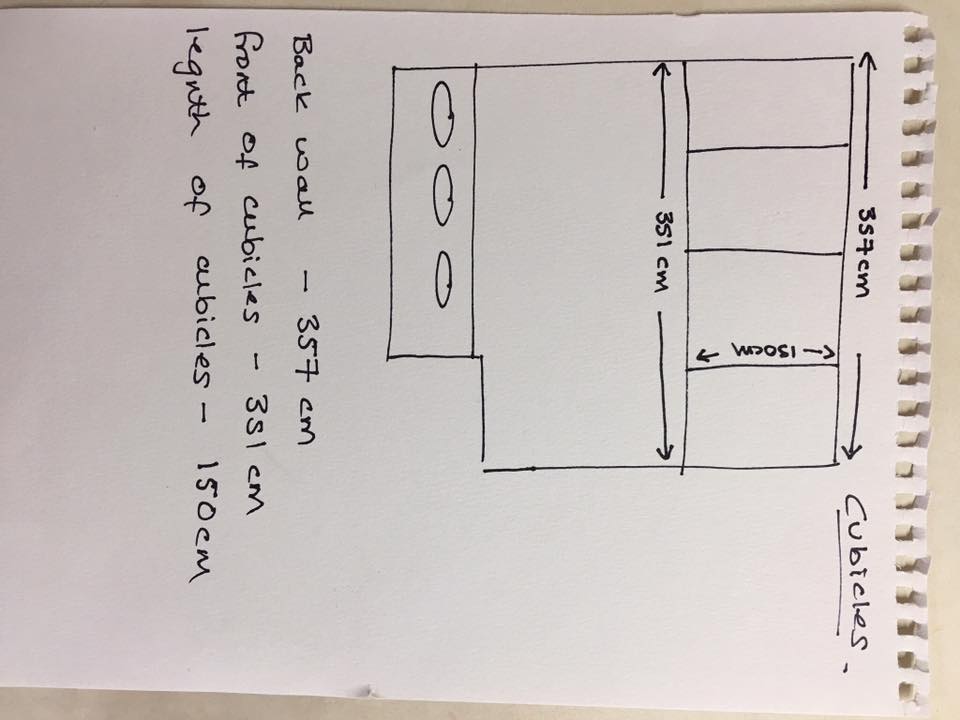
Anyhoos, after choosing the cubicles I ventured to City Plumbing Supplies where from that point was known to be my second home for the forthecoming month. I ordered the cubicles from Venesta through them, along with two fancy sinks, two fancy tall taps, four concealed toilets, four toilet systems, four toilet roll dispensers and two hand soap dispensers. That was one shopping list alright! City Plumbing Supplies were amazingly helpful – couldn’t rate them higher!
Everything was starting to come together, it was actually very hard to tell what did/didn’t need to be completed as I was kind of walking around blind until the work actually started.
Arranged builders – Check!
Ordered toilets and cubicles – Check!
Ordered mirrors – Check!
Ordered floor tiles – Check!
Bought paint and wallpaper – Check!
It was ready to roll…
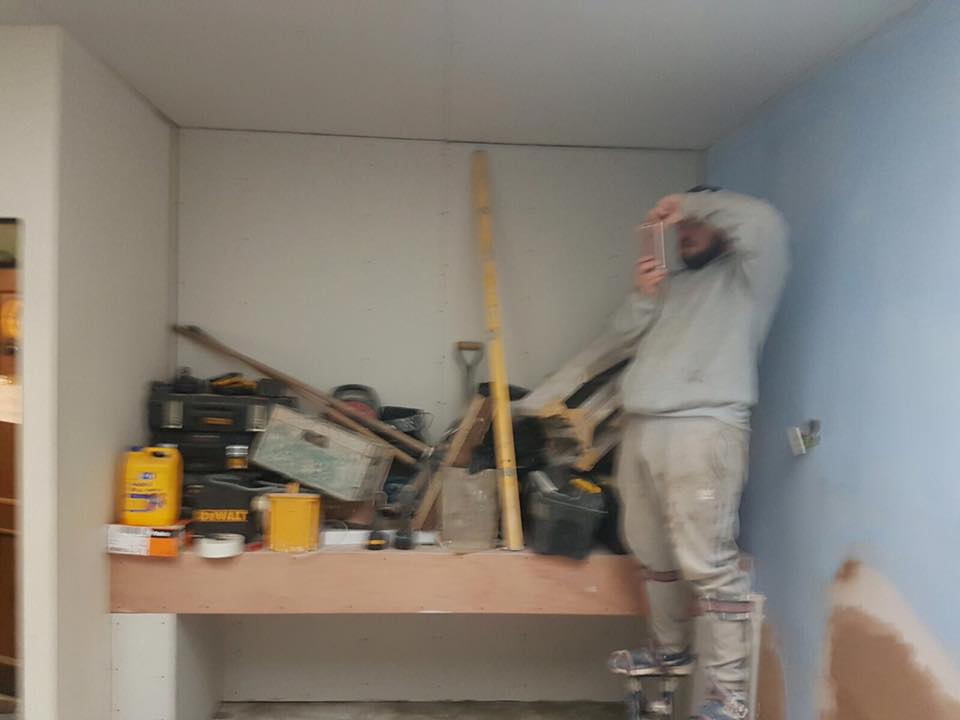
I met the builders a couple of times before the job began. Ben specialised in plumbing, Olly and Pete specialised in plastering and tiling – my dream team!
They were honestly, without a doubt the BEST team for the job. Not only were they hard working, prompt and fast but I could really tell that they genuinely liked their jobs and were passionate about getting it done right. Here’s a couple of links if you’re in the Worthing area a need a DARN GOOD handy man!
benbroad@rocketmail.com
So, the final result…
It was extremely exciting and nerve racking throughout the eight day transformation. After three or four days I could begin to see the ‘pretty things’ that I had chosen enter the room. It was quite a slow and painful, almost tormenting process for my designer brain as I JUST WANTED TO GODDAMN SEE IT ALL finished. It naturally wasn’t until the final day that my vision became complete, with the decorating and final titivating (which is when I could step in and do what I do best of course). I am so pleased and also relieved that it all came together exactly how I imagined. All the pressure was finally off as the construction came to an end and the final room was glowing and sure as hell That’s so Gemma-ified.
Voila…
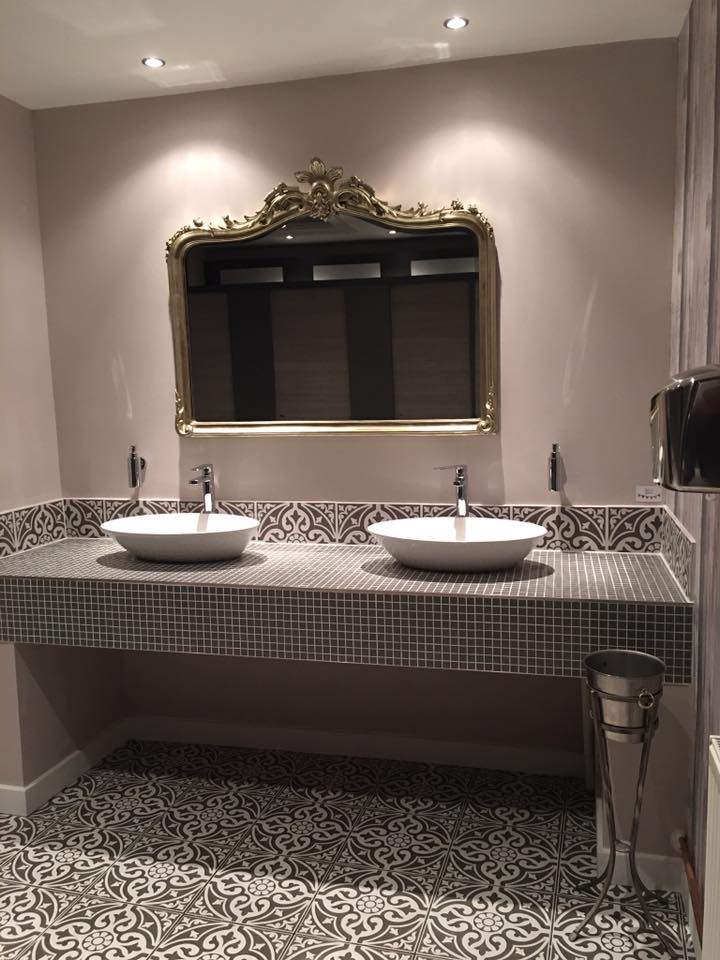
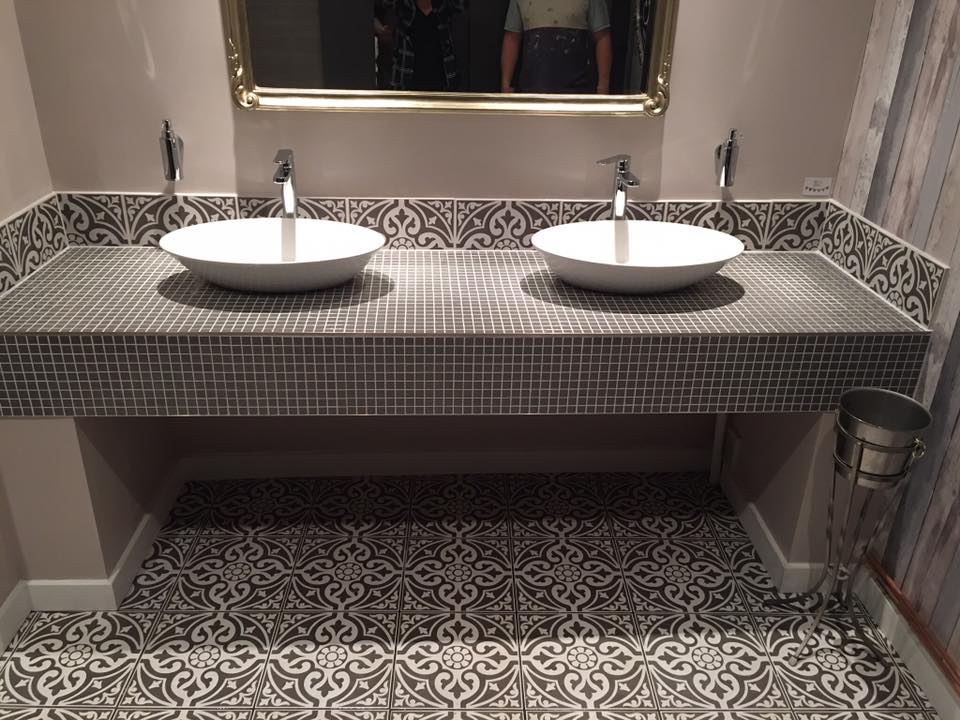
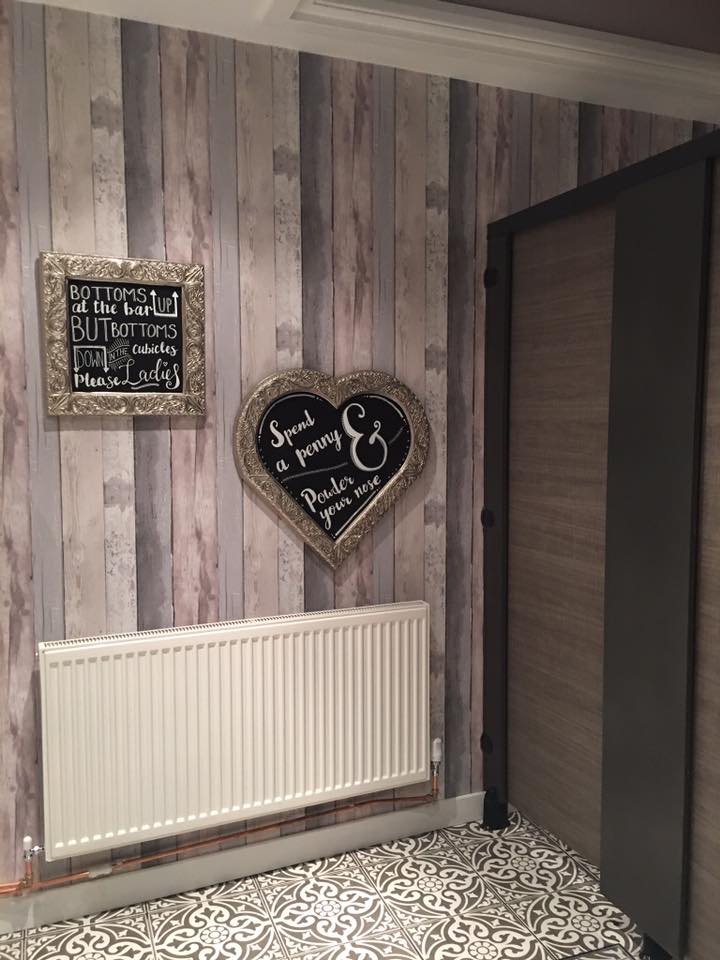
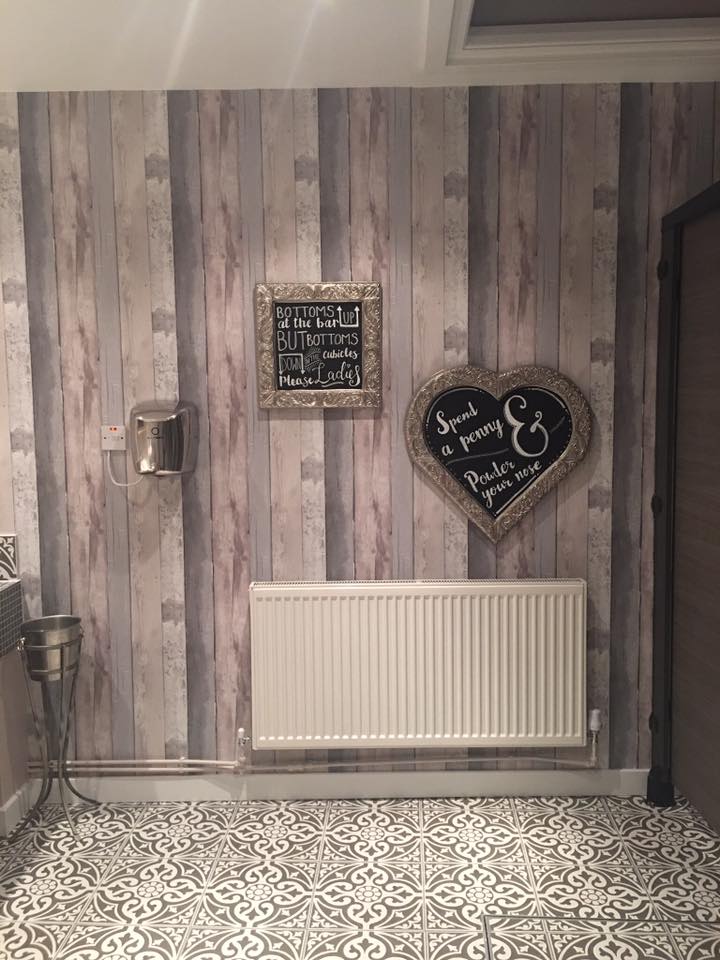
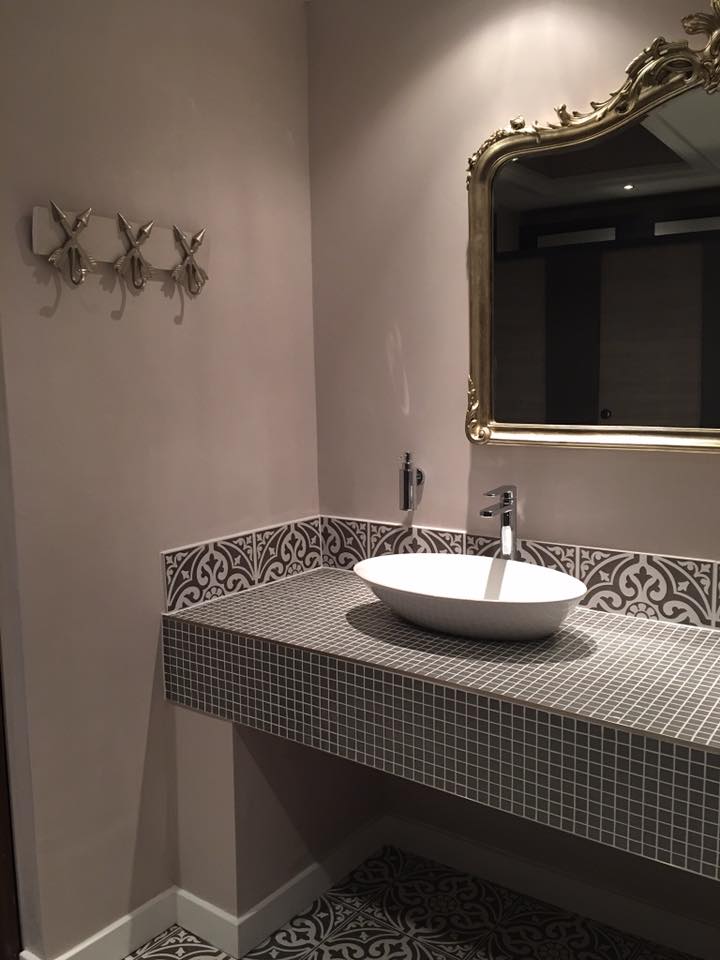
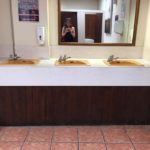
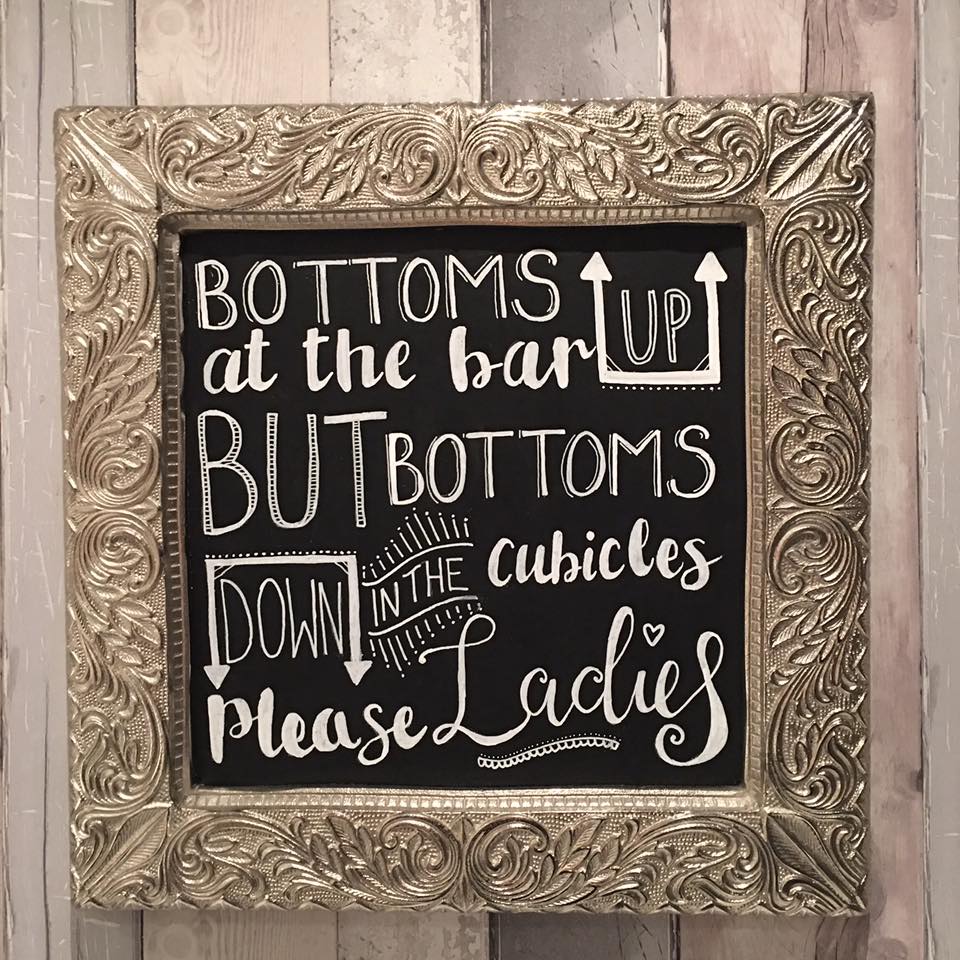
I added some little unique touches with some quirky chalk boards and a champagne bucket stand that I spray painted for waste paper towels. It was fundamental and very important to me that I kept some of the traditional feel which is spread throughout the pub in to the ladies loo too! I aimed for a traditional-yet-modern feel with tapestry tiles and champagne gold mirrors, with modern basins and decor. The Rose and Crown is such a homely, traditional pub so I especially didn’t want the newly decorated room to feel too out of sync. But, it needed it. I also up-cycled some broken mirror frames brought from the clearance section in Homesense and made them in to chalk boards with some funny female puns… As you do.

For those of you who haven’t already skipped to this long LONG video, well done! For those of you who may now want to spend a further 23 minutes invested in this process then by all means, watch away! I wanted to vlog the process not only to share with you, but also to document for myself as a reminder of my first out-of-the-comfort-zone project. Enjoy!
My first ladies loos, and a room for posh poos!


