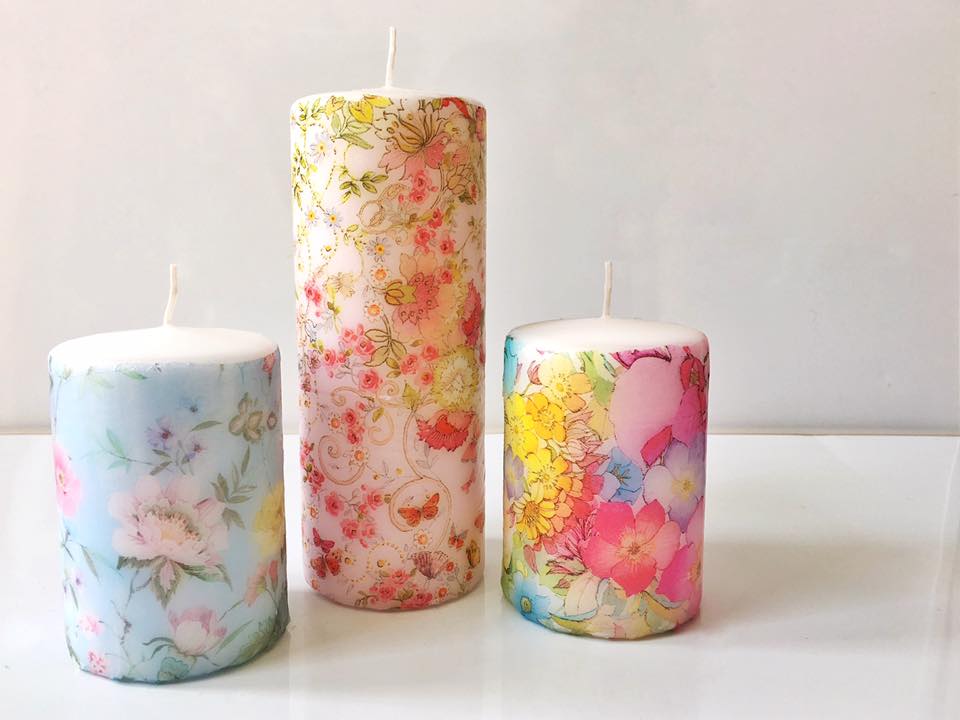
Make & Create: Decoupage Candles


For a while now I have been dying to make myself some decoupage candles! I’ve been thoroughly inspired by Pinterest and lots of craft network pages on Facebook and realised it’s the perfect way to get some good use out of all my pretty napkins that I have
collected over the years.
I really did not think that it was so simple and easy to do. There’s a number of different techniques you can try but I highly suggest this method if you have a powerful hairdryer as this has worked so well for me despite all the negative reviews I saw when I was doing my research (I do check you know!).
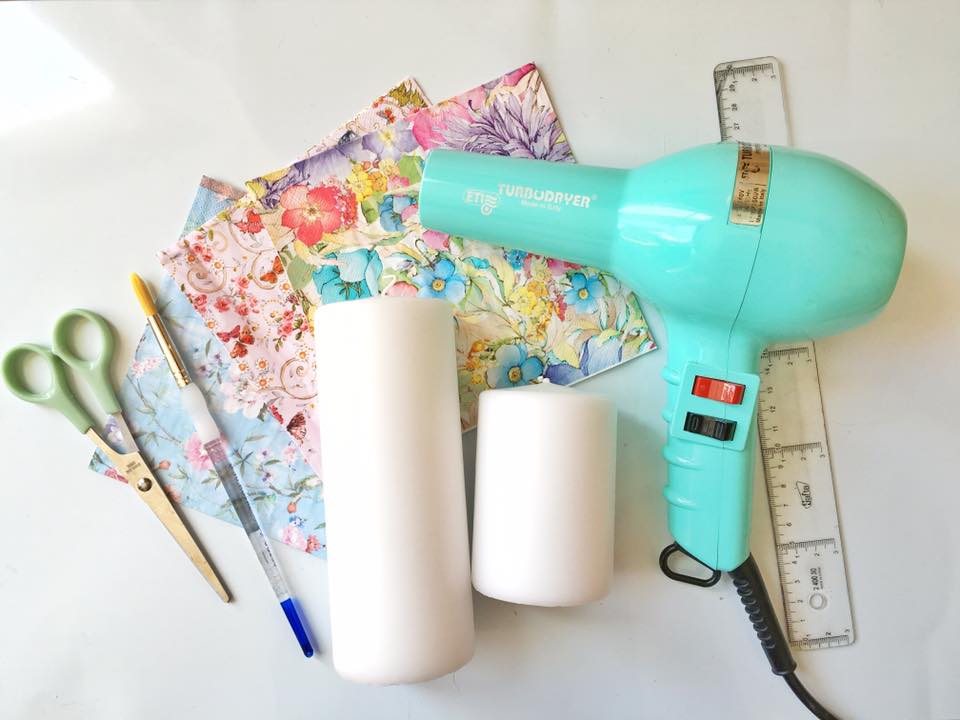
All you simply need for this creative make is:
- Plain white wax candles.
- Paper napkins of your choice.
- Hairdryer
- Ruler
- Scissors
- Paintbrush
- Craft knife
I purchased the candles for a really good price at Tiger Stores. The larger candles cost £2 and the smaller candles are priced at just £1.
Using your candle as a guide, begin marking your napkin and measuring the length you need it to be, then cut out the template avoiding the edges (there will be bobbled and raised edges).
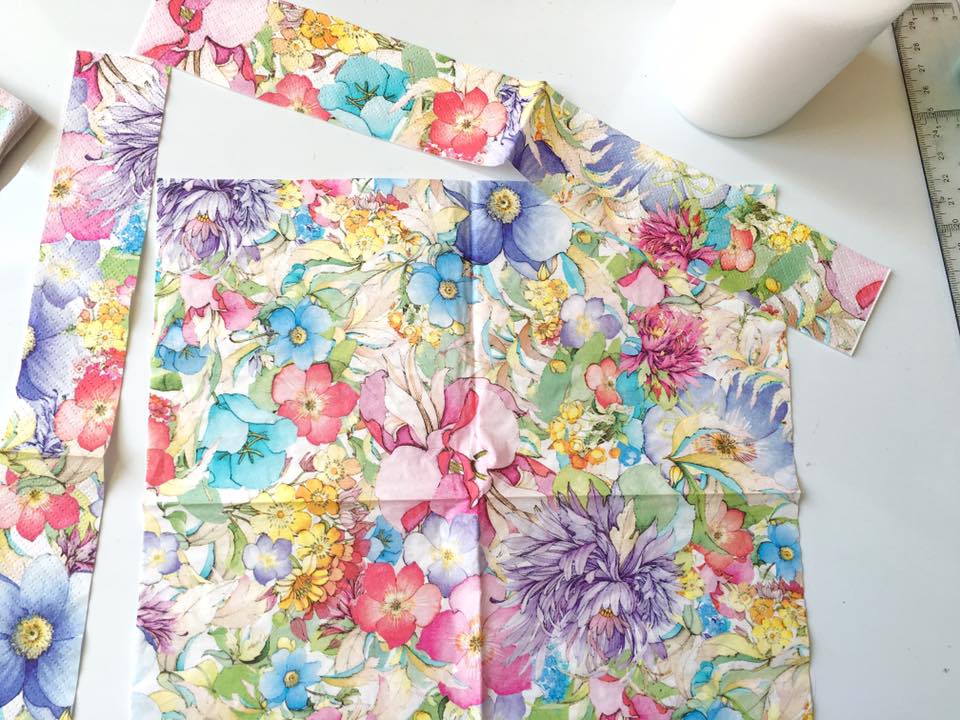
Napkins will generally be 3 ply. This means that there are 3 layers to your napkin and you need to carefully peel and remove the 2 under layers without creasing or causing a tear. This is very important to do, otherwise your napkin will not completely secure to the candle.

Start rolling your candle with the napkin placed in a straight position and hold firmly in place.
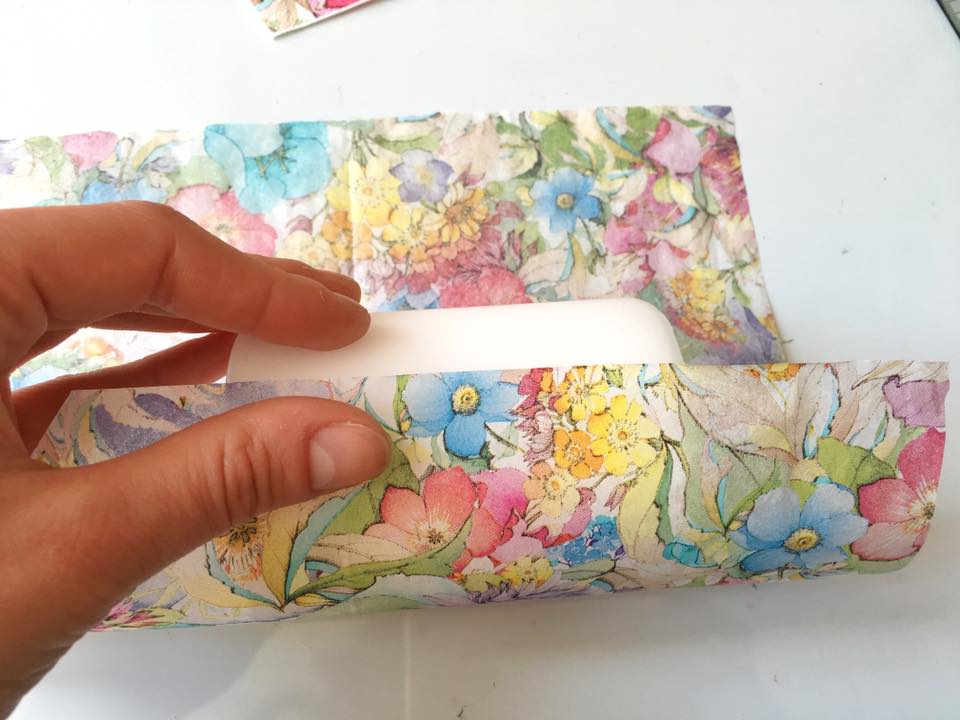
It’s time to get the hair dryer on the go! Aim the hair dryer directly on to the napkin and slowly move it around the surface of the candle. Be really careful not to burn your fingers.
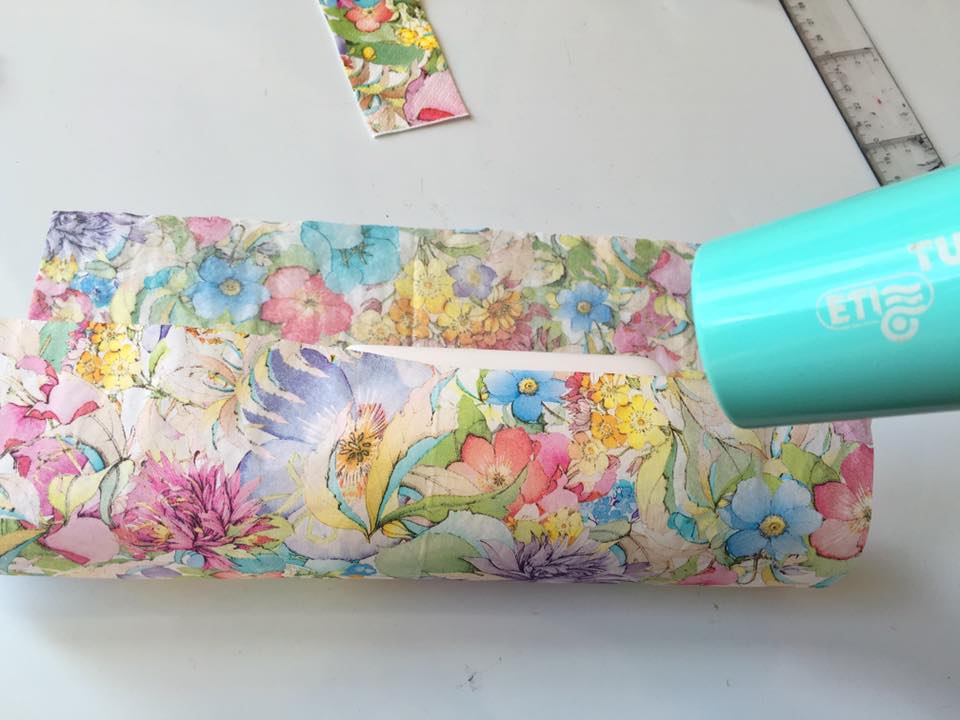
You will start to see liquid wax coming through the napkin, don’t panic because this means that it is working! Be patient and careful not to rip or tear the napkin as you maneuver it around, you can at any time stop the hairdryer and it will quickly set and cool again. Use a paintbrush to smooth out any folds or creases as you go.
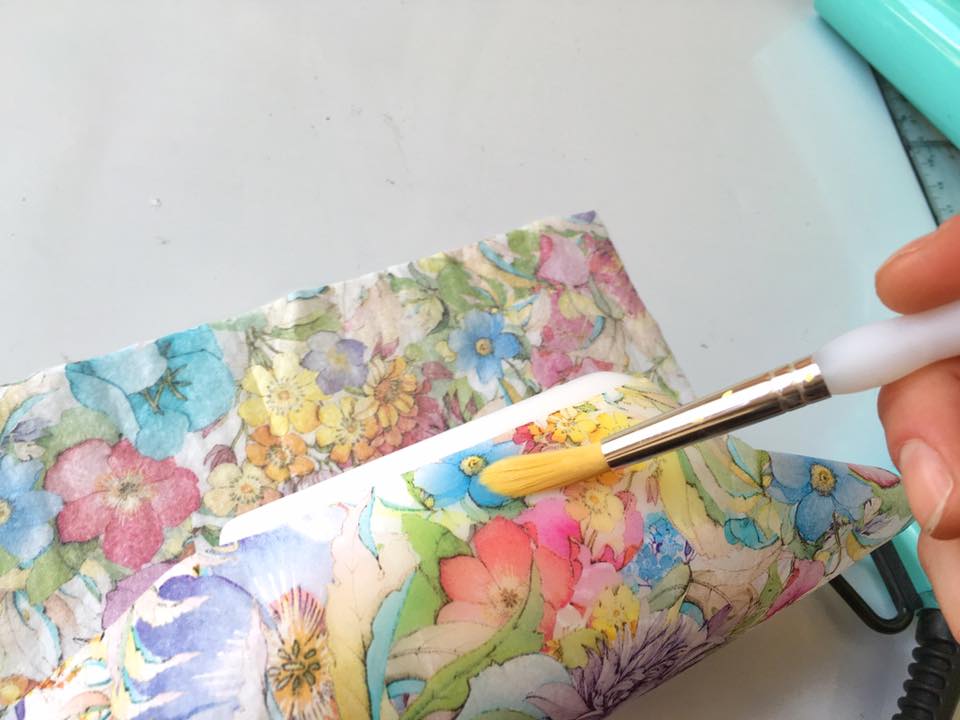
Once you have gone around the entire candle, check it thoroughly to make sure all areas have stuck down. If needs be, repeat the whole process…It is better to be safe than sorry!
At the base of the candle, cut your napkin 1 or 2 centimetres away from the candle and use the hair dryer to melt the base and stick down the edges.
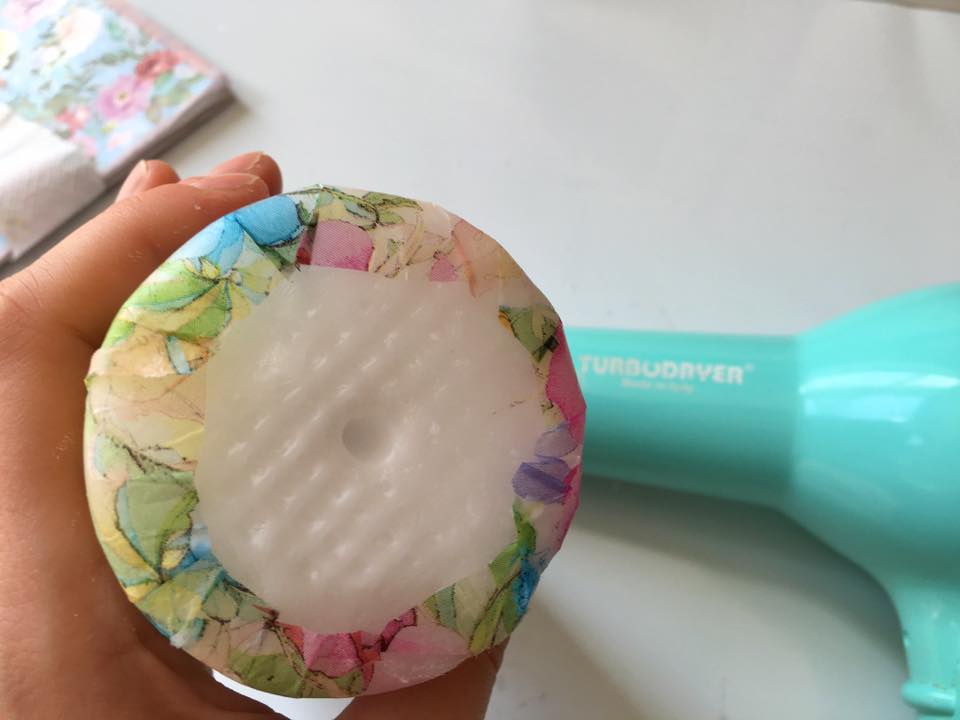
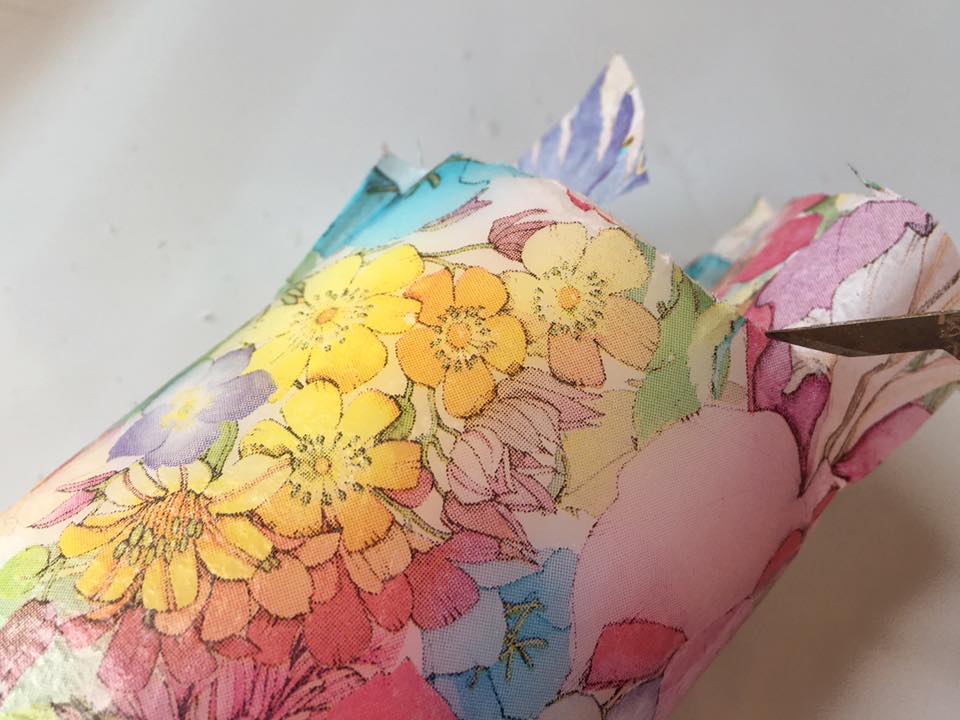
Use a craft knife to cut the edges around the top of the candle in a straight line, then once again, heat up the candle to ensure it is all in place.
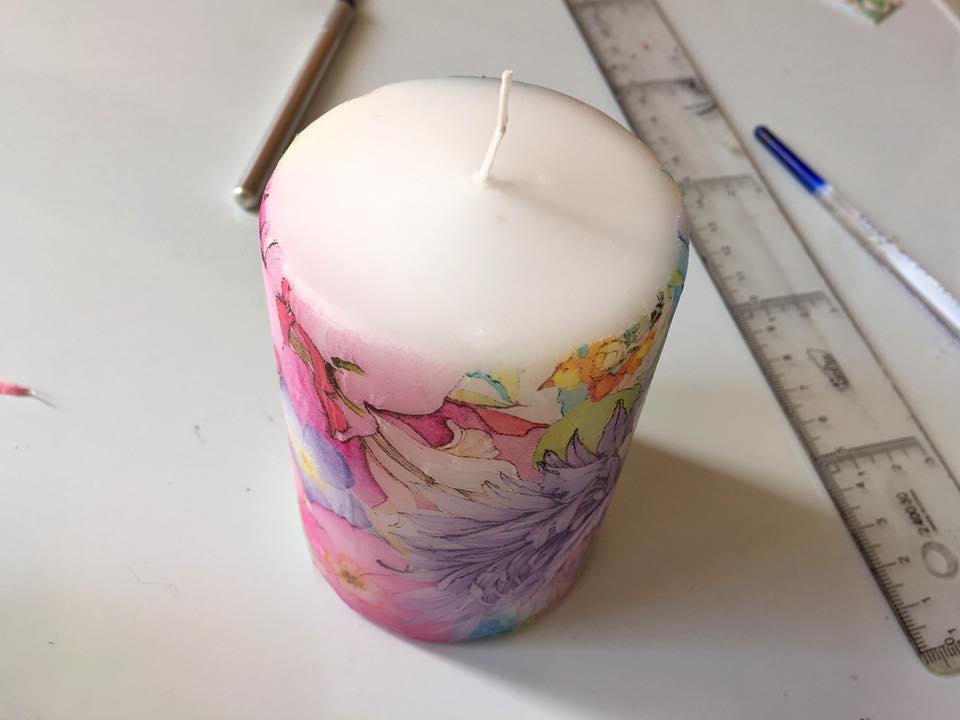
And it is as simple as that! They make the perfect handmade gifts for your friends and family, I can imagine them wrapped in cellophane tied up with some ribbon would look fantastic!
Don’t forget to show me yours via my contact form here!
