Make & Create: Decoupage tins

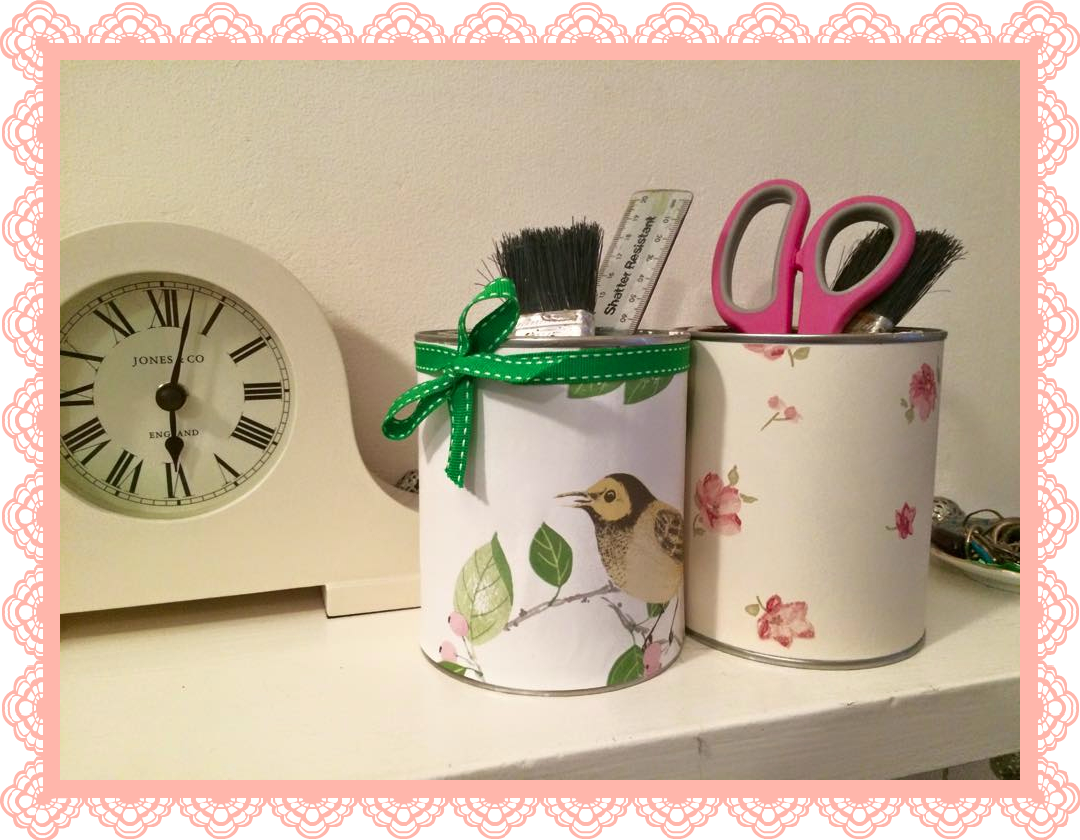
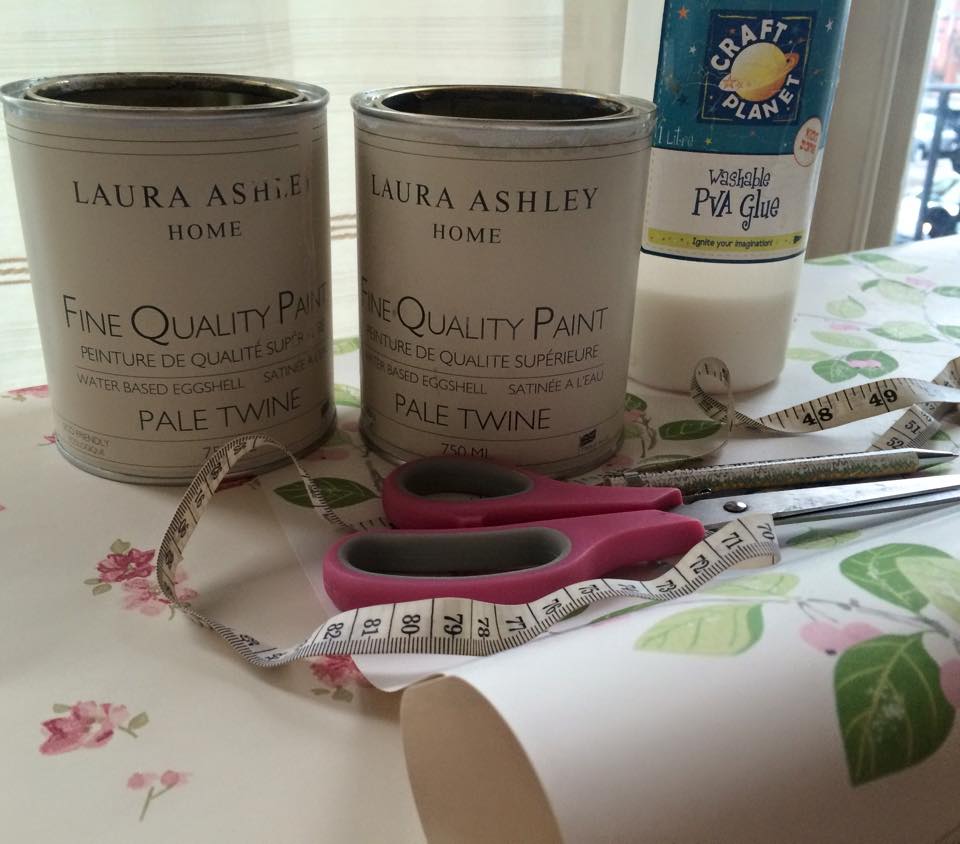
Now if anyone is quite like myself, then you will also have old paint tins with the most minute amount of paint, pointlessly lying around from projects you completed long ago. Make use of these tins and give them a new life! This very simple and easy trick will give you more storage space, at no cost at all…and it looks pretty! For this project you will need:
- Empty paint pots
- Patterned paper of your choice
- PVA Glue
- Tape measure (preferably bendable)
- Pen/pencil
- Scissors
- Ruler
- Ribbon (optional)
So to start off with you need to clean your old paint tins, this can be quite tricky and time consuming if they’re very old and dry but my advice to you… use a splash of white spirit! Brilliant for getting that dried paint off! The fun part is choosing the paper to decoupage them with, for mine I have used Aviary Garden apple and Abbeville pink wallpaper from Laura Ashley, but the possibilites are endless! You can also purchase specific decoupage paper from places such as The Range and Hobbycraft.
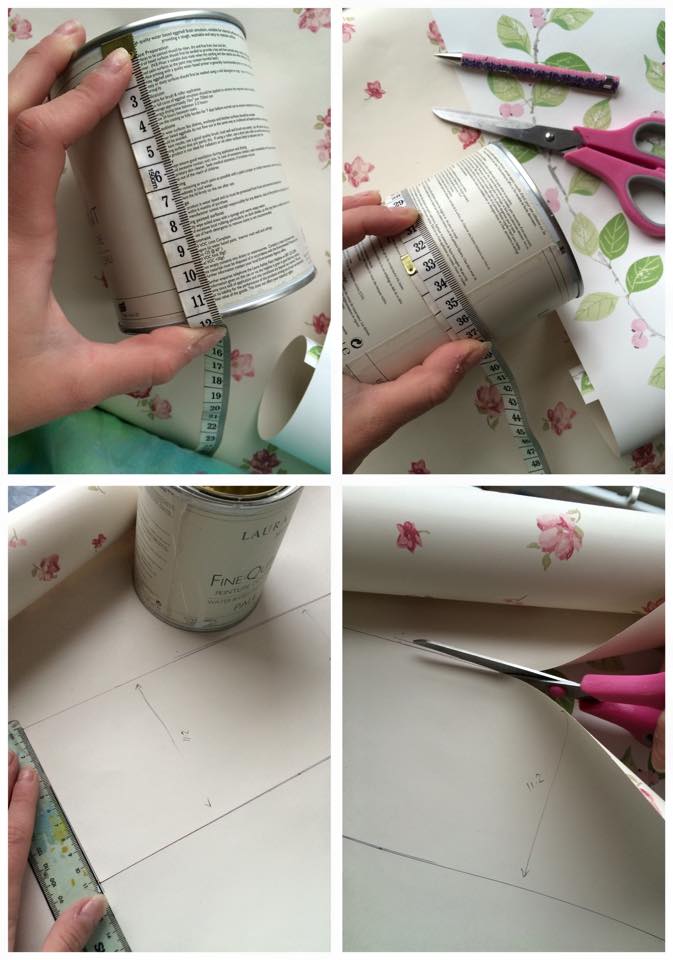
The next stage is to measure the surface of the tin that the paper will roll onto. This is when i suggest a flexible tape measure is most handy, i had my tailors tape measure lying around which are very easy to find in any craft/fabric stores, or you can purchase them here. Leave approximately 1cm (10mm) excess to overlap. Alternatively, cut out a lengthy rectangle from your paper, parallel and at the same width as your paint tin throughout, then once the paper is wrapped on to the tin, cut off the excess with a sharp craft knife for a neat finish.
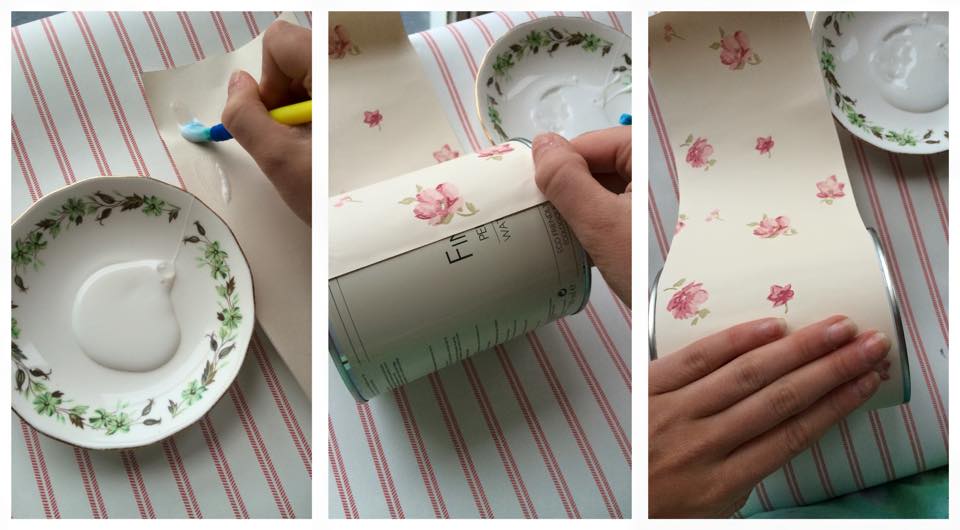
Once you’ve got your paint tin and your paper cut out, it’s time to get glueing! smother the PVA glue onto the reverse side of the paper, making sure to glue all areas not just the edges to avoid air bubbles, then lay one end of the paper straight on to the width of the tin and roll! Make sure you check that your pattern is facing the right way up before sticking to the tin. When rolling the paper on to the tin, wipe the paper all over to prevent air bubbles from getting in, then when you reach the end apply an extra amount of PVA glue to ensure it’s not going to unreel!
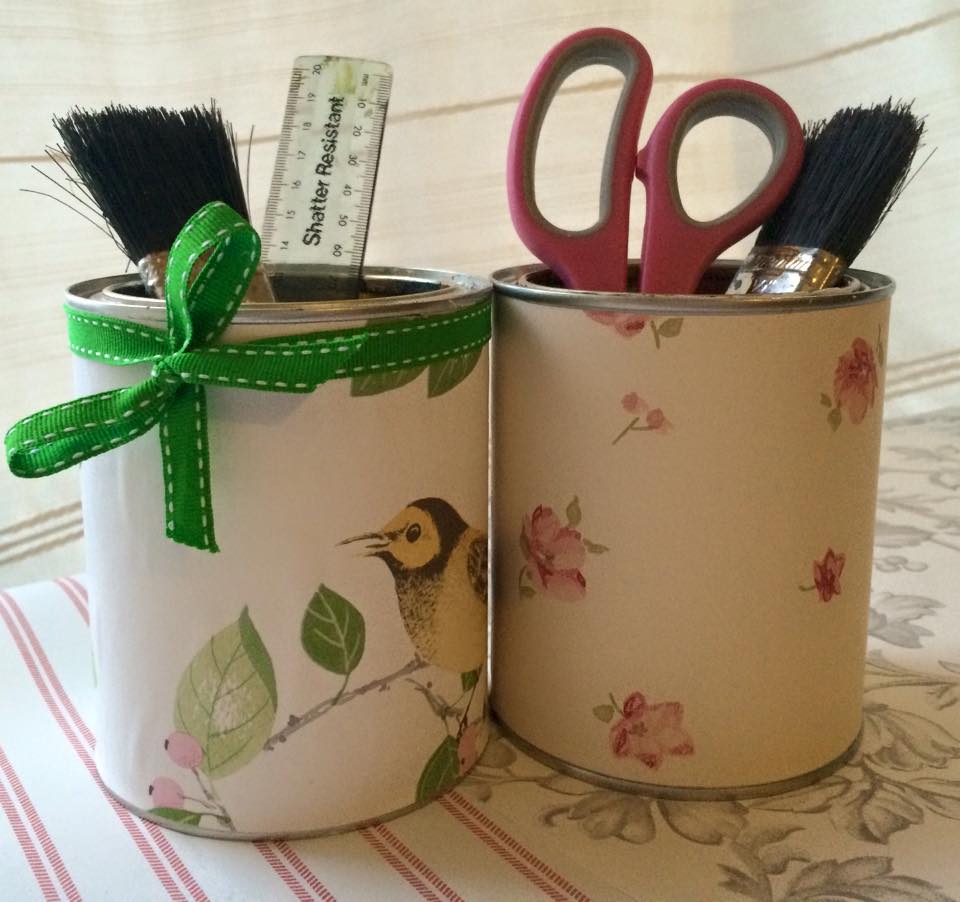
And voilà! In addition, you can choose to apply a top layer of PVA glue over the paper for a more hardwearing finish. To do this, use a paintbrush to apply a thin and even coat of glue around the surface, then leave to dry and repeat this step 3 times.
Otherwise stick with the more rustic look and leave them be!
I’ve also added a ribbon on one of my tins for the final touches!

