Make & Create – Embroidery Hoop Holder


It’s my first full day off since the festive period that I haven’t had anything planned or scheduled to do, so that means one thing, and one thing only… get my craft on! It feels like forever since I’ve had a whole day to make and create whatever I wish and I now feel so much more refreshed and topped up with creativity, I was starting to loose my marbles!
So today I decided I wanted to make something without having to buy any more supplies, but instead to use up some of my remaining scrap materials and ribbons from previous makes… waste not want not! For a while now I’ve wanted somewhere to store my sewing utensils as I’m forever misplacing my stitch unpicker and embroidery scissors, they always get lost in the depths of my stationery draw so I needed a place to keep them seperate and safe. SO with some inspiration from Pinterest, and a spare embroidery hoop that I never use, I came up with a plan to design my own sewing holder.

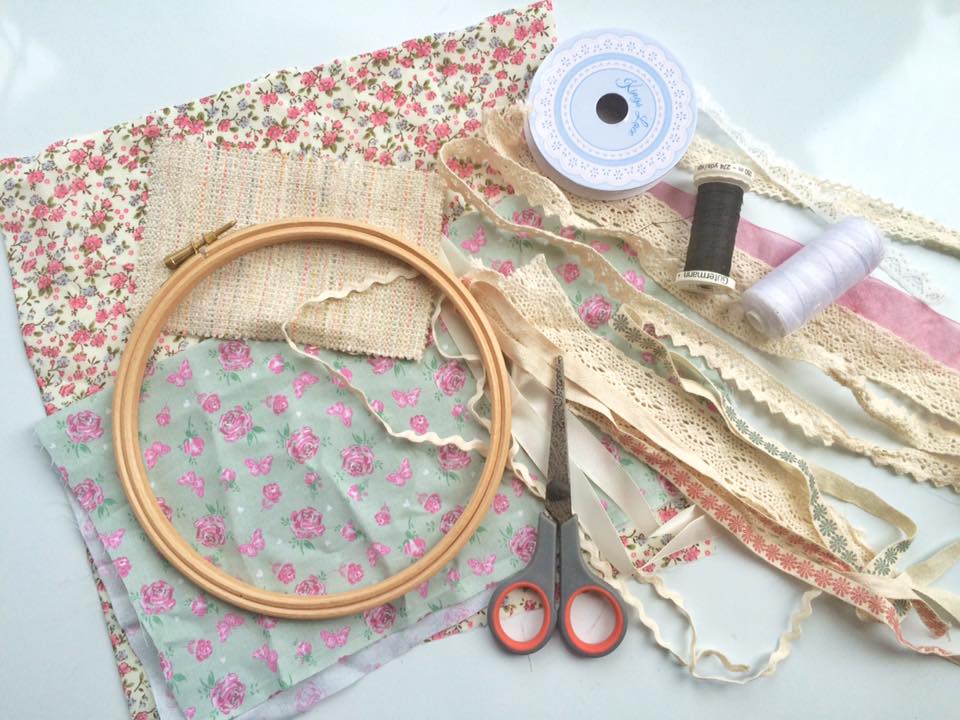
For this make you will need:
- One embroidery hoop
- 2 pieces of patterned fabric of your choice
- Scissors
- Dressmaking Pencil
- White cotton
- Black cotton (optional)
- An assortment of ribbons
- Beads
- Sewing machine
- Glue gun
- Any additional embellishments of your choice
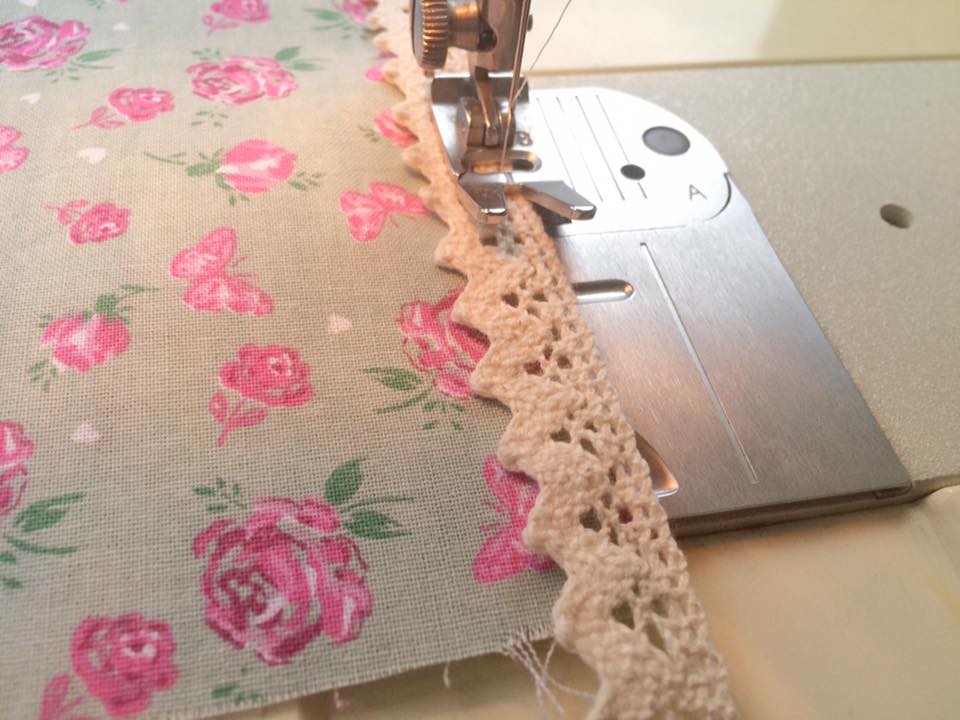
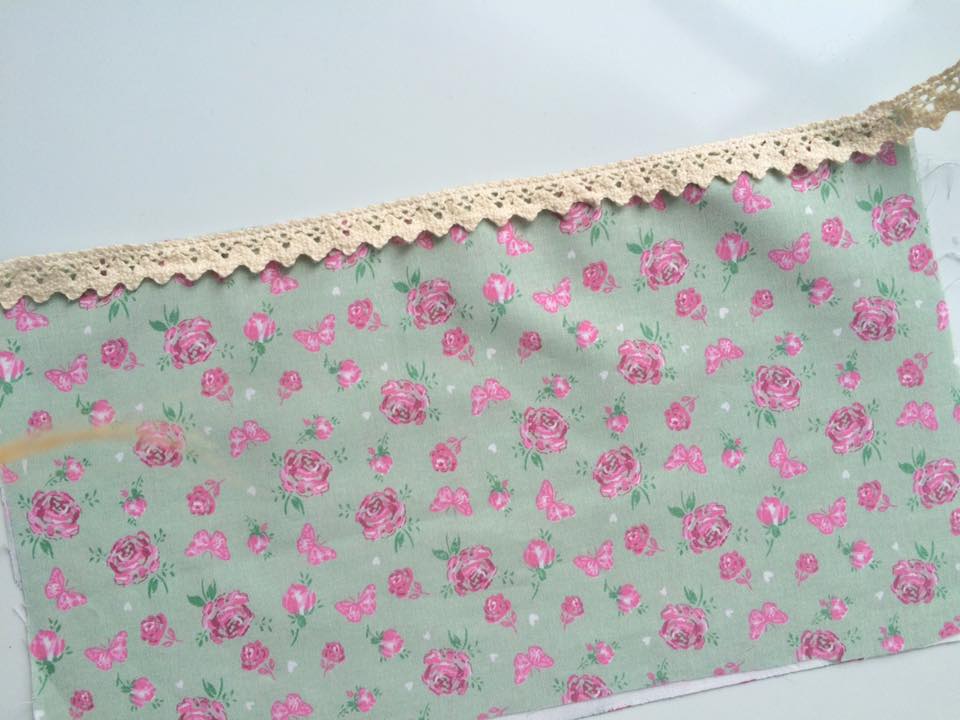
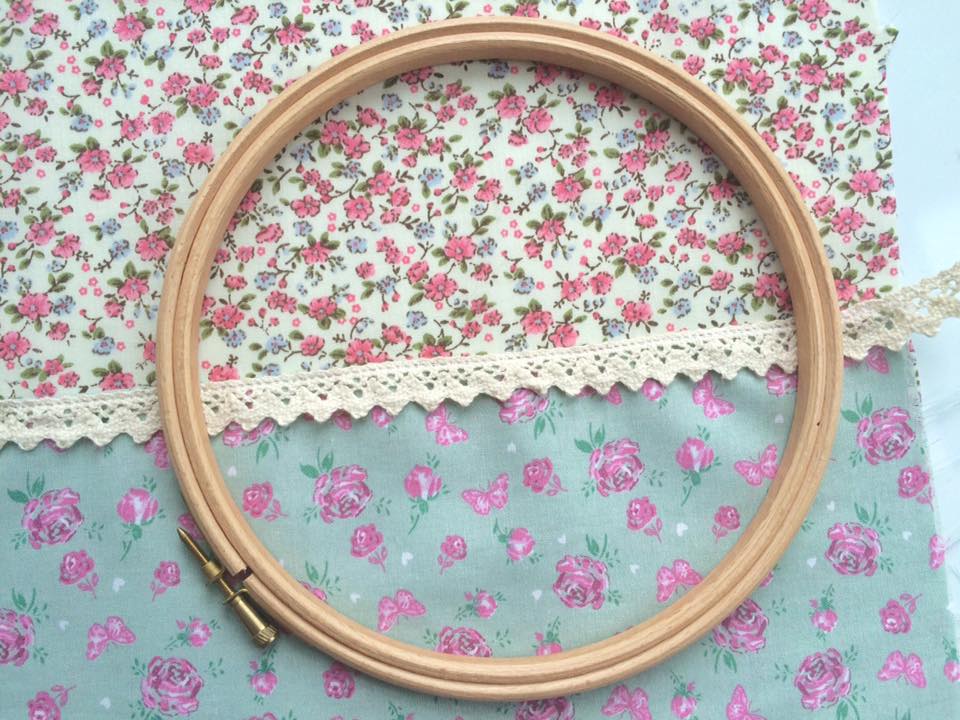
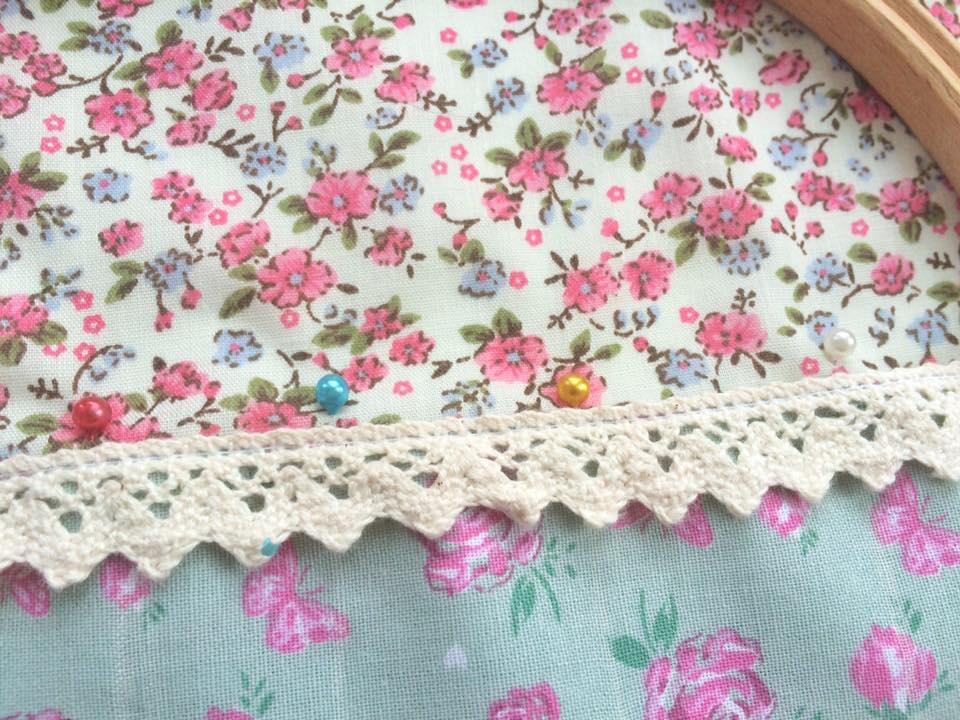
To start with, ensure your pieces of fabric are well over the size of the embroidery hoop to avoid any complications later in the making! Fold in half the fabric you wish to use for the pockets – this way the pockets will also be lined! The next step is optional but sewing on a piece of lace adds a nice touch to the top of the pockets. (See below)
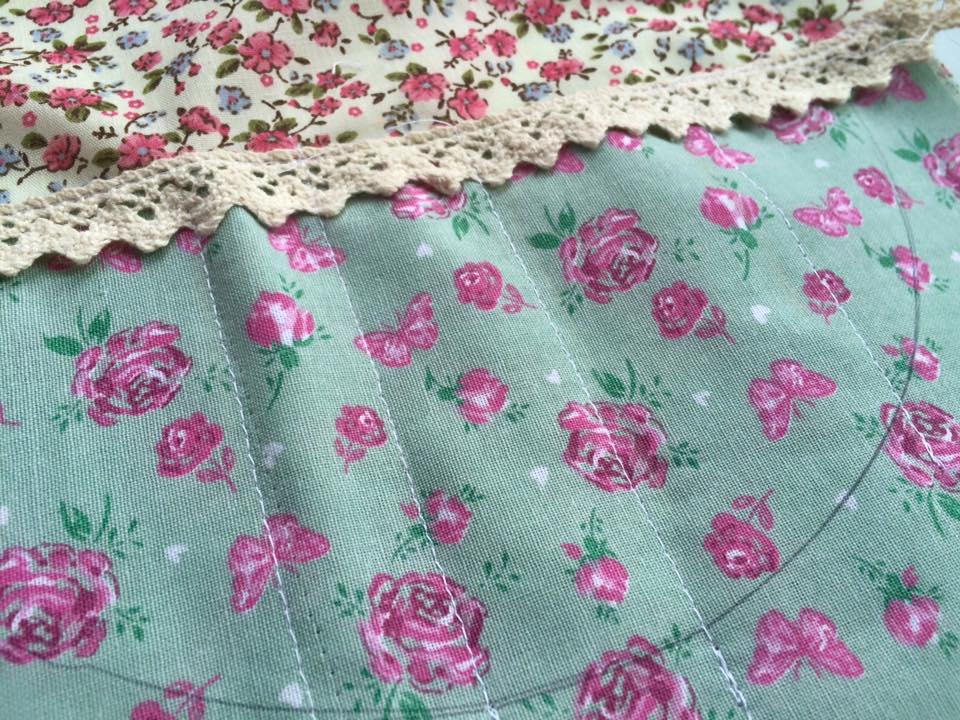
Now, layer your fabrics in the position you want – in line with the embroidery hoop and draw around the larger loop to give a guideline to where you need to sew … the pen mark wont be seen in the final outcome!
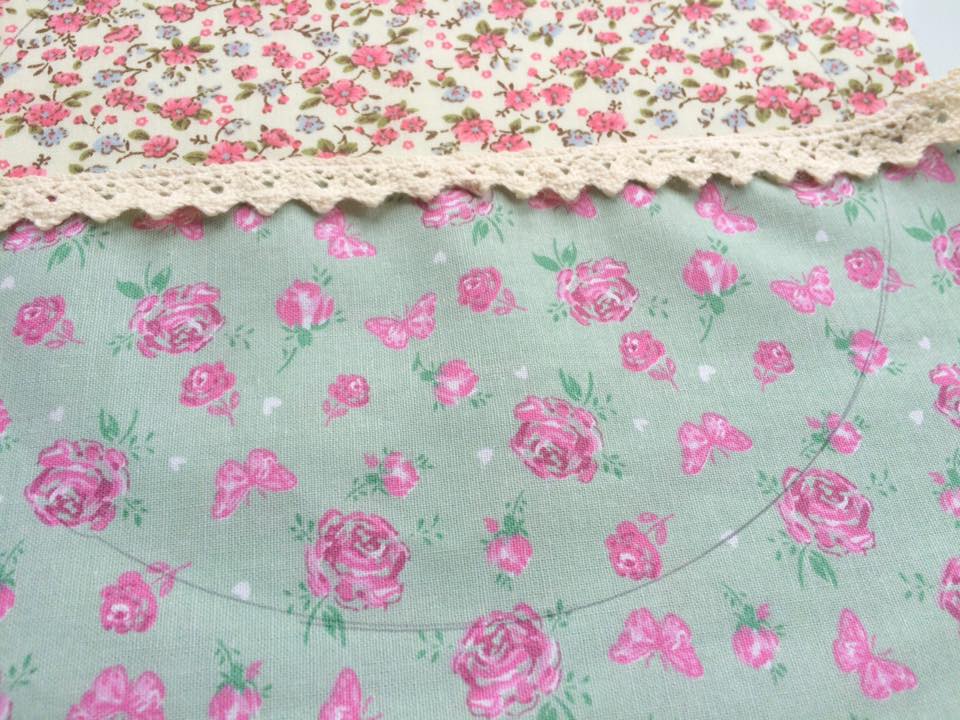
Then, with a dressmaking pencil, draw on straight lines to mark the pockets where you will need to sew to make dividers.
TIP: Lay your sewing utensils in the position you want, then tuck them in the fabric when drawing on the lines… this will ensure the items will fit in the pockets as there will need to be some slack against the base fabric.
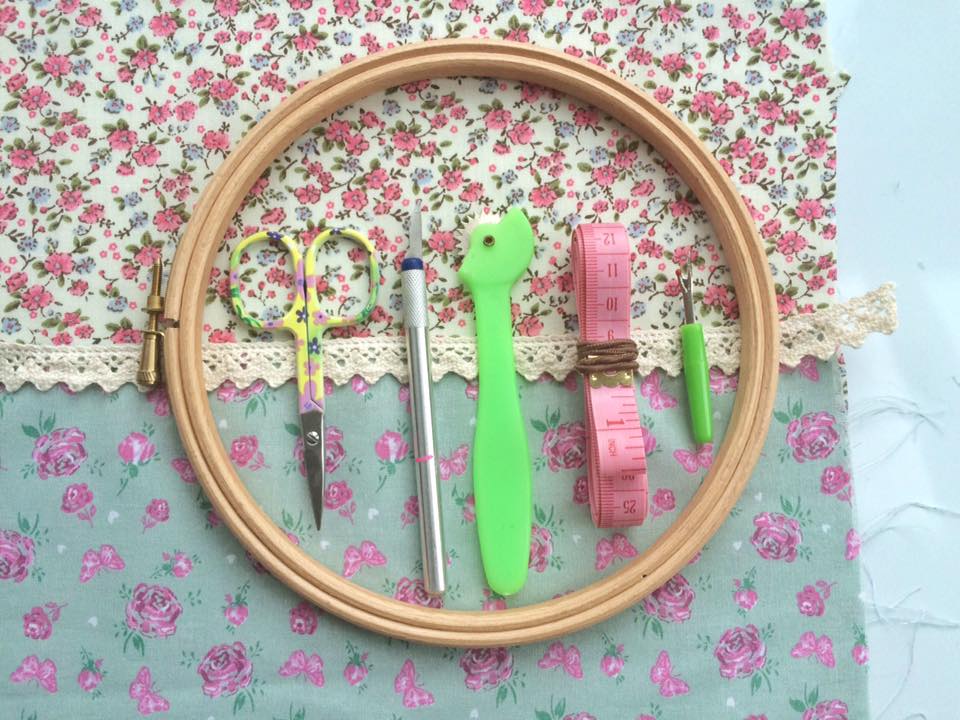
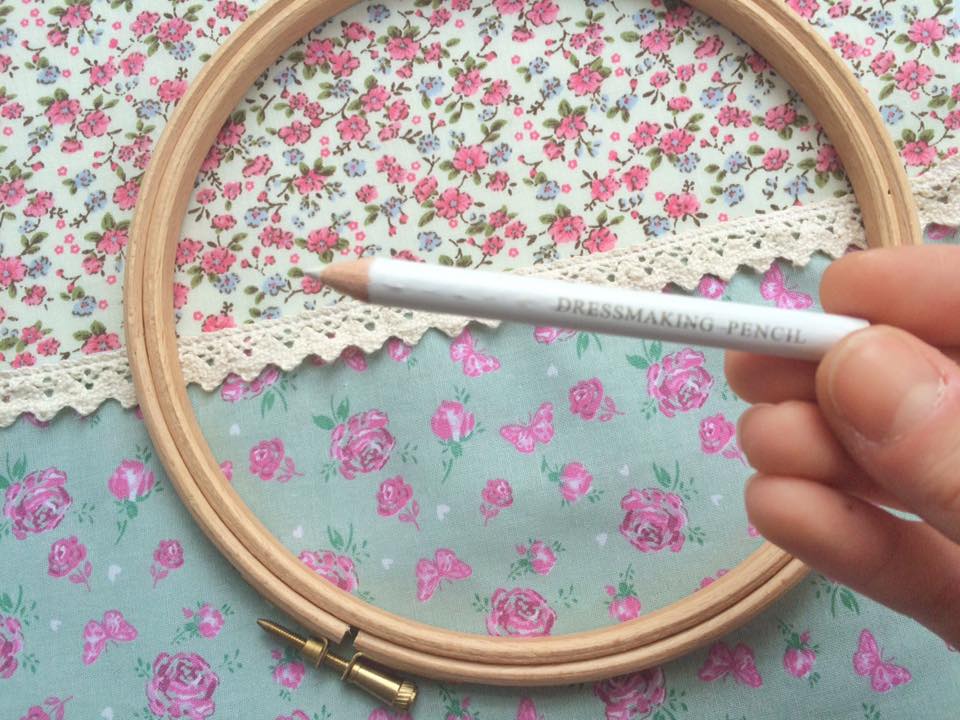
I also found that using pins as markers in the base fabric helped guide me to sew in the correct place as the pencil is trickier to see on lighter fabrics.
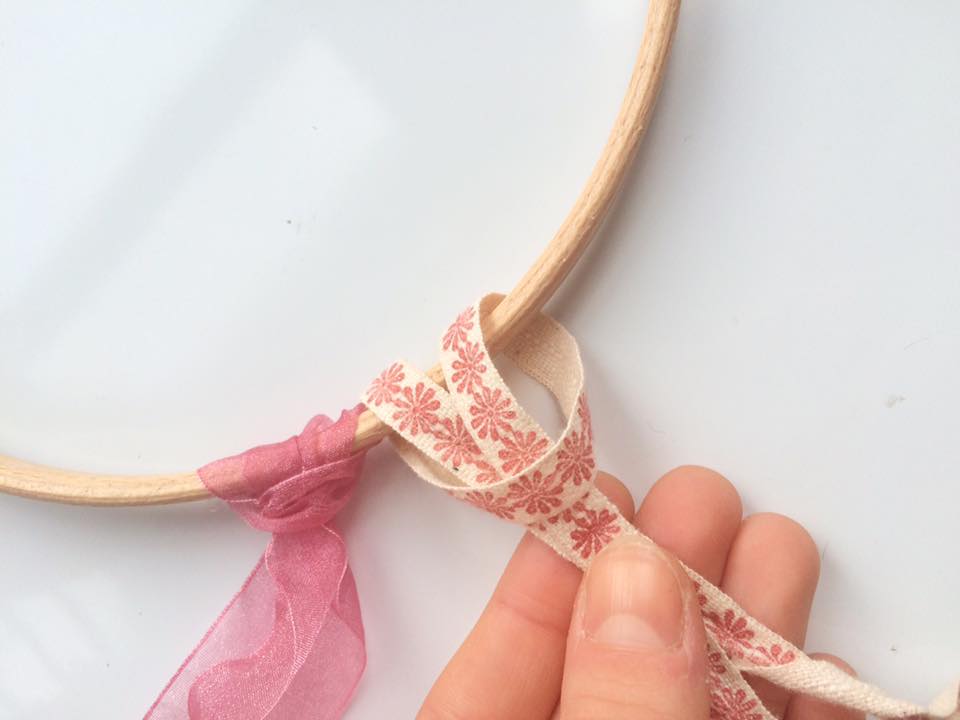
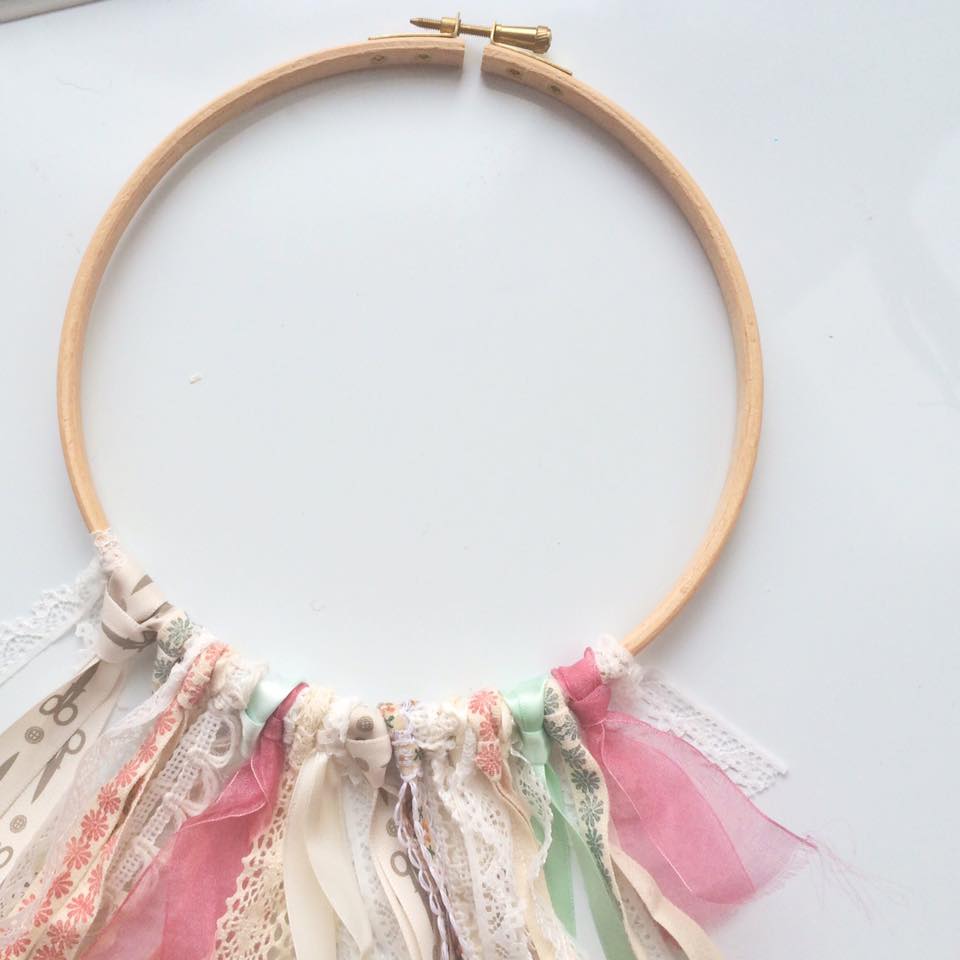
Before fixing the fabric to the embrodiery hoop, I wanted to add some decoration to the outer hoop so when the final structure is put together, it makes a dreamcatcher-esque appearance (I clearly like dangly decorations!).
This step is optional as the sewing holder will still be functional without the added ribbon, but hey…It looks pretty!
Begin by looping your chosen ribbon to the base of the larger hoop, and build up the ribbons to your desired fullness.
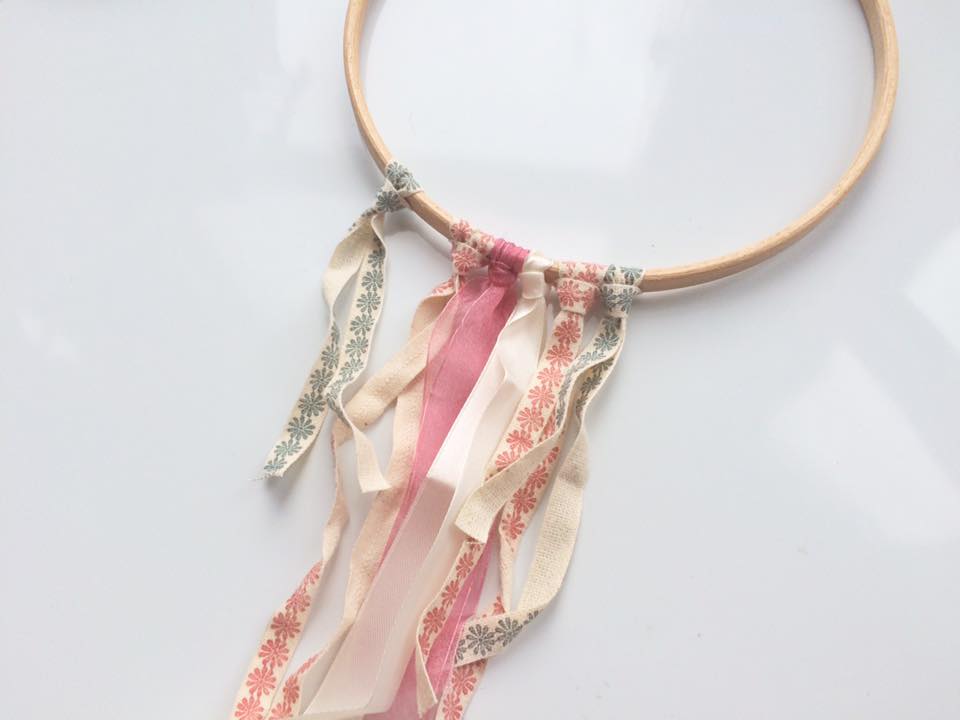

Doesn’t it look whimsical!
Once you have finished adding your desired amount of ribbon to the loop, ensure the ribbons fall central at the base so the structure looks symmetrical.
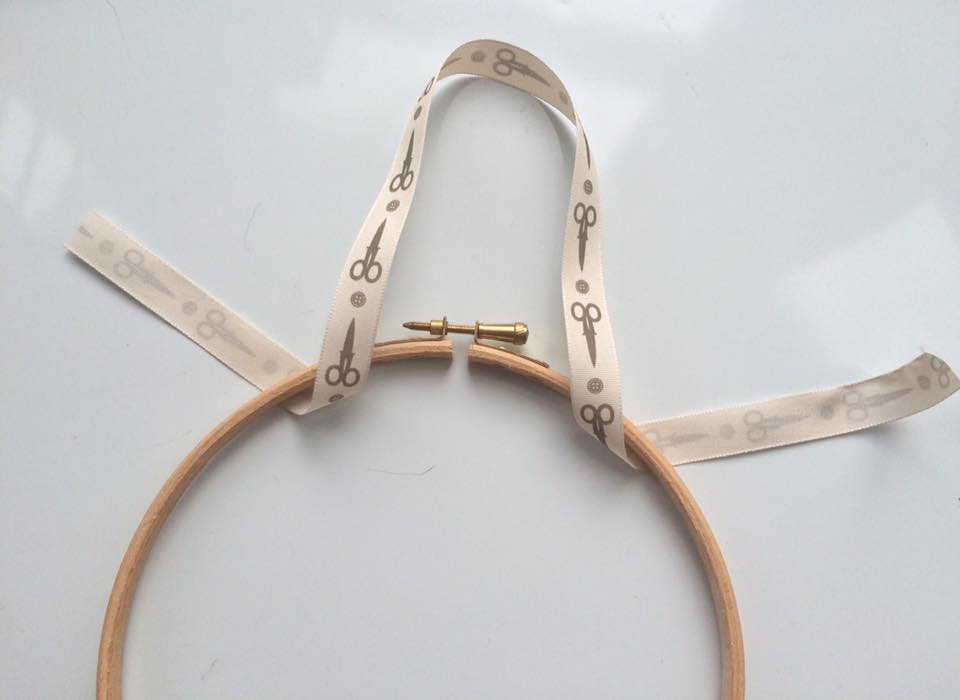
Now, choose a ribbon for it to hang from and loop it around the top of the hoop as shown in the picture below
Next you need to sandwich your fabrics between the smaller and larger hoop. Start off by placing your fabrics on top of the smaller hoop, then the larger hoop on top of the fabrics, then push the two hoops together, locking in the fabrics.
TIP: Ensure your larger hoop is loosened by unscrewing the mechanism at the top of the hoop before trying to push it all together.
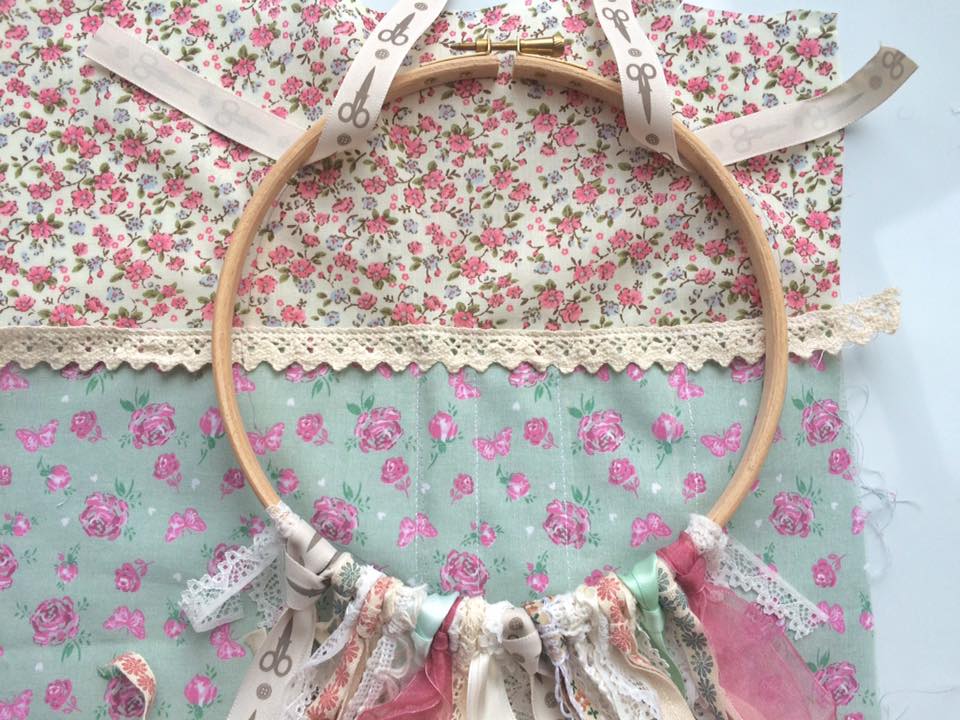
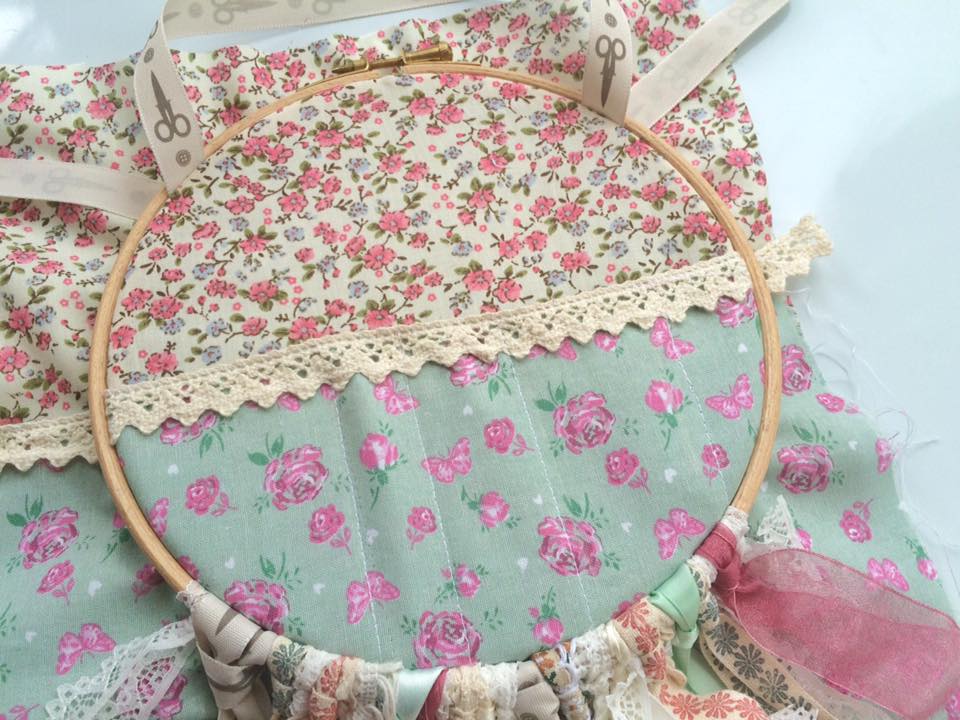
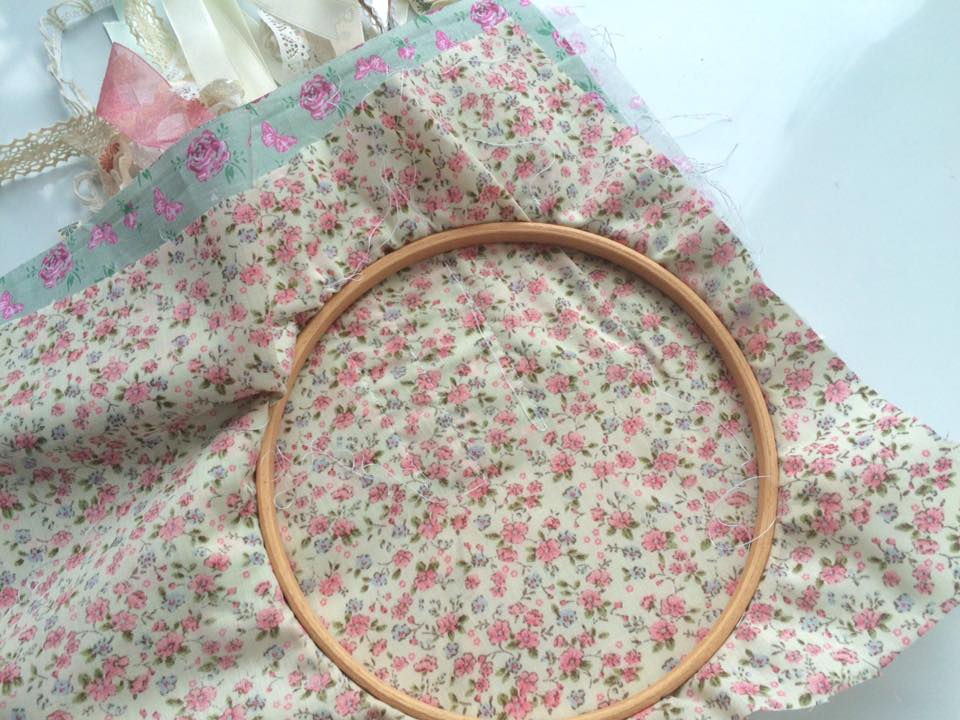
To make sure the fabric is taut, you can pull the fabric through from behind, then screw together the mechanism as tightly as you can.
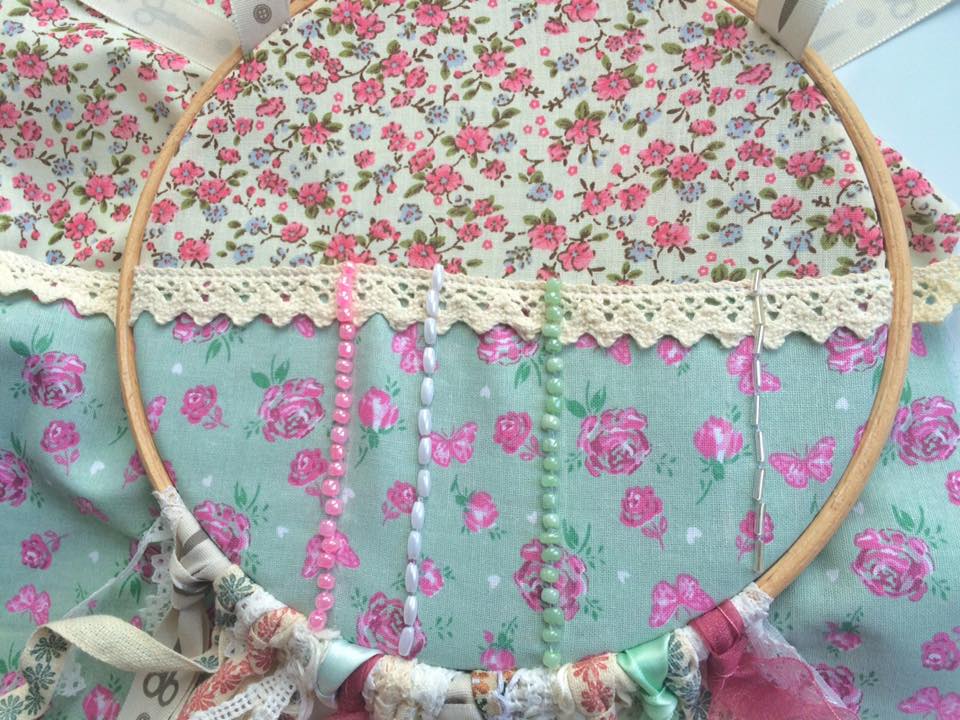
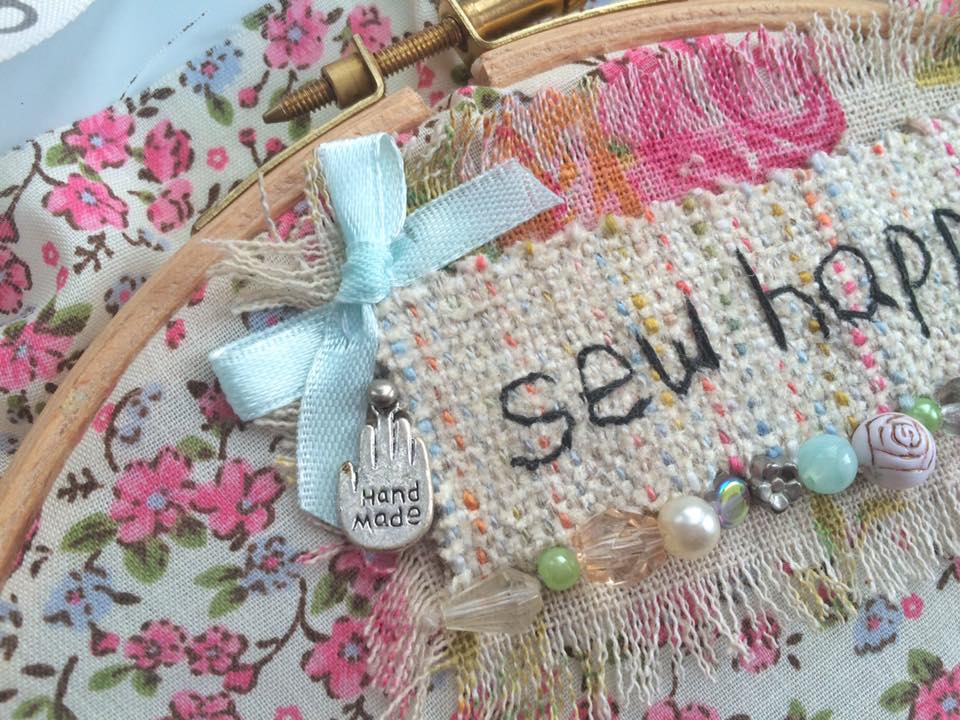
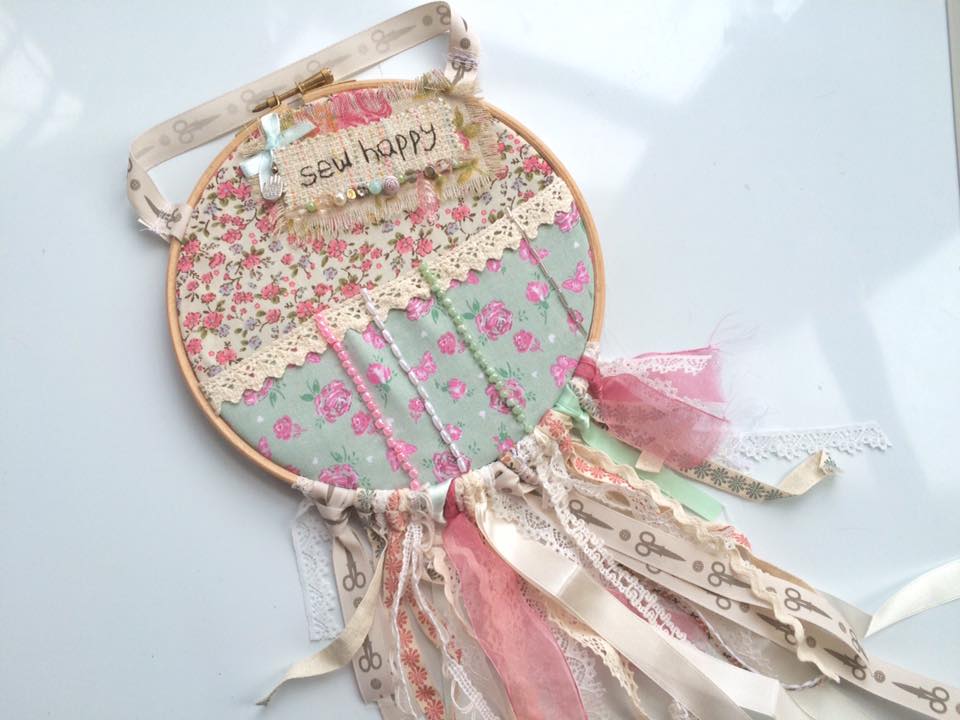
Now for the fun part…Decorating! For mine I have used an assortment of beads and a bow but obviously this is the stage when you can make it your own, so go wild and do whatever you wish!
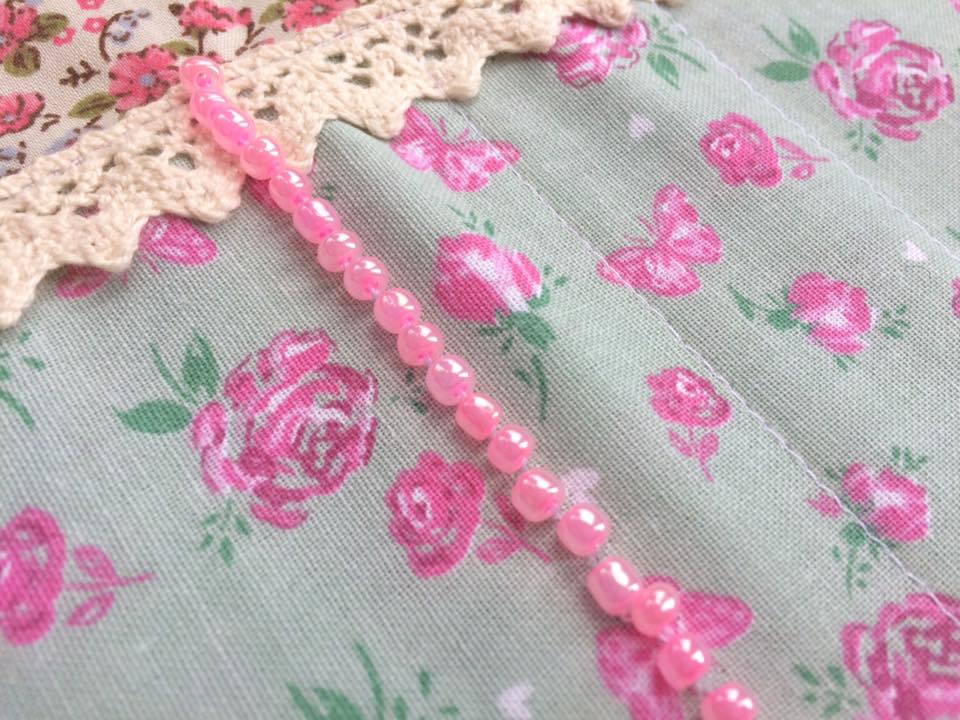
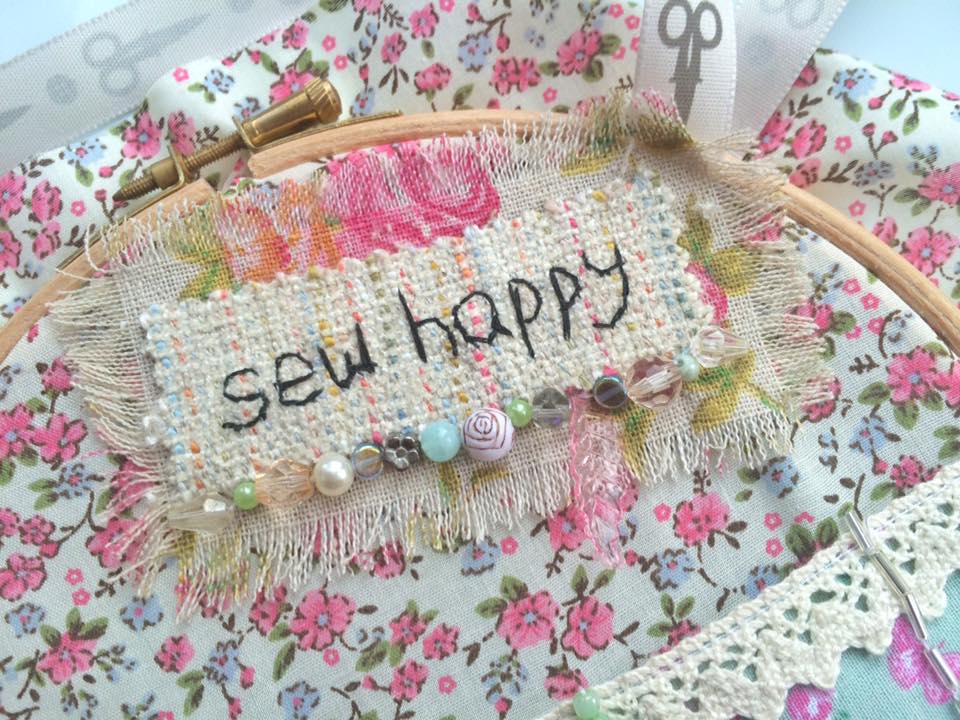
I hand stitched beads on the lines of the pockets to cover the plain white sewing machine lines and to give it some sparkle.
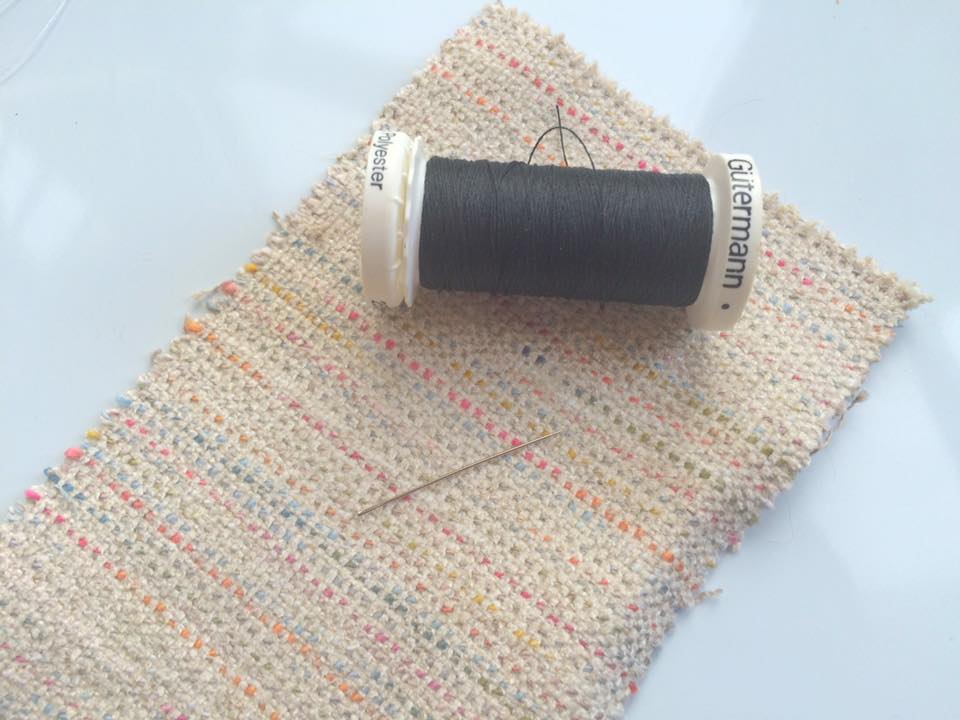
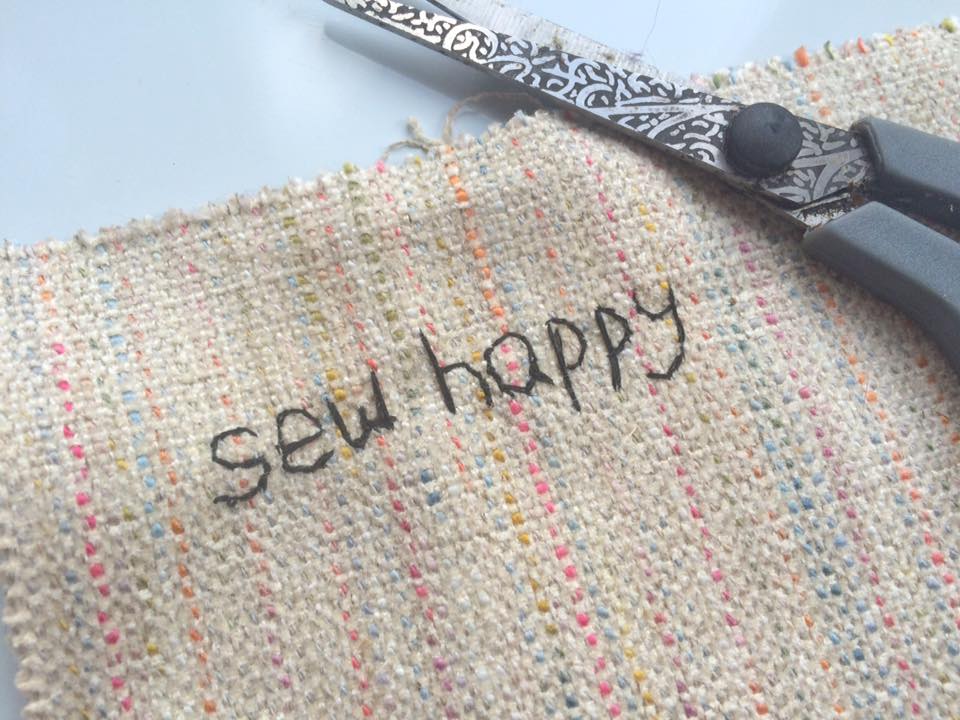
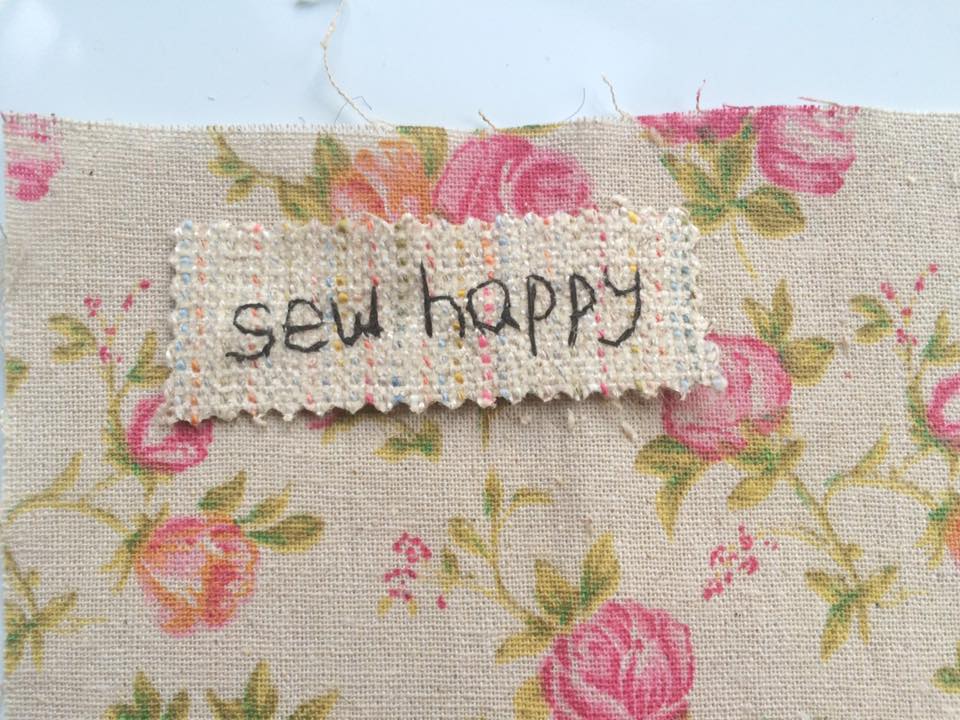
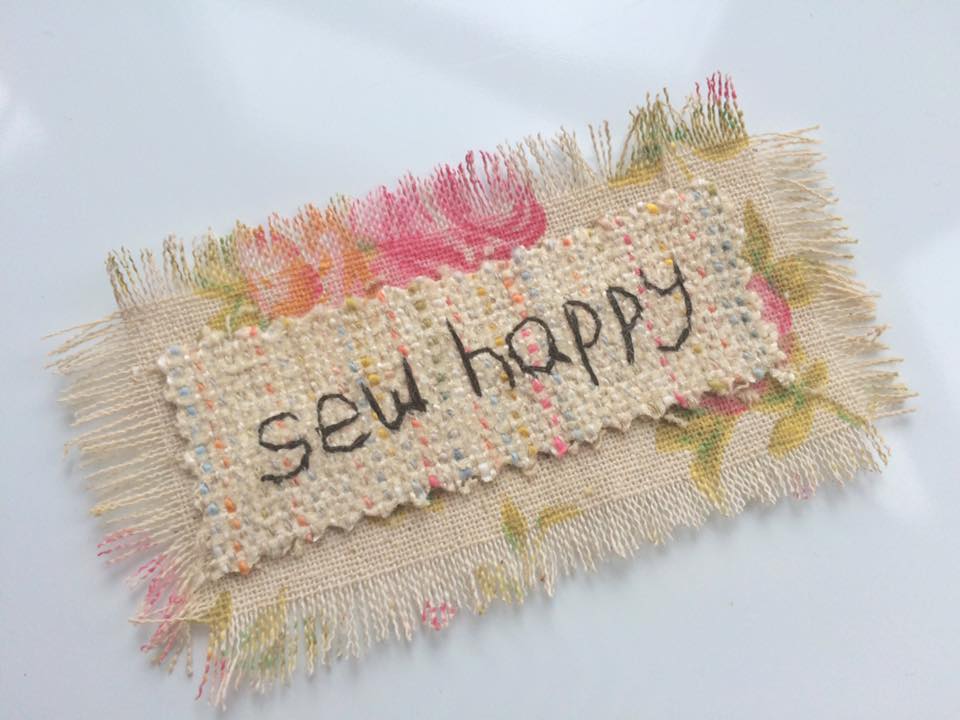
Then, with a sample of upholstery fabric I picked up from Laura Ashley some time ago, I hand stitched a ‘sew happy’ inspiration quote to attach to the top section – It definitely has that ‘handmade look’ -I think I need to practice my sewing!

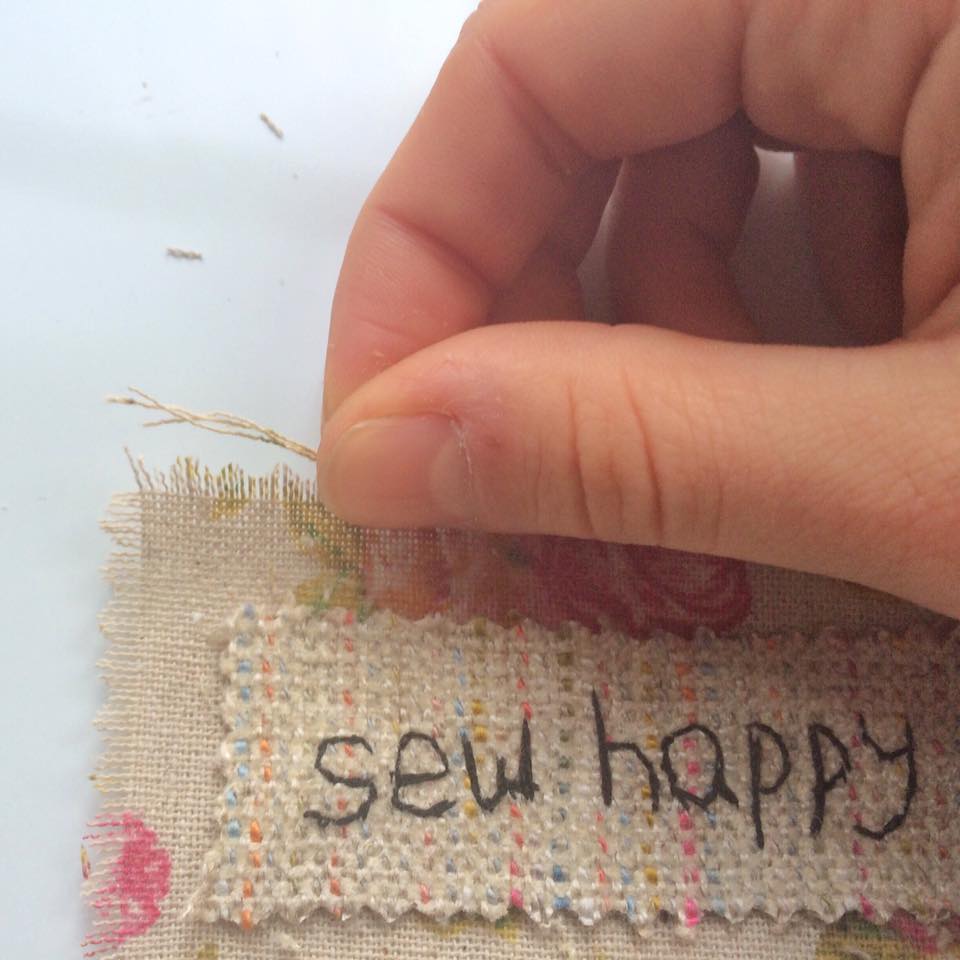
I then attached it to a piece of floral patterned hessian fabric, and frayed the edges to make it look softer.
With a pretty selection of beads, I sewed on the inspiration tag to the top section of my holder, then added some additional embellishments including a bow and a ‘handmade’ bead.
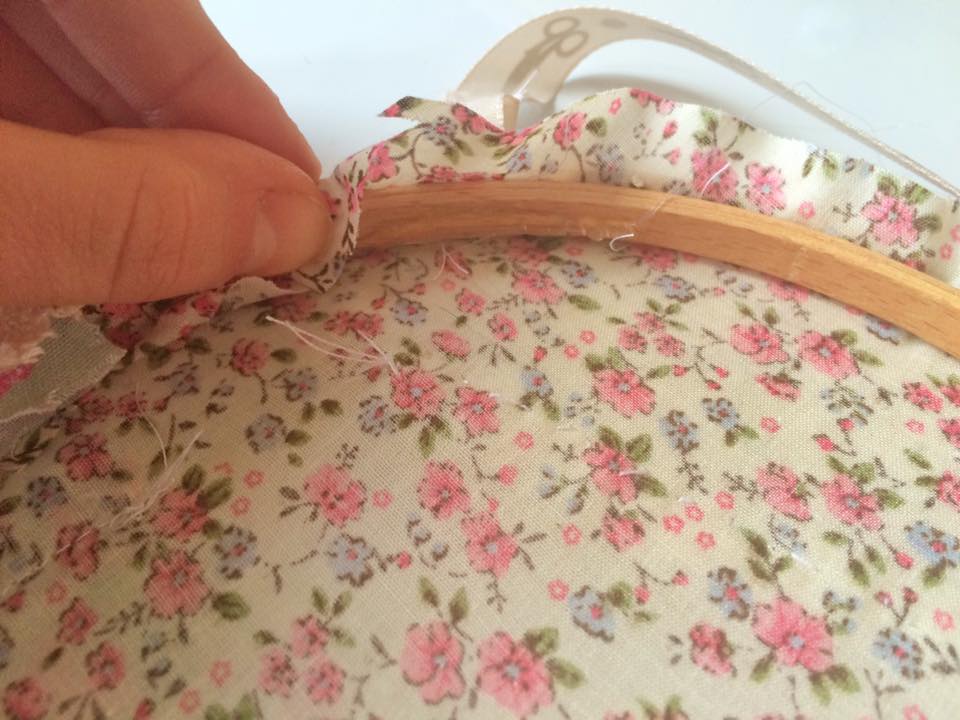
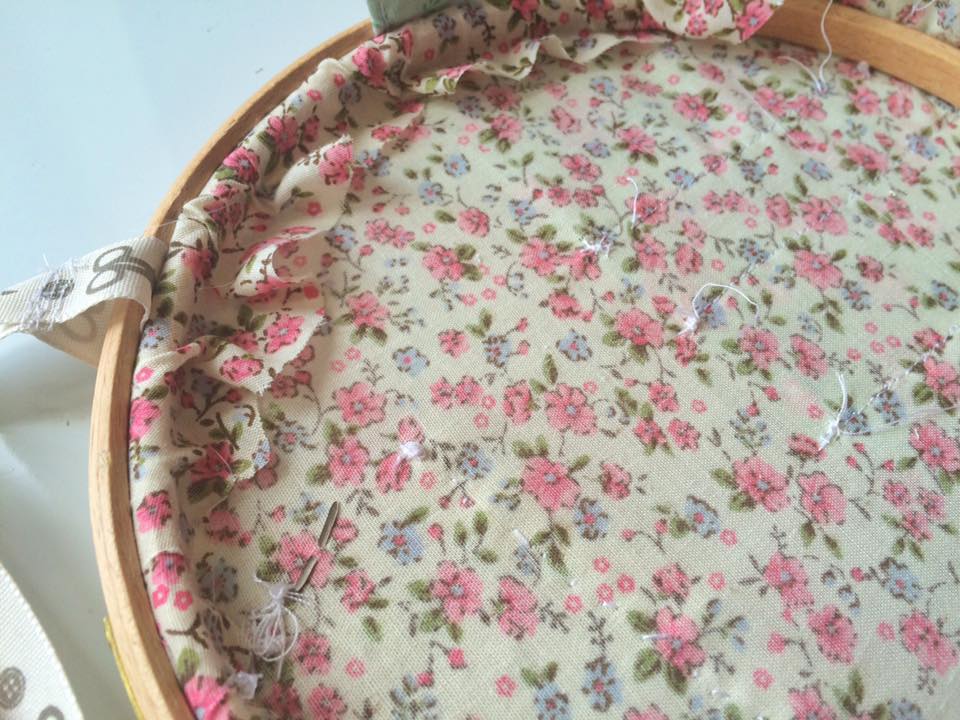
Now all that’s left to do is tidy up the edges. Once everything has been sewn on, it’s safe to cut off the fabric around the hoop leaving 2cm spare. Then, turn it face down and secure the edges to the inside of the hoop with a glue gun to ensure the fabric wont eventually pull through.
Finally, use a sewing machine to secure the handle in place by sewing the two ends of ribbon together and cutting off the excess… then stand back and admire!
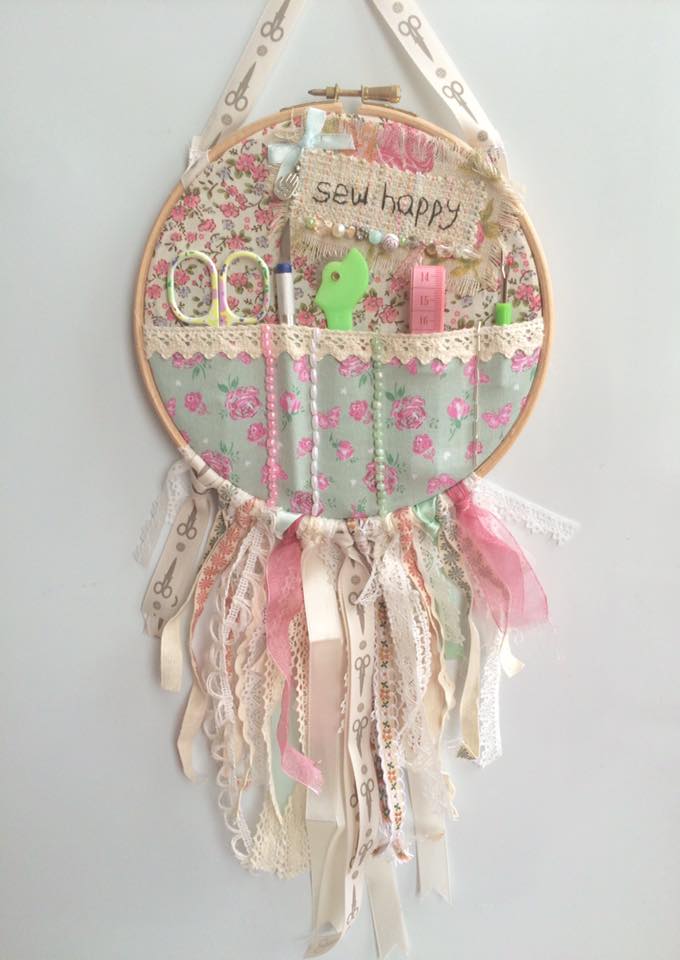
It’s now time to take those sneaky utensils and place them safely in their new home… what a beautiful handmade craft!

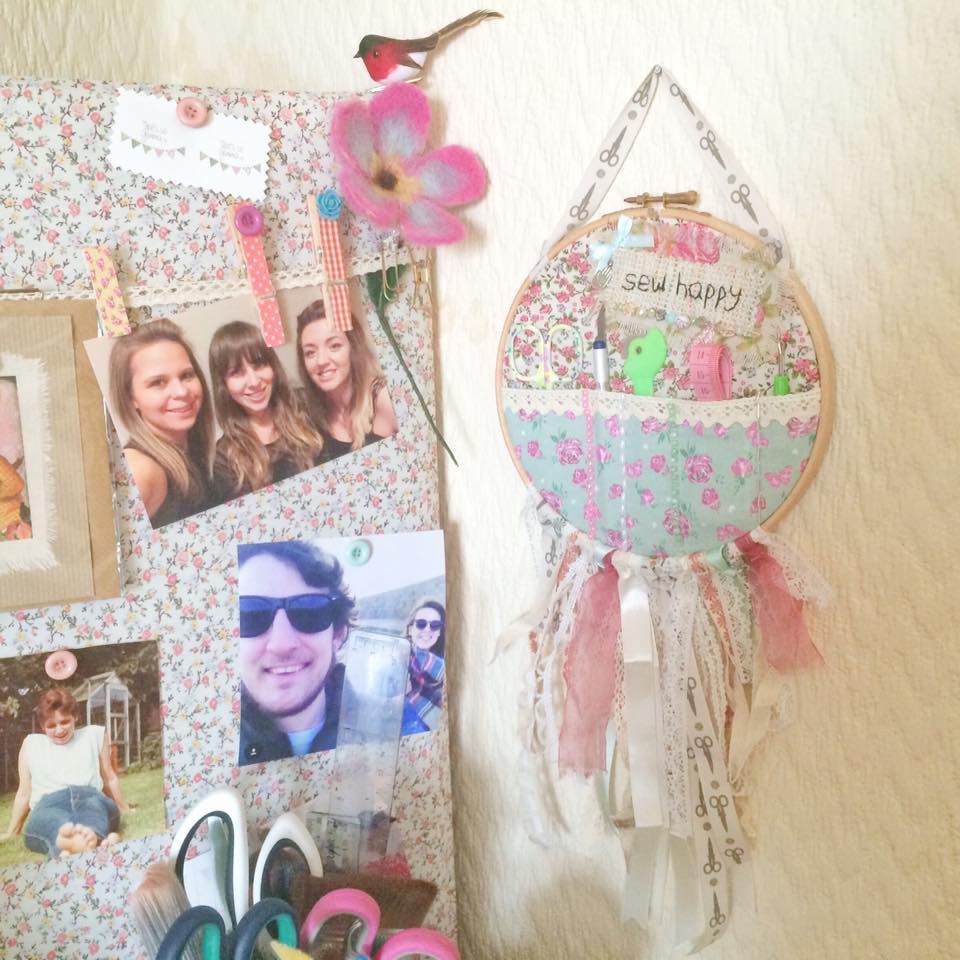
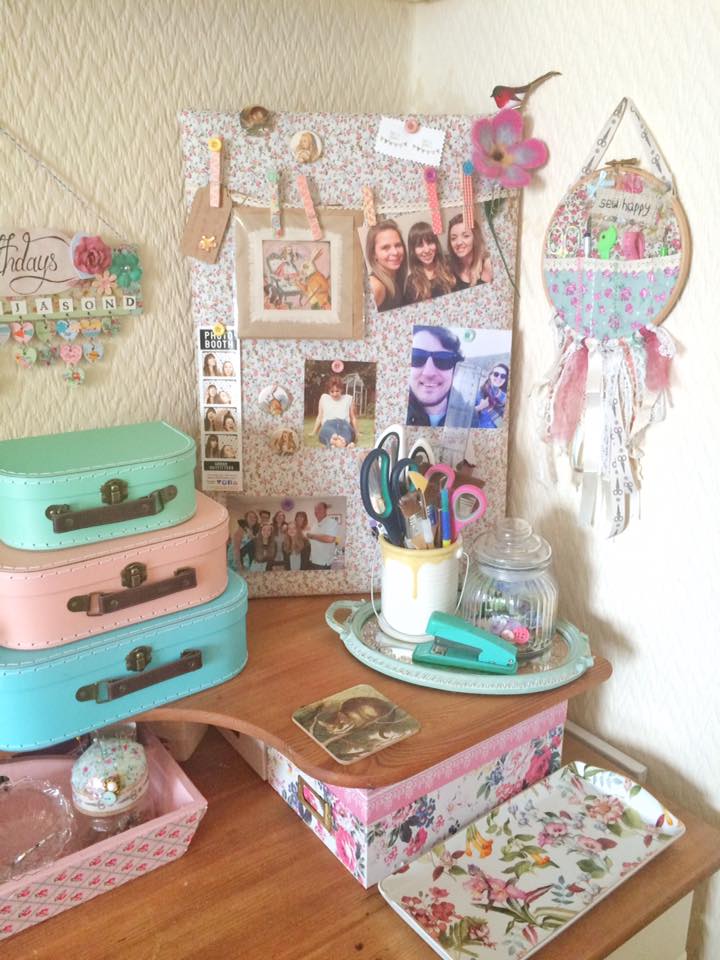
It looks fantastic at my desk hanging next to my noticeboard, now (hopefully) I’ll never loose my embroidery scissors again.
Make sure you get in touch and show me how you get on! I’d love to see some different colour combinations and styles… visit my contact form and send me your piccies here.
Happy Crafting!

