Make & Create: Ice Cream Cards

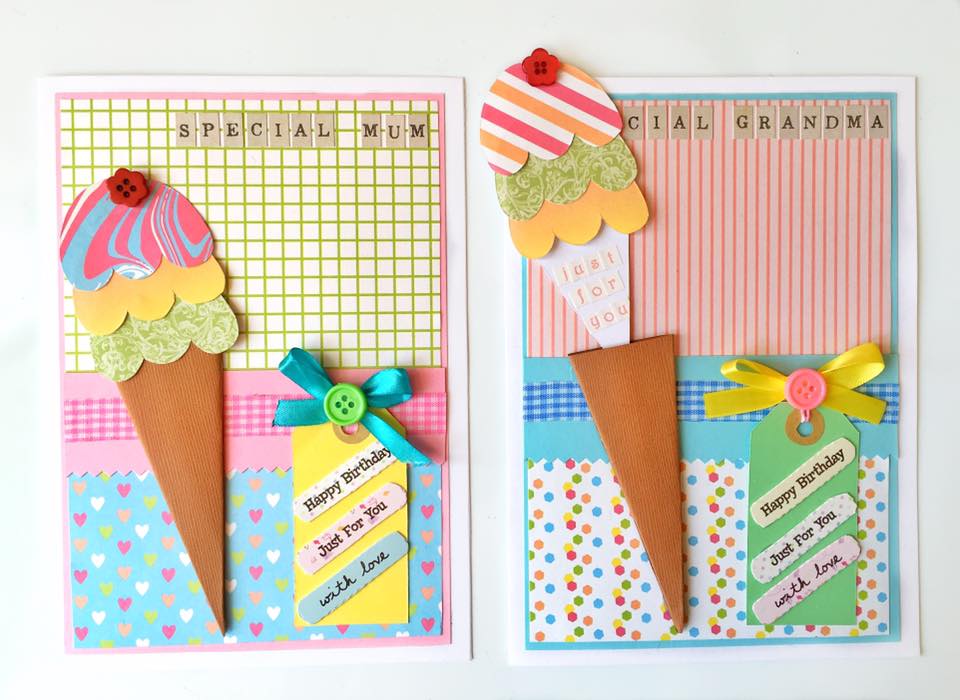
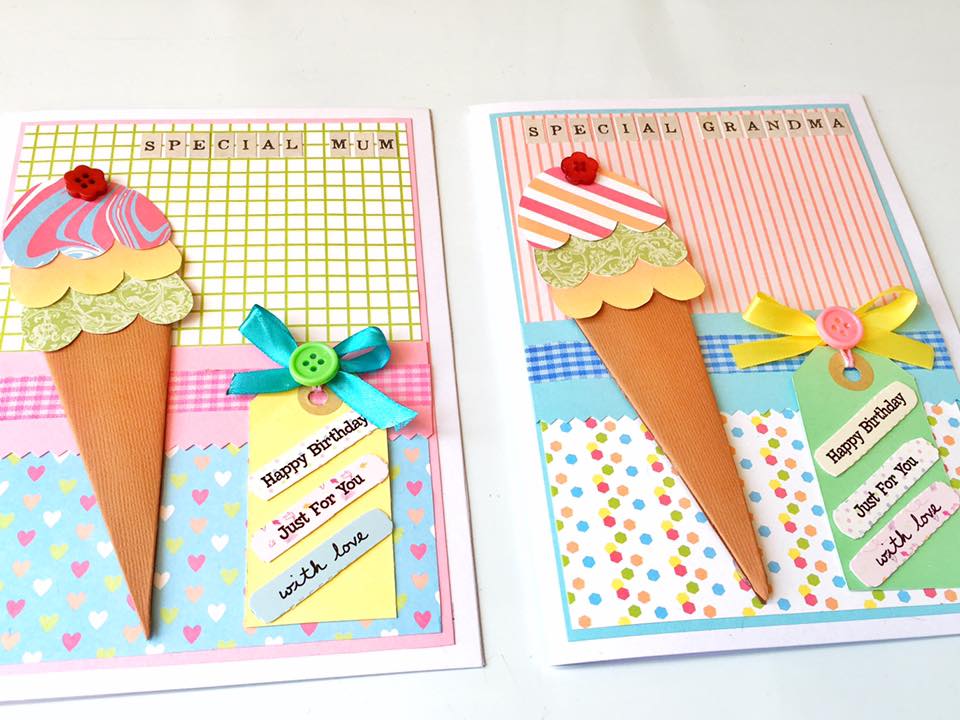
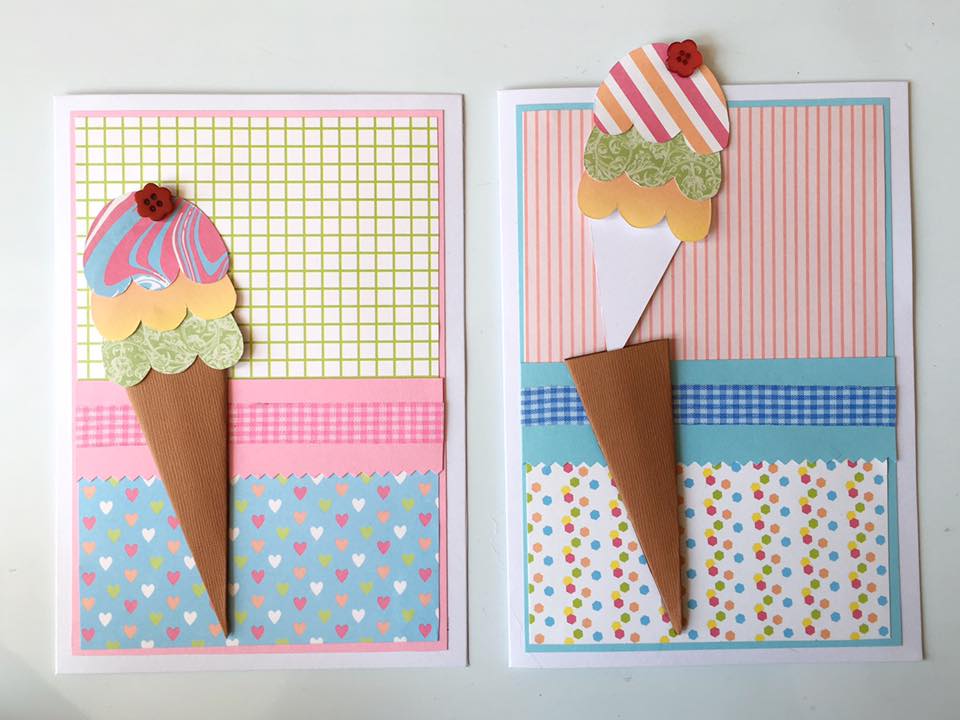
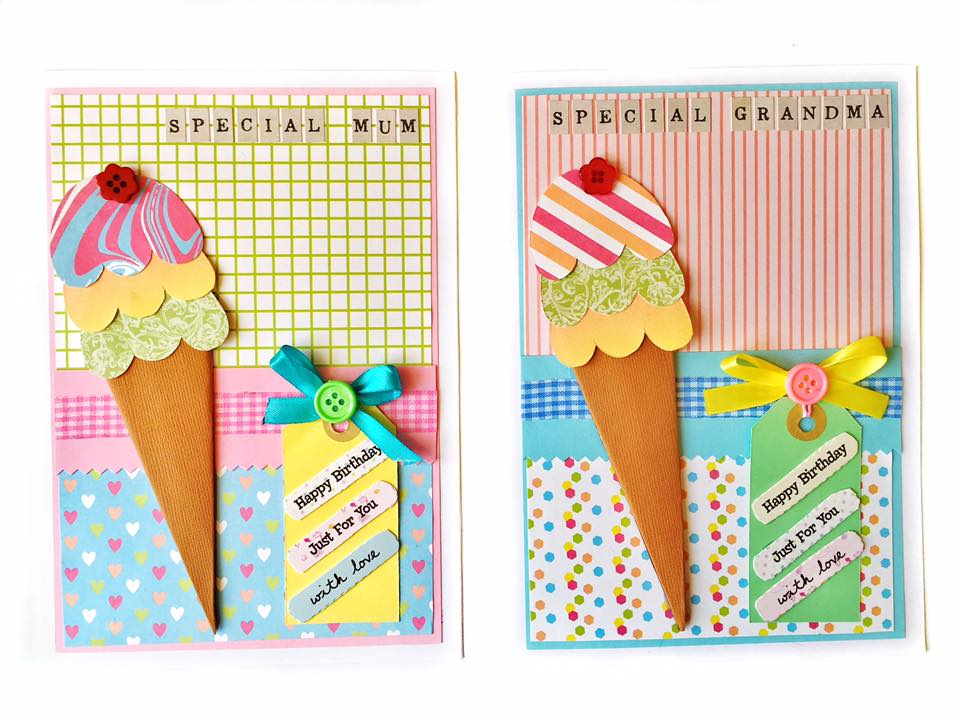
It’s a week of birthdays for me…Don’t you just love it when they all come at once?! Well, actually I do! Having a cluster of birthdays means that I can make double (or even triple sometimes!) of everything all in one craft session. Last week I was busy making these ice cream cone cards for two very special ladies in my life and they went down a treat… literally!
Card making isn’t my area of expertise, but when the opportunity arises I like to give myself a challenge. You may recall a previous card making post that I created around Mother’s day (see post here), I definitely don’t settle for anything simple!
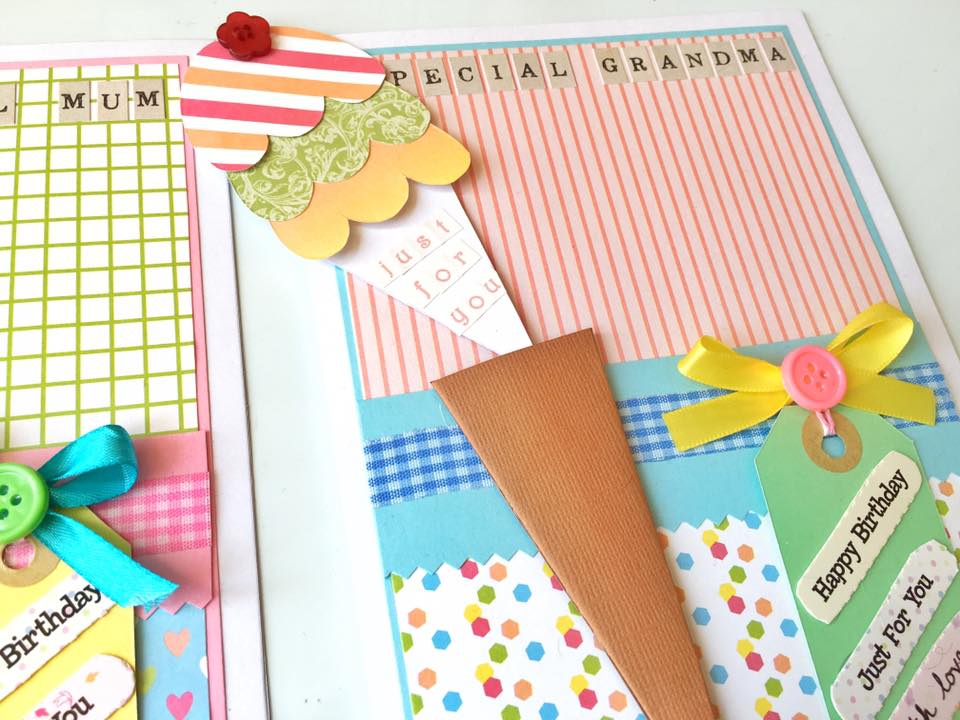
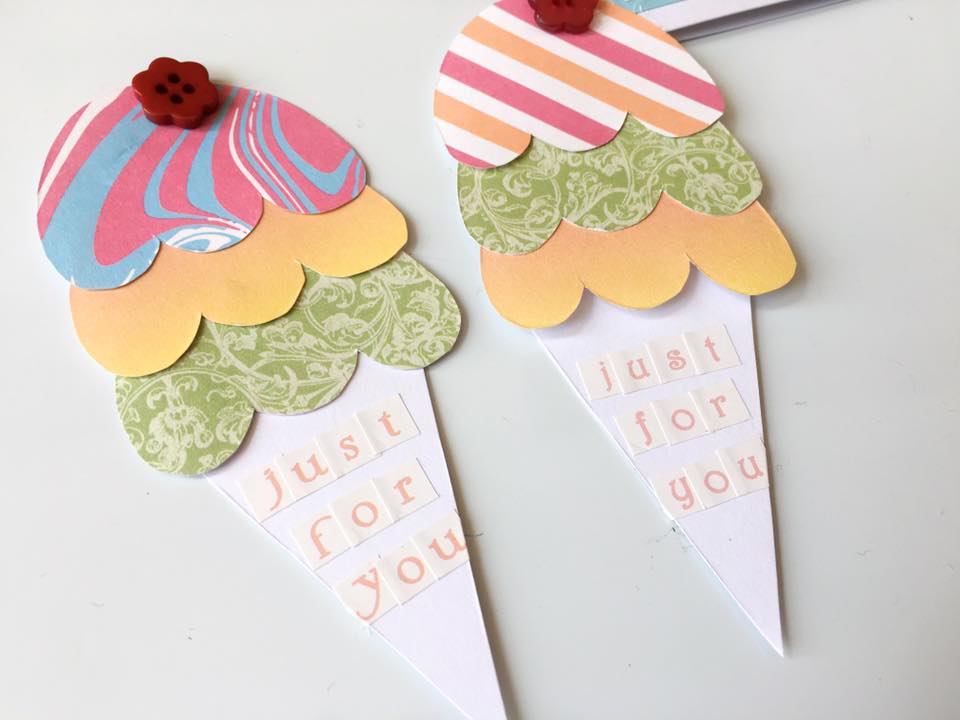
This idea caught my attention purely because it has a hidden message in the ice cream cone… super cute huh?! So after pondering for almost an hour on what patterned papers to use, I got down to my crafty business!
For those of you interested in making one of these cards, I have written down a brief explanation along with some very self explanatory photos throughout the post!
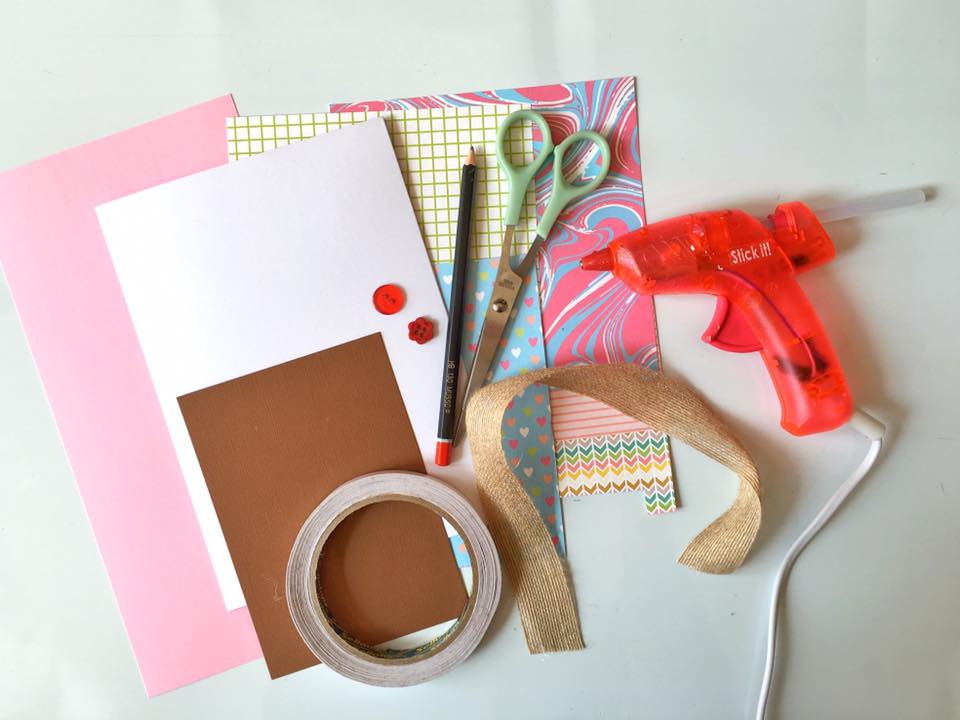
You will need:
- Patterned paper of your choice
- Suitable waffle cone paper (brown and textured!)
- A5 white card with envelope
- Double sided sticky tape
- Ribbon
- Tags
- Ruler
- Craft knife
- Red button
- Glue gun/Strong adhesive
- Scissors
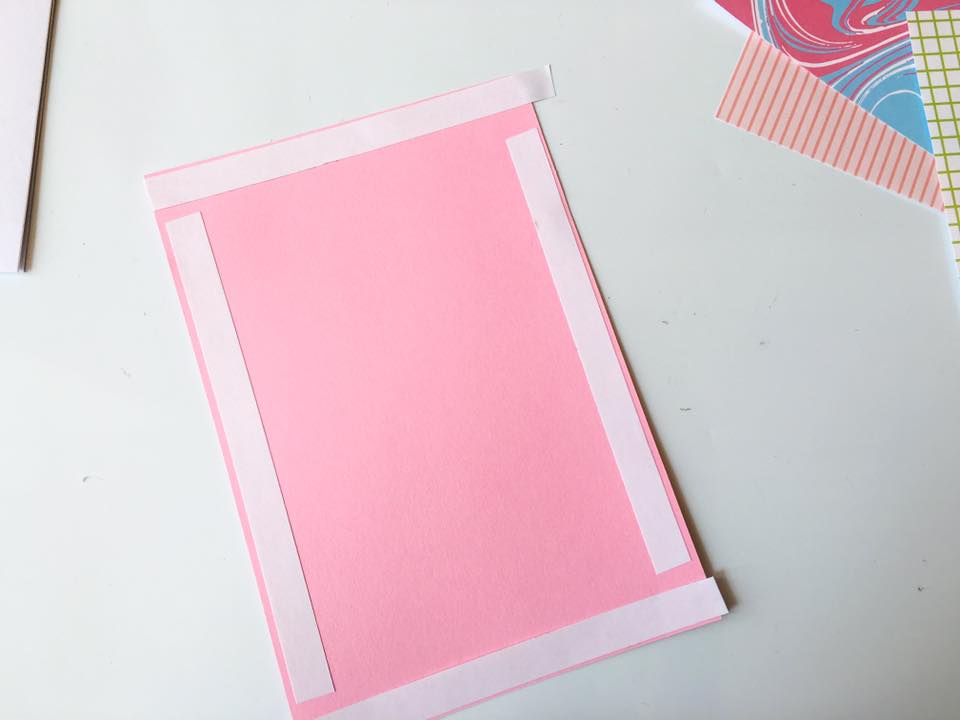
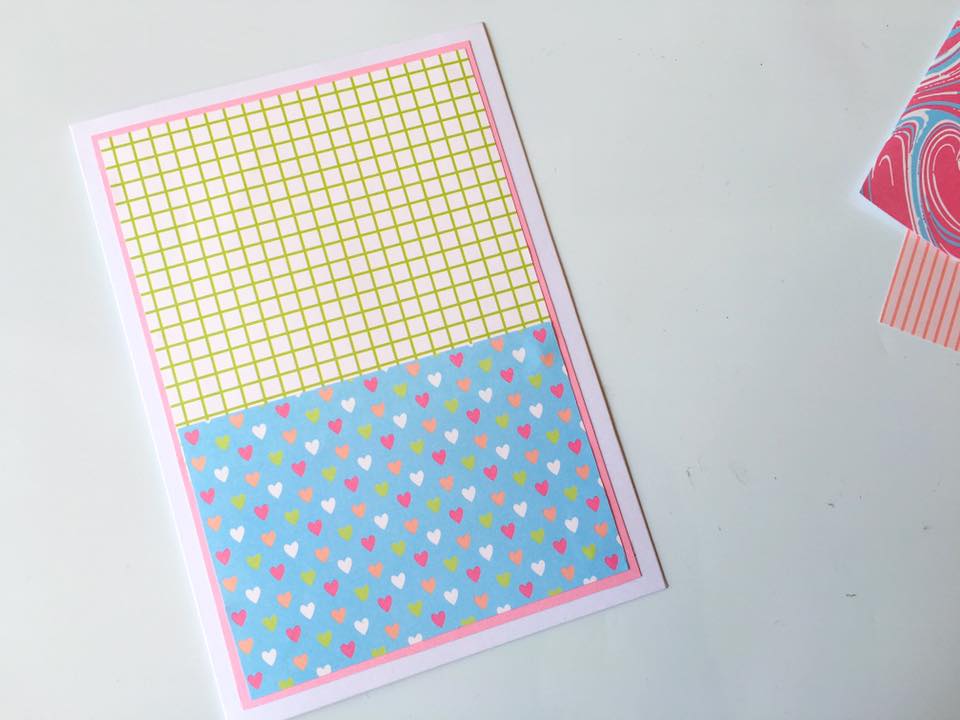
Begin by cutting out all of your base layers of paper in the layout shown below, use double sided tape to attach the pieces on to your A5 white card. The measurements are all a little trial and error, use a ruler to measure out the template exactly.
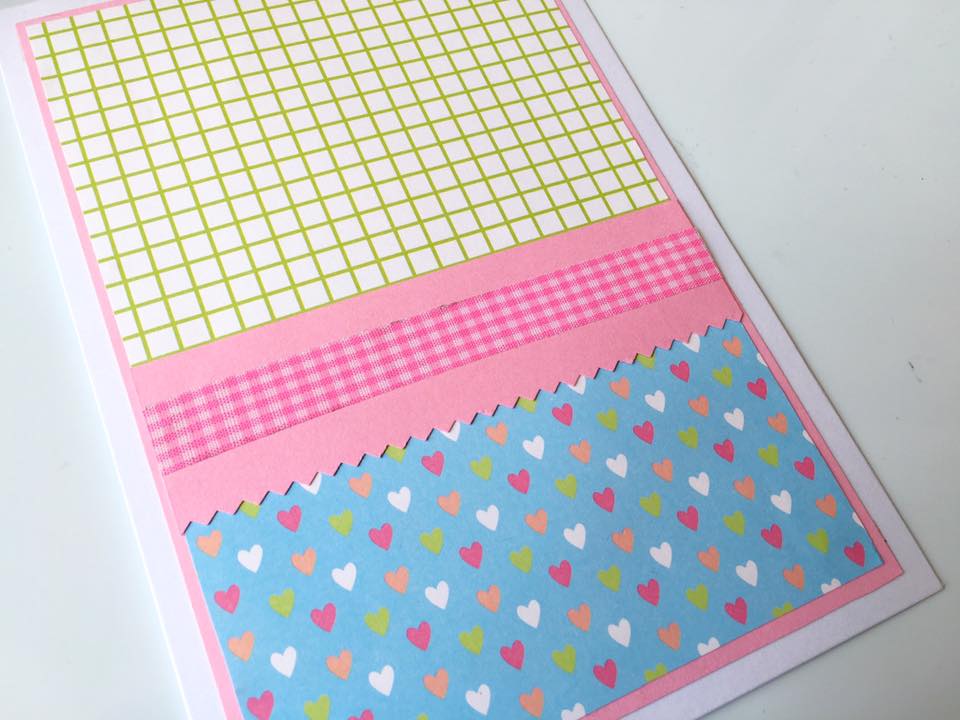
Cut a strip of card to lay as a border between the two sections. I used pinking shears and fabric tape to decorate but this is optional… go wild and create your own!

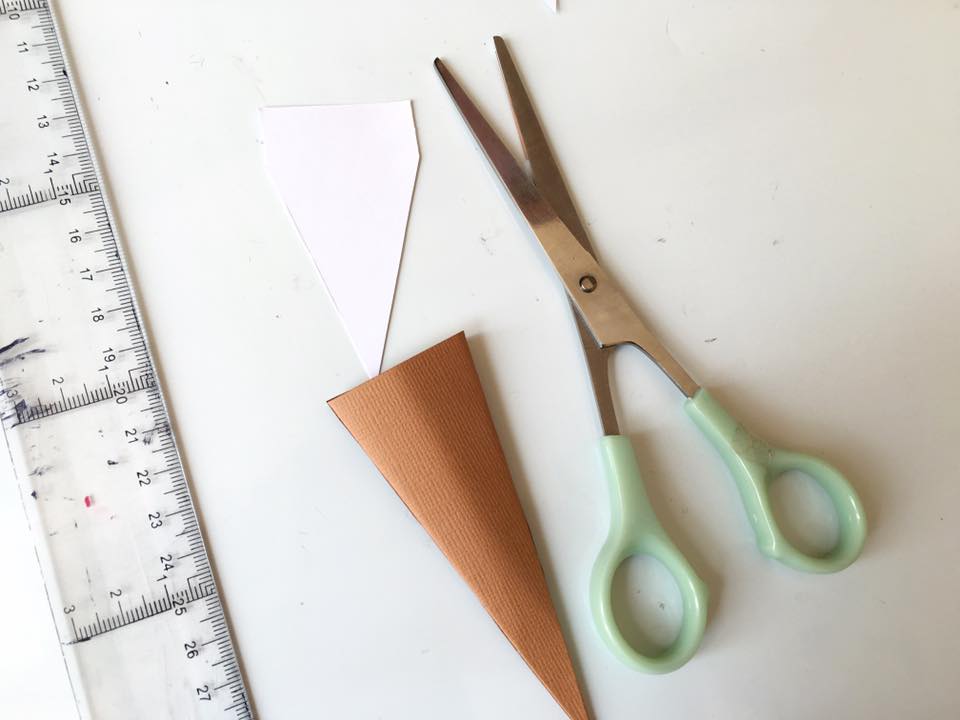
Once the base card template is complete it’s time to work on the ice cream cone! Start by drawing out your cone shape and allow 1cm either side to fold.
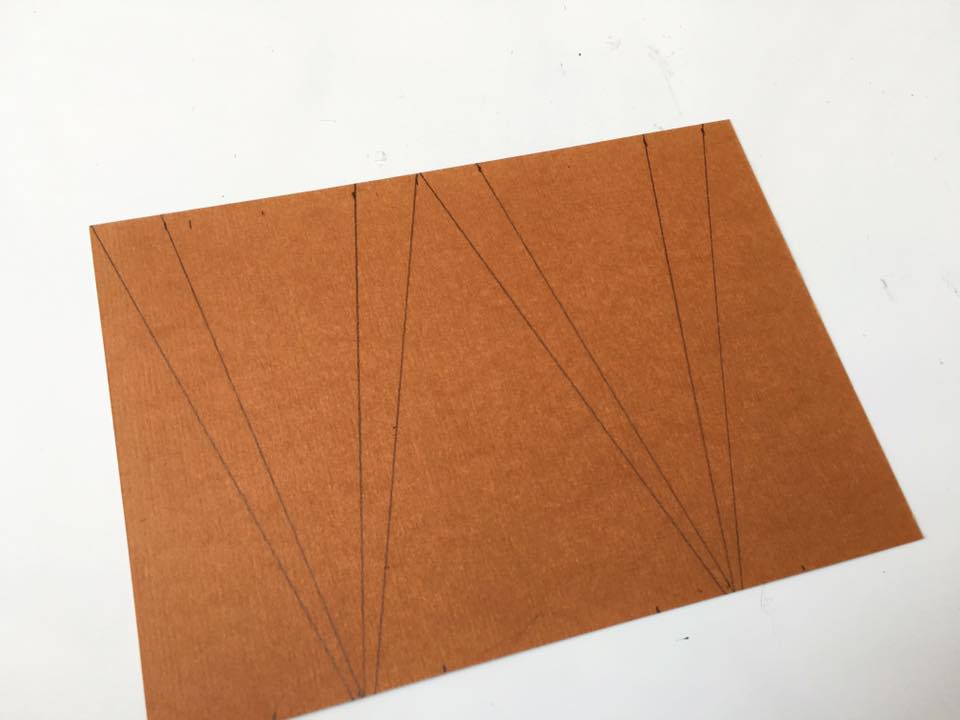
Cut out the cone with sharp paper scissors then GENTLY score the fold lines with a craft knife.

Fold the edges inwards and cut off any excess overlapping card towards the point of the cone.
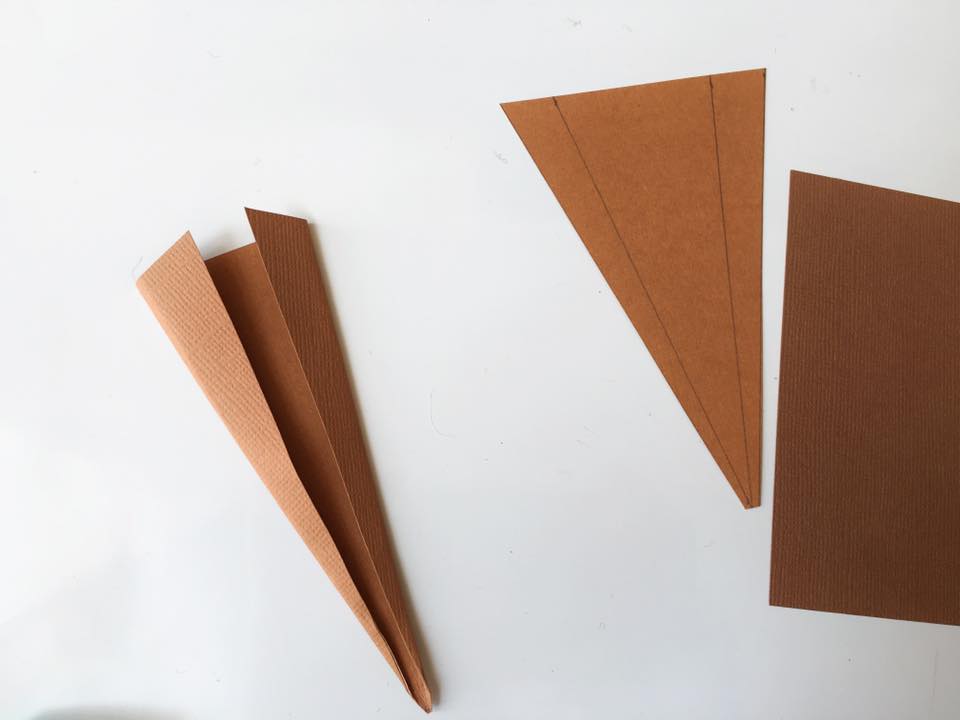
Use double sided tape to attach the cone to another (waffle brown!) surface.
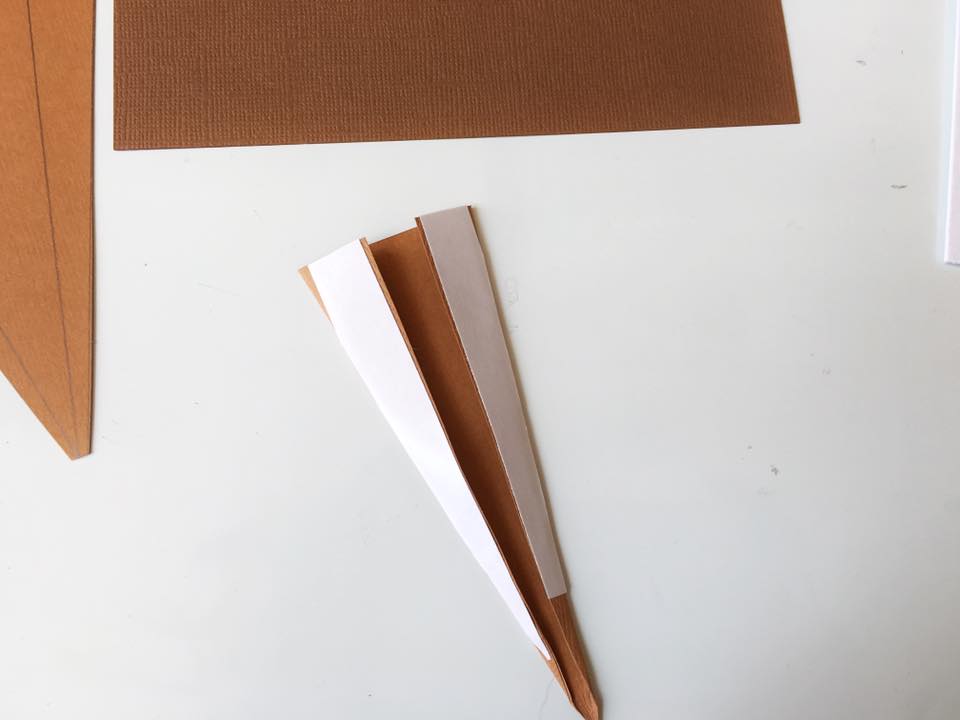
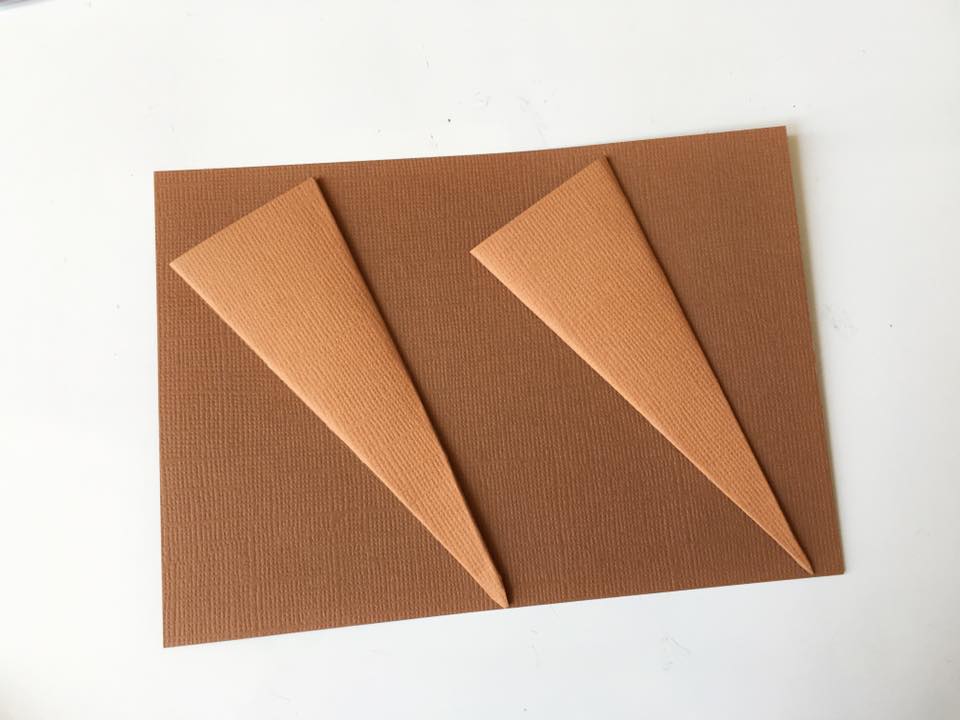
Cut out around the edges to create a 3D cone. You can maneuver the position so the base is flat to stick on to the card and the top half is cone-shaped for the message to slide in to.
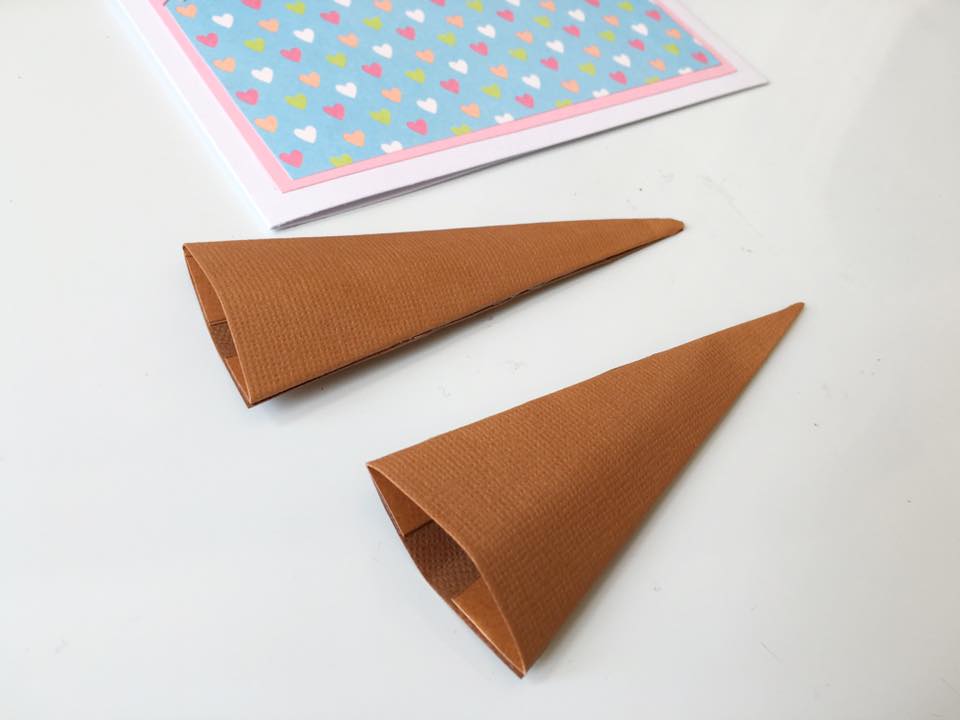
Now, with your measurements for the cone in mind, outline a template for the message card. Leave a 2cm edge at the top for the ice cream to stick to. Cut the template out and then check to see if it’s a perfect fit!

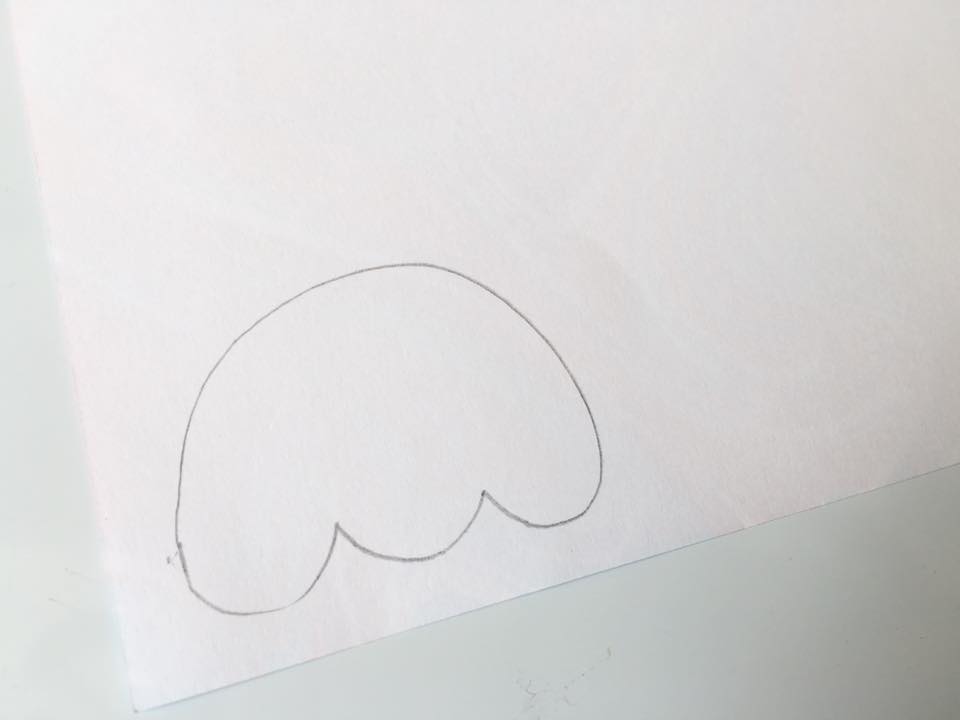
Draw a template for your ice cream scoops. Again, this is trial and error. Believe me I did not get this right the first time!
For the Ice cream you will need 3 of these templates in different patterns so draw around the template to get an exact match.
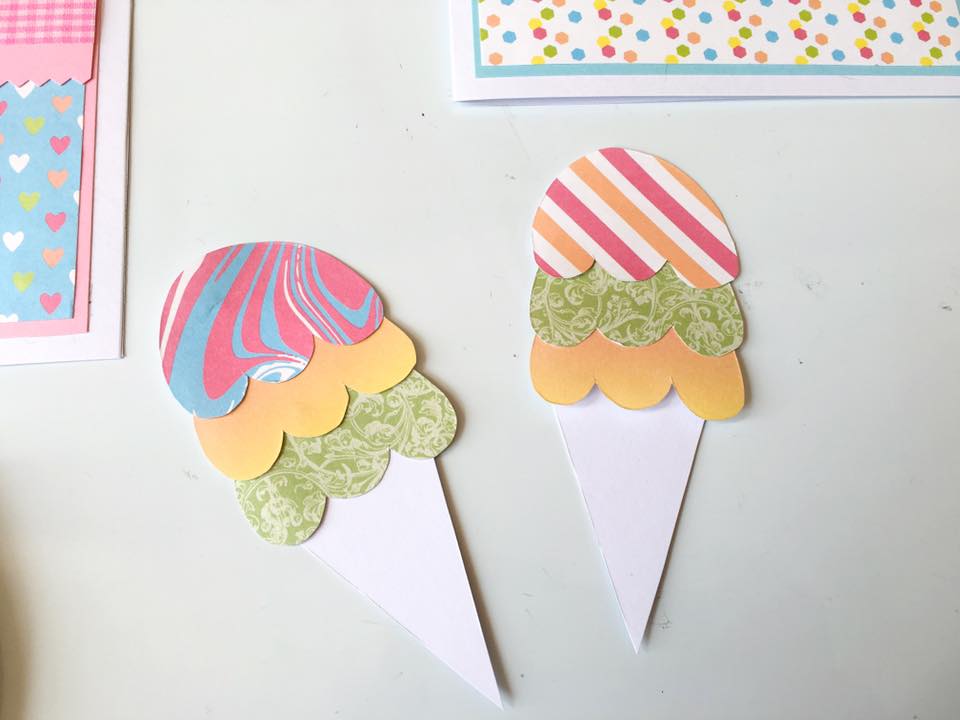
Attach the ice cream scoops with double sided tape then stick down your red button to a create a cherry on top!
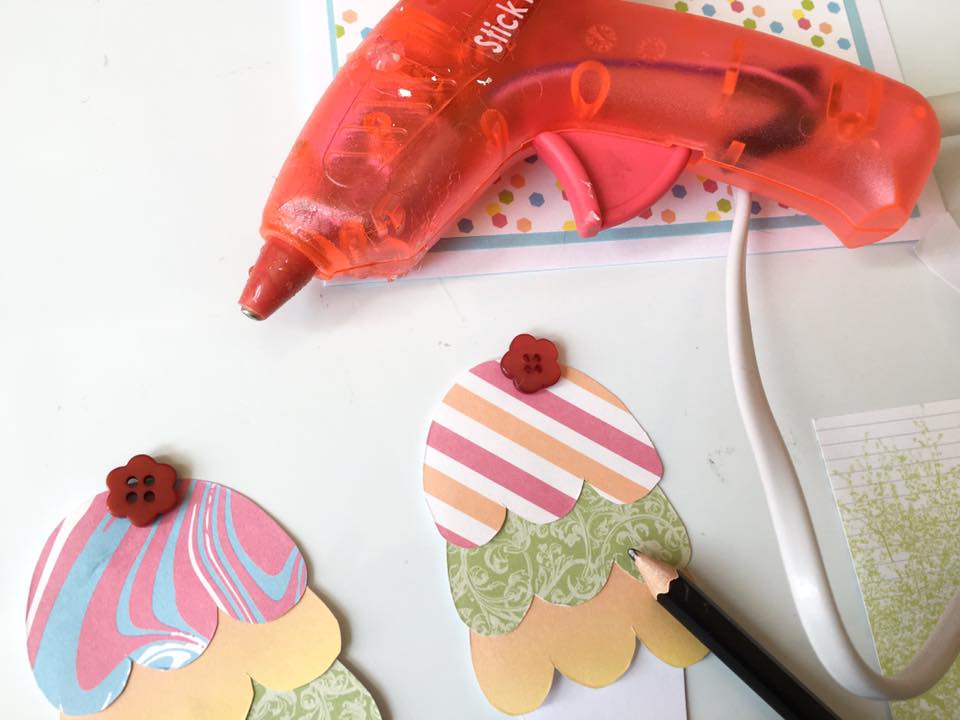
Use strong adhesive to glue your ice cream cone to the card. Make sure you check the exact position you want it to be placed before securing it down.
Personalise your card with your own hidden message!
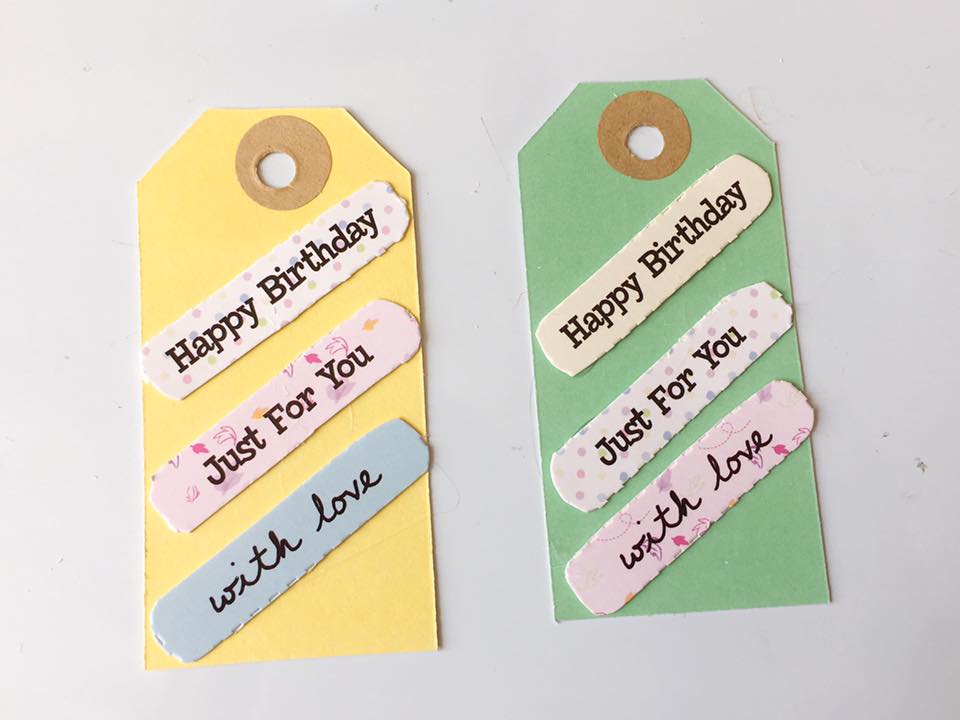
The next stage is completely up to you. You could keep it simple with just a bow, or create a ‘Happy Birthday’ tag like myself, or just keep it how it is.
I used labels and worded craft embellishments to create my tags, then attached it with a bow and added a button for a final touch.
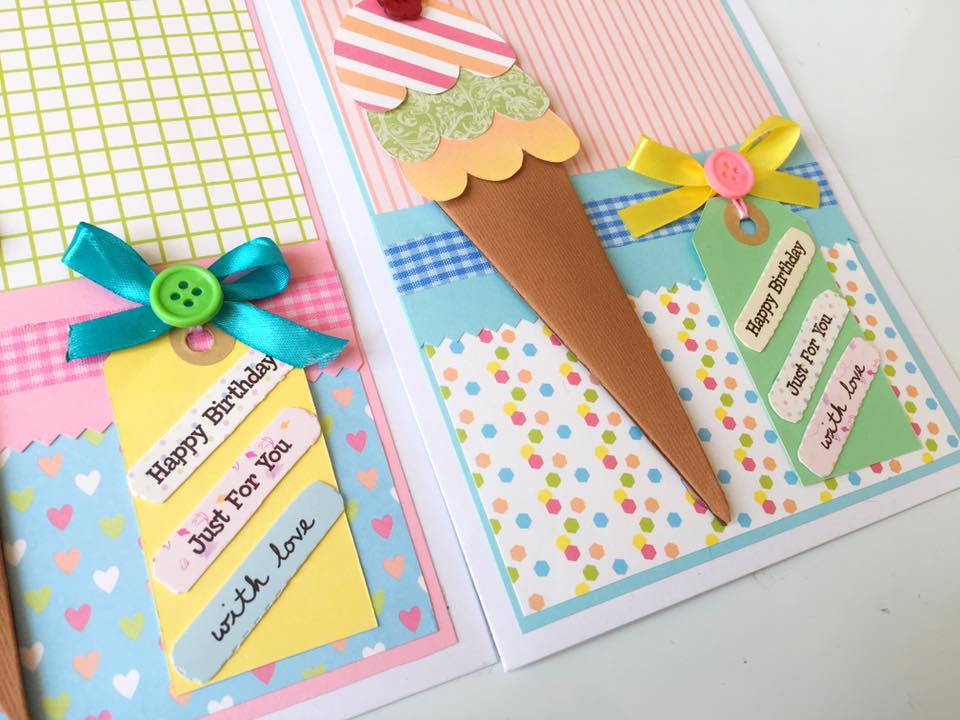
Finally, I used alphabet stickers to spell out the words ‘Special Mum’ and ‘Special Grandma’ at the top of the card.
There’s really endless ways to create this card so I would LOVE to see your final creations! Send any photos my way to my email thatssogemma92@gmail.com
And now I really want Ice cream…
