Make & Create: The Perfect Mother’s Day Card

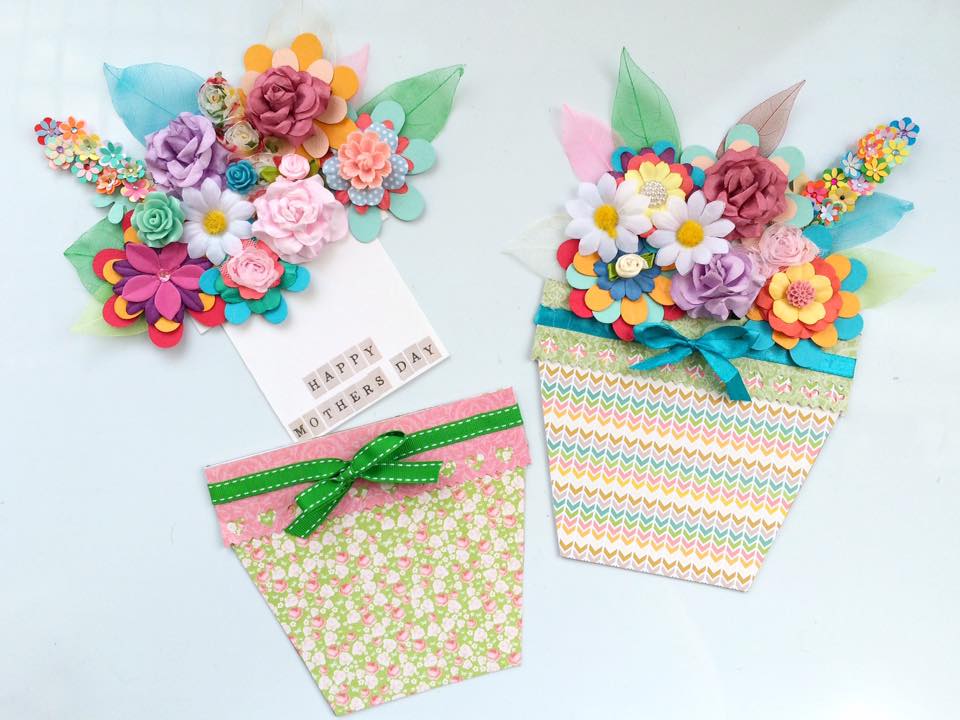
This simple yet beautiful handmade card is just perfect for letting a loved one know that they are loved! With Mother’s Day just around the corner, this creation couldn’t be any more ideal and can be made easily from left over craft supplies – if you’re a scrapbooking hoarder like myself you should have plenty of the materials needed!
All you need for this crafty make is:
- 2 types of card (patterned or plain)
- White card
- Ribbon
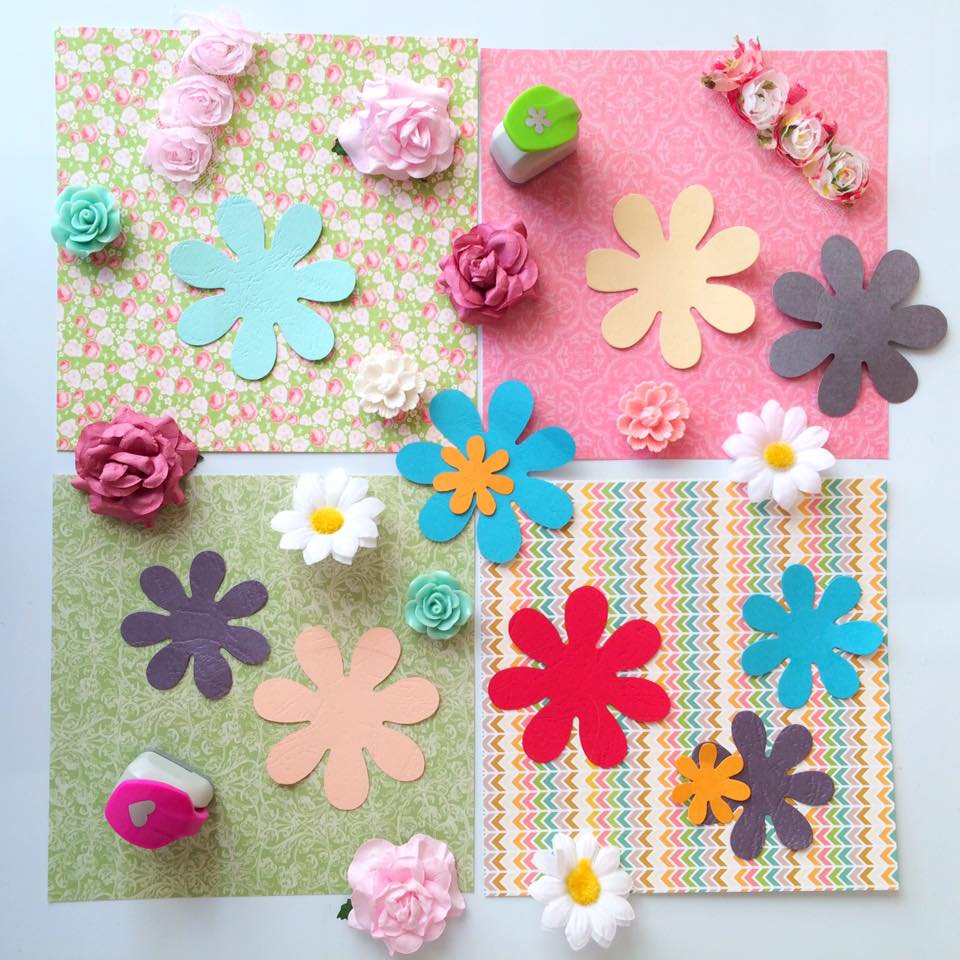
- Paper flowers (or paper that you can cut into flower shapes!)
- Double sided sticky tape
- Glue gun/strong craft glue
- A little imagination!
Begin by drawing your flower pot template on the reverse side of the card. You will need 2 templates of each. Draw 2 templates for the base of the pot and 2 templates for the brim of the flower pot as demonstrated below.
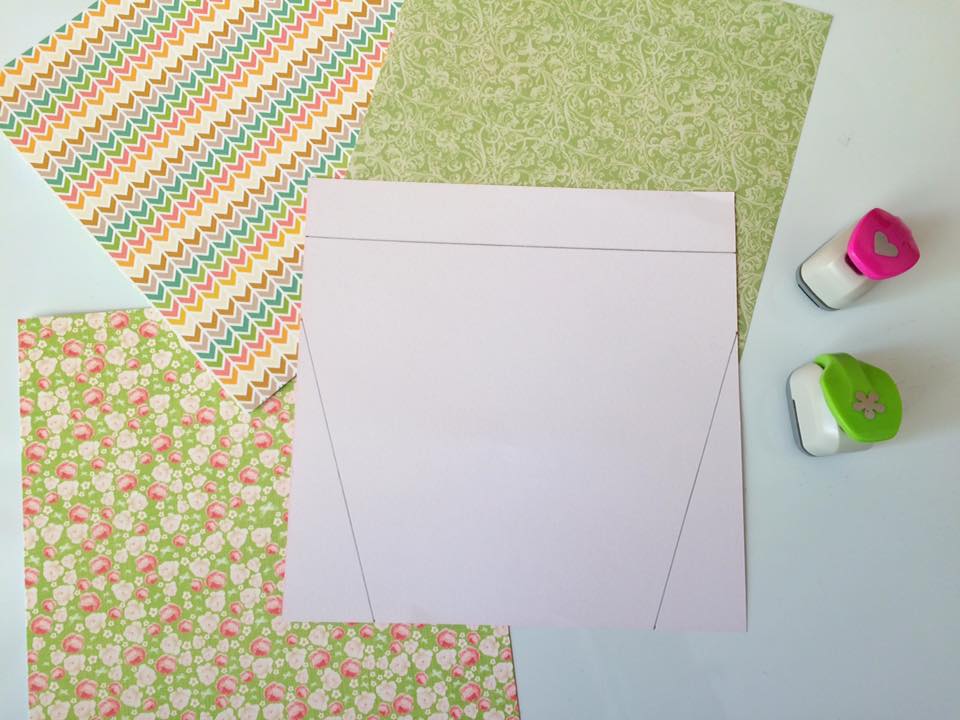
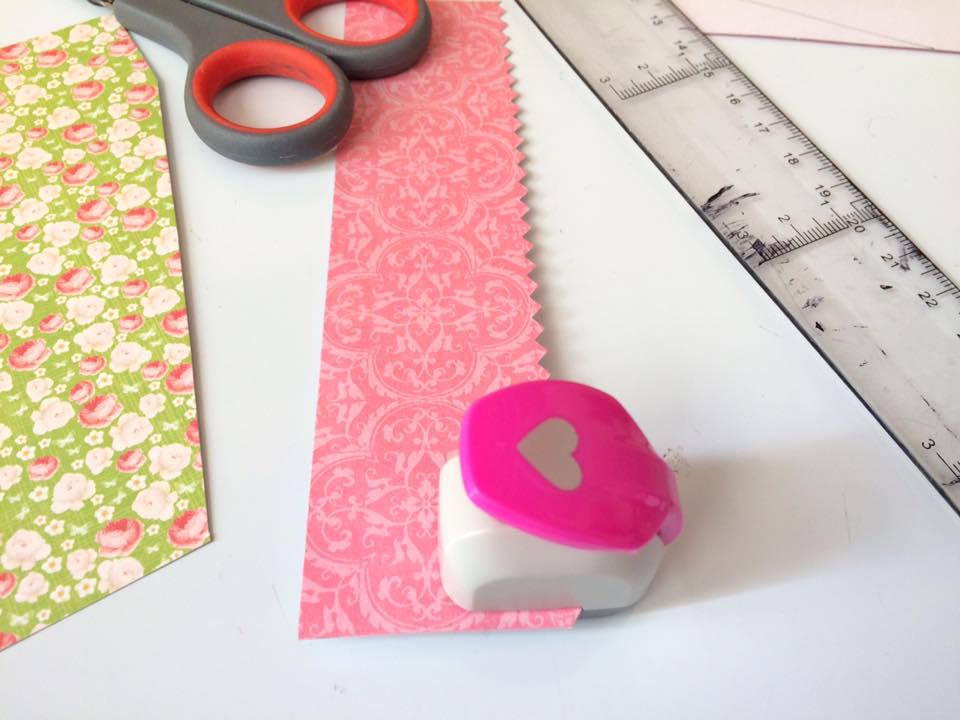
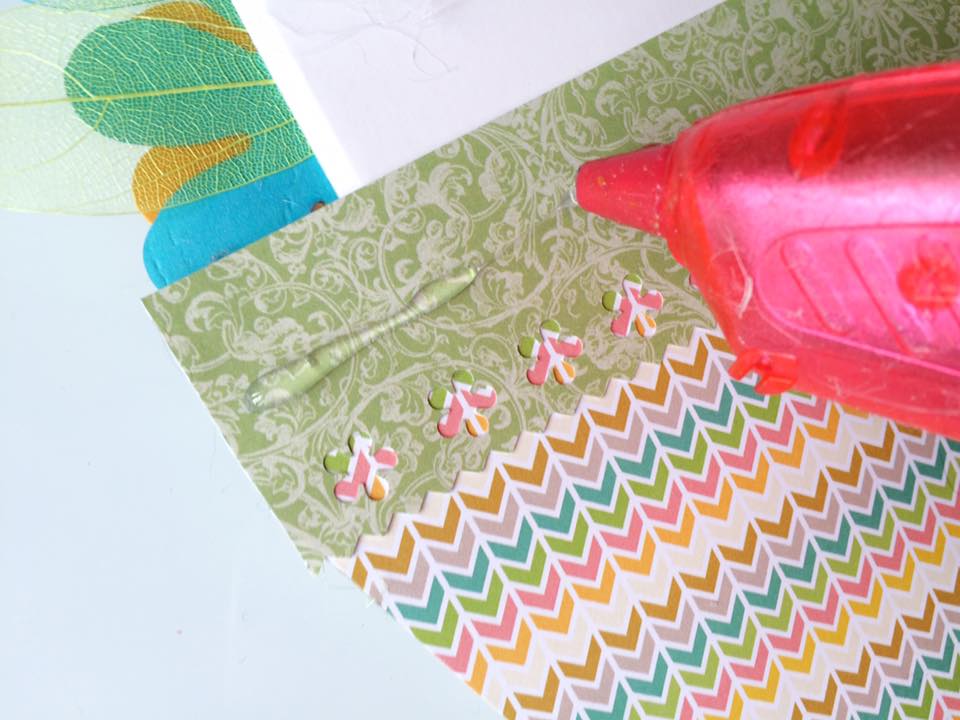
You can spruce up the template for the brim of the flower pot by using hole-punches or pinking shears but this isn’t essential! If you don’t have these tools then why not jazz it up with stickers or washi tape?
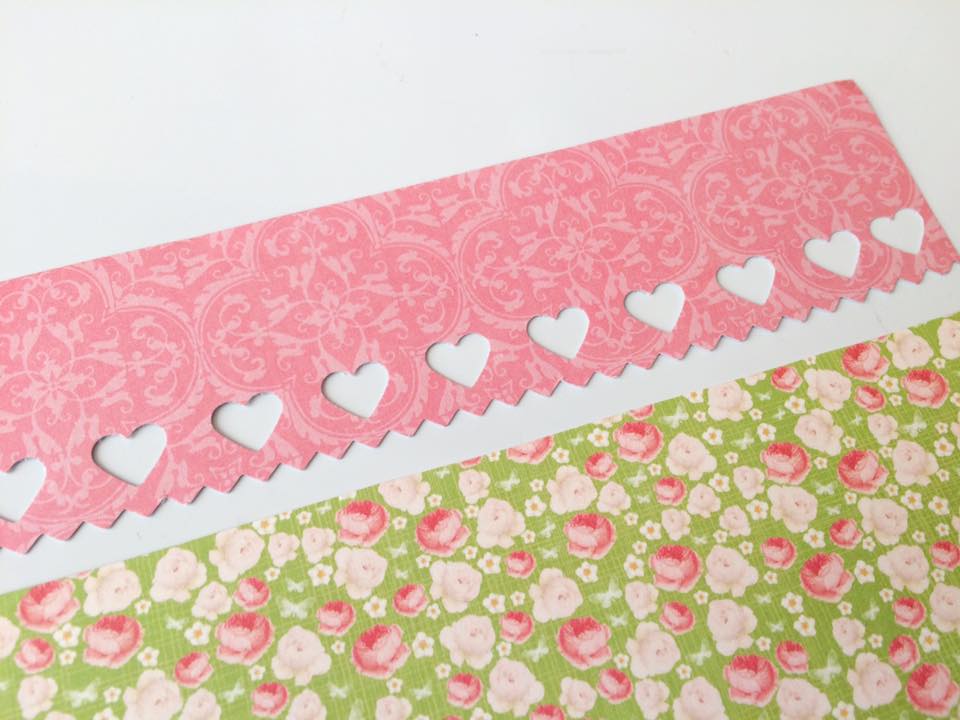
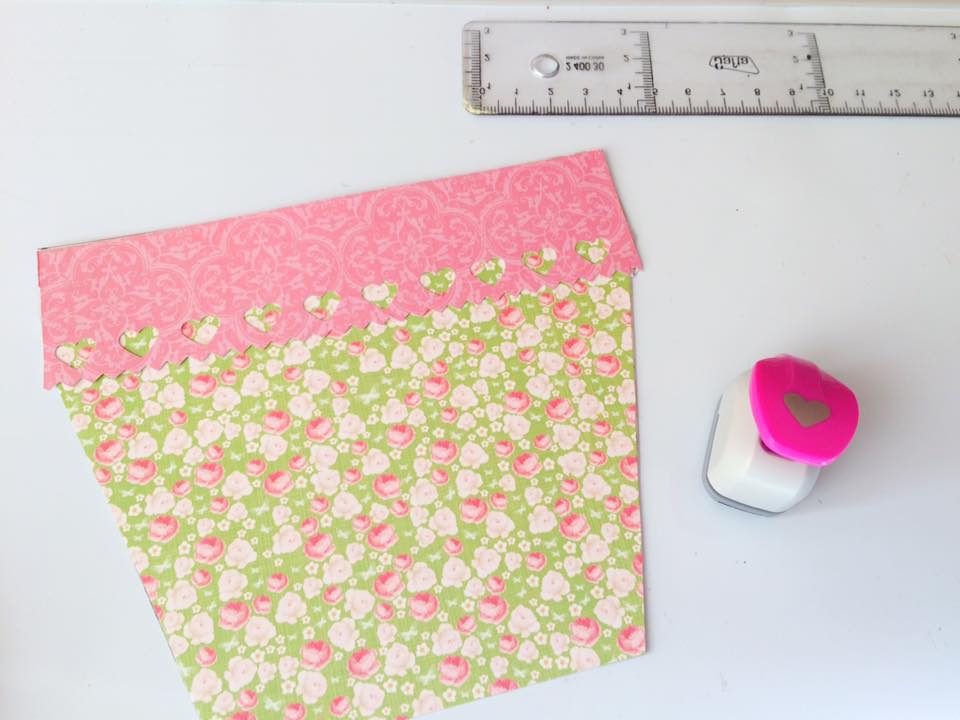
Layer your templates in position then secure with double sided tape.
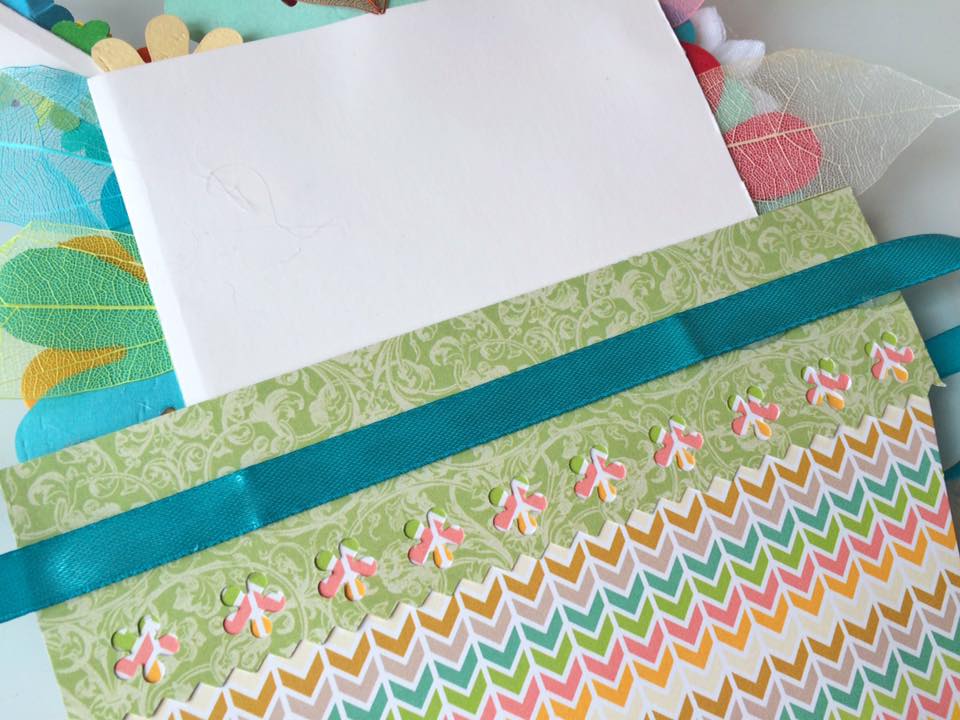
Then, attach the two parts together leaving the top of the flower pot open to create a pocket for the card.
Cut out a piece of white card that fits snugly in to the pot allowing enough space above for your flowers to be attached.
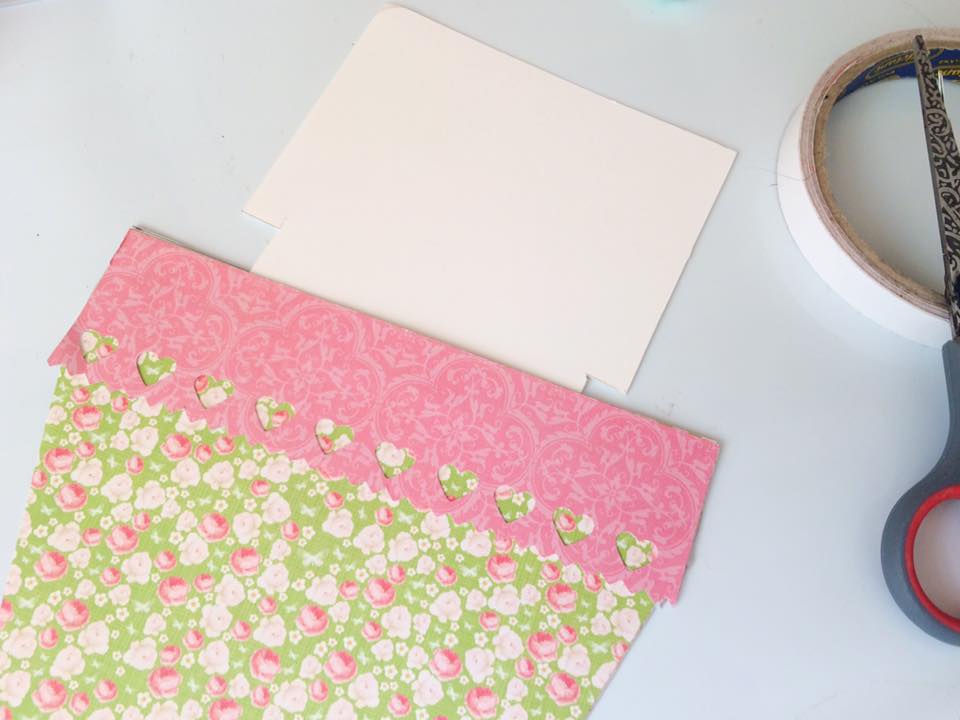
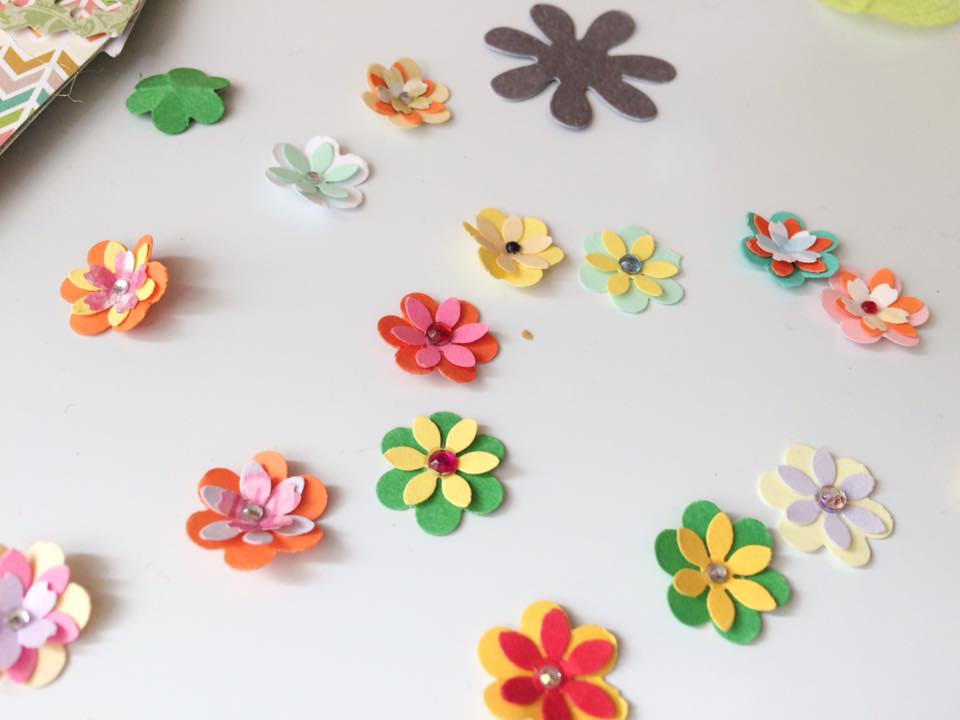
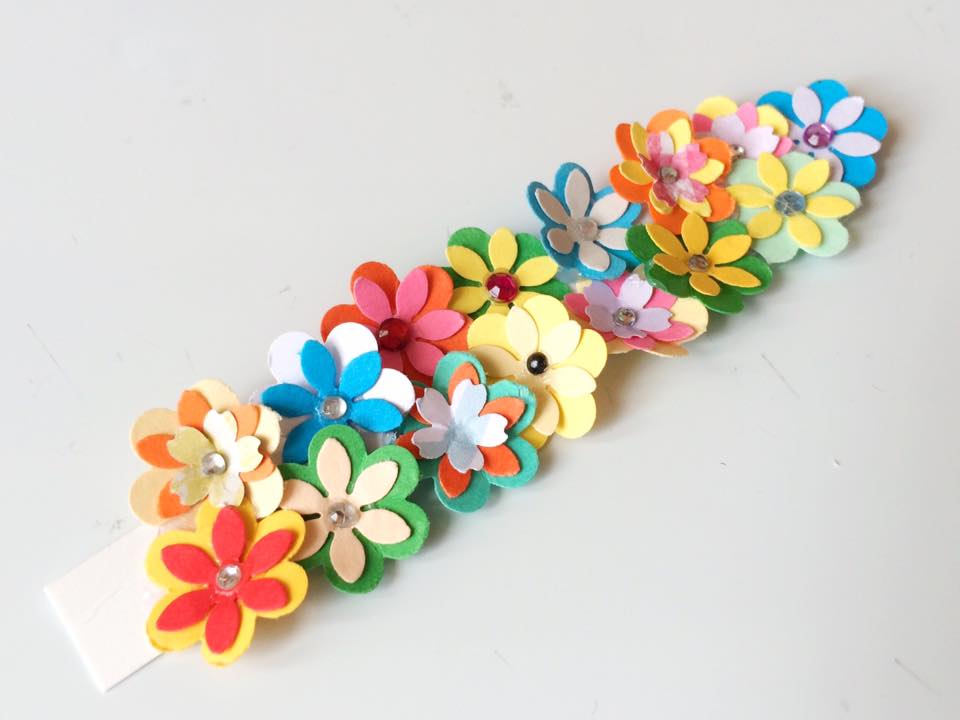
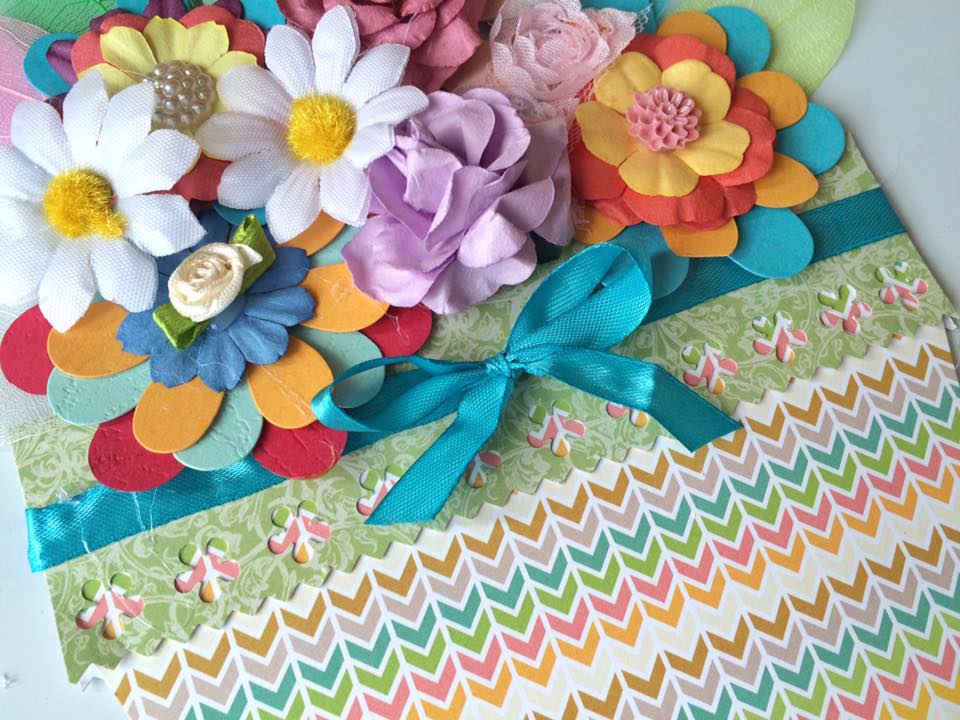
You can now let your inner creative spark take over! Layer different petals, flowers, resins or embellishments to create the flowers you want. You can even mix it up and use fabric flowers too…it’s yours to decide! Keep the white card in the flower pot pocket whilst attaching the flowers so you have a guideline where to stick them- this way you can practice positioning the flowers where you want them to be.
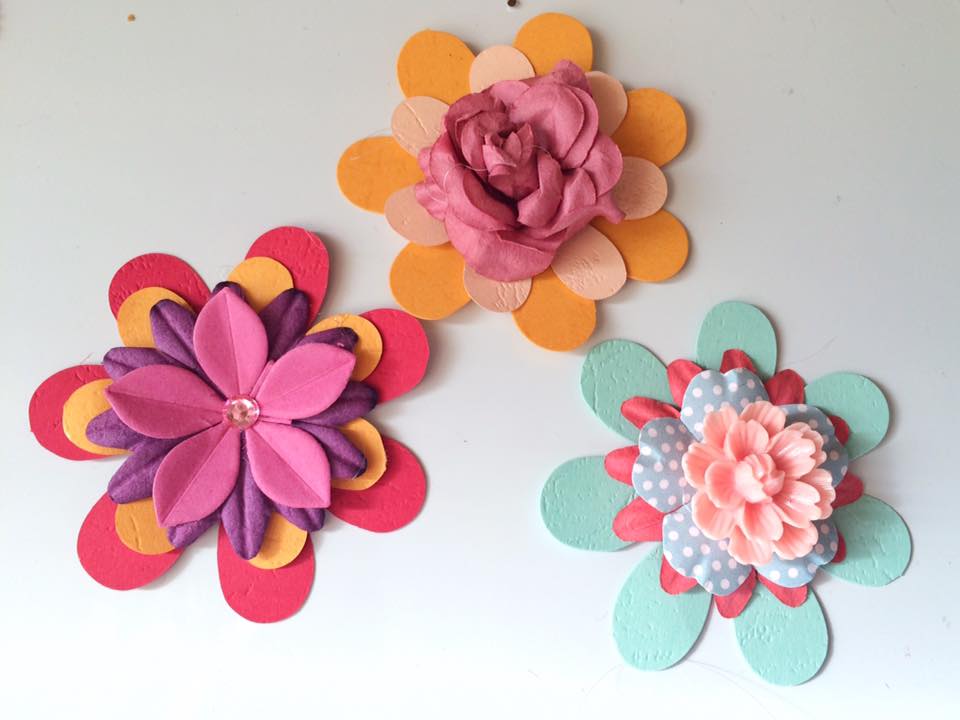
Make sure you don’t accidentally stick your flowers on to the brim of the flower pot – you won’t be able to slide out the card if you do! If you have a flower that overlaps (as shown below), only glue the top petals of the flower so it can still be dismantled.
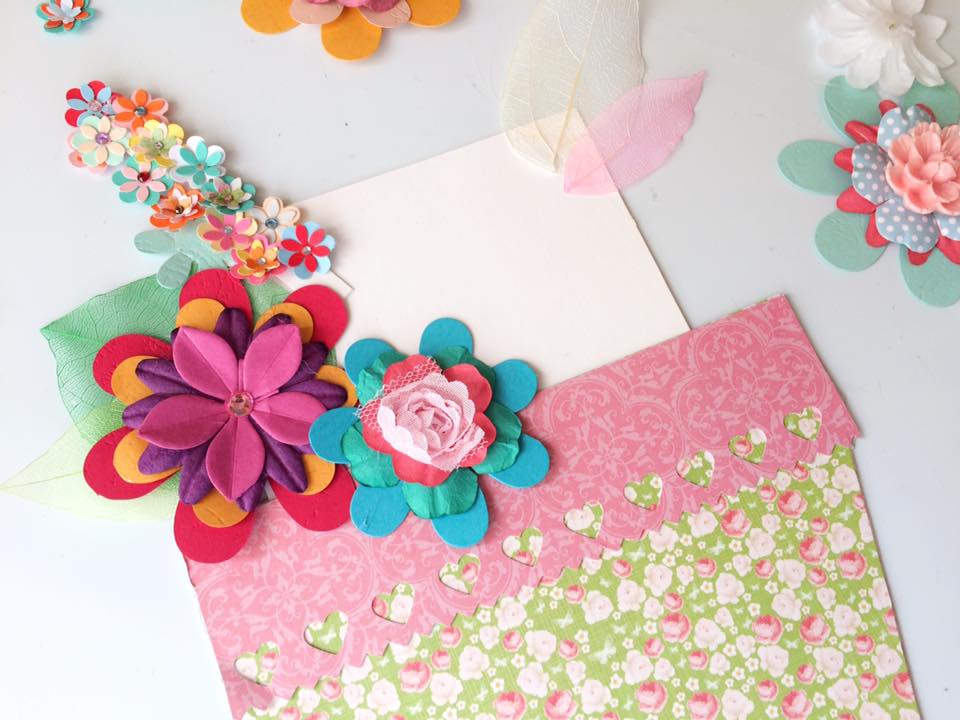

When all of your flowers are stuck in to place, add a final touch with some ribbon to decorate the flower pot.
In the depths of my crafty stash I found some alphabet stickers from Hobby Craft and stuck them on to the white card inside with a ‘Happy Mother’s Day’ message.
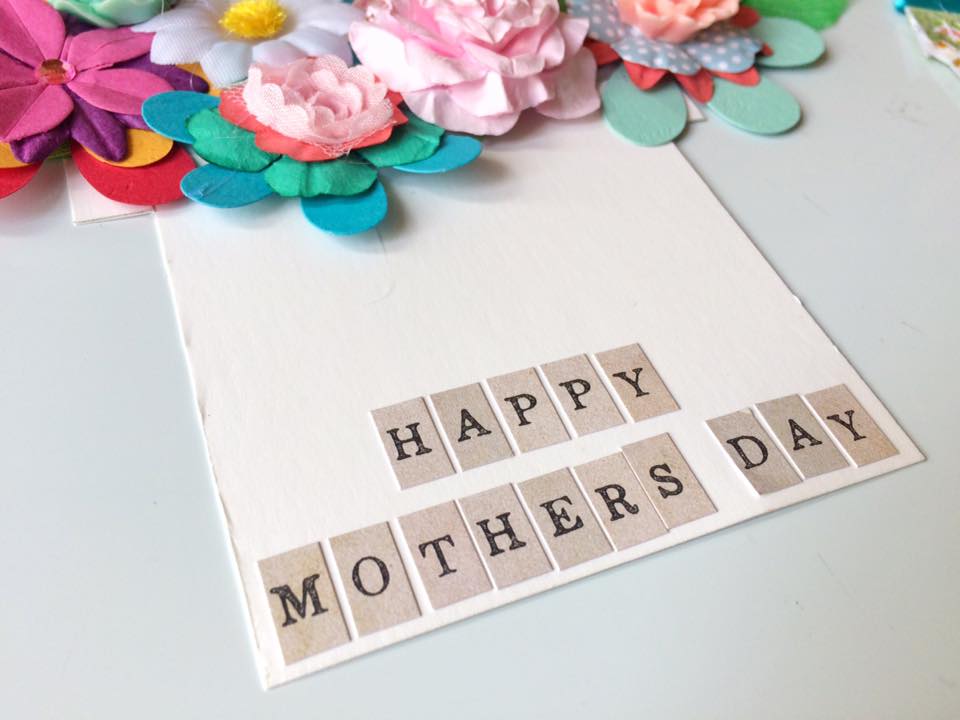
Now all you have to do is write down your personal message and the card will be complete. You can also ‘PTO’ to the other side of the card if you need some extra space to write your message.
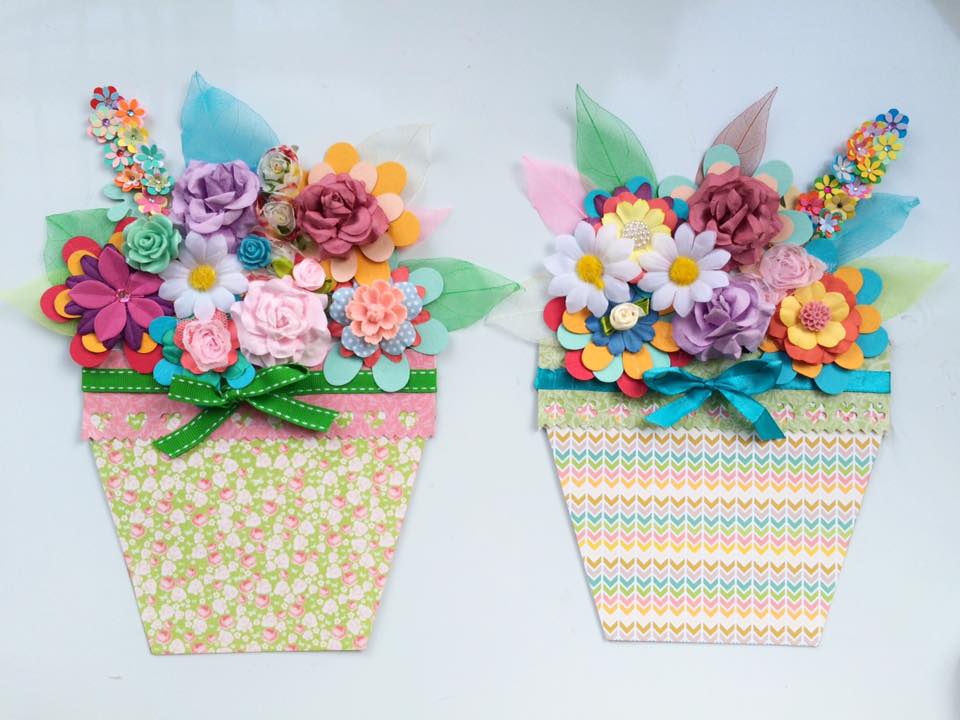
They’re ideal for birthday cards, Mother’s Day cards, get well soon cards or celebration cards and because they’re so beautiful they double up as a present too! They look fantastic hung up on a wall or stood on a shelf.

Happy scrapping! Don’t forget to show me yours via my contact form here.


