Make Your Own Trinket Dish


I have a thing for pretty little dishes. You know, those handy little things that sit around in your house, on your desk, shelf or window sill that sit there looking pretty and hold things that you’re likely to put down in a safe place so you ‘don’t lose them’… Those kind of dishes. The kind of dishes that in a mans eye (T for example), may be classed as ‘crap tatt’ or a high risk breakable that could easily in one ‘accidental’ swoop fall to the ground and cause al kinds of chaos and upset. THOSE DISHES.
Sorry T, but my latest make has been brewing for a while as I’ve ogled over all the prettiness on Pinterest and decided to give it a go myself, and it is so simple and fun to make. I bought some modelling clay from The Range, along with some acrylic paint and gloss varnish and set straight to it. I would like to mention though, that in this lovely EXTREME heat that us Brits have been lucky to have over the last week (I’m not complaining about the good weather, honest), that this make has taken somewhat longer than I expected, but i’ll get to that later.
So, apologies for leaving y’all hanging for a little longer than expected. I haven’t disappeared off the face of the earth I swear. Actually, I’ve been being a typical Brit and making the most of this super sunny weather!
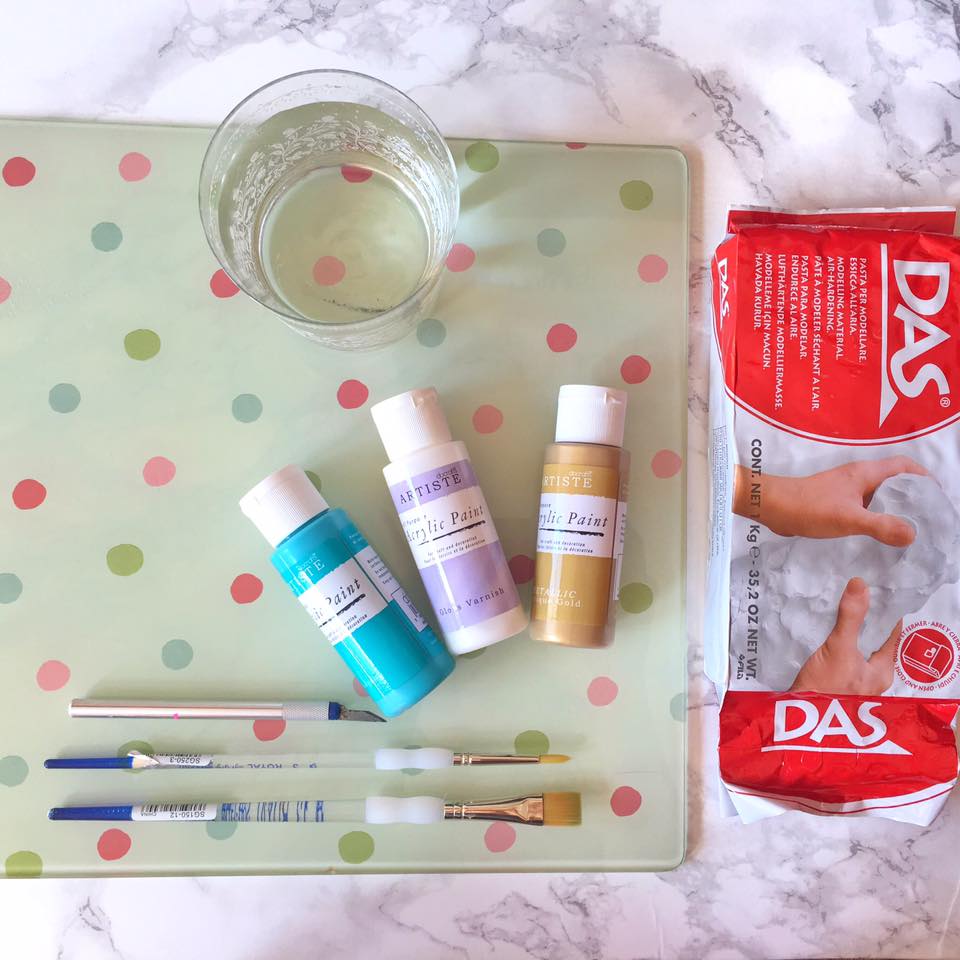
When I wandered to The Range earlier this week I literally had no clue what I was going to come out with. All I knew was that I needed clay of some sort and varnish. DAS caught my eye, and although all the text on the packet is actually in a different language, within minutes I googled the method and instructions on how to use it… ah technology. DAS is a modelling clay which air dries until it is solid which can then be painted however you wish and given a coat of varnish for protection…and it is AMAZING. When you take it out the packet you can feel a cold and damp texture but it is very satisfying to squidge around in your hands – it’s quite hard not to get carried away!
It’s fairly mess free, it doesn’t stick or get tacky but I do recommend to have a glass of water near by to dip your fingers in every so often if it starts to dry out a little bit. Not that it really did for me… Still getting to that…
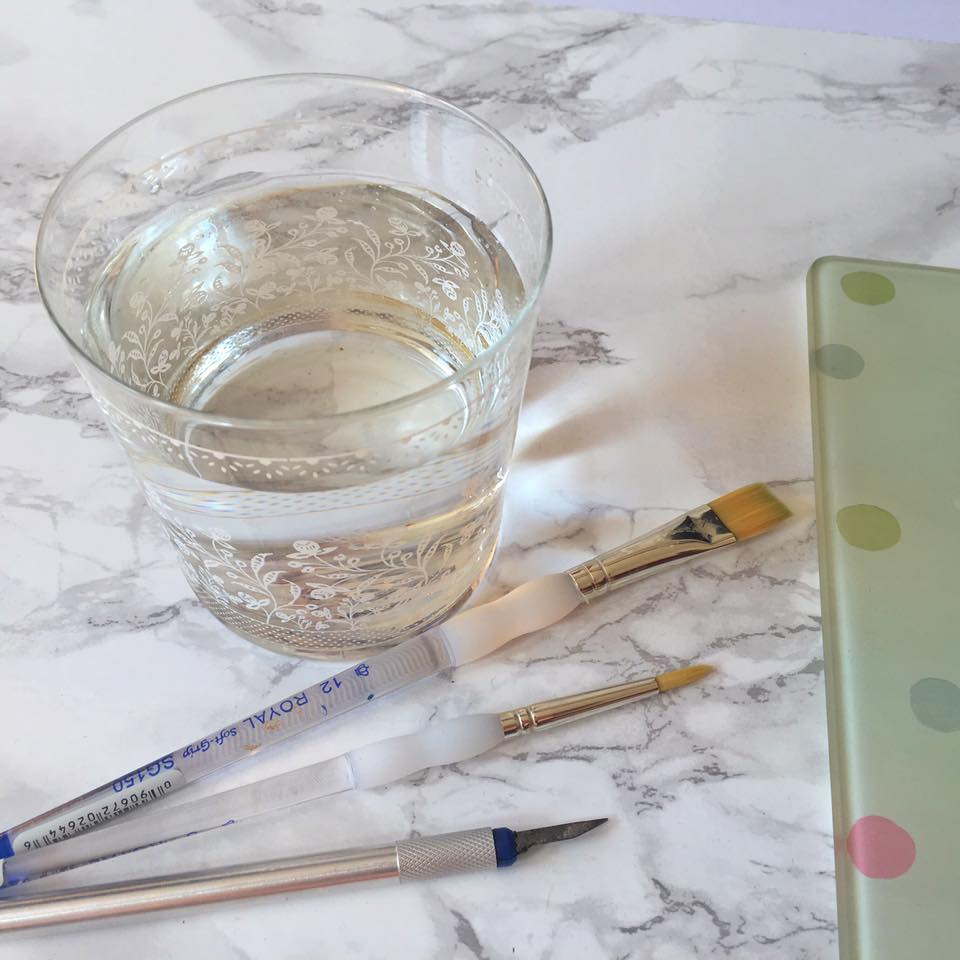
To make the circular dishes I used the rim of a mug or the base of a small plate as a template and cut the clay with a craft knife, again very satisfying. I then used large mugs and bowls to mould the dishes into a bowl shape by pushing them in to the base/rim of the bowl.
For the hexagon and ovals I printed out shape templates on to thick card, placed it on top of the rolled out clay and once again cut around the template.
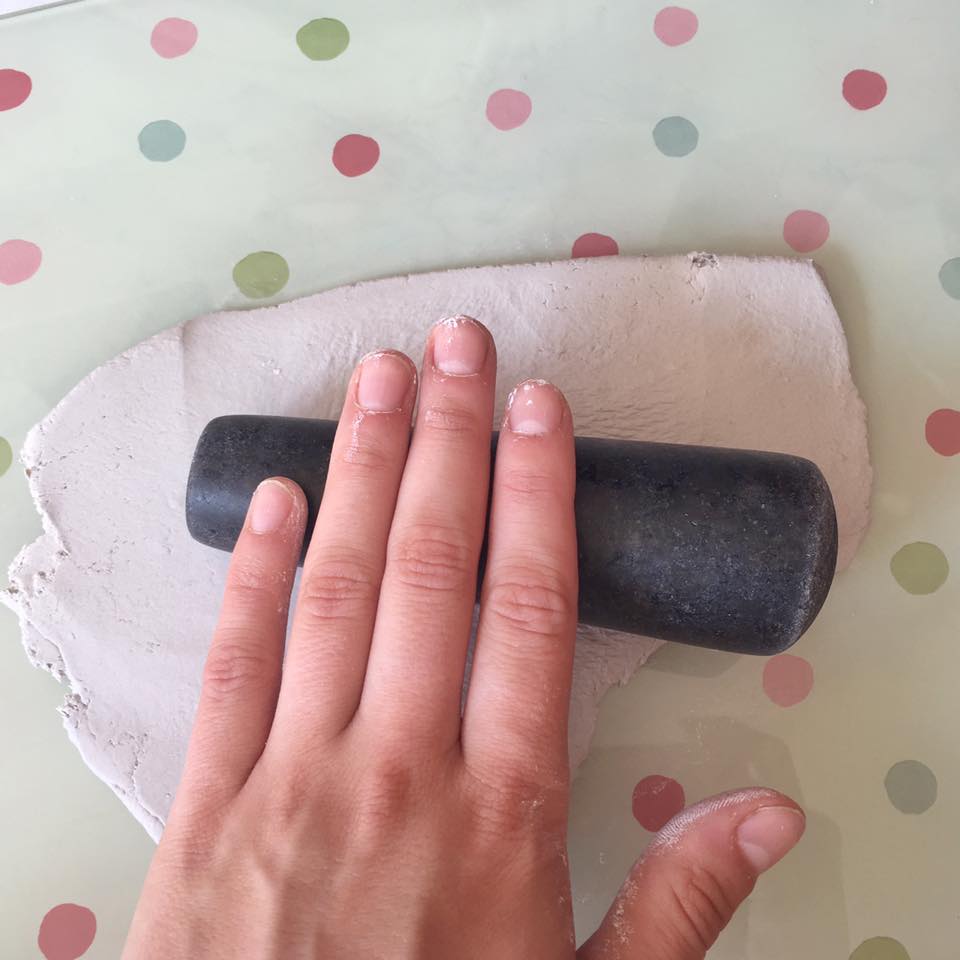
When rolling out the clay, I recommend a 1/4 inch thickness and make sure it is rolled evenly throughout – instead of a chunky rolling pin I actually used a pestle from a pestle and mortar as it’s weighty but not too large. Oh and, I definitely just had to Google ‘what part is the pestle and what part is the mortar’. HA.
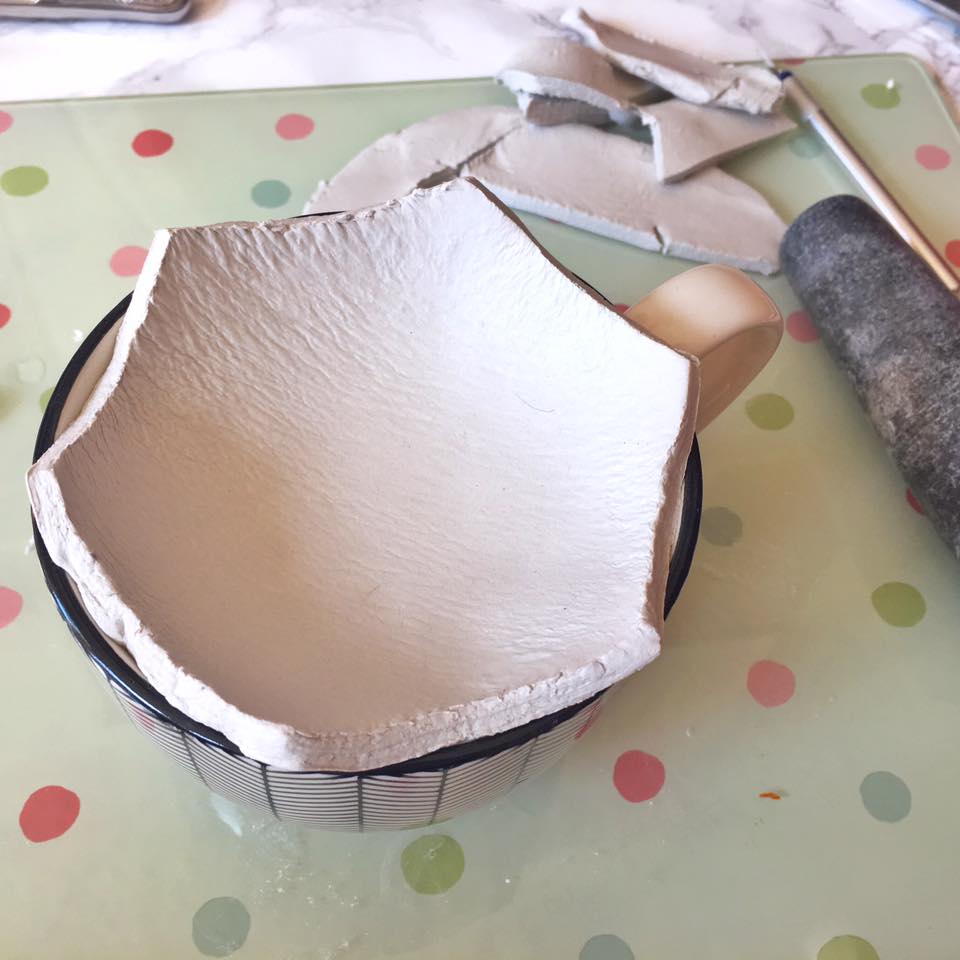
Alas, with all of my dishes sculpted I waited for the recommended 24 hours of ‘drying time’ to pass.
Nope.
After 2 days was it dry?
Nope.
THREE days later… It was finally dry.
As I said before, I am NOT complaining about this beautiful hot sunny weather we have had BUT it is pretty impossible for an ‘air dry’ clay to dry, when there is NO AIR. It has been pretty hot, humid and stuffy in our south facing flat on the coast so my poor little dishes took a lot longer than expected, hence the delay on this post!
Nevertheless, I was very happy and eager to start painting my little dishes; First in a base coat of white acrylic, then layers of pastel shades and finally some gold patterns on top.
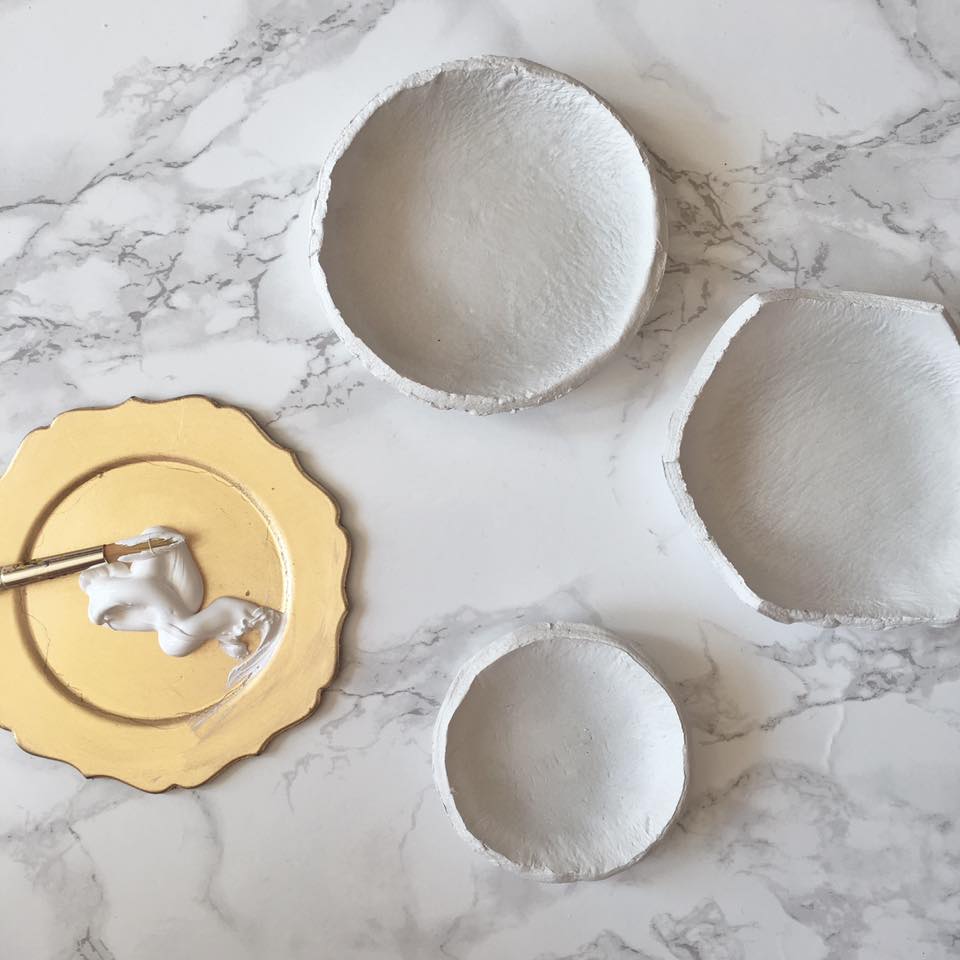
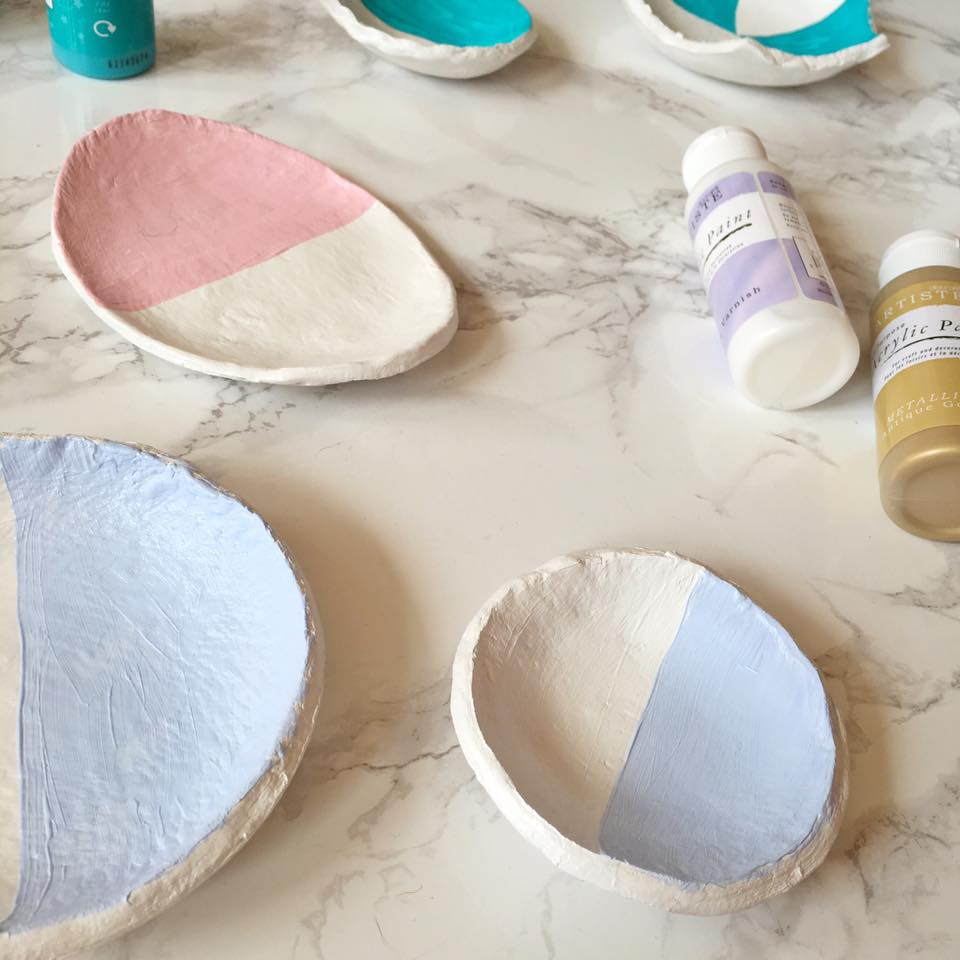
And finally, with one layer of Acrylic gloss varnish the dishes were complete!
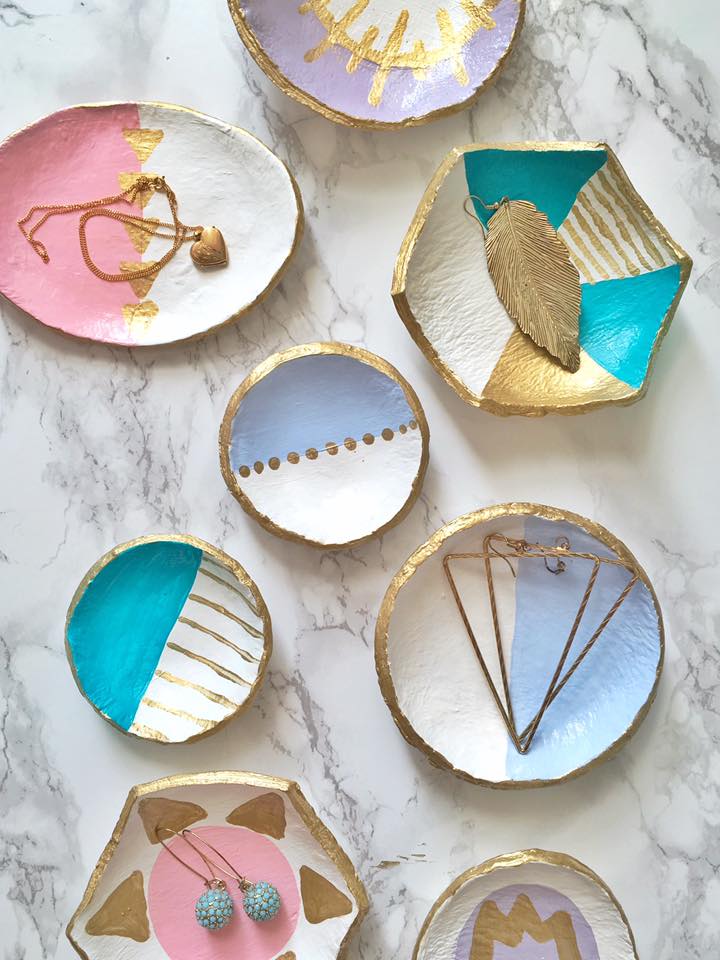
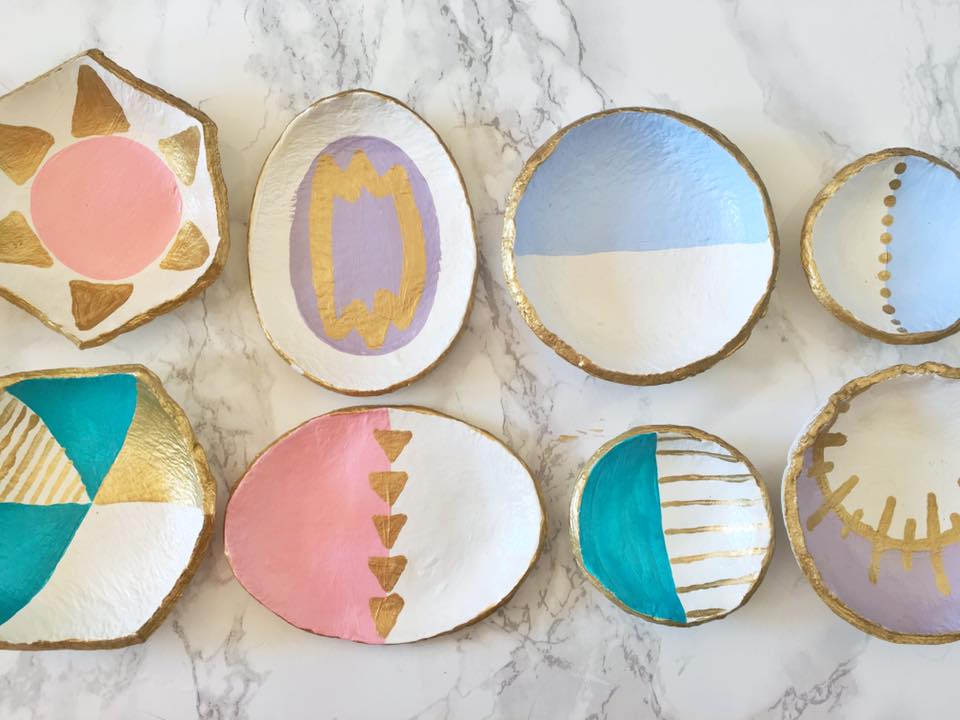
They also make the perfect handmade gifts, I will definitely be making more of these when it gets closer to The ‘C’ word that I dare not mention in August.
Enjoy!


