My New Bathroom Cabinet


So here’s a little project that I have been working on for the last couple of weeks, to go with the theme of converting things from drab to fab…my new bathroom cabinet!
I found the cupboard at a charity shop for the bargain price of £6.50 and immediately saw the potential it had to become so much more beautiful!
Inside was dull, and a little dirty to be honest, but again you could see that with a bit of TLC the cupboard would be ideal for storing toiletries.
So, first things first and one of the most important parts I believe, get scrubbing!
Wash down the wood with soapy water to remove any dust, dirt or grease, also remove any handles/door knobs.
This is when it starts to get exciting because you can soon start to paint! The paint I chose to use was from Wilkinsons called Pastel Green, which I then mixed with my magical powder (chalk paint powder) to make it a texture similar to Annie Sloan or Rust-Oleum. A tutorial for How-to on the mixture will be coming soon!
Now it’s time to paint! Allow the paint to completely dry in between each layer, the amount of layers needed will depend on the chosen colour, and the natural colour of the wood beforehand.
For my cupboard, 2 layers would have sufficed, but I painted a third over the top as I planned on doing a fair amount of distressing afterwards.
Once the exterior was completely dry I then repeated this for the interior.

I thought i’d make the most of the cupboards general features such as the bevelled door design, and thought that decoupage would be the perfect thing for it! I found some Deco Mache paper from The Range which matched perfectly!
Apologies for the contrast in lighting but the decoupage was done in the evening, so there was no natural light!
Using a ruler and scissors I accurately measured the size of paper needed to cover the engraved shape on the door, creating a rectangle, then covered the panel with watered down PVA glue, and carefully stuck down the paper, folding out and creases and air bubbles.
After that layer had dried, I used a craft night to then cut the corners of the paper off so that the original shape on the door was formed, and then plastered another healthy layer of the PVA mixture for hardwearing protection. Make sure you’re super careful when using decoupage paper as it can easily tear, even more so if your using napkins!
Again, apologies for the contrast in lighting!
I allowed the PVA to dry over night, so that the upcoming sanding dust didn’t get stuck to anything!
Using a sanding block and sandpaper, I then distressed the entire cupboard, focusing especially on corners and raised edges, I recommend you do this on a painting sheet or blanket of sorts… the dust goes everywhere!
From all of the sanding I even gave myself a blister on my thumb!
I also gave the inside a slight distress to keep the rustic theme throughout, this is when it all started to come together nicely!
After all of the painting, decoupage and distressing was done, I focused solely on the inside, the drab appearance of the plastic back was so unsatisfying considering how beautiful the exterior was beginning to look!
So with the matching Deco Mache paper I used on the front, I then used on the inside panels as well. The best thing about the decoupage paper is that it can be used on a variety of surfaces including wood, plastic, metal and glass.
Doesn’t that look so much better!
Now that the interior and exterior of the cupboards were complete, it was time to add the final touches!
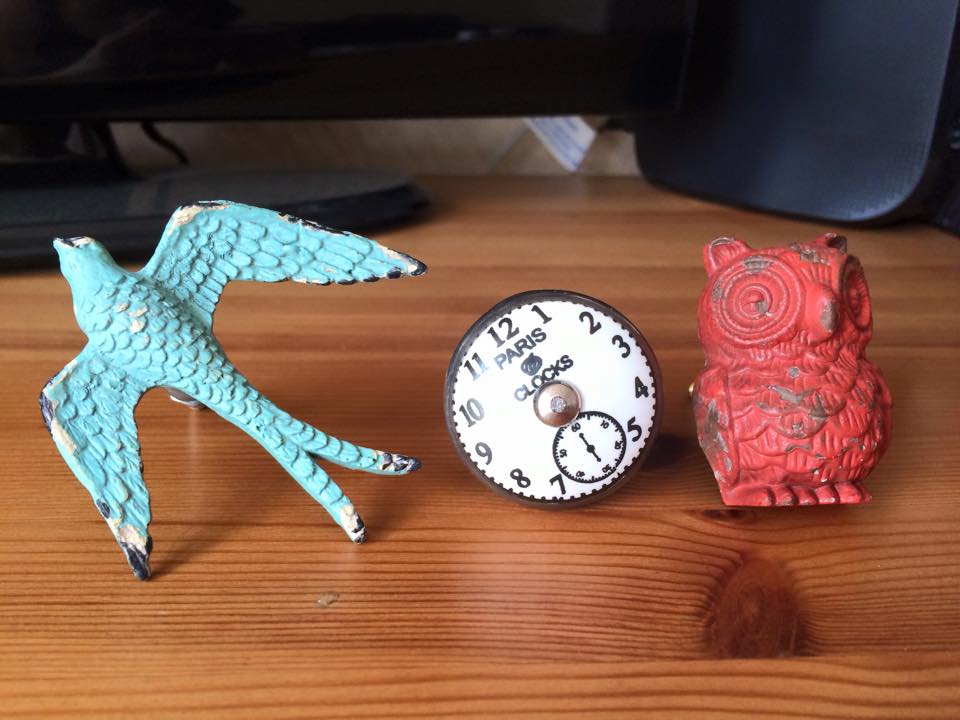
I bought these beautiful Vintage door handles from Laura Ashley, perfect for the shabby-chic look I wanted to achieve!
Luckily the size of the screws matched perfectly to the previous ones, so the drill wasn’t necessary!
And finally… A bit of The Original Non Silicone Wood Silk, The perfect furniture polish with added beeswax to add some protection and glamour to your masterpiece.
I love the smell of polish!
It’s done! And it’s beautiful! I must say i’m very proud of myself! All that was left to do was to put it on the wall and make it my own!
One very chuffed Gemma!


