Nobody Puts Baby in a Corner…

Well what a week I am having so far! Back to normality of work after having my 10 days off, why did it have to go so quickly? It feels as though it was a lifetime ago now after this very long week I’ve had cramming in the hours…I’ve definitely thrown myself back in to the deep end!
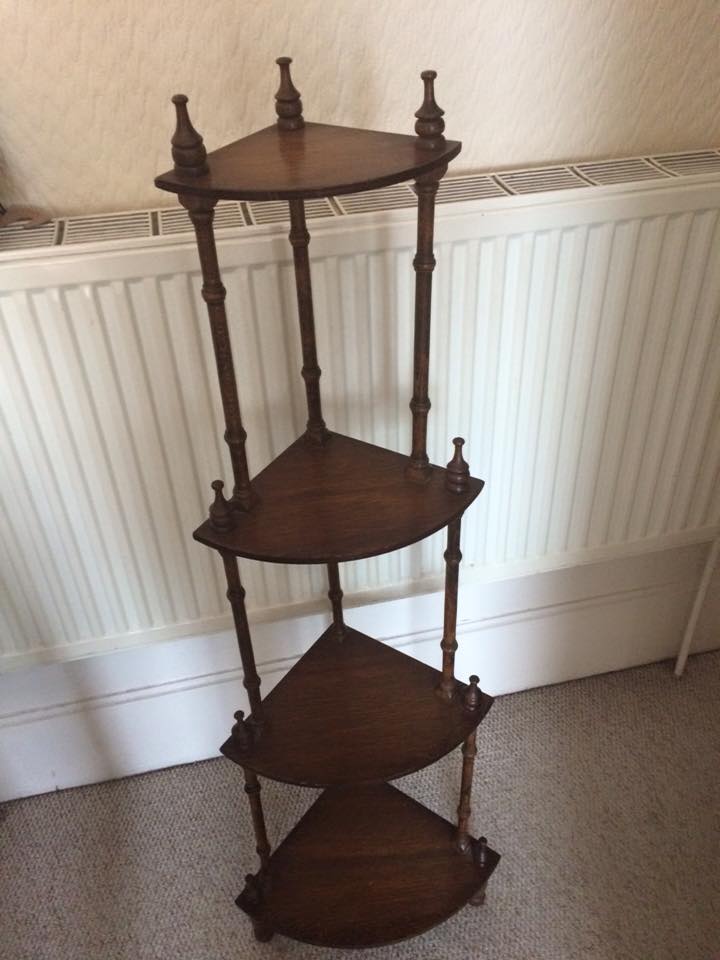
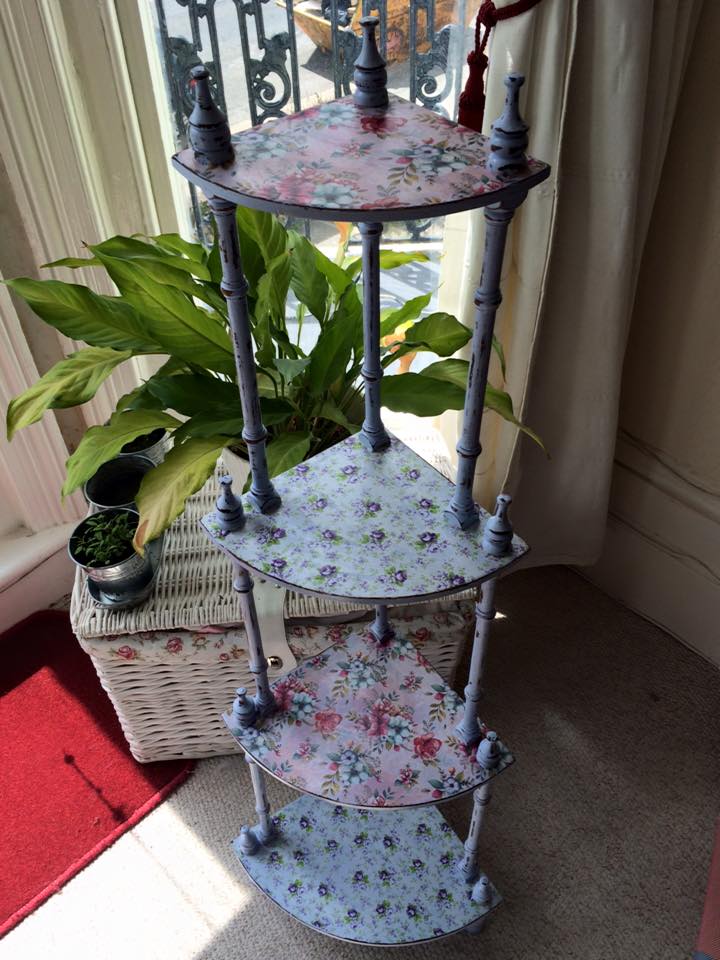
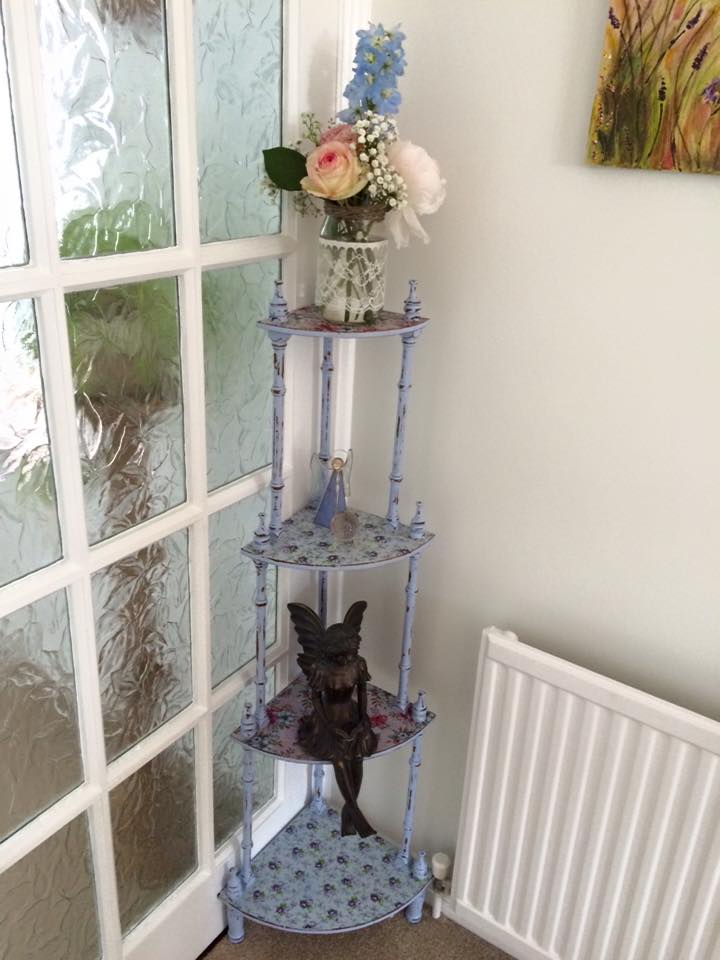
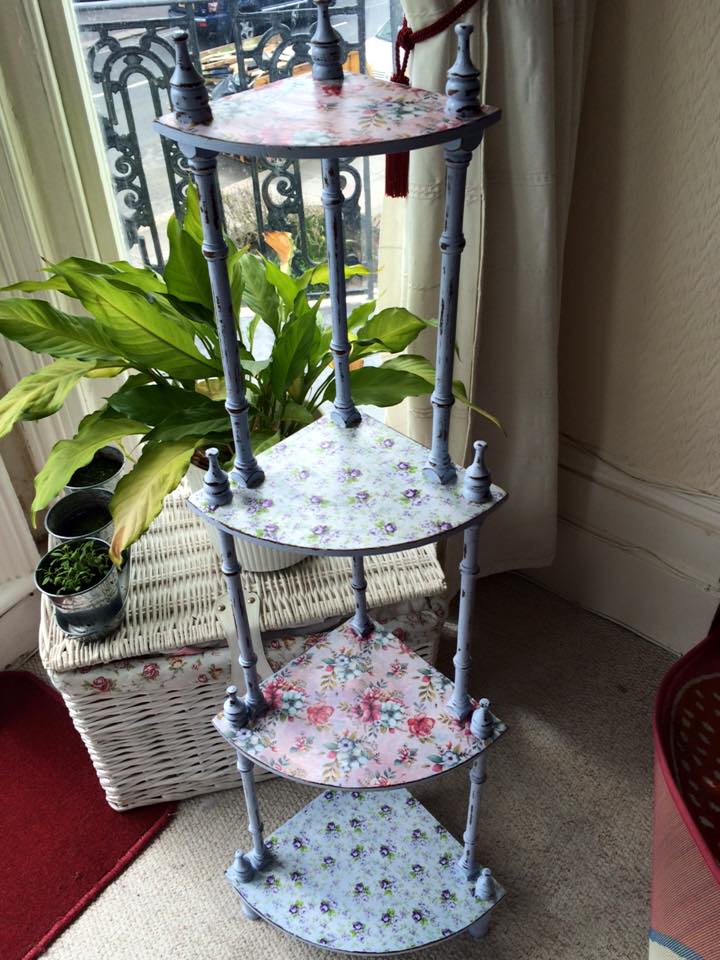
Here’s another one of my cheeky secret makes that I’ve been creating for the past few weeks as another gift for my Mumma to celebrate her 50th birthday! I so enjoyed doing this as I think the transformation is pretty vast! Definitely a keep for the ‘Drab to Fab’ as it was most certainly rather drab when I first purchased it from a thrift shop for just £4.00.
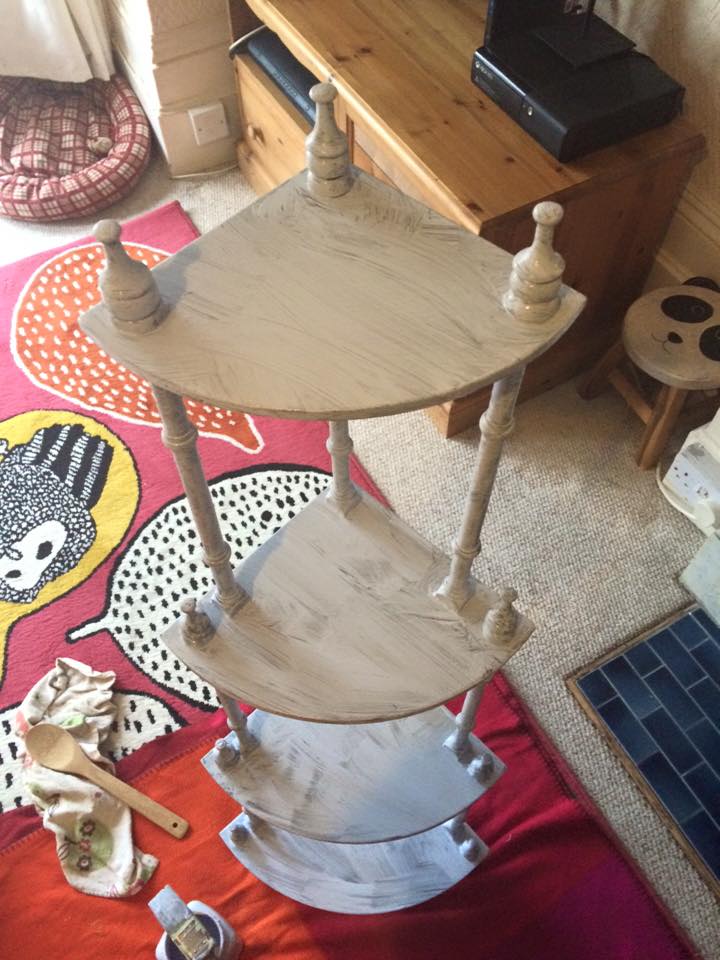
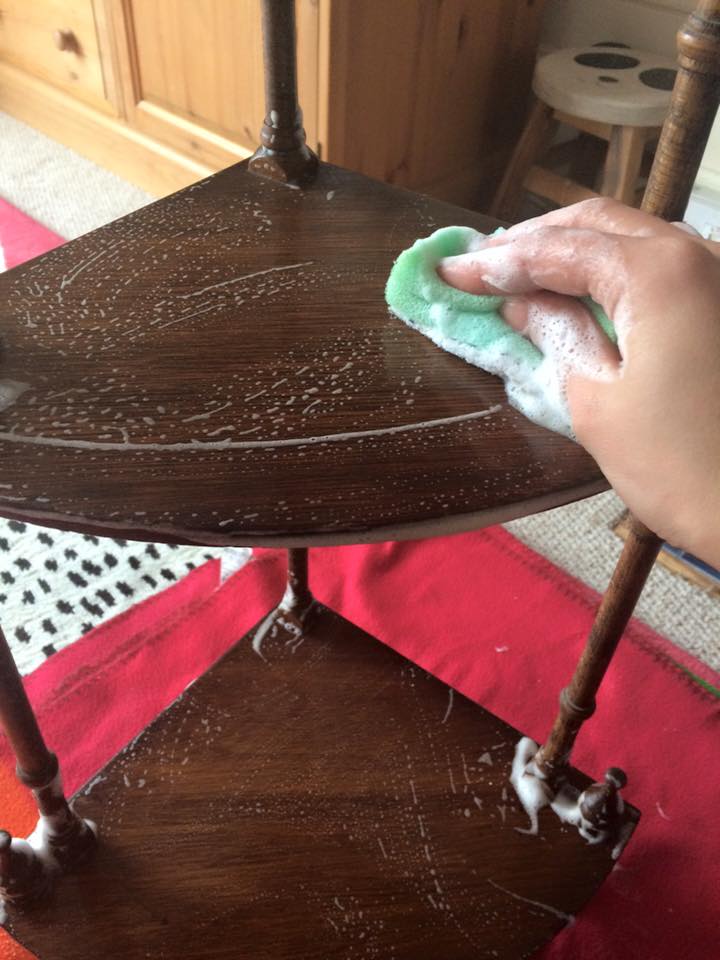
I started off by cleaning it with warm soapy water to prepare for it’s massive makeover and made my Chalk paint Mixture. The paint mixture consisted of ‘Softest Blue’ Matt emulsion paint from Wilko’s and a tad of chalk paint powder. For tutorial on how to mix check out my video here!
Once it was all prepped and ready for some TLC, I painted the complete thing with 3 layers leaving it do dry in between each. As this particular piece was a darker wood I couldn’t get away with 2 layers as the original colour was still trying to peek through…
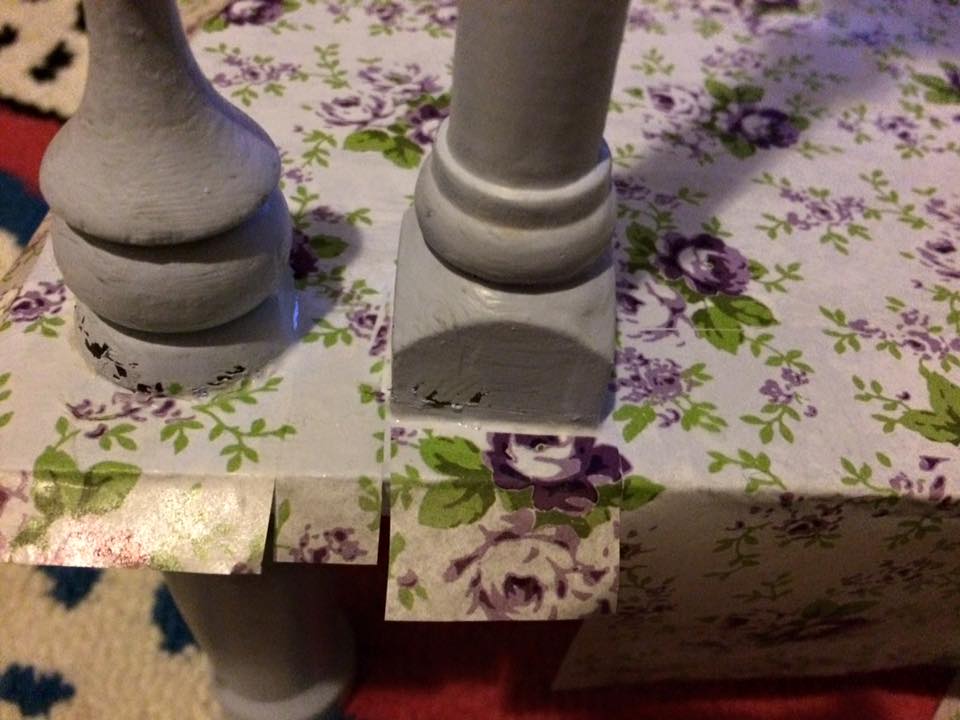
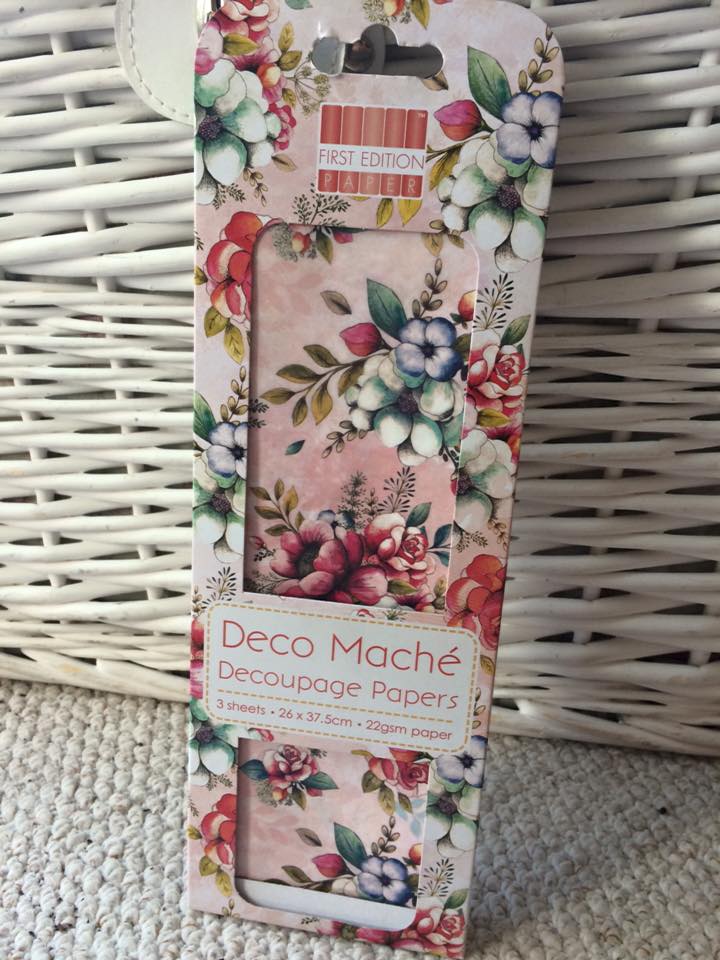
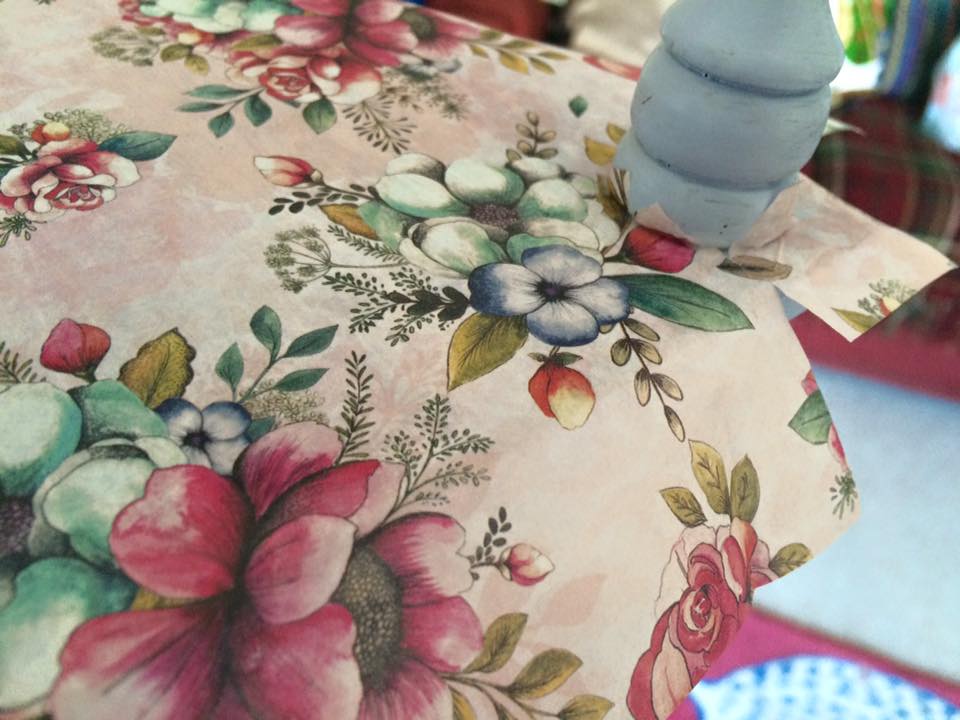
Then it was time to use my favourite Deco Mache paper and I must say, this was extremely fiddly! I decided I wanted to alternate the papers for each shelf for some quirky contrast, and started off with the lighter paper first. If you can tell from my not-so-high-quality photo below, each piece of paper was individually puzzled together to fit around the poles, a lot of patience was needed!
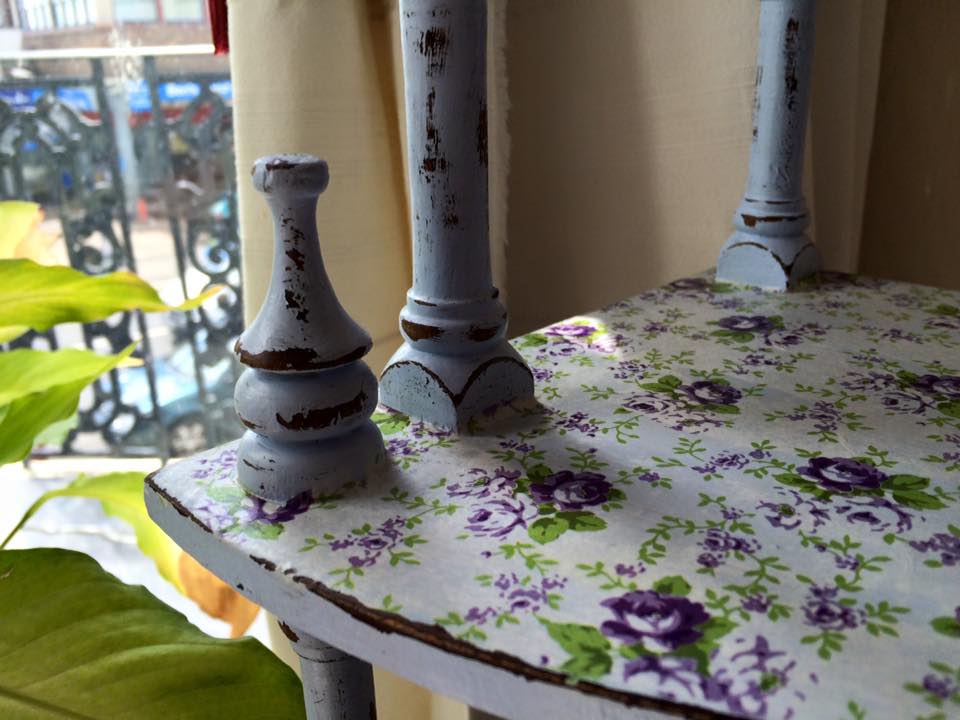
Once the alternate shelves we’re touched up with another layer of PVA for protection and fully dried, I used a craft knife to neatly cut off the overlapping edges then repeated this whole technique again with my second chosen Deco Mache paper
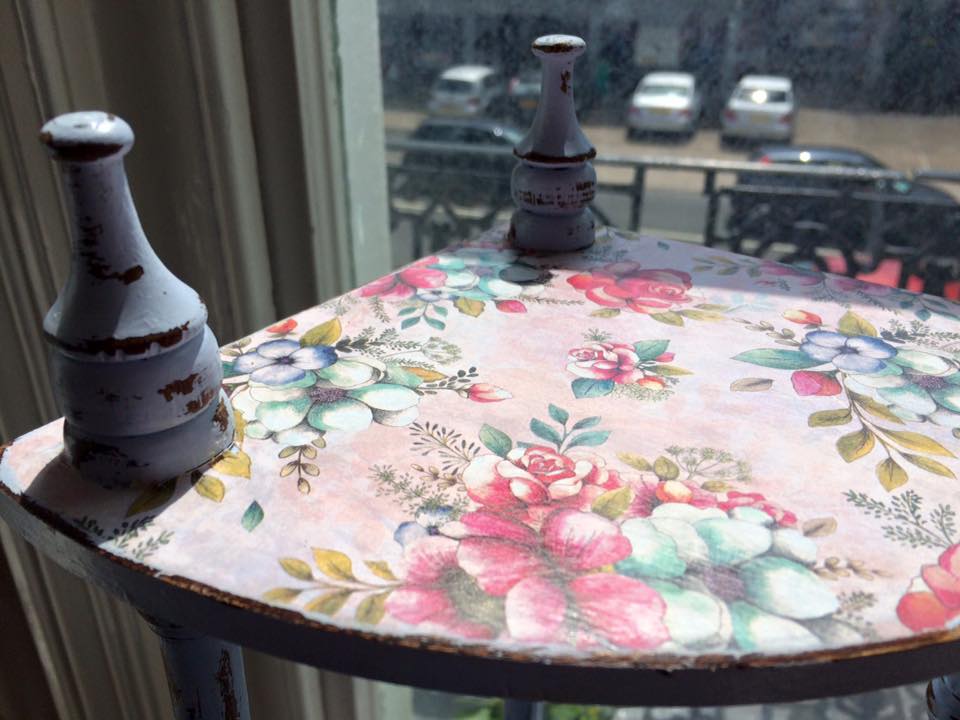
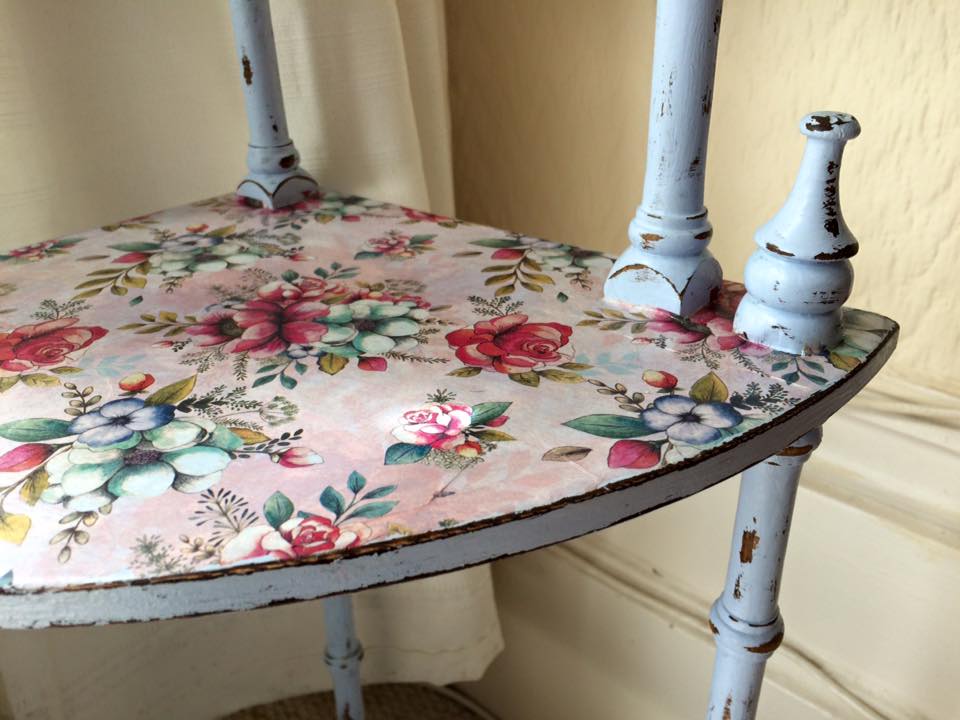
Lastly the final touches with another sanding blister and achey shoulder, I distressed the whole piece focusing on corners and beveled edges for that ultimate shabby-chic look.
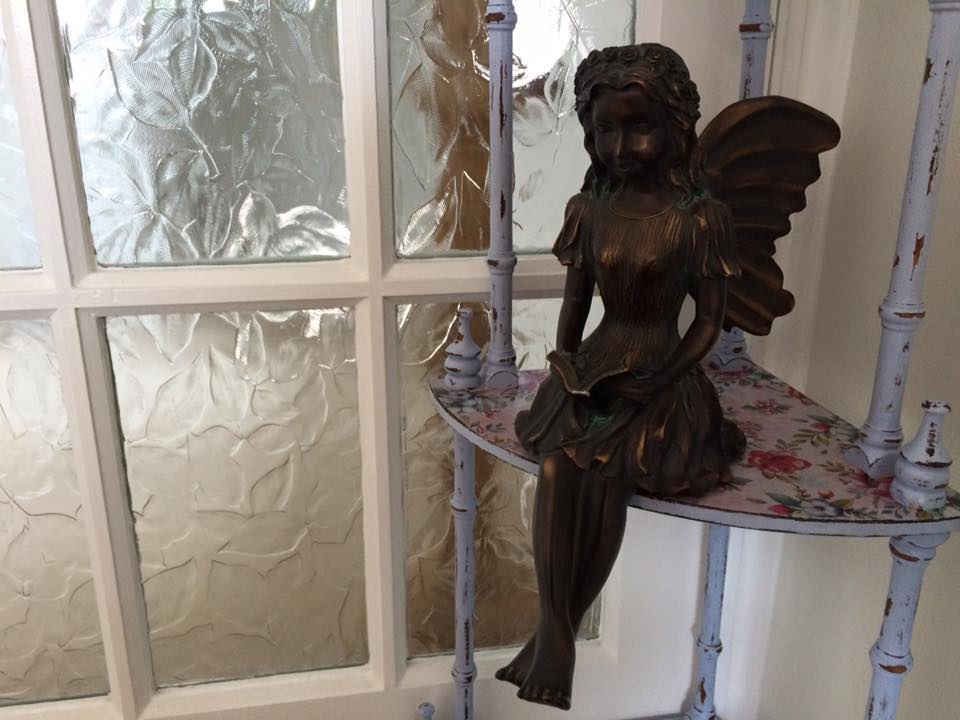
Click the images for a close up!
After finally dragging myself away from the sandpaper (is it even possible to over distress) I buffed up the whole thing with some wax polish to get rid of any remaining sanding dust and make it gleam!
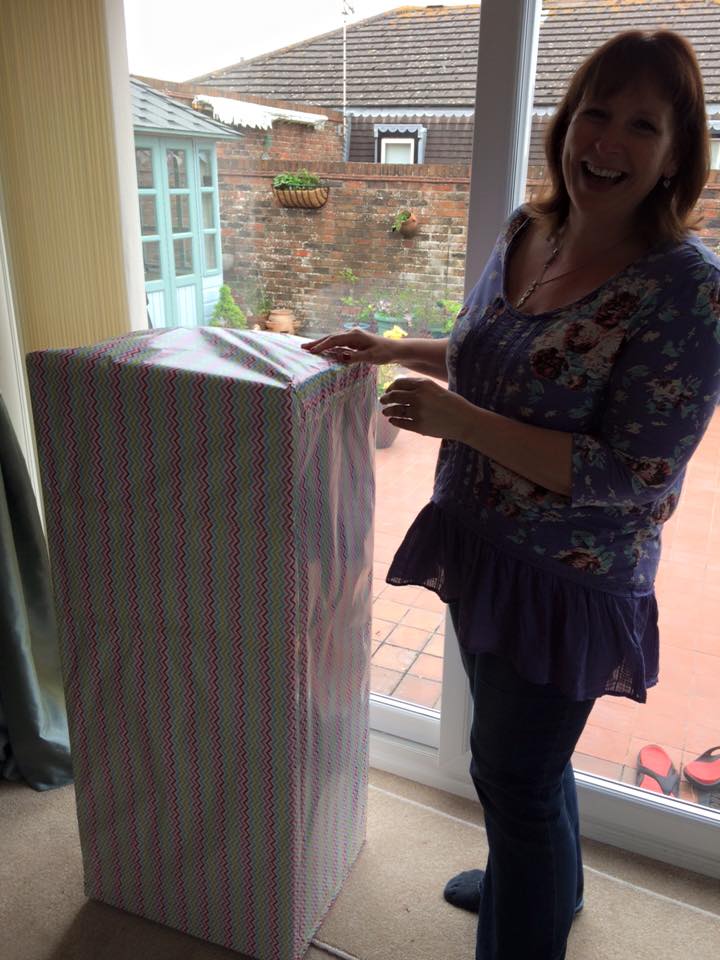
My corner unit was ready to be wrapped up and excitedly taken to it’s new home! I’d just like to add that finding a suitable sized box and then wrapping it without ripping the paper was pretty tough… another task in itself!
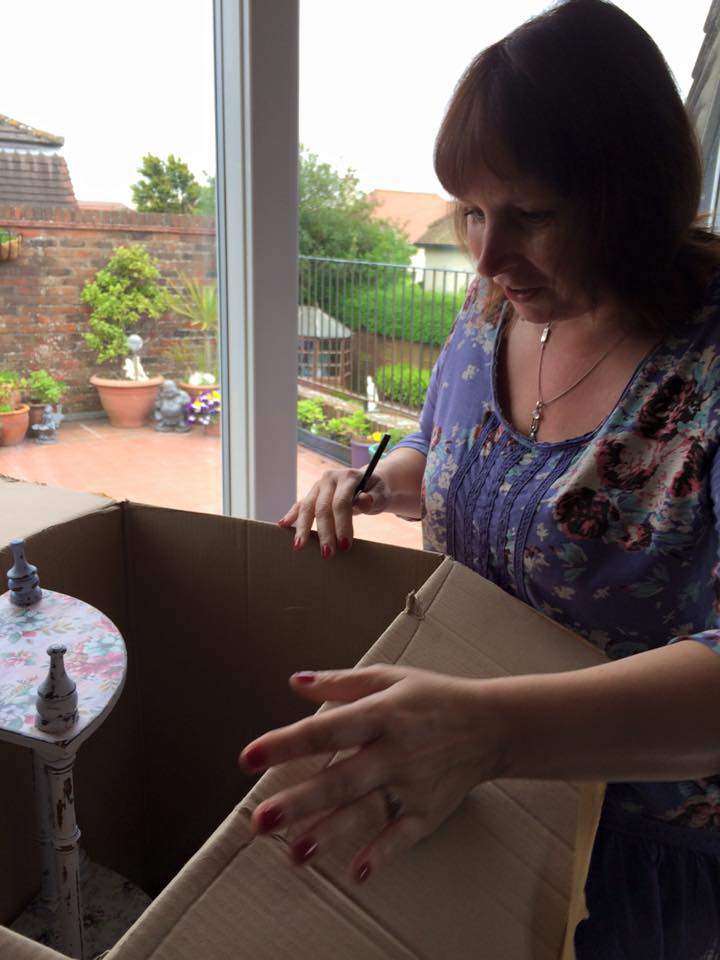
One very baffled and confused Mum answered the door on the morning of her birthday wondering WHAT ON EARTH i had bought for her!
And then she realised…
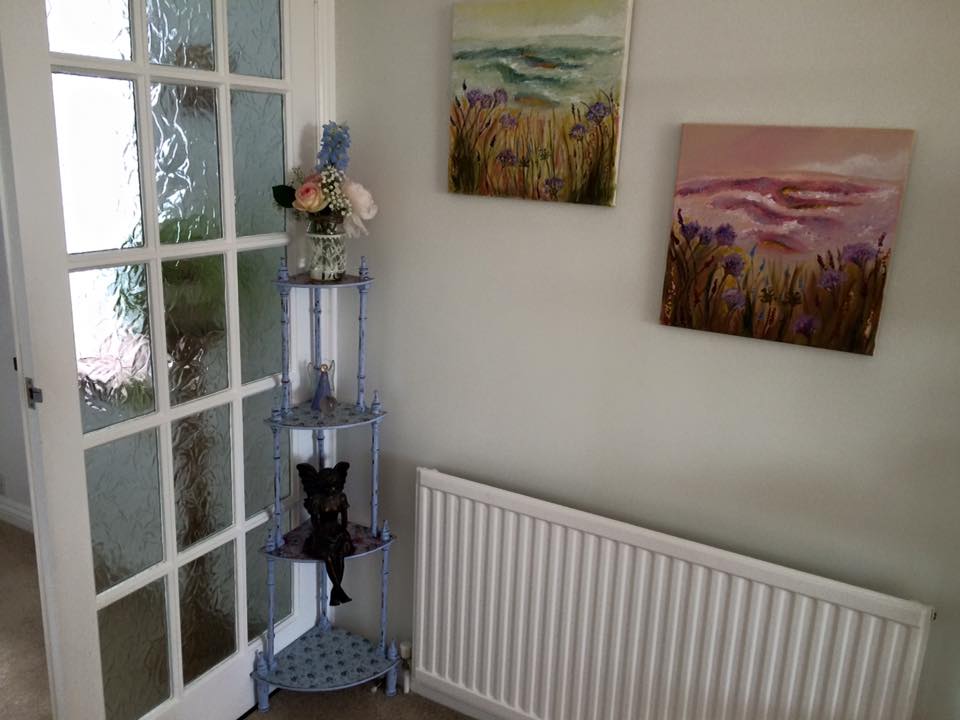
My lovely corner unit now stands proudly in her living room under the wall with my paintings
A perfect sitting place for my Mum’s Angel ornament
Another proud make of mine to add to the Shabby Chic collection!
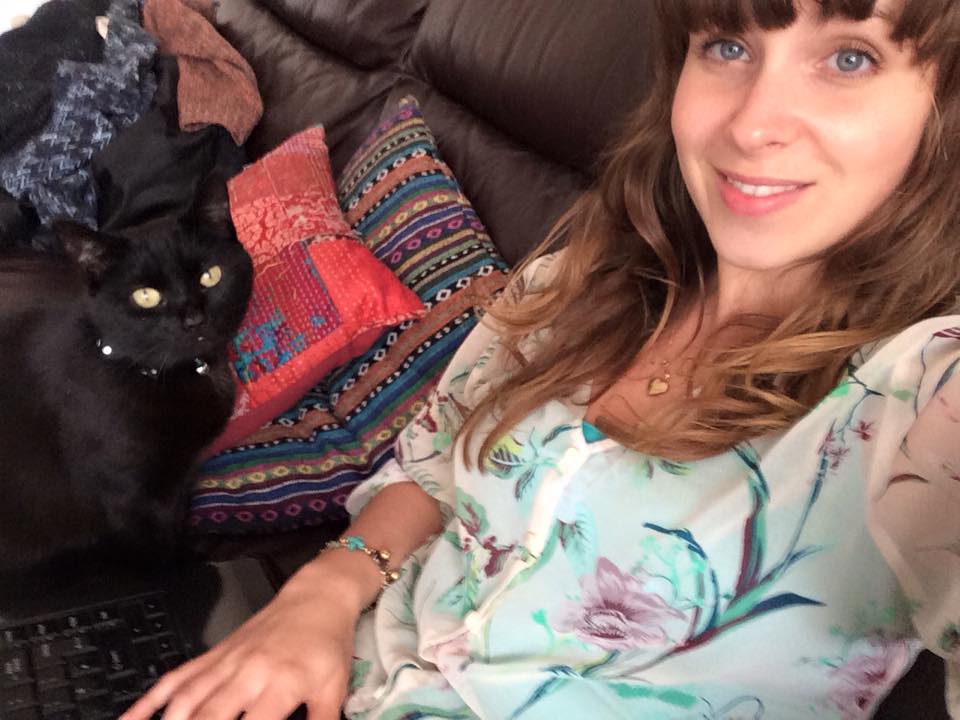
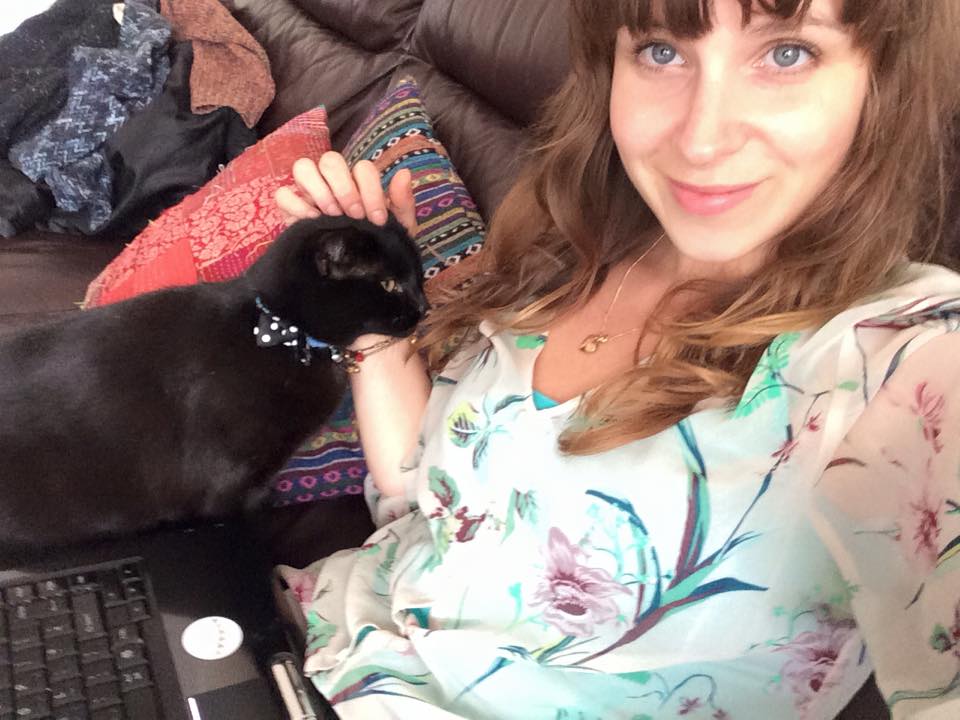
Might I just add that within this whole time of typing this post for you all I’ve had a rather furry distraction… How am I supposed to concentrate with these big green eyes up in my face!
It must be a certain someones dinner time!
Hope y’all have a great weekend!

