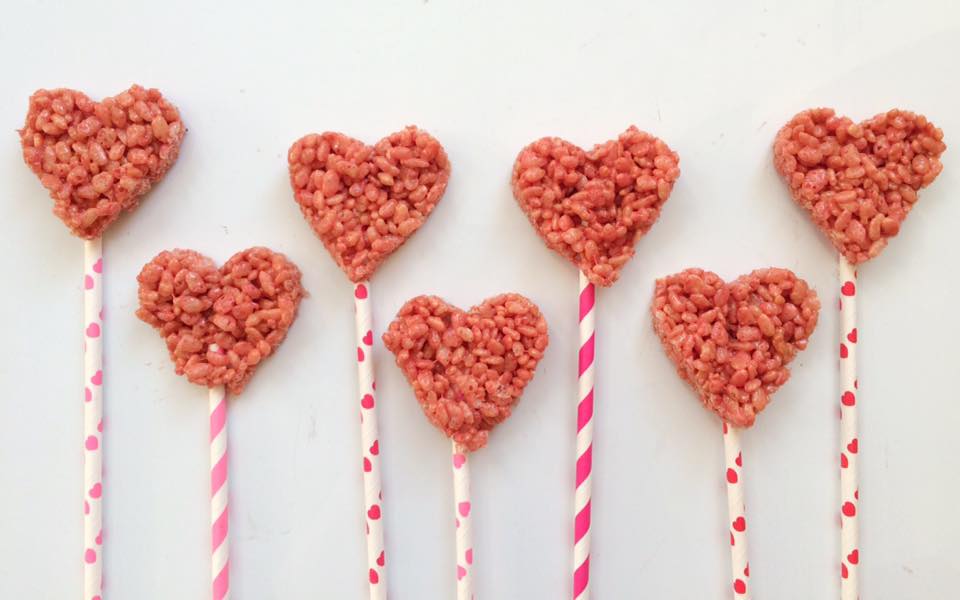
Simply Sew a Heart Garland


Valentine’s day is just around the corner, and with that in mind, it was undoubtedly time for me to make something cutesy with an abundance of lovey dovey hearts… I love hearts!
This simple heart garland is so easy to make and won’t take you any time at all if you’re a dab hand on the sewing machine! I’m banished to my sofa for the next week as I have been taken ill, and this was the perfect crafty make to keep me occupied without requiring too much activity.
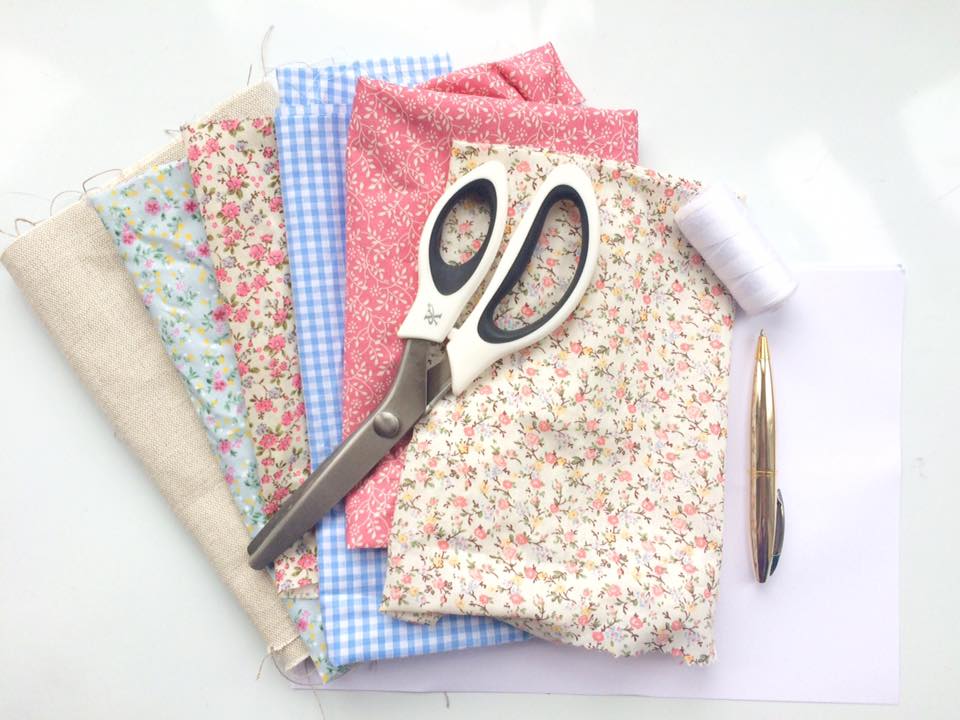
For this quick crafty make you will need:
- A selection of fabrics
- Pinking-shears
- Card
- Pen/Pencil
- Toy Stuffing
- Sewing Machine/ Needle and Thread
- White Cotton
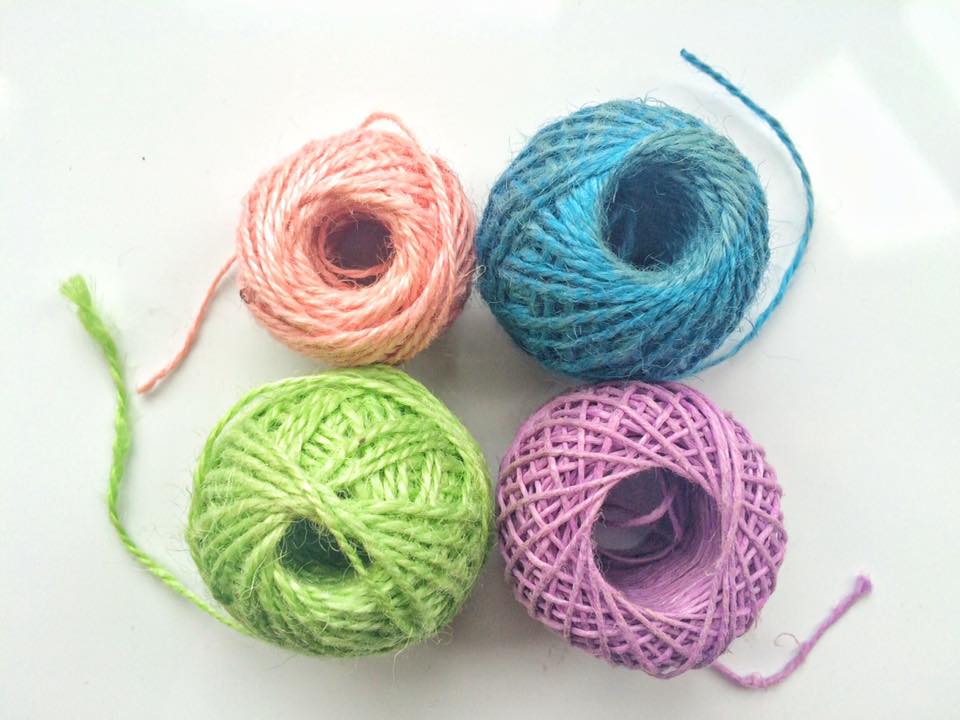
- Coloured Twine
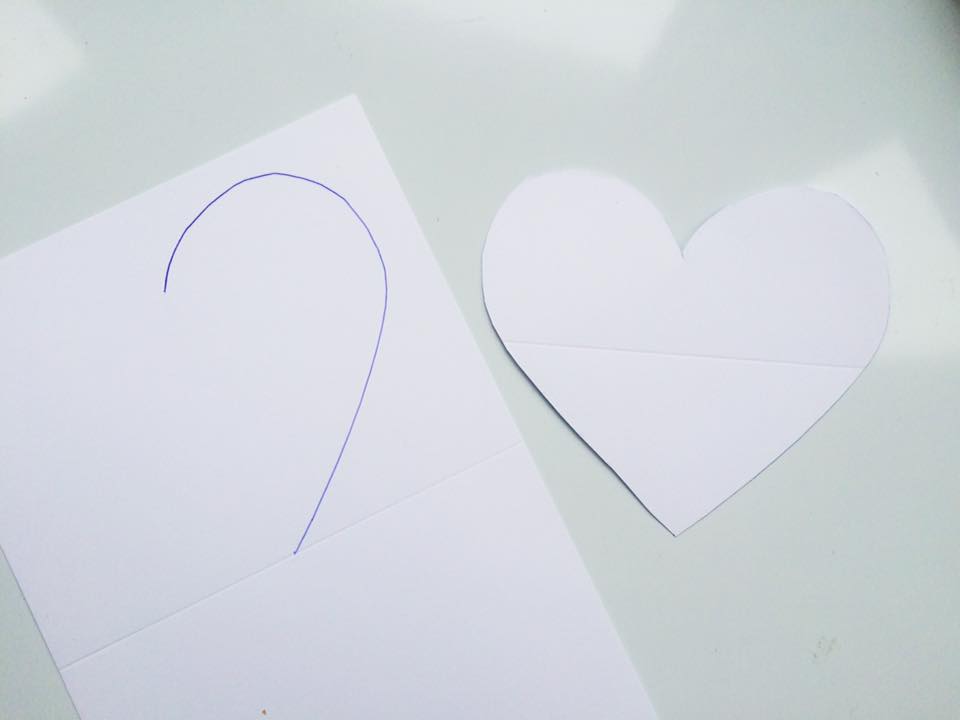
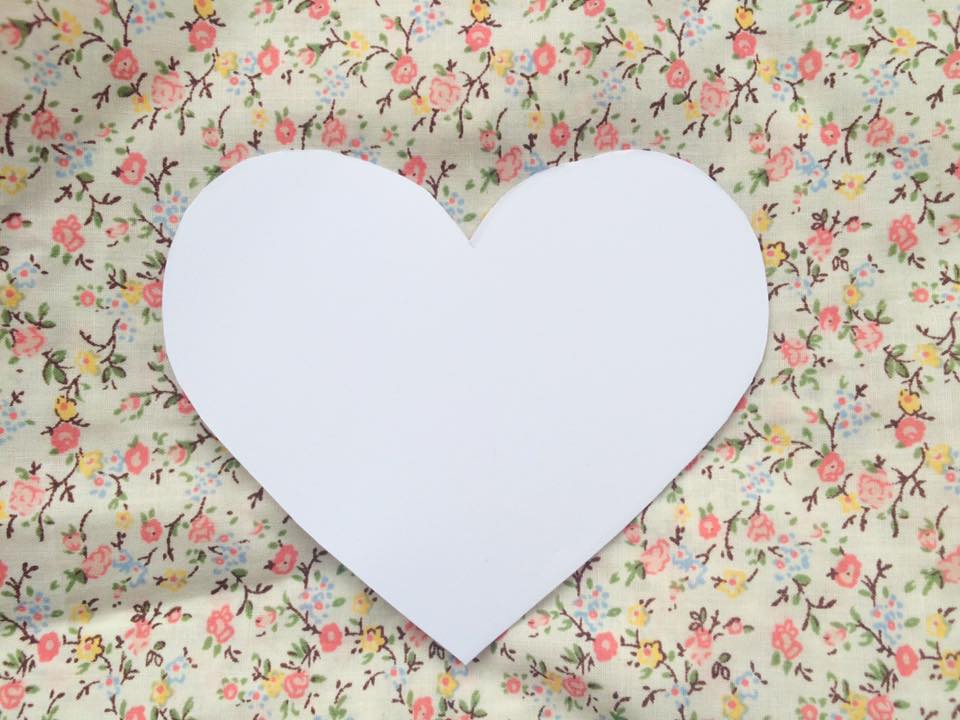
To start with you need to make a symmetrical heart template. There are 2 easy ways to do this. Either fold a piece of card in half and cut out one half of a heart to open it into a full heart, OR cut out a rough template of a heart, pick your favourite side and draw around it twice in reverse to create a symmetrical heart. I prefer the second method simply because you are able to see the full heart before cutting it to make sure it’s the right shape.
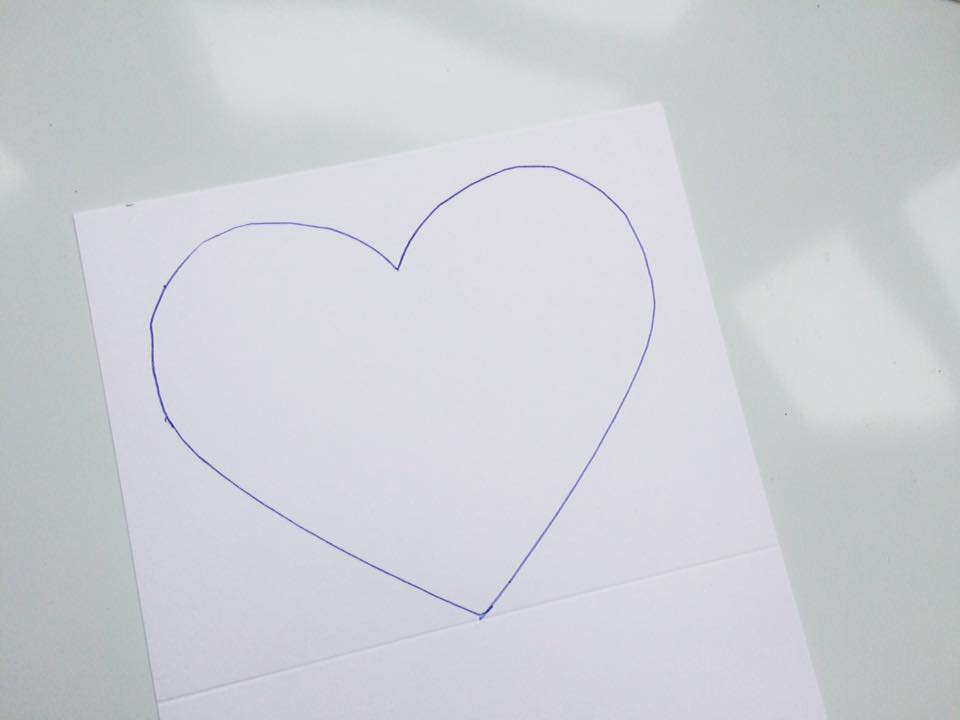
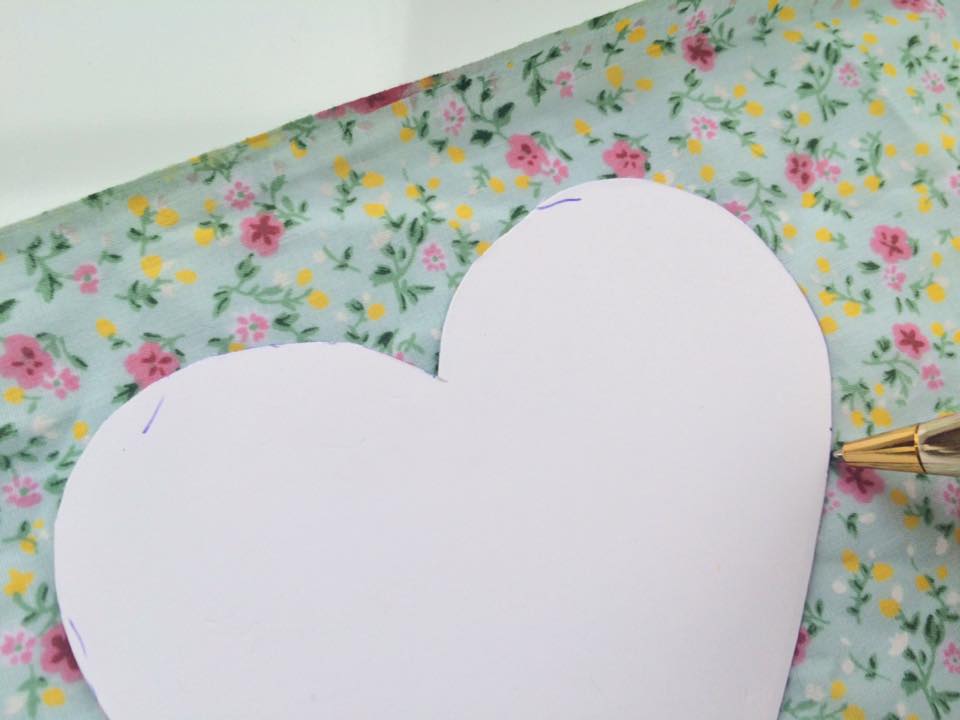
Once you have your heart template ready, faintly draw around the heart template on the correct side of your fabrics.
NOTE: This will be on show when the final product is made so ‘Faintly’ is the key word. Just lightly draw an outline as a rough guide for when you’re sewing it together.
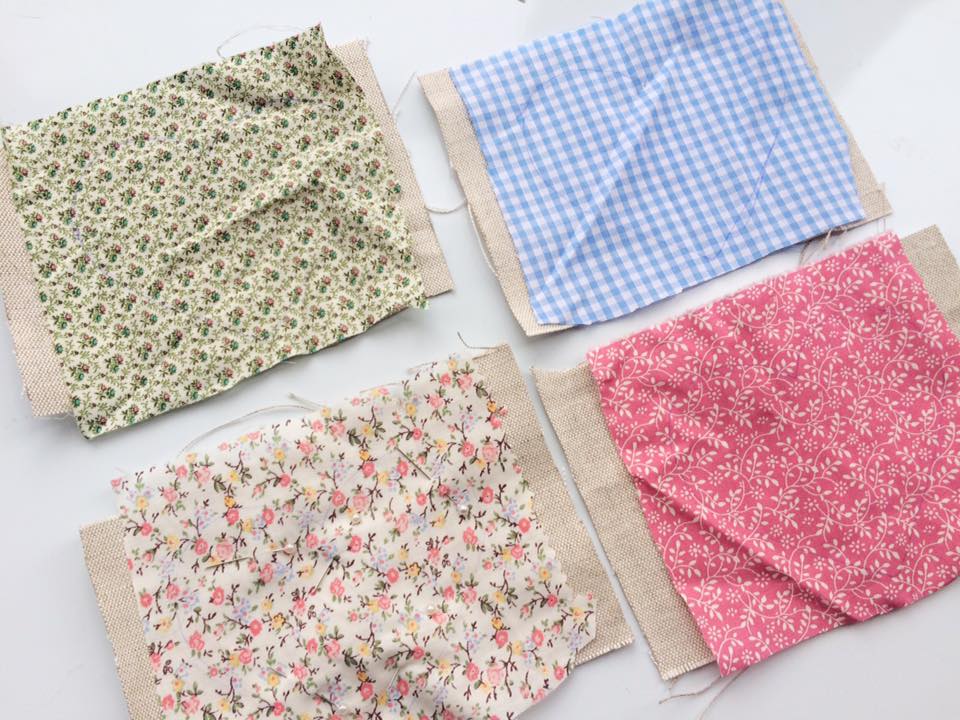
Once you have all of your templates drawn, place the fabric together with your chosen backing fabric. You may wish to use the same fabric on the back, in which case draw your template twice for each heart in the same fabric.
I chose to use Austen Natural fabric for my backing fabric from Laura Ashley to add a nice similarity to all of my hearts.
Pair up the fabric pieces and pin them together.
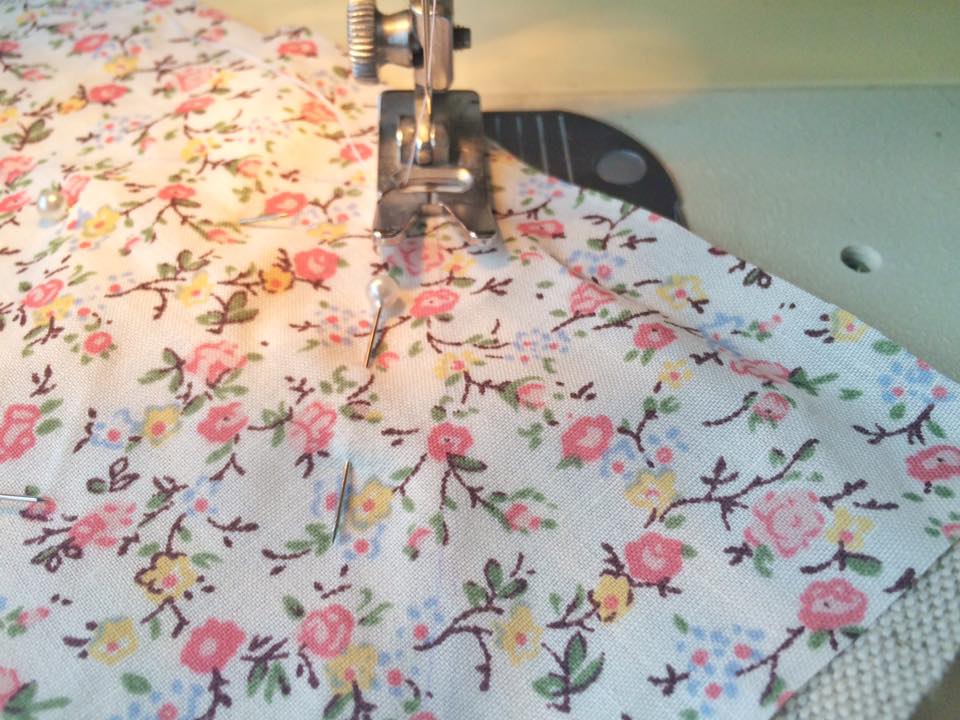
For the next step, you can either use a sewing macing or hand sew it together with a needle and thread. Either way works perfectly fine, but obviously a sewing machine may get the job done more swiftly!
Sew around your hearts leaving a 3cm gap open so there is enough space to add in the toy stuffing.
Once they are attached, cut off any excess fabric with pinking shears leaving a 1cm border around the heart.
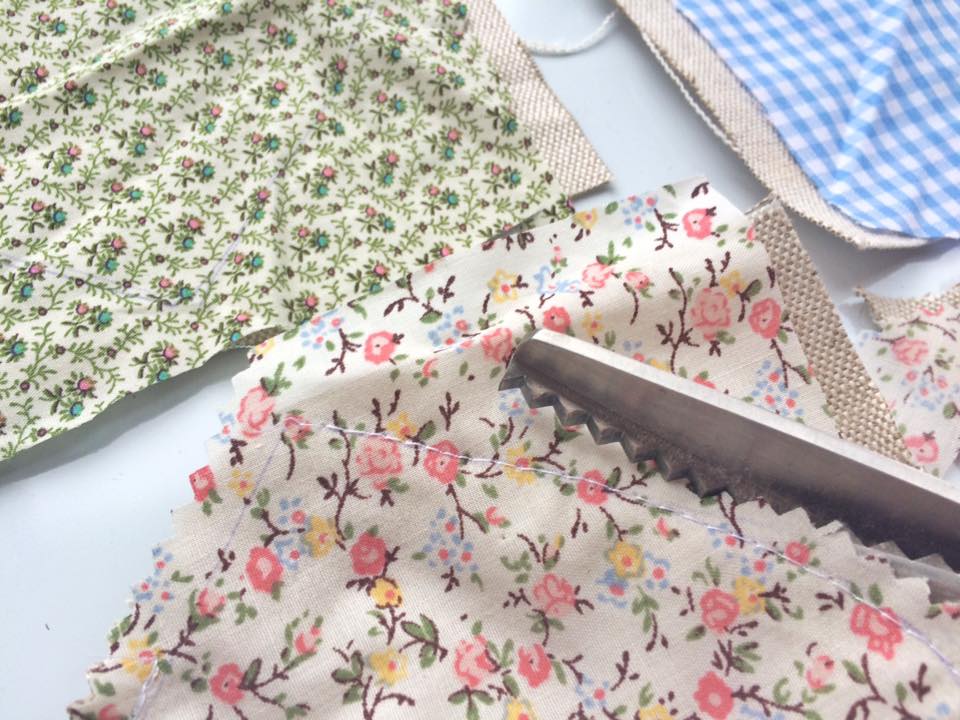
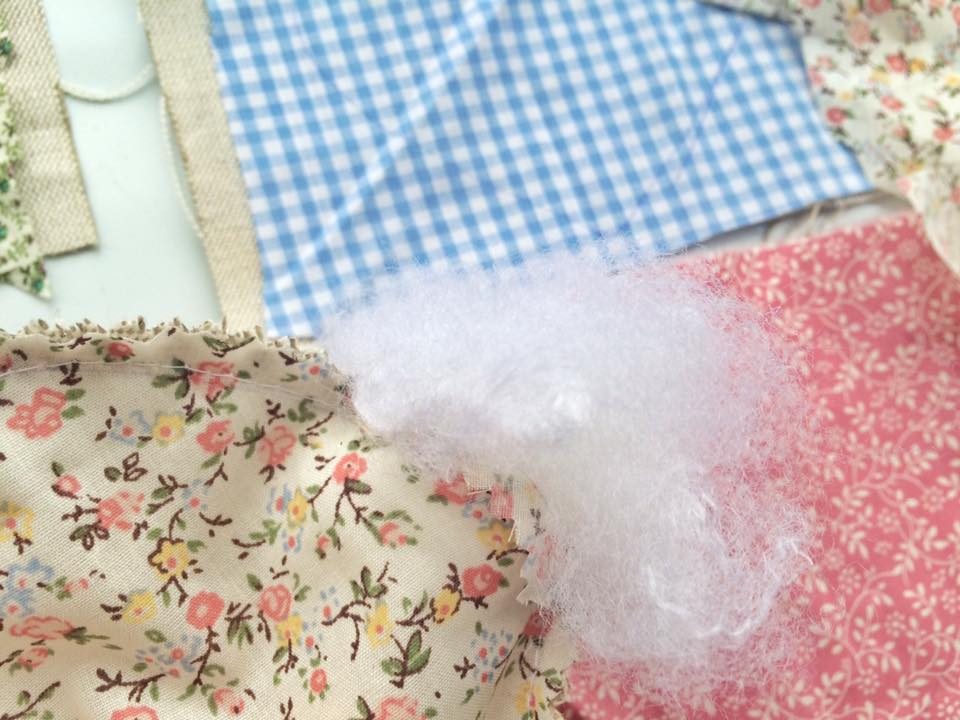
Fill your heart with toy stuffing to your desired fullness. Keep plumping out the heart as you do this to ensure the stuffing is spread evenly throughout. Then, sew up the remaining of the heart with the sewing machine to secure it all together.
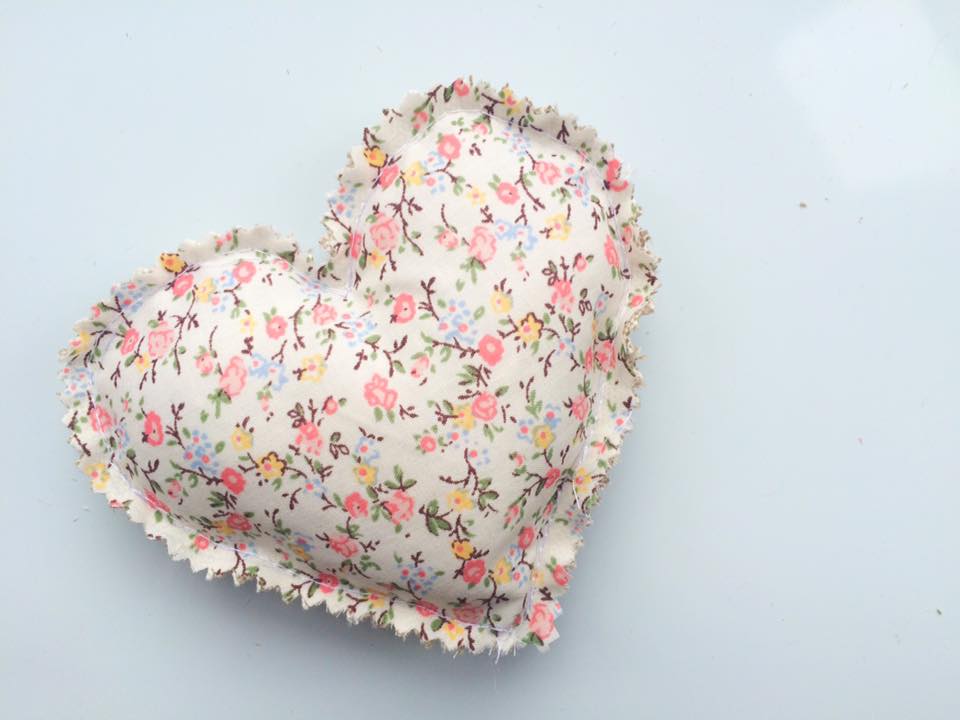
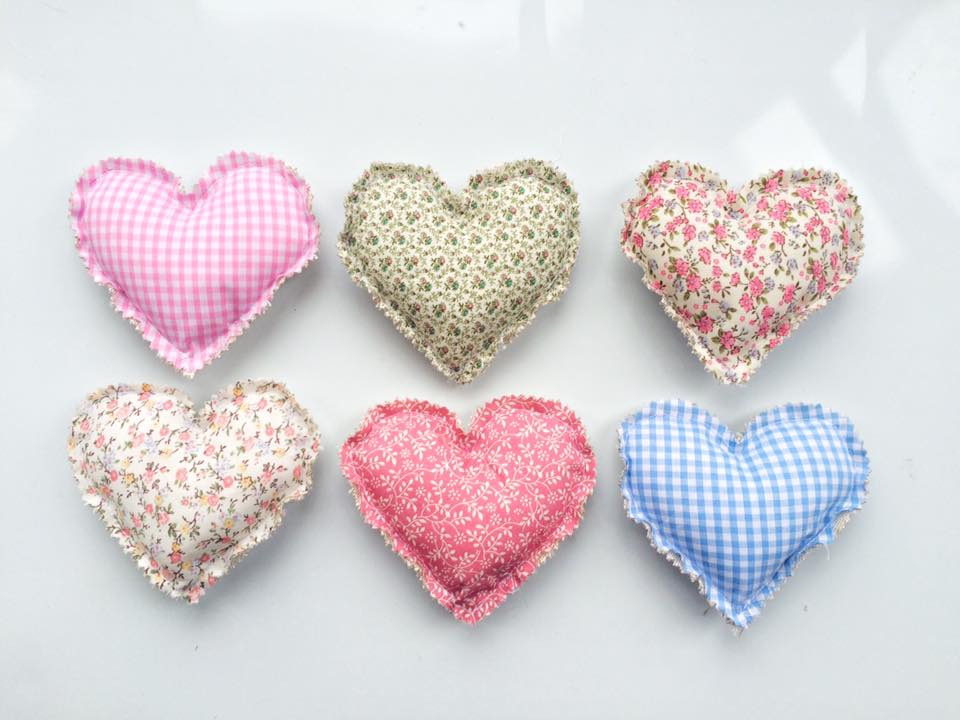
For my garland I chose to make six hearts, but obviously it goes without saying you can have as many or as little hearts as you wish depending on the length you want your garland to be.
When all of your hearts have been made it’s time to give them a little decoration. You can always leave them just as they are or choose a different way to spruce them up, but for mine I chose to add little bows made from coloured twine.
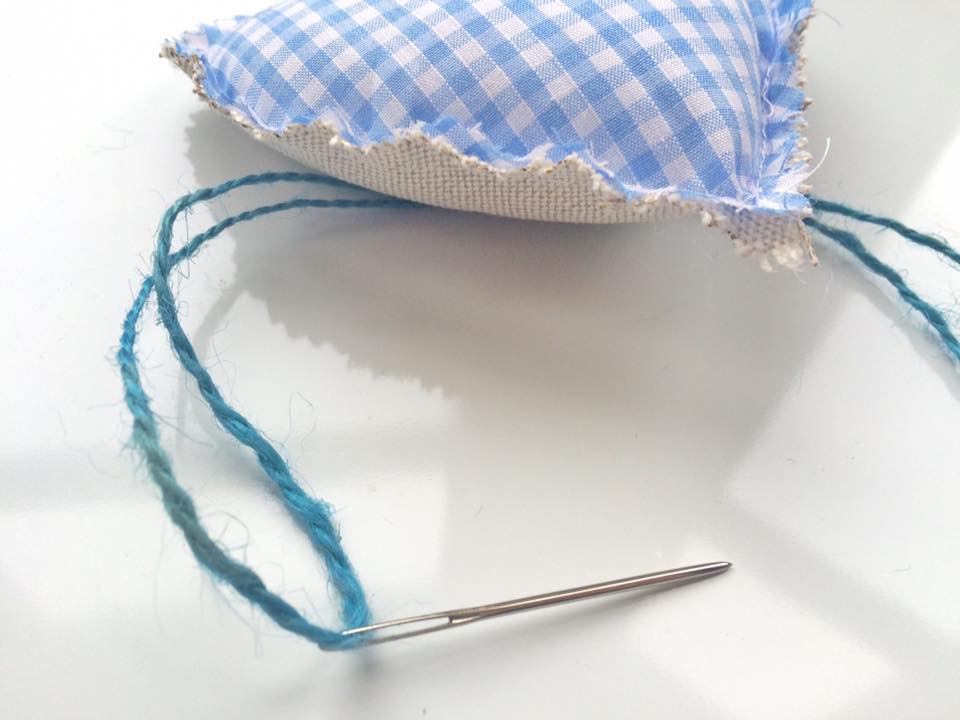
This step is really simple and effortless, all you have to do is thread your twine through a wide-eyed needle and sew through the top-centre of the heart then tie in a bow (demonstration below).
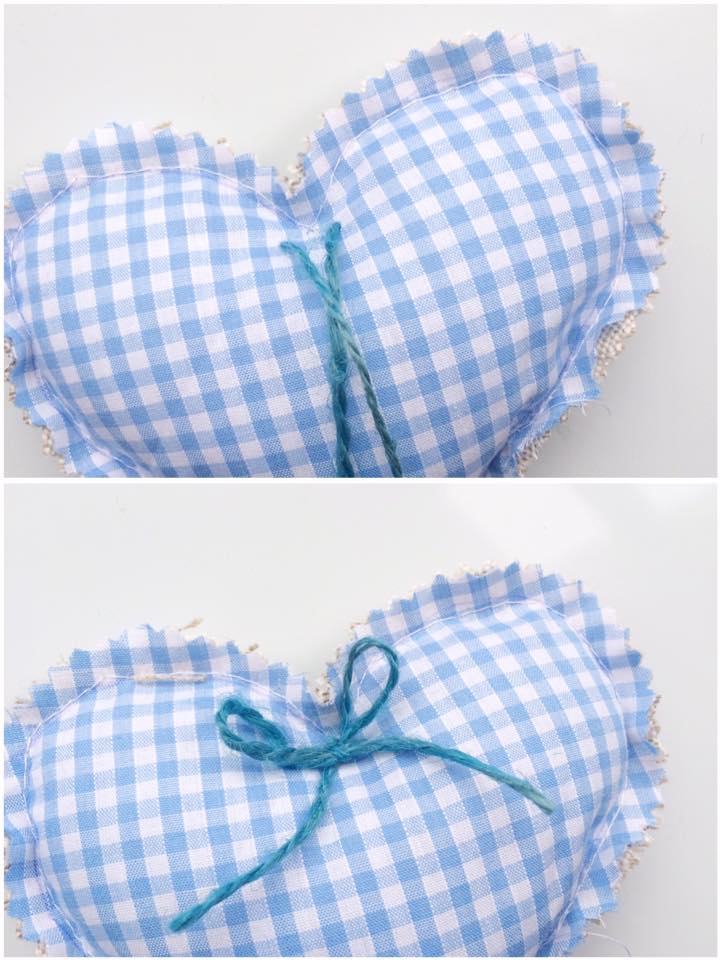
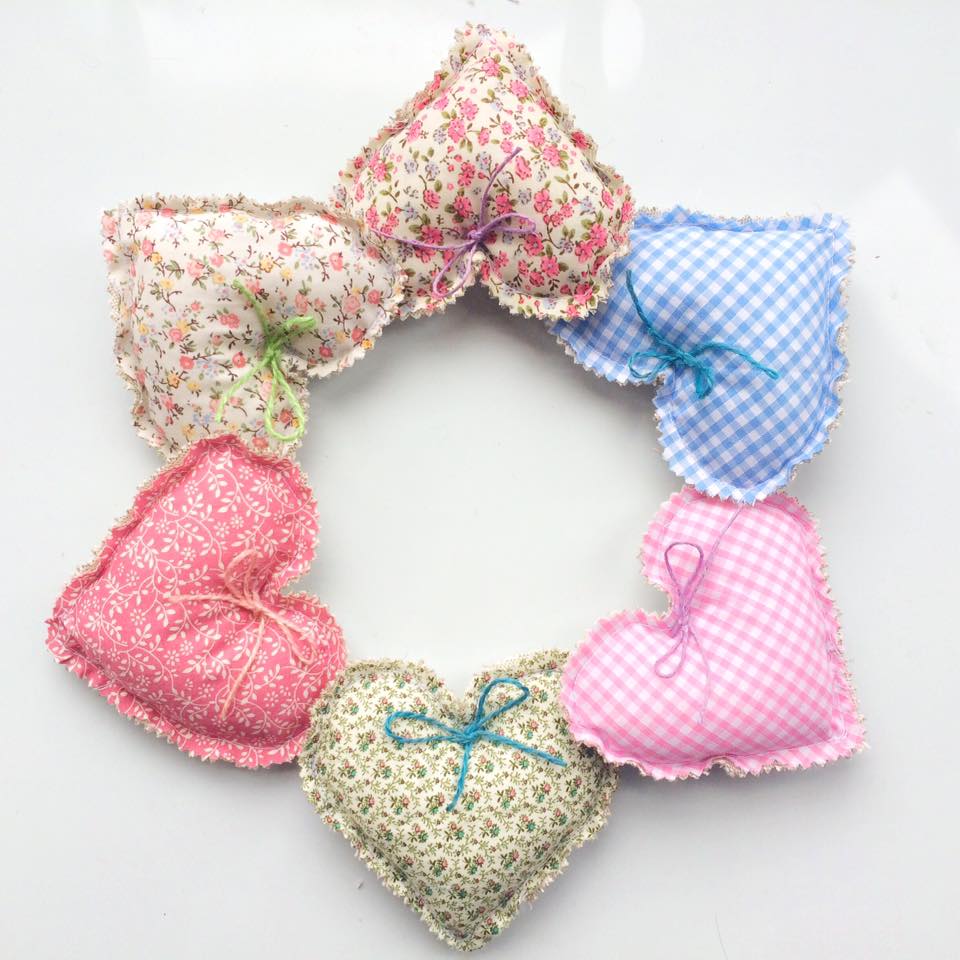
I used different colours of twine to match each different fabric. When all of your hearts are complete it’s time to attach them together to make the garland.
Take a long piece of twine and begin sewing it through the side of a heart. Then, push the needle all the way through the heart until it comes out at an even level the other side. You need to treat the hearts as if they are beads and thread them together on the twine.
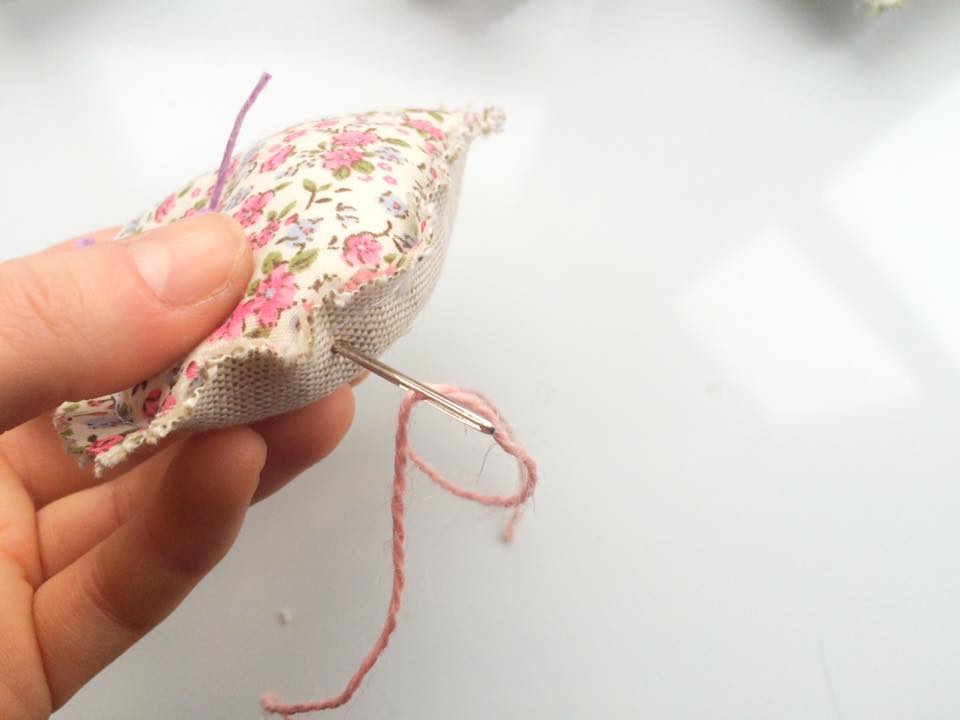
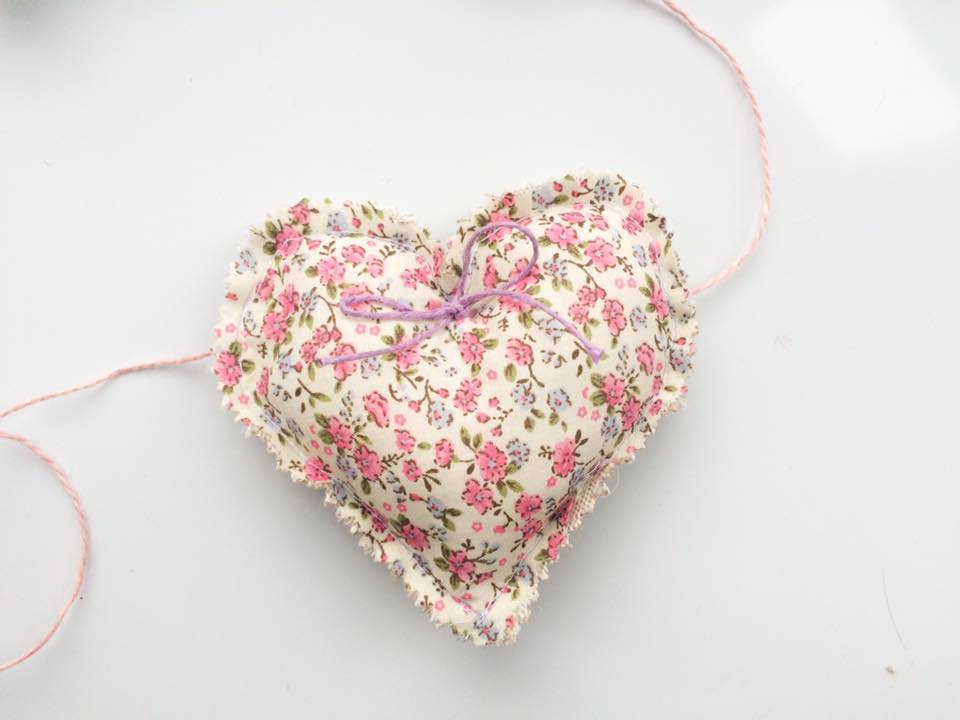
Continue to do this until all of your hearts are attached. You can choose to leave a small gap in between each heart, or keep them close together.
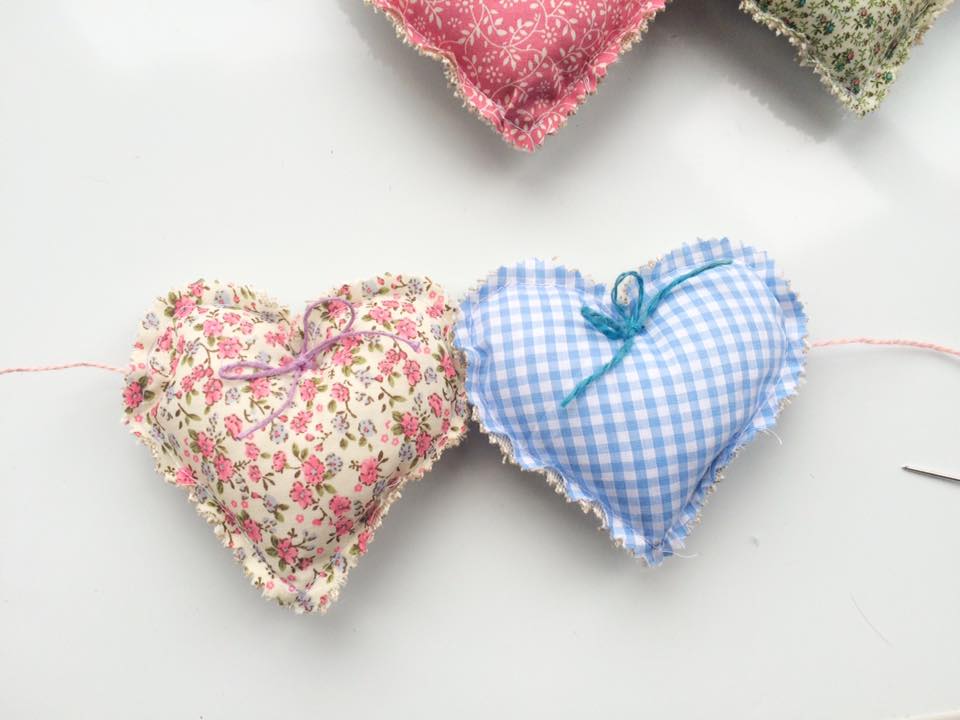
Tie a loop in the twine at either end of your garland, and then finally admire it from afar!

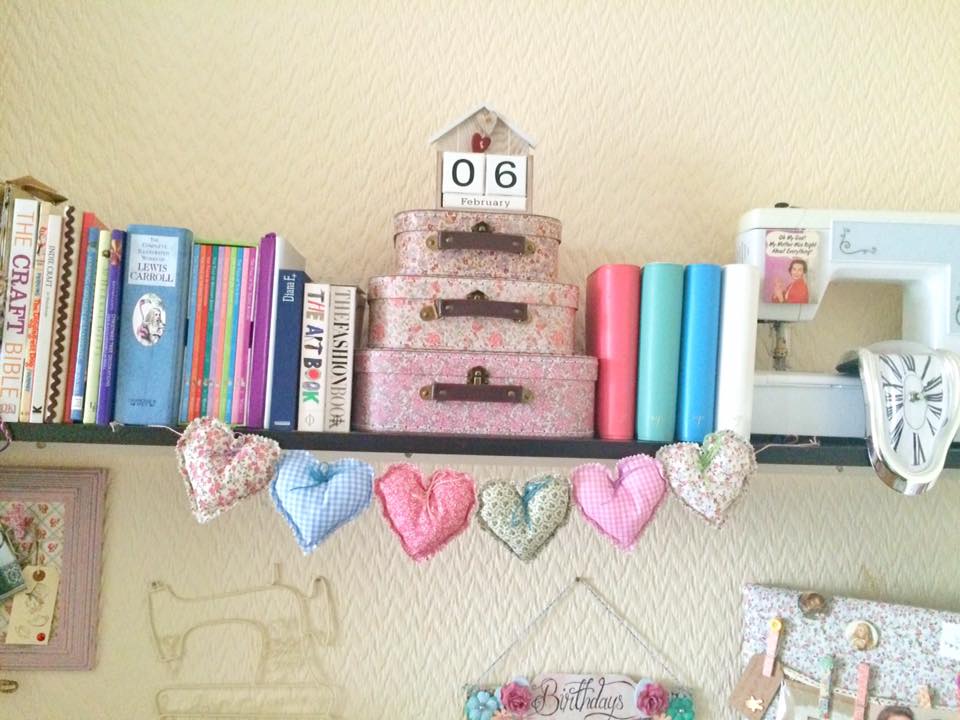
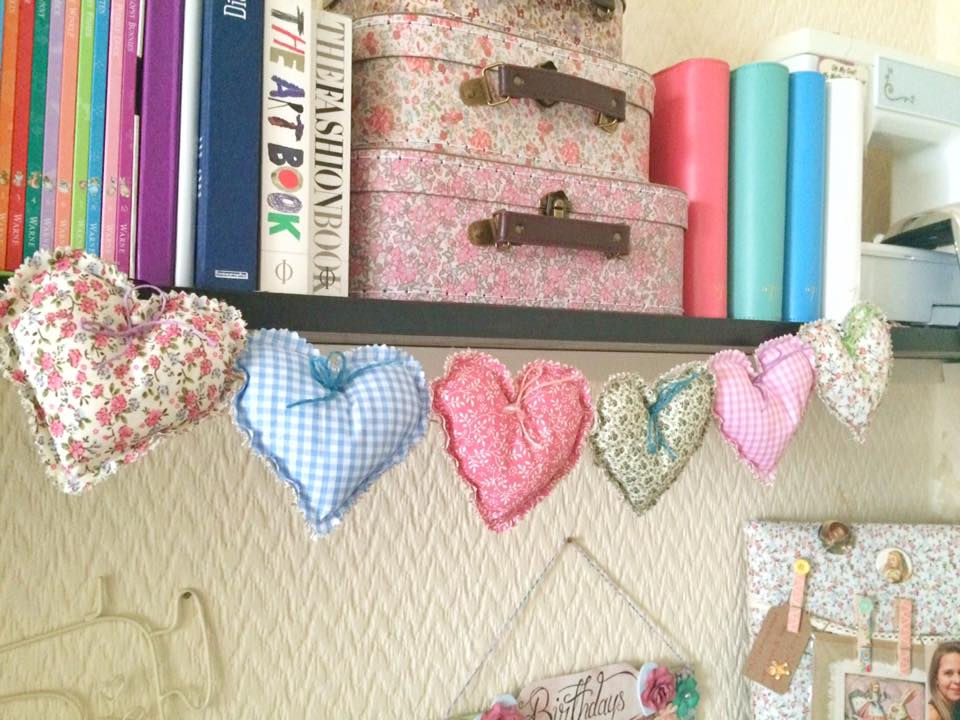
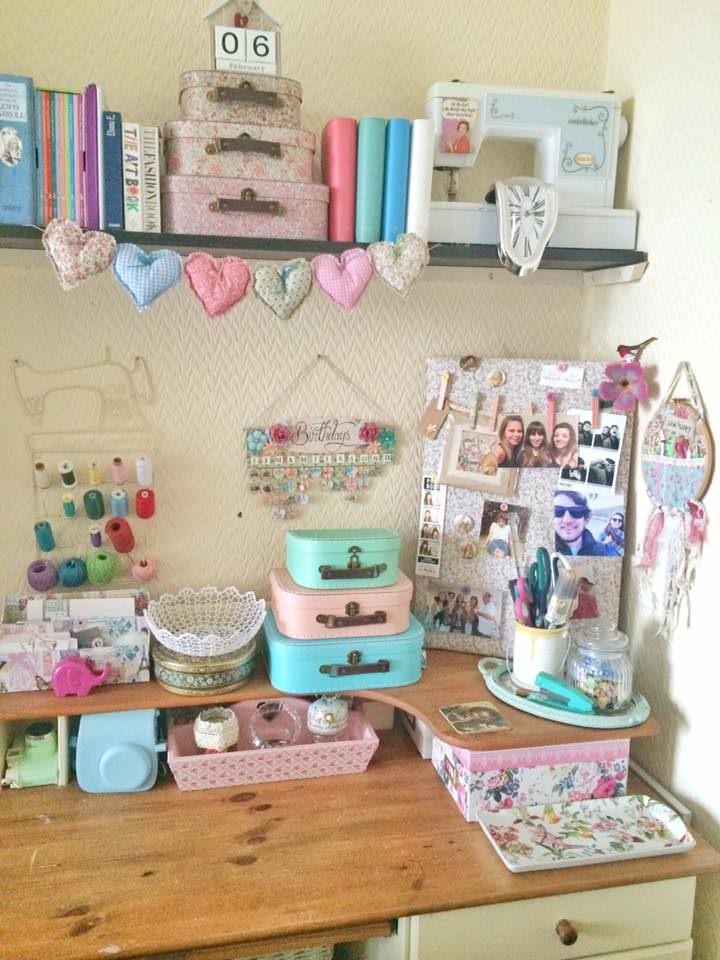
So there we have it! A super simple and fast DIY hack for you to try over the valentines period. It looks fab hanging above my desk in my craft corner! Don’t forget to send me some pictures of your garlands here!


