Staff Room Project – This is Brighton

Wow wow WOW! What a crazy, busy and exciting couple of weeks it has been! Jam packed full of work, crafting and other little secrets that I shan’t yet be sharing with you (to be revealed!), and I do apologise for neglecting you all slightly with my non existance in the land of blog… Seriously where does time go?!
One of the big projects I have been working on this month is in the heart of my work place, our new and transformed staff room! 3 weeks ago we received an email in store notifying us of a competition between all stores in the UK to ‘use our imagination and creativity’ to completely re-decorate our staff room to make it more enjoyable for us all. You can imagine my excitement when receiving the printed email whilst munching on my sandwich during a lunch break by my manager who knew I would be more than eager to get my hands on this project… yes I squealed like a child, and yes I may have dropped my sandwich.
SO. A project is not a project without a little planning…
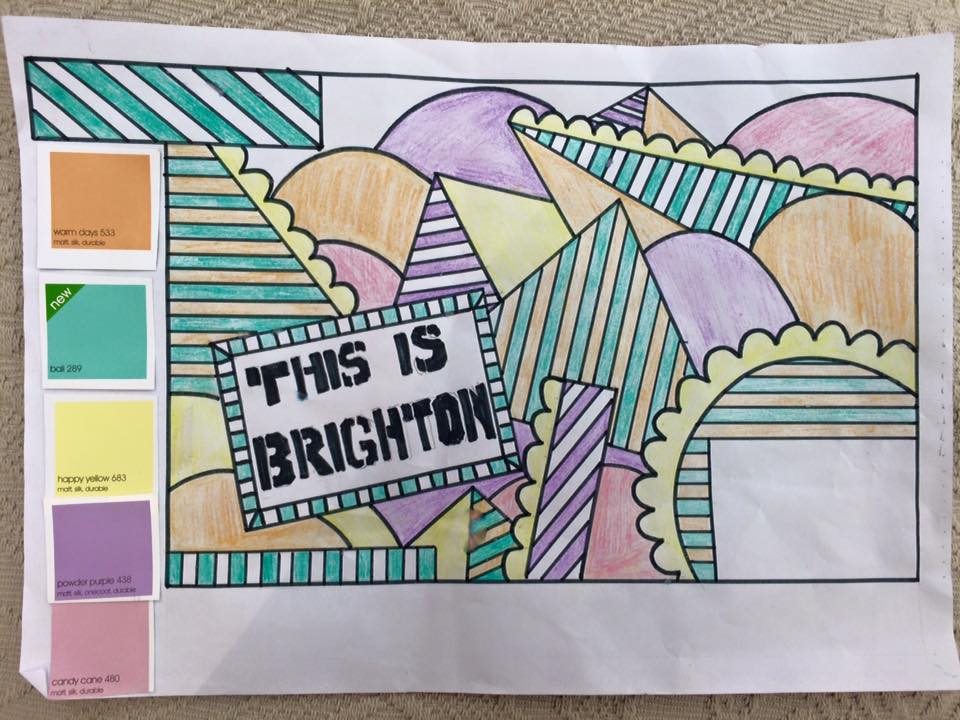
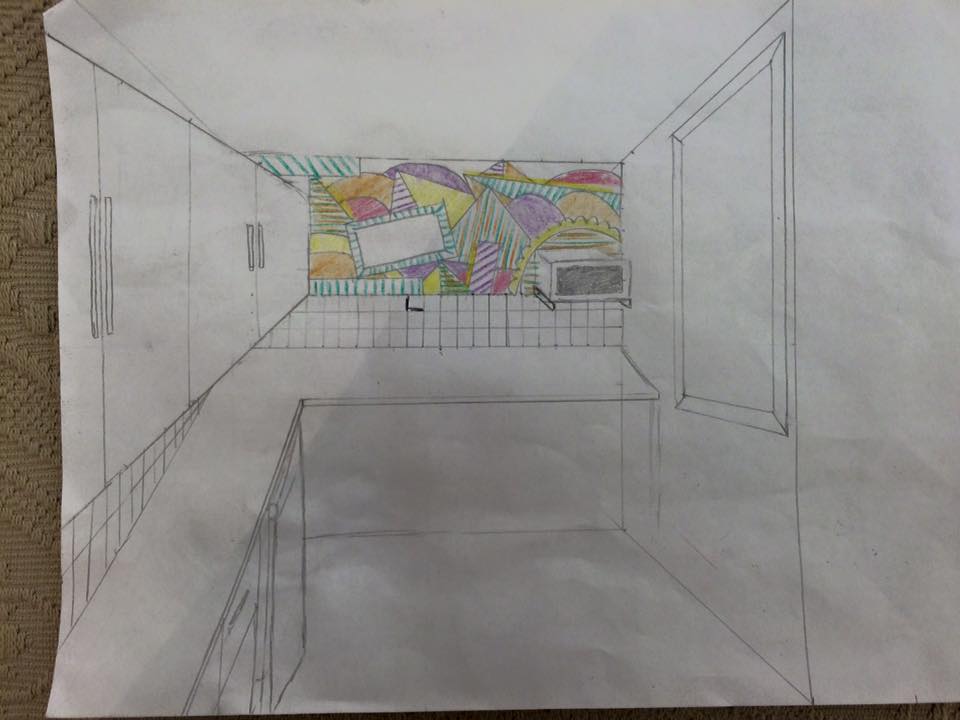
Drawings, designs and paint charts is pretty much how it all started off!
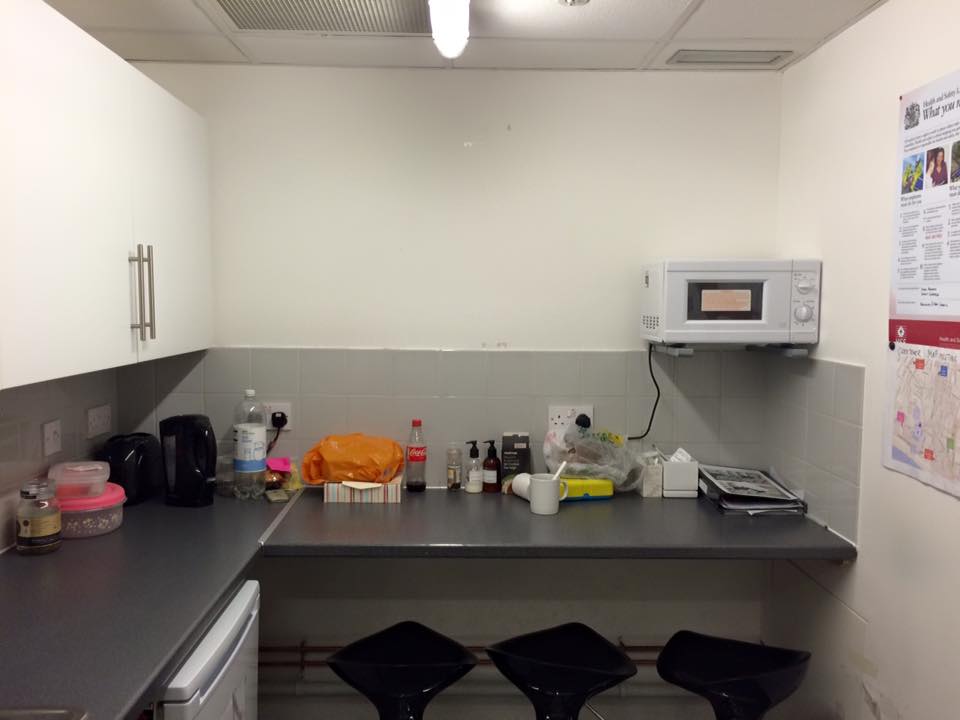
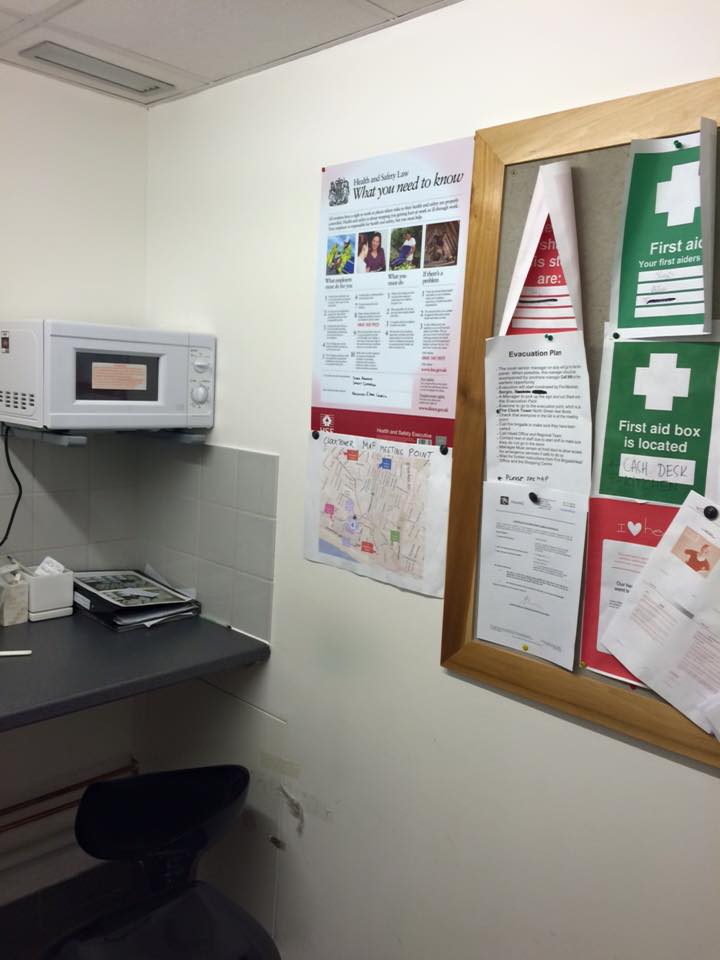
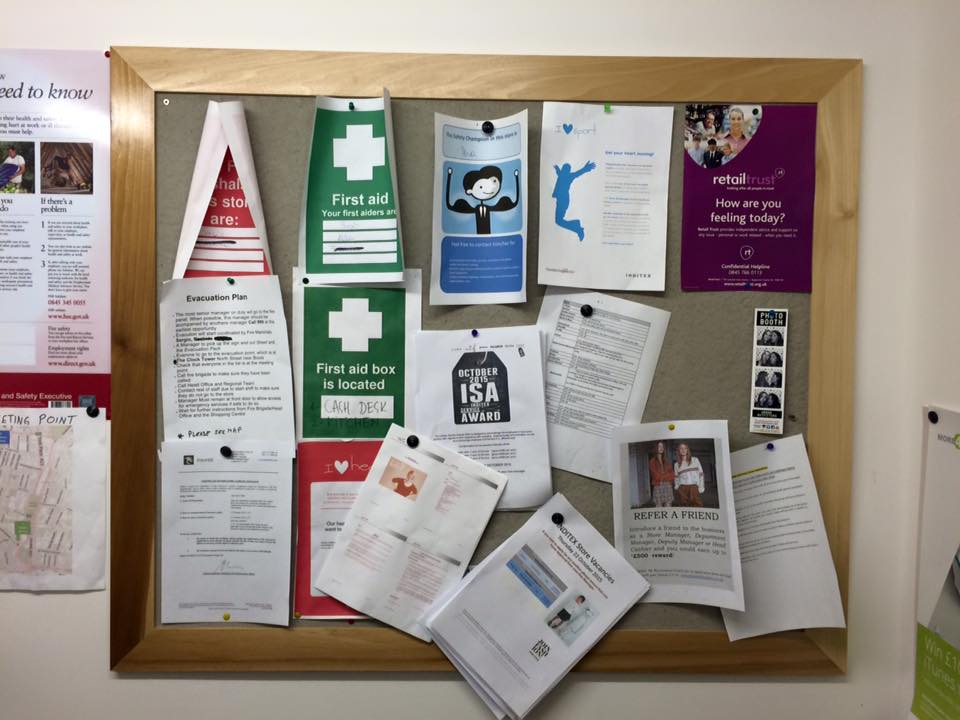
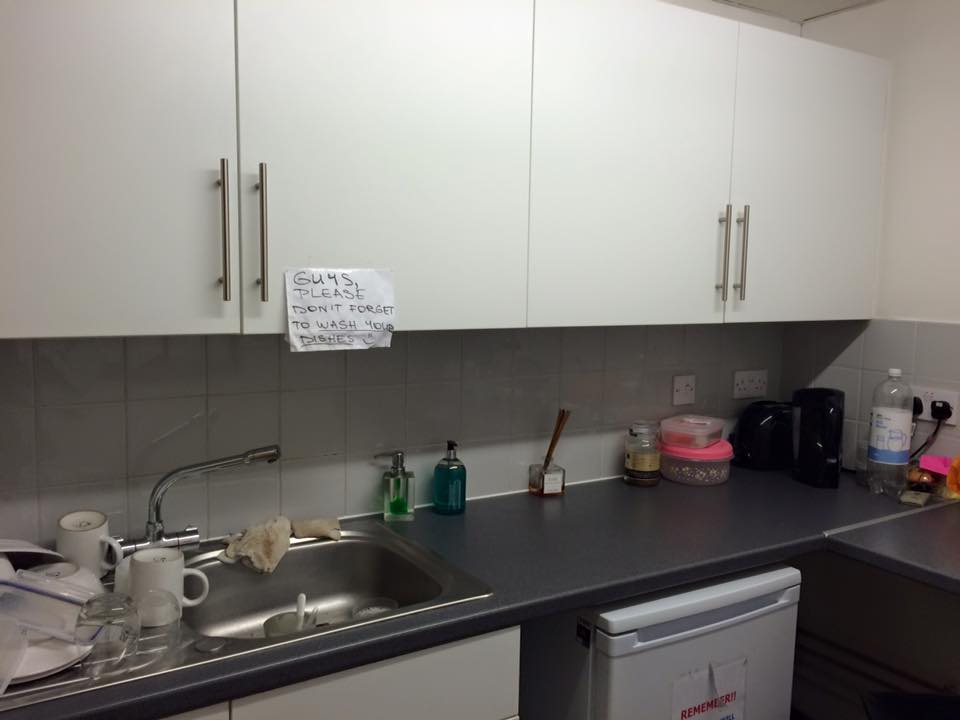
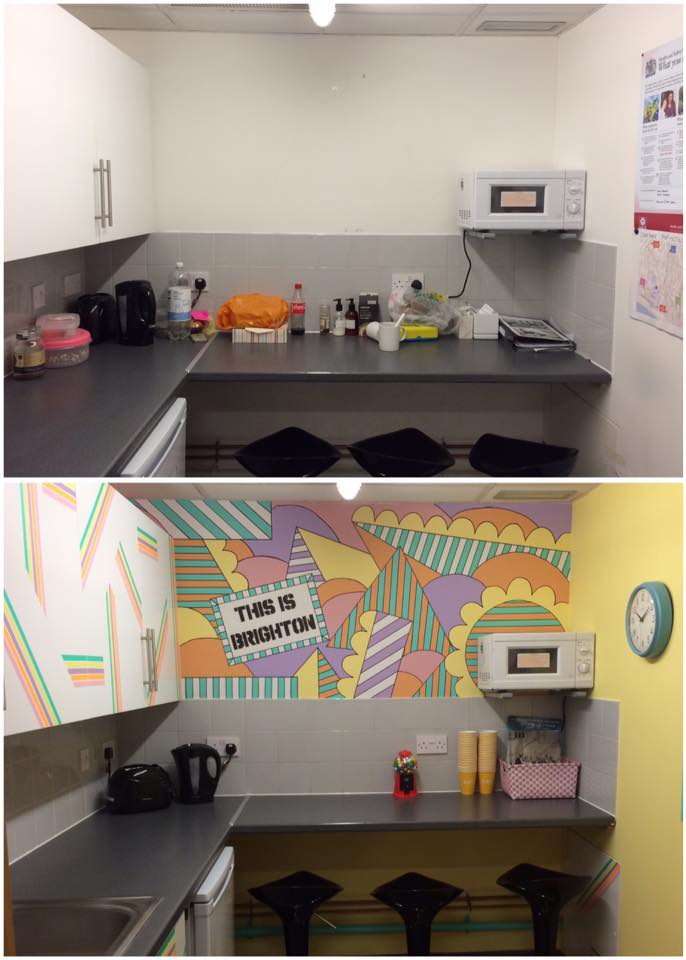
Now this won’t be quite as interesting for you all to see without a few before and after photos so behold, here is exactly what our staff room looked like at the beginning of the project… we can all be slightly untidy at times…
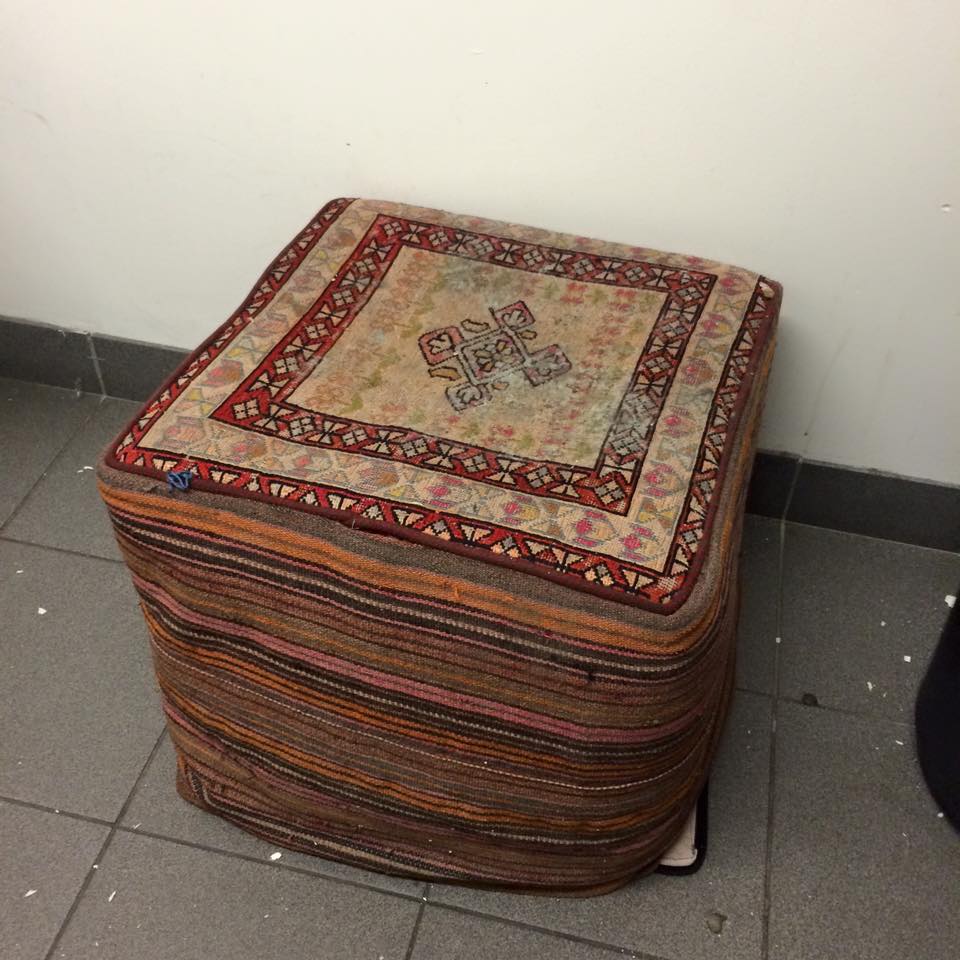
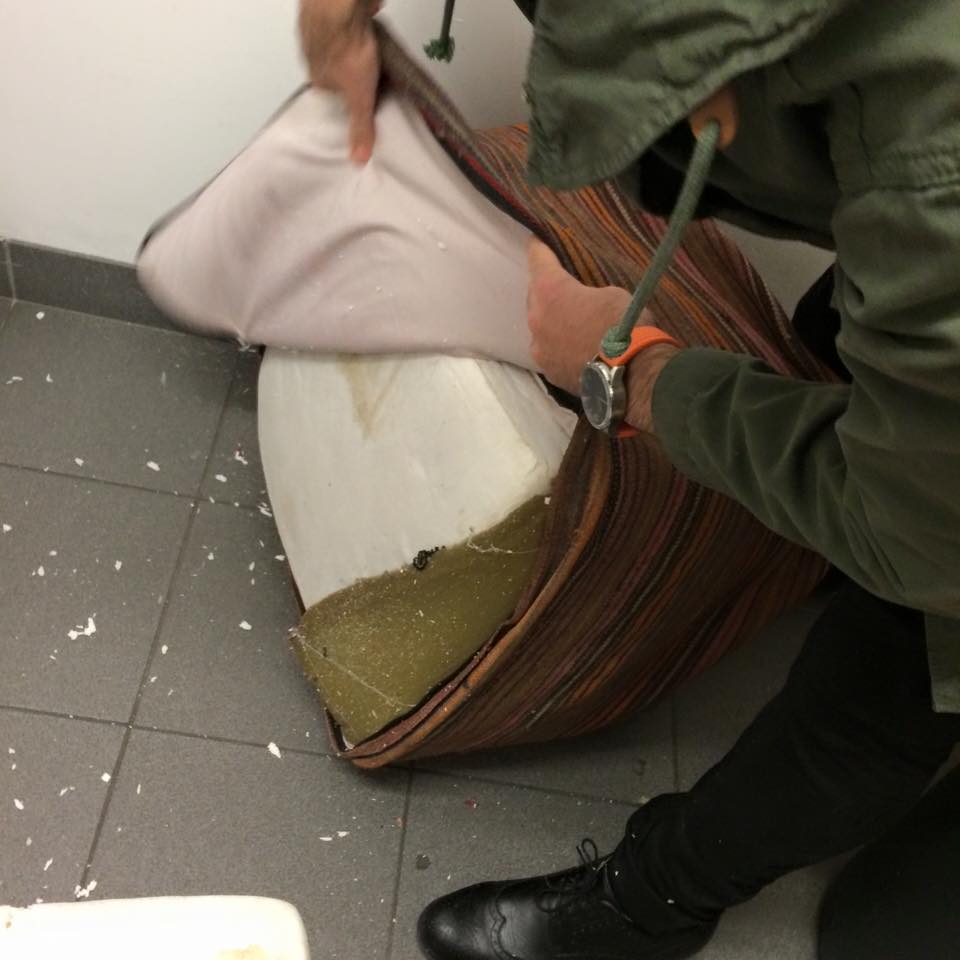
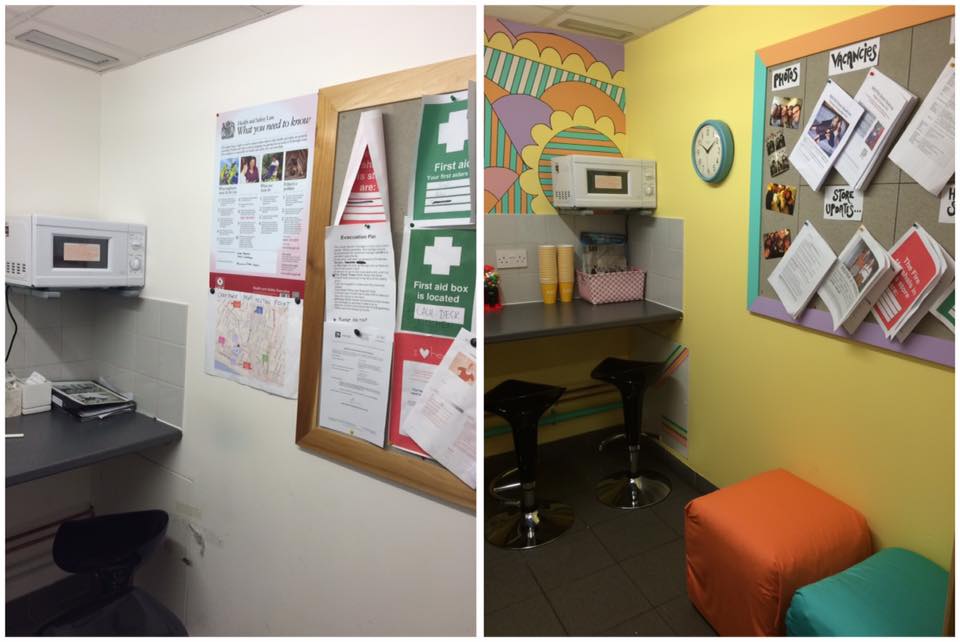
2 days after receiving the email, I returned from my day off to find 2 heaps of what I believe were once upon a time supposed to be footstools. My colleague and I joked that they looked as though they had been dragged in from the street… which was then confirmed later on when Jorge said he found them looking forlorn and unloved in the streets of Brighton. We genuinely thought for a few minutes that rats were going to scuttle out from beneath the torn, stinky fabric.
But, as they say, ‘one man’s trash is another man’s treasure’… which is so true!
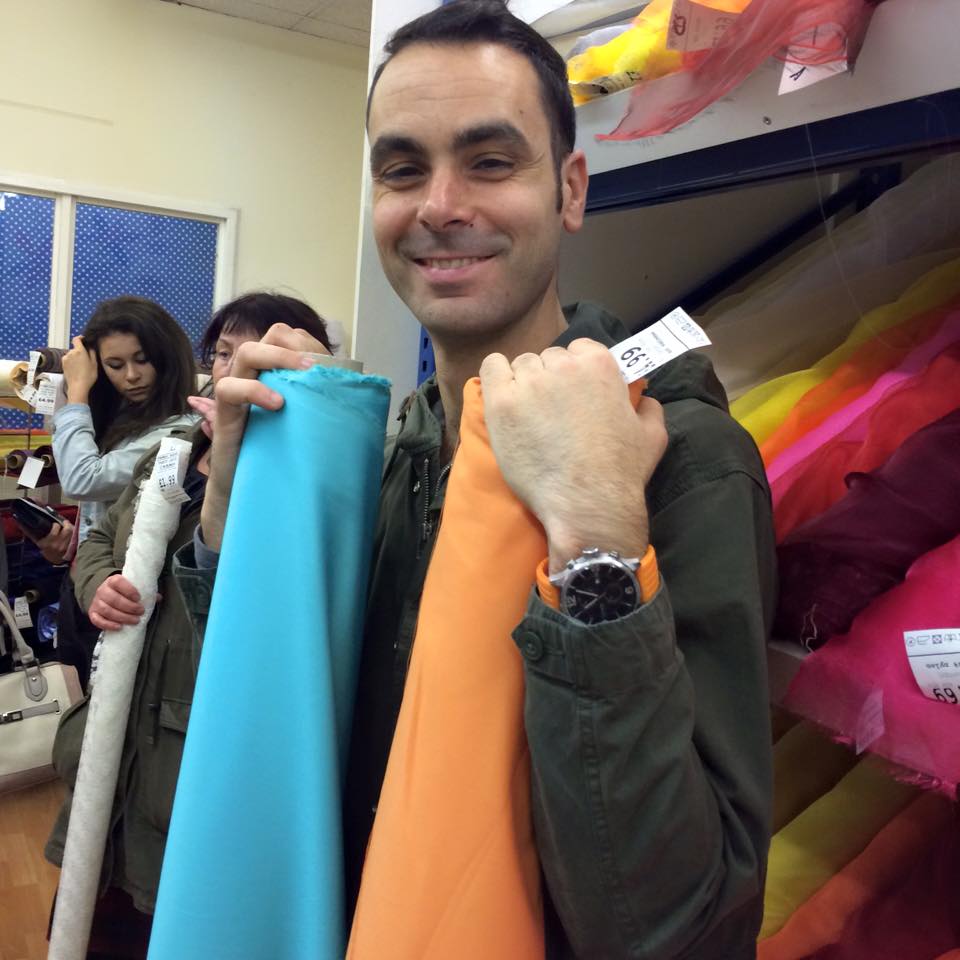
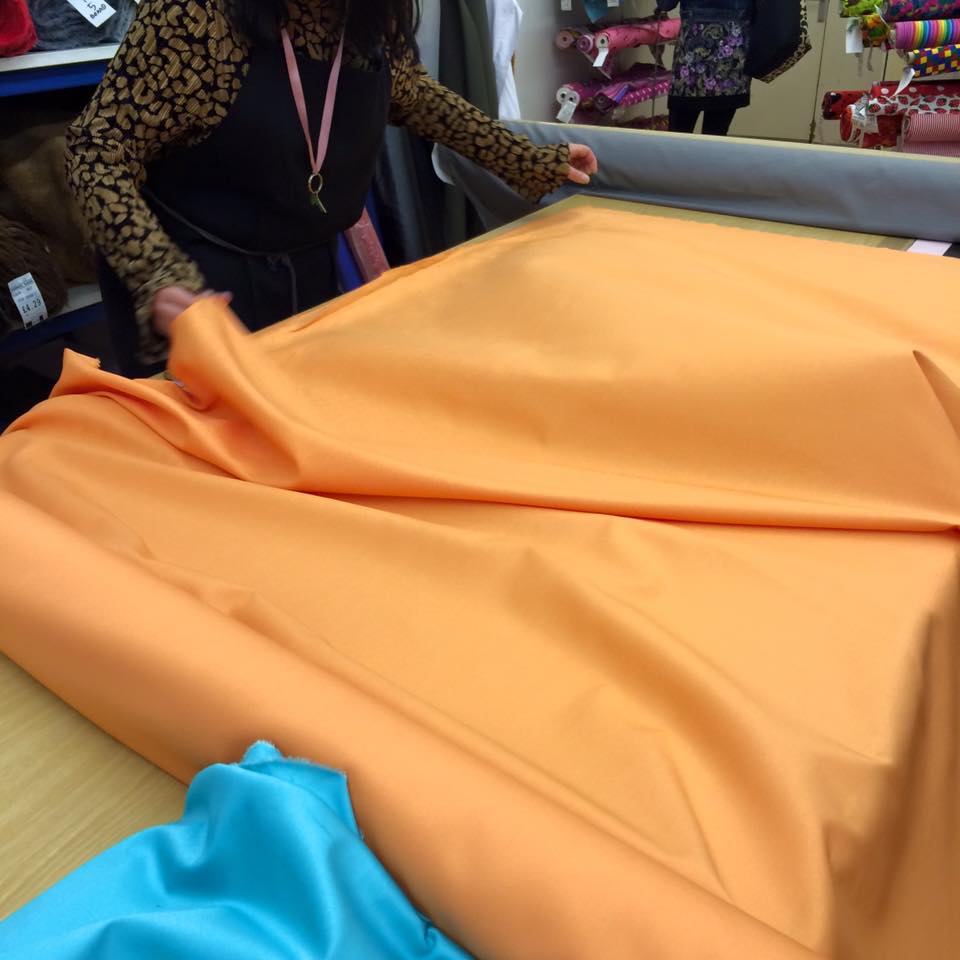
During our lunch break, Jorge and I set off to Fabric Land to search for some perfect fabrics to reupholster the footstools with, the colours were spot on with the paint samples!
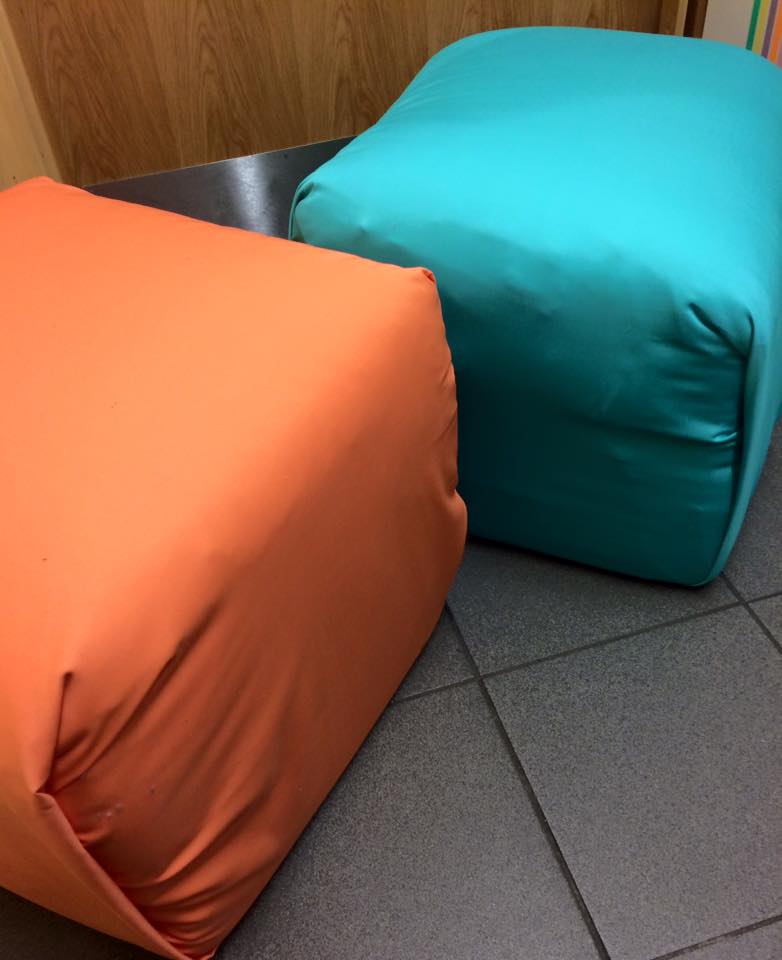
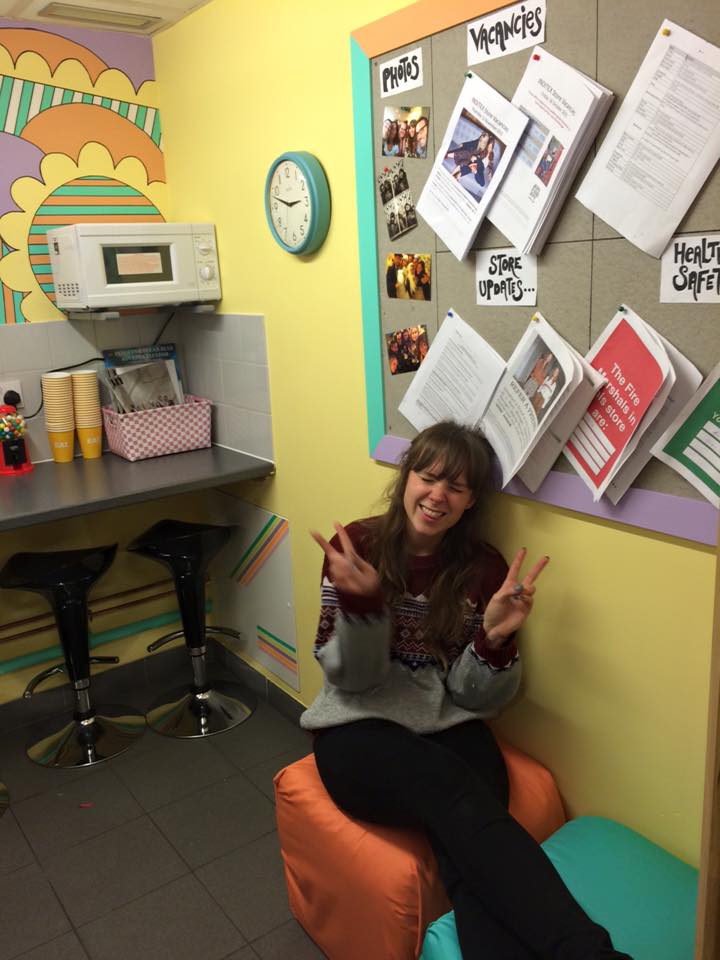
Jorge used his textiles tips and tricks to cover the bare footstools in the new fabric along with a couple of cushion fillings to add some padding and comfort so they can also be used as chairs. They turned out perfect! Complete transformation to what they first seemed!
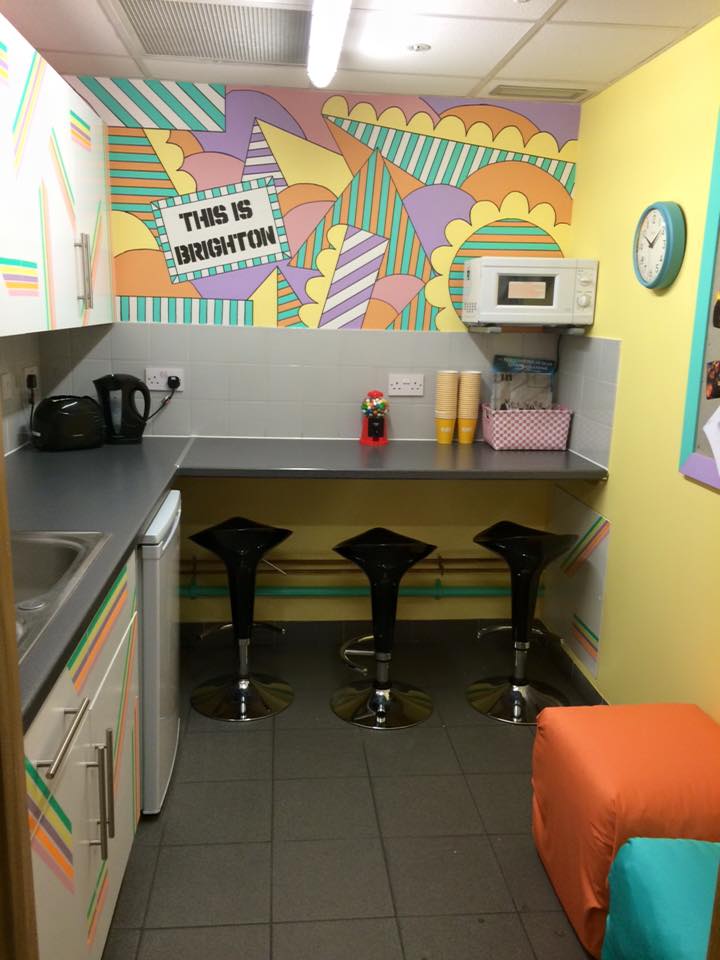
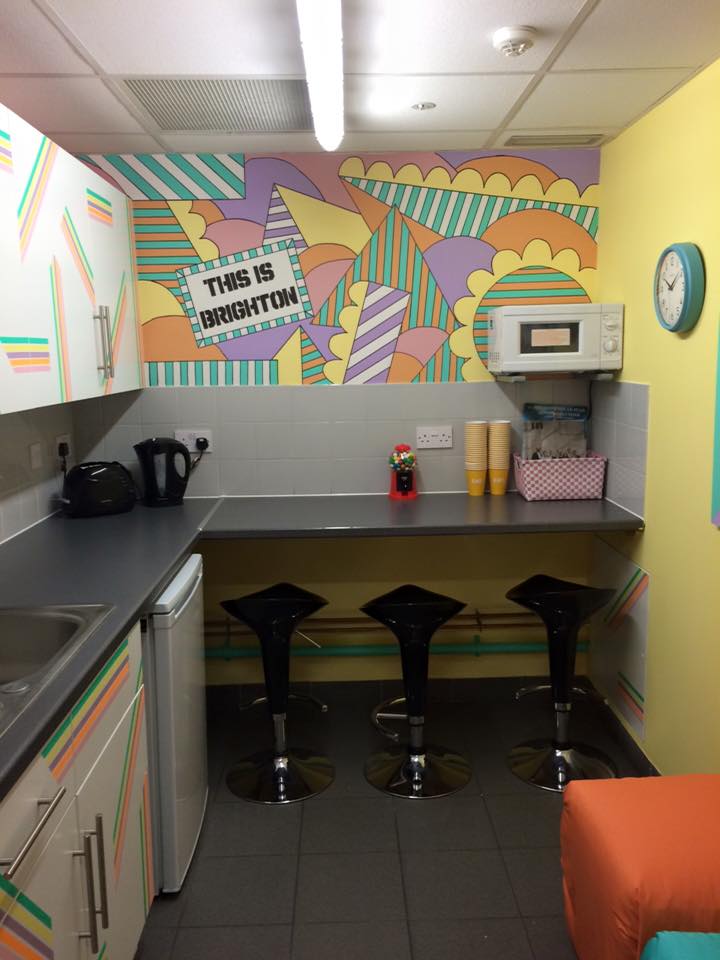
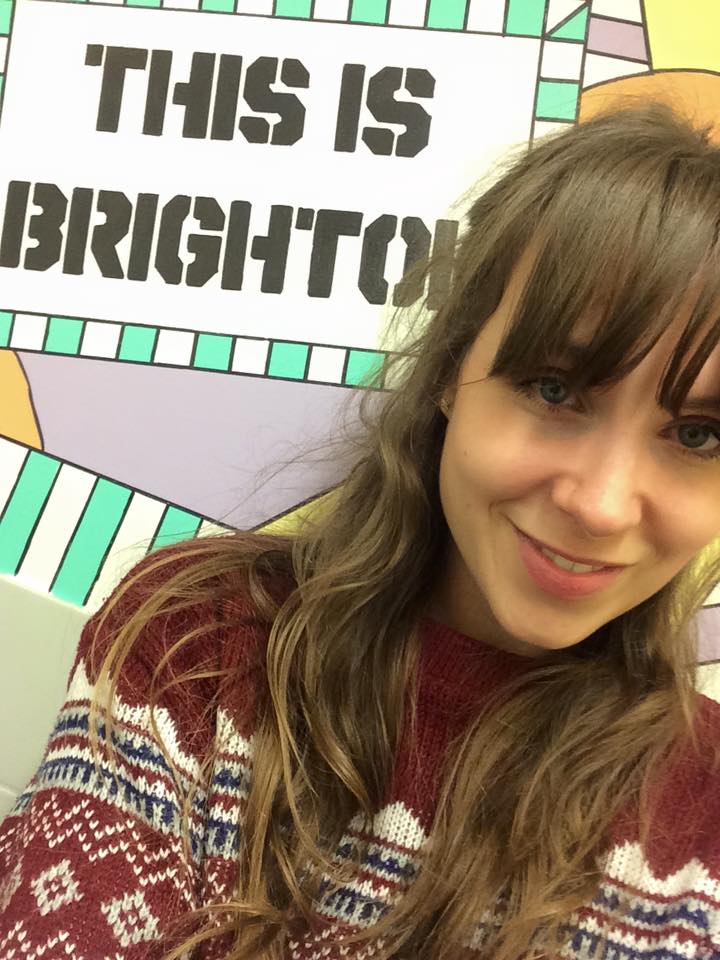
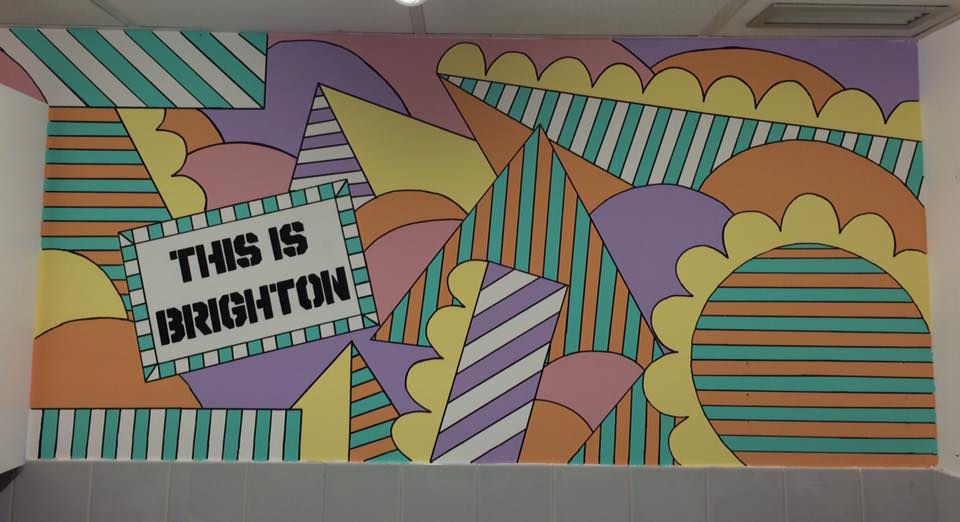
It was now time to start my wall design! For those of you who have visited Brighton, you may well know that it’s very hard to wander down a side street without coming across a wall mural covered in artistic graffiti and tags. This is what gave me the inspiration to create this design as I believe it gives a great resemblance and insight to the town we work and live in.
Over the many hours it took from start to finish in creating this wall mural, I manages to shoot and edit some video footage for you all to see the process of how it developed in different stages.
The video is below for you all to enjoy, you can also find the direct link to it here.
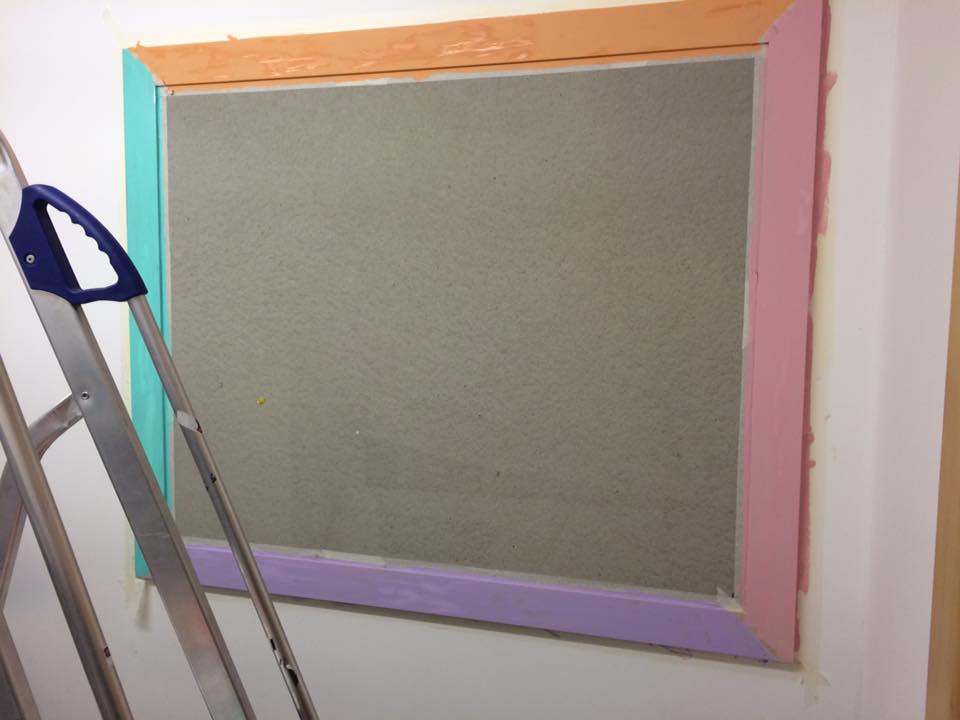
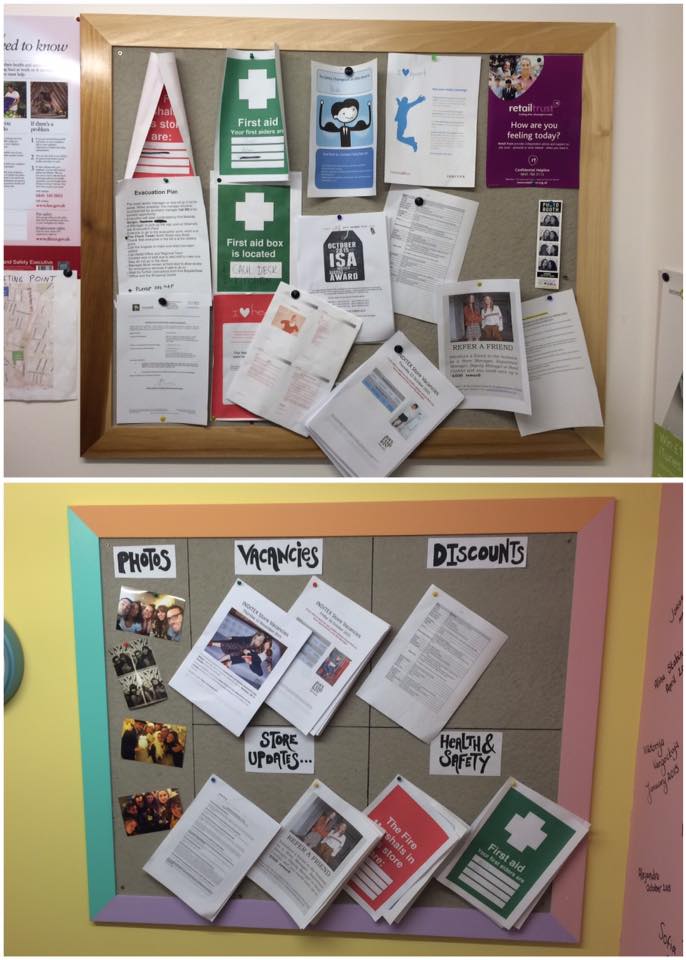
Once the main feature wall was complete, it was time to focus on other areas in the staff room. The plain white cupboards definitely needed some attention and our noticeboard was in need of some colour!
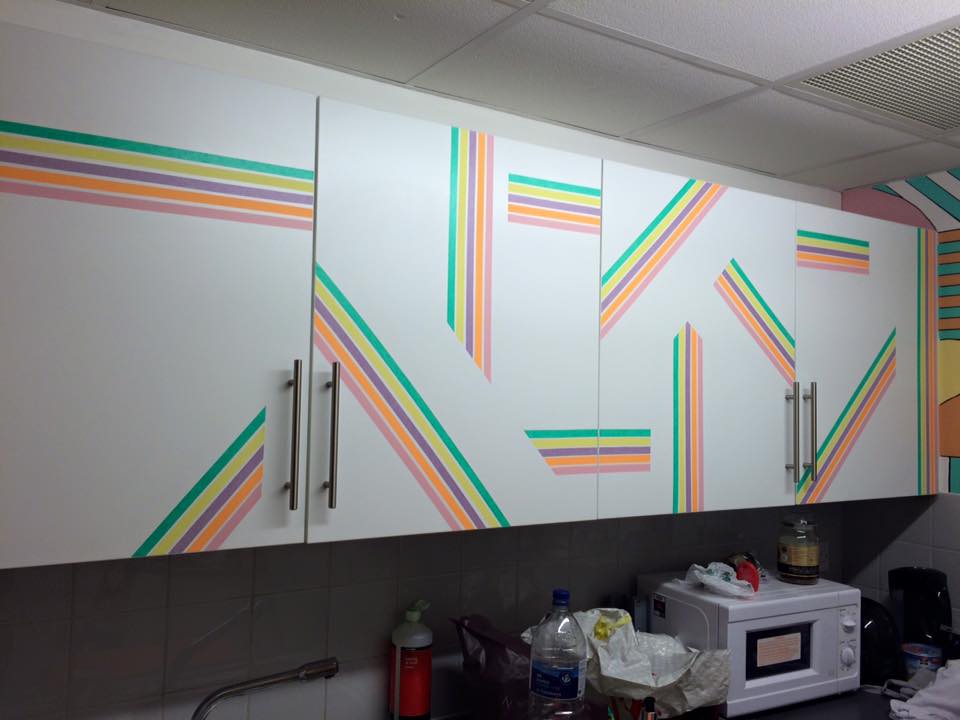
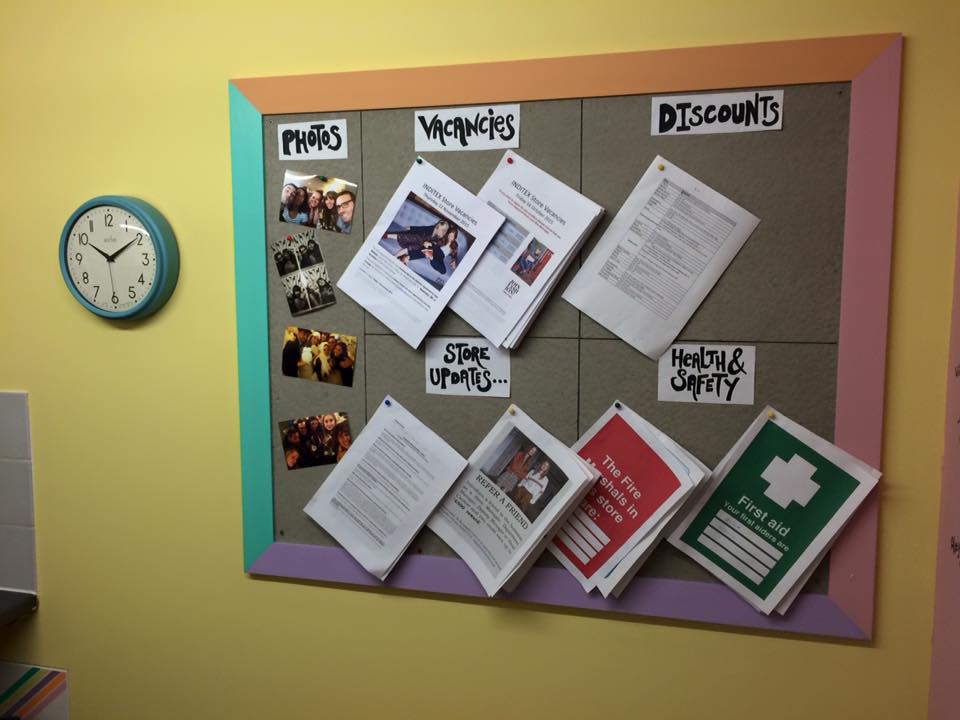
Using washi tape to cover the cupboards in a striped Aztec design, and painting the noticeboard in colours to match the feature wall meant the whole room started to really POP, finally it was all coming together!
We all chose yellow and pink to be the colours painted onto the remaining walls to add the final WOW factor to the room. Cleaning the wall down first was a horrible job, especially under the counter where we all put our feet!
2 coats of paint later and the walls were done! HUGE transformation in the whole room! I also painted one of the pipes under the counter a contrasting colour which I think has worked really well!
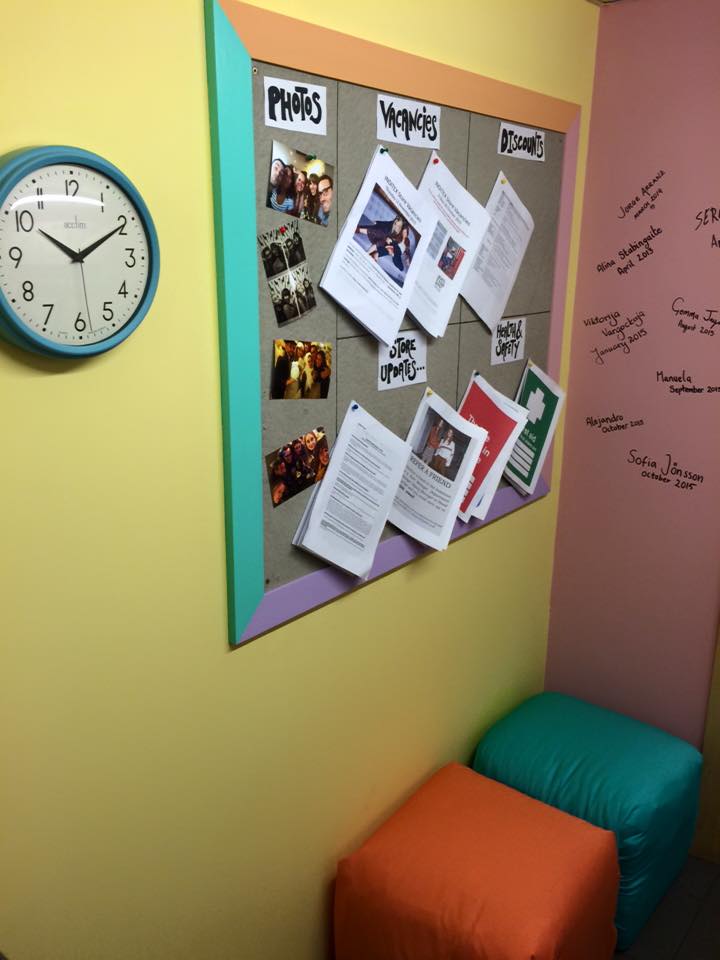
Our noticeboard was in need of some organisation, and also some personal touches which included getting some photos printed of us all from our social gatherings.
We also added a ‘signed wall’ for us all to write our names and date of when we started working for the company.
In terms of cost, we had a £50.00 budget for the project which we used so efficiently! Who new £50 could spread so far! Luckily, me being a crafty hoarder meant I already had some paint supplies, brushes and tape, so the list below was our total costs.
- Fabric – £14.98
- Masking Tape – £1.99
- Paint – £10.00
- Clock – £9.99
- Photo printing – £1.56
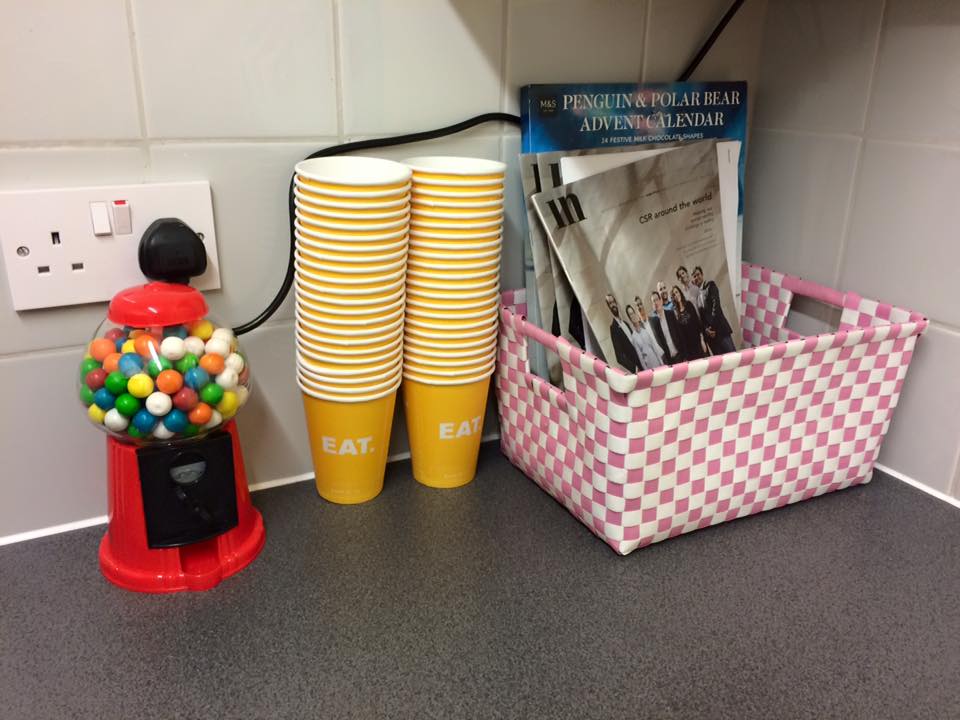
- Basket – £4.00
- Gumball sweet machine (yes, really!) – £7.45
Total cost – £49.97 … 3 pence to spare!
So let’s see some well deserved BEFORE AND AFTER photos!!
I’m super chuffed with the results and it’s so lovely for us all to have a nice place to relax during our lunch and coffee breaks. The personal touches really do make it feel like a new home to us all as well and the great thing about it, is that we can keep on adding more memories in to the room!
I think it’s safe to say that we now have the coolest staff room in Brighton!
