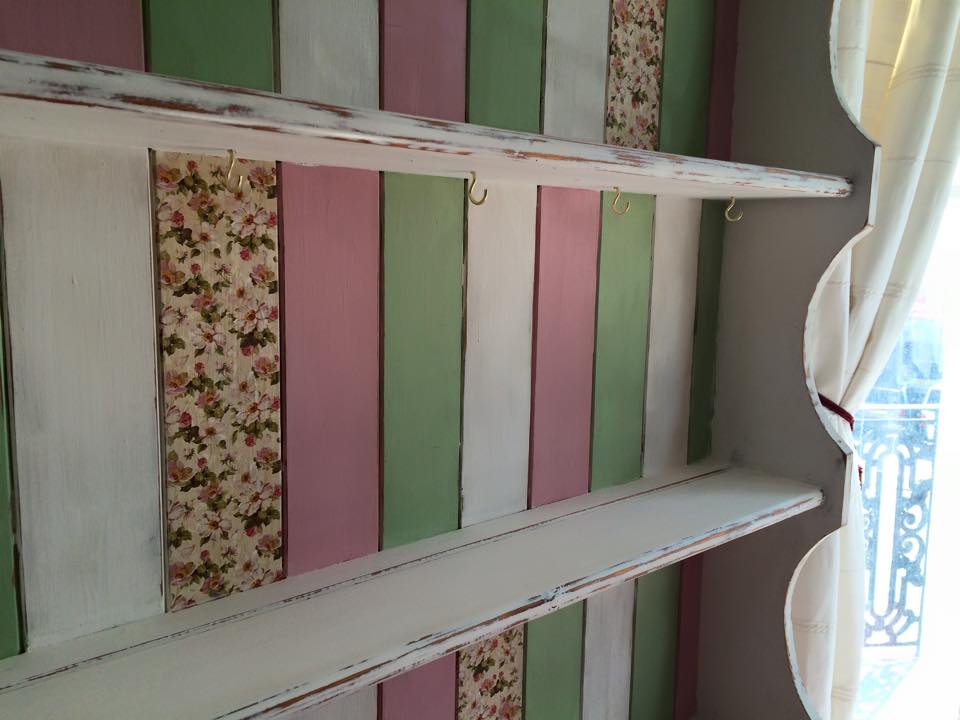
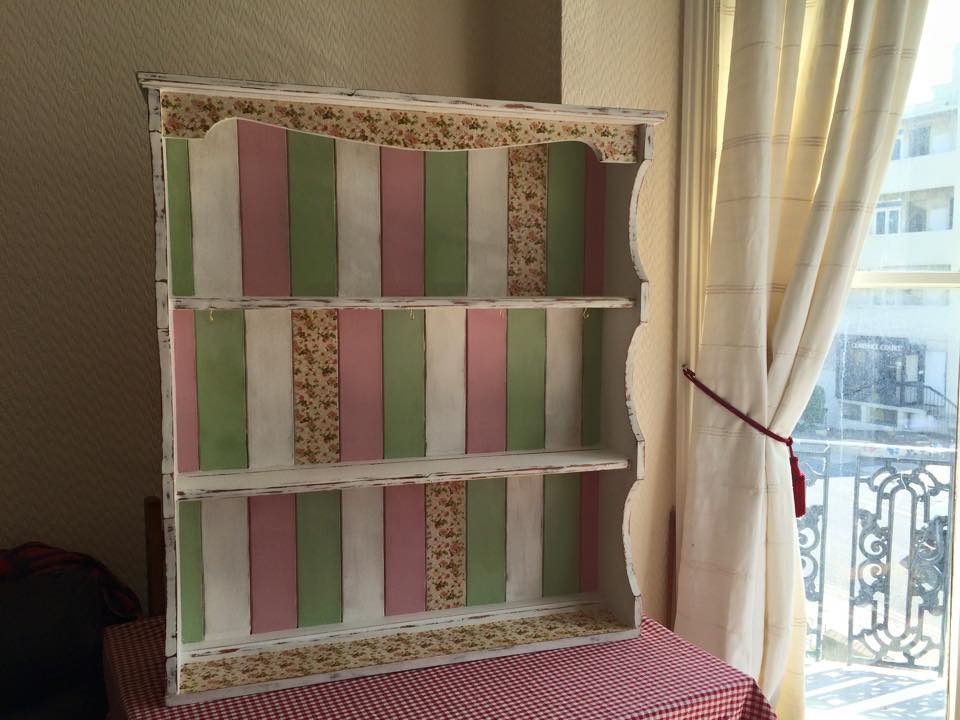
Vintage Dresser Top

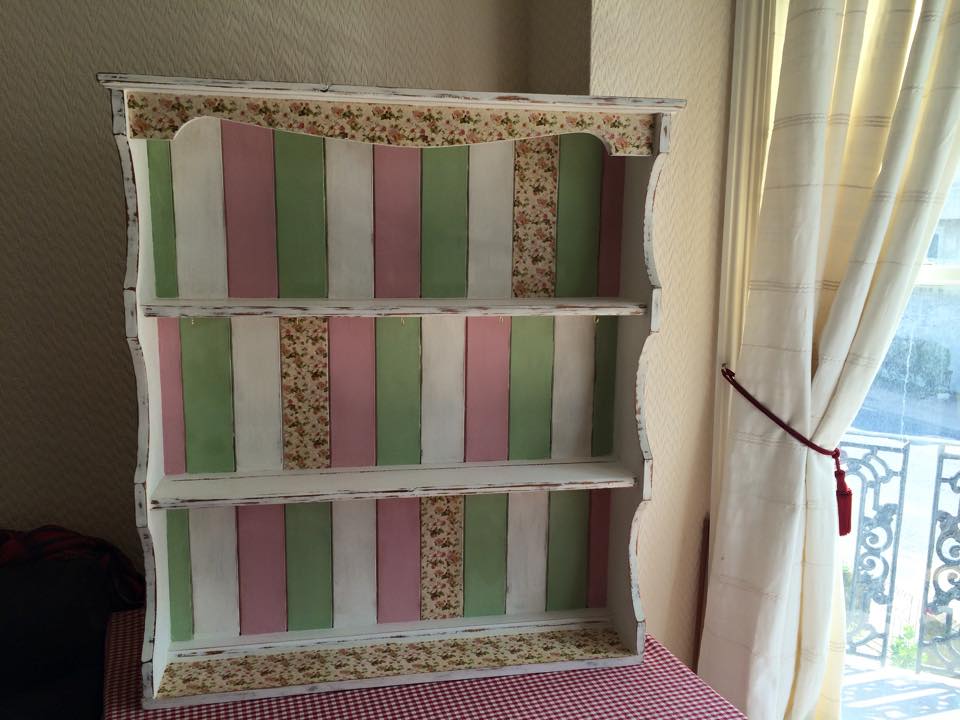
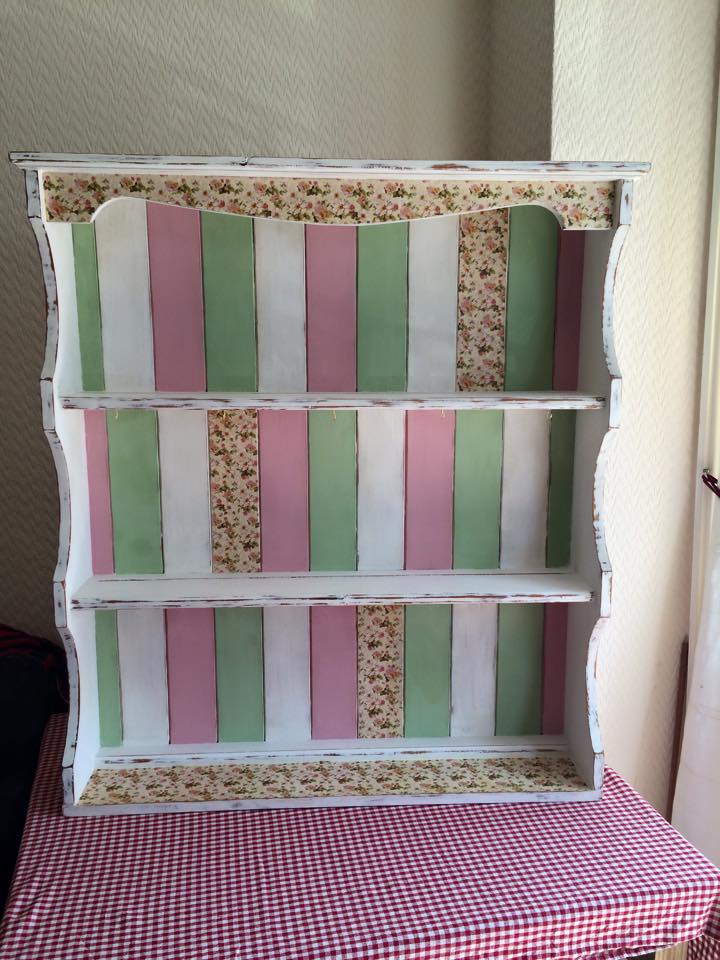
It’s safe to say that I am THRILLED with my latest project, it has turned out exactly as I imagined it and it all went rather smoothly! Here we have a converted dresser top, shabby chic and vintage style of course! To show you all how it was made, I had better start at where it all began!
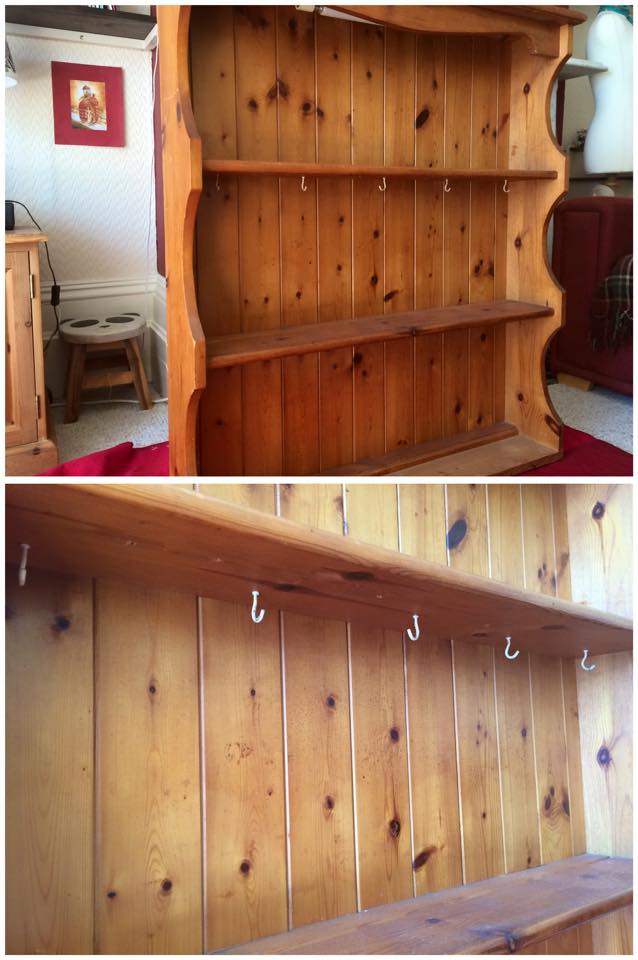
Bought again from the thrift shop down my road…might I add that as a regular there now I am becoming very good pals with the old chap that owns it…this dresser top was a must have as I instantly saw the potential of what it could end up being!
It was VERY drab, but it had already in fact been made in to a shelf unit as the previous owner had added a block of wood to the base, meaning the dresser bottom wasn’t needed! Perfect!
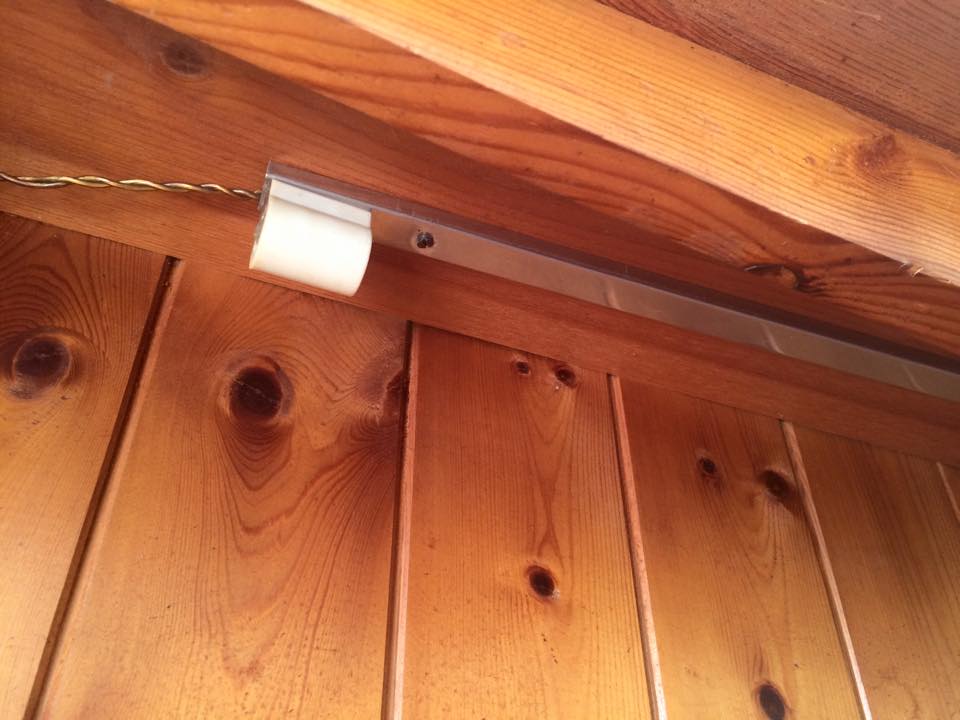
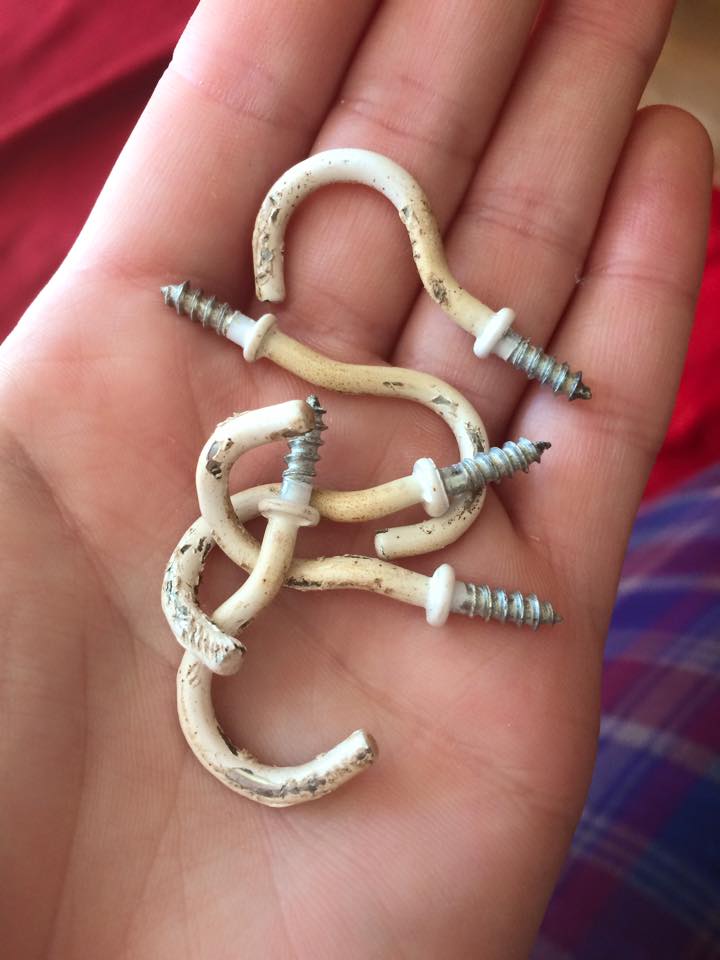
I started by unscrewing the broken and tatty light fixture and removing the grubby screws
They were going straight in to the bin!
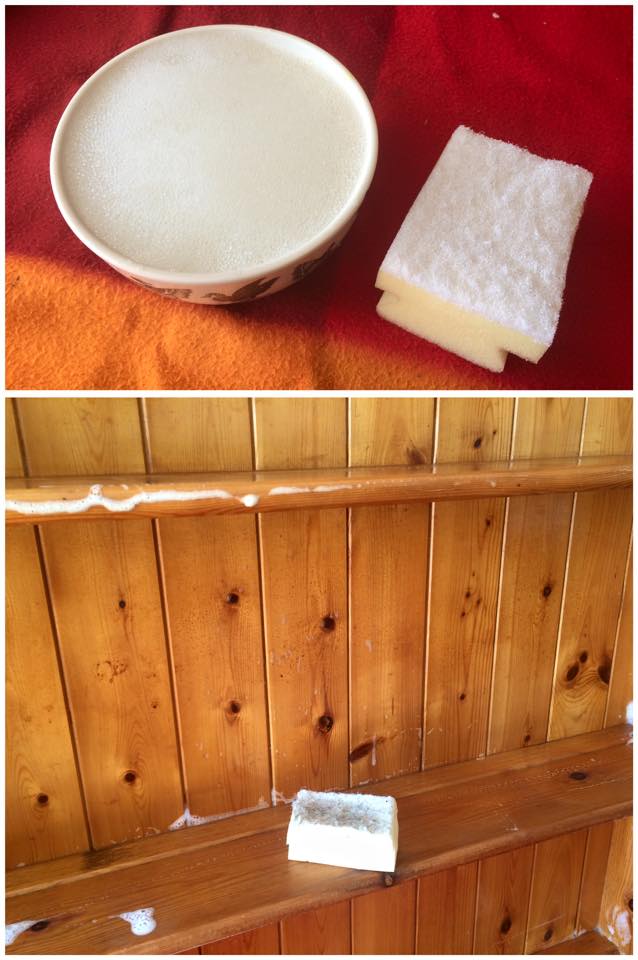
The next stage, and once again I emphasize that it’s potentially one of the most important stages, is to wash the piece beforehand. Yes this was gross… The wood was NOT clean!
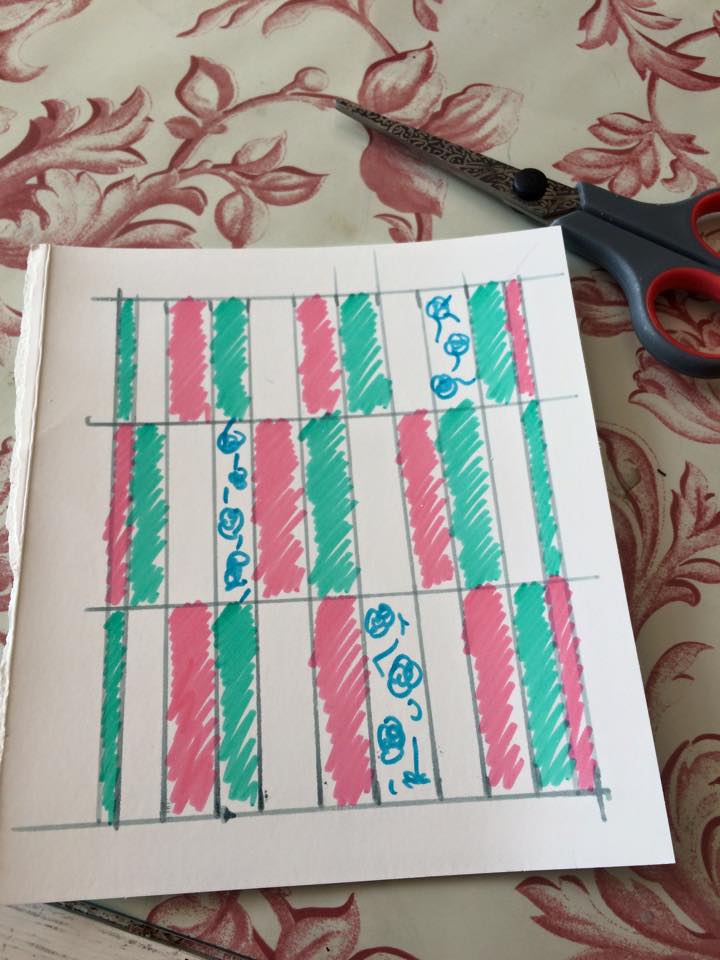
After it was cleaned and wiped over, I allowed the wood to completely dry before beginning to paint it, in this time I made up a plan of colours to paint the wooden slats
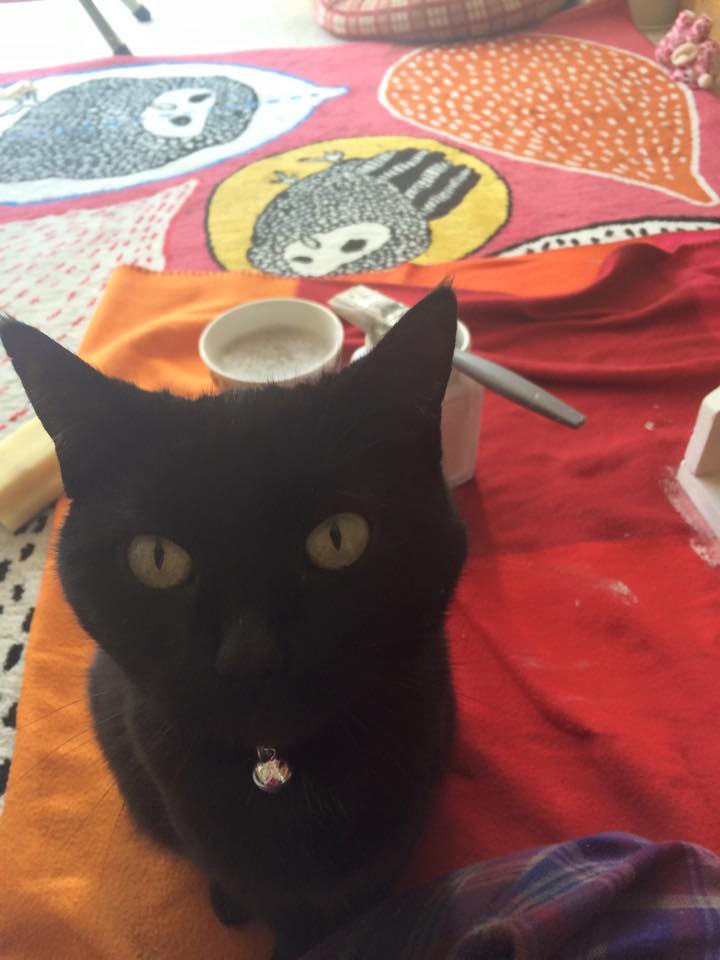
And now we we’re ready to paint… and yes I meant WE as I gained an intruder trying to butt her way in the whole time!
I began by painting the areas that I wanted to keep white, this particular paint was called White Whisper and was from the Johnstones range. As it was a lighter shade, it needed 3 layers in total.

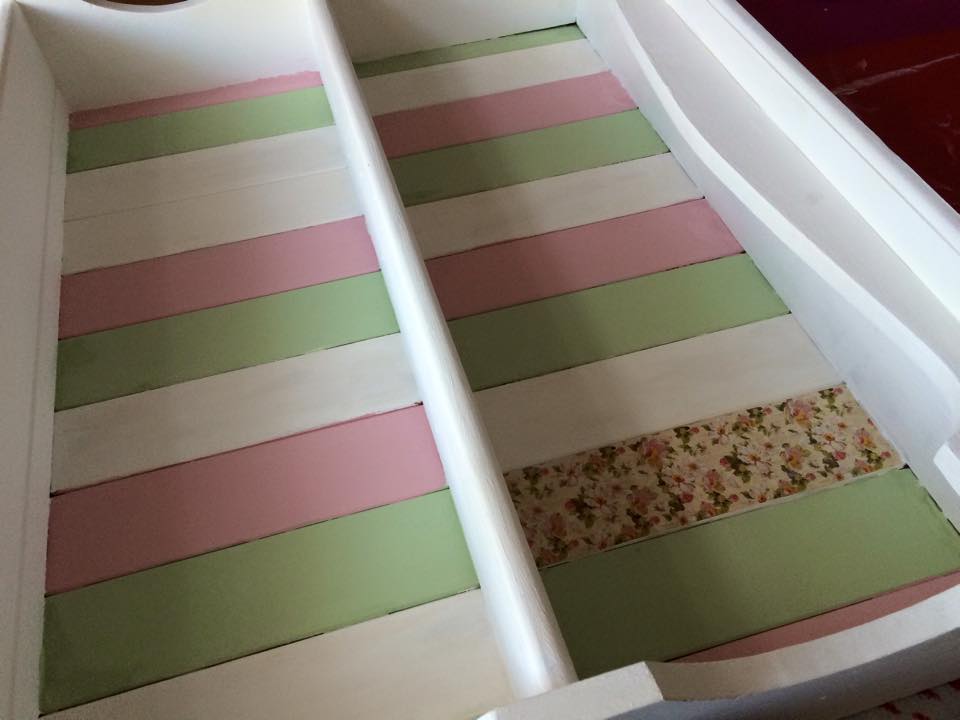
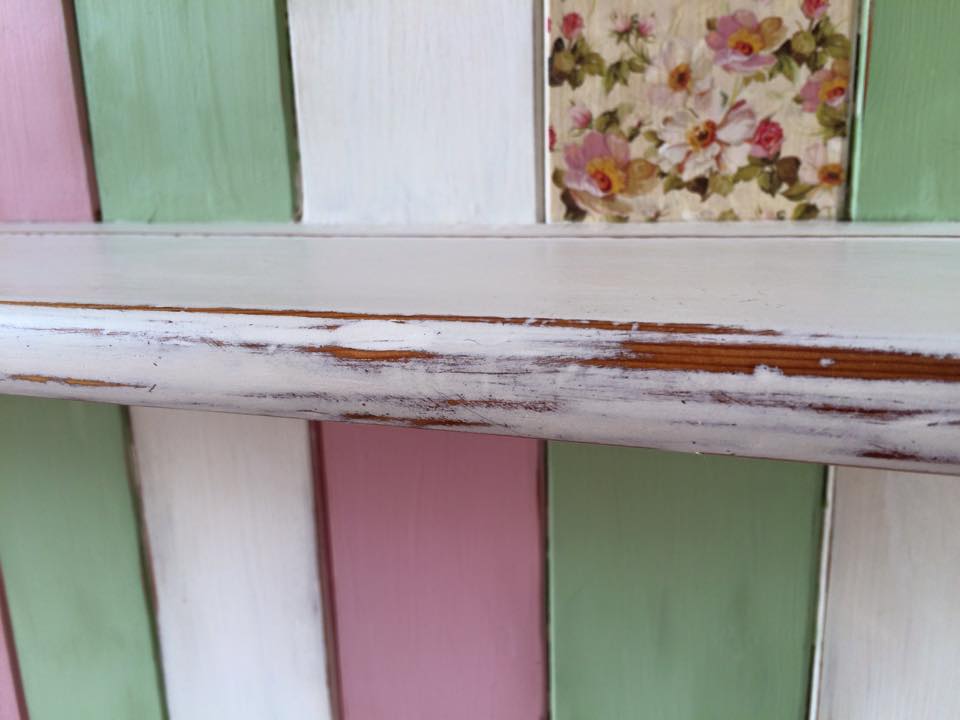
Once the white paint was completely dry, I laid down the whole piece and begun to individually paint the slats of wood using my drawn plan as a guide. All of the paints used on this piece were made in to chalk paint, the pink shade I used was the mixture I made in my chalk paint powder video tutorial, which if you haven’t seen already you can watch it here!
The slats also needed a few coats in total for full coverage.
By this point the dresser top was already looking completely transformed…
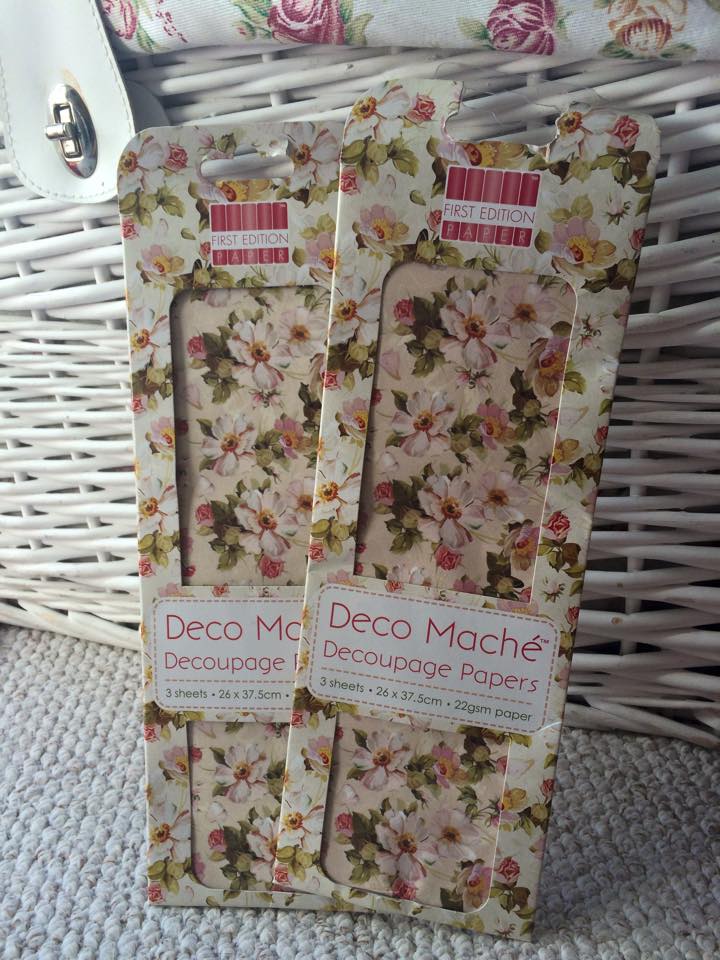
Onto the decoupage! I picked up these beautiful floral Deco Mache Papers from The Range and thought they matched the colour scheme perfectly
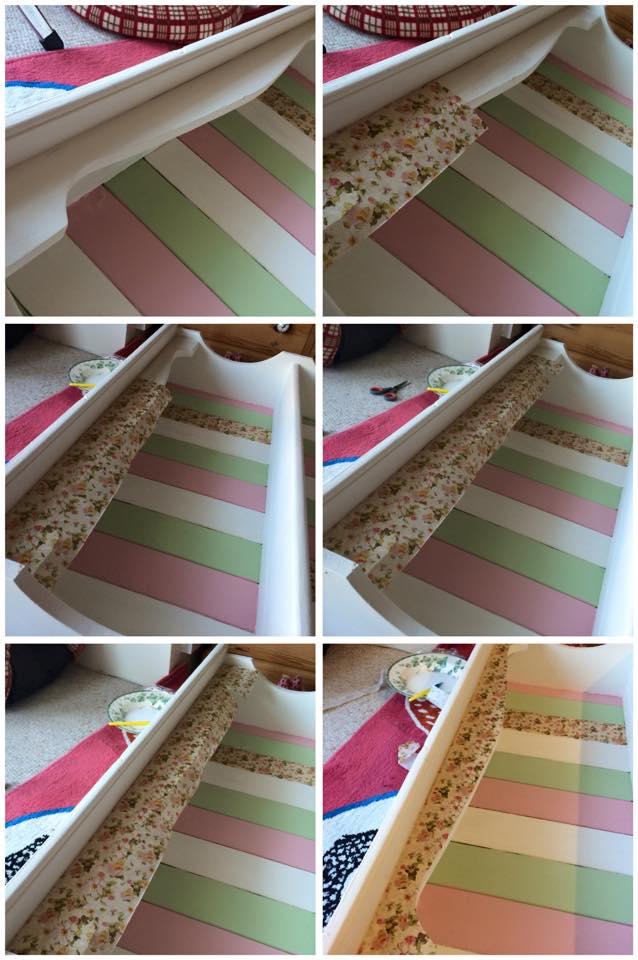
Then the tricky part was to measure the slats I wanted to decoupage individually and PVA glue the Decoupage paper carefully on top.
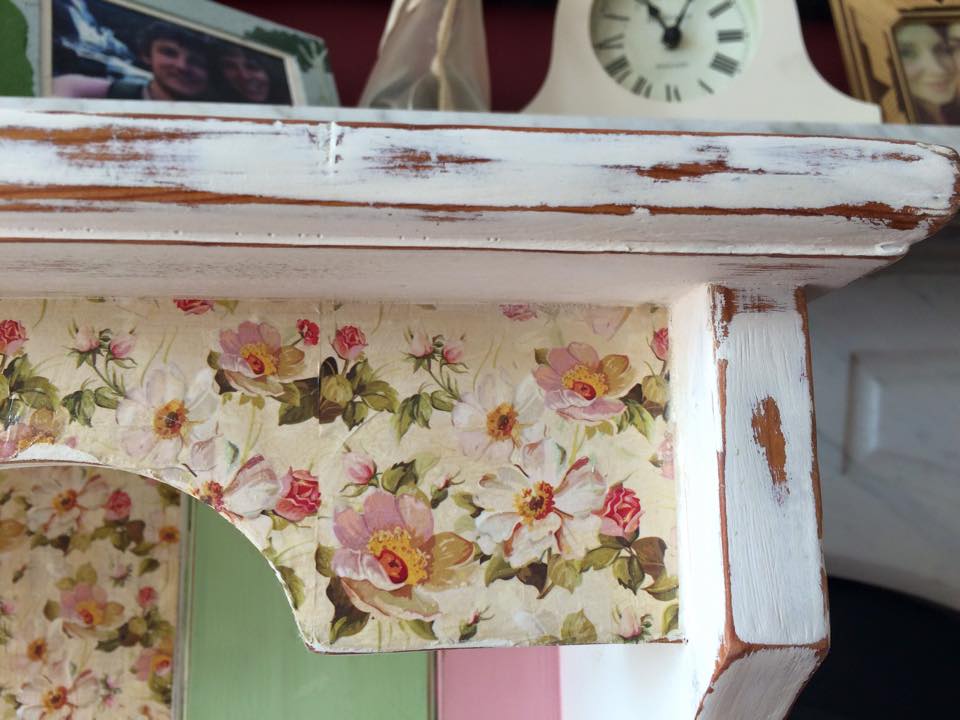
The next section I wanted to Decoupage was even more fiddly as I had to match up 4 different sections of the paper, overlapping slightly and joining them along the front top panel.
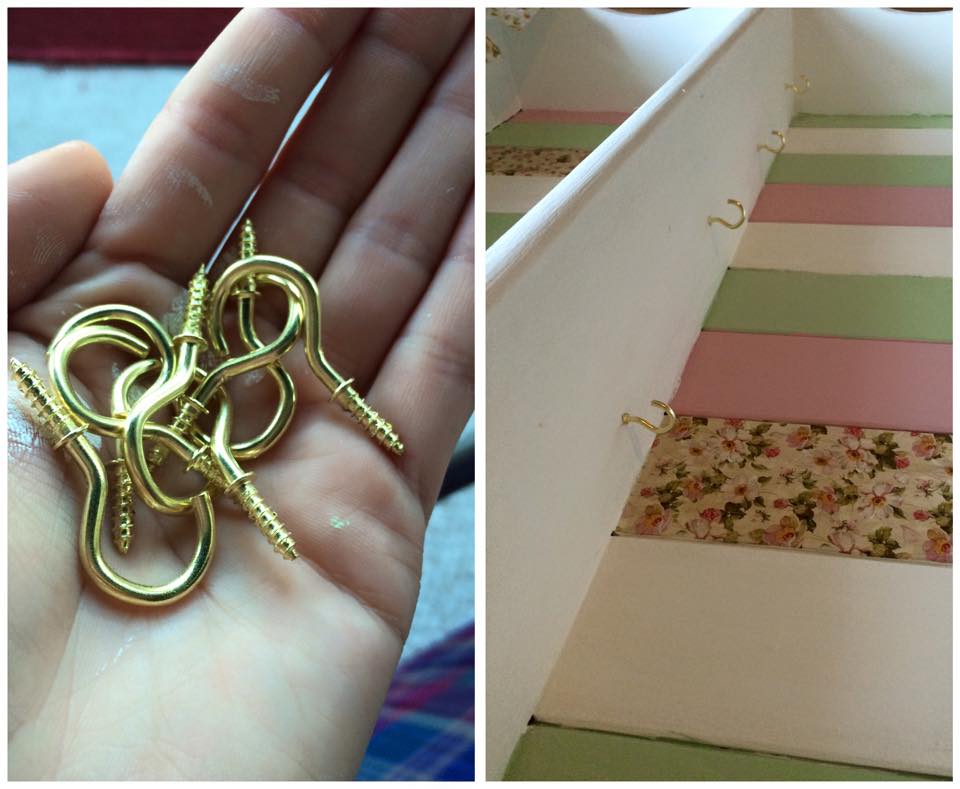
After the Paper was fixed down, I smothered another generous layer of PVA glue on top for extra protection, then allowed it to fully dry. Whilst this was happening I eagerly attached my lovely new and shiny hooks that I purchased from Wilkinsons.
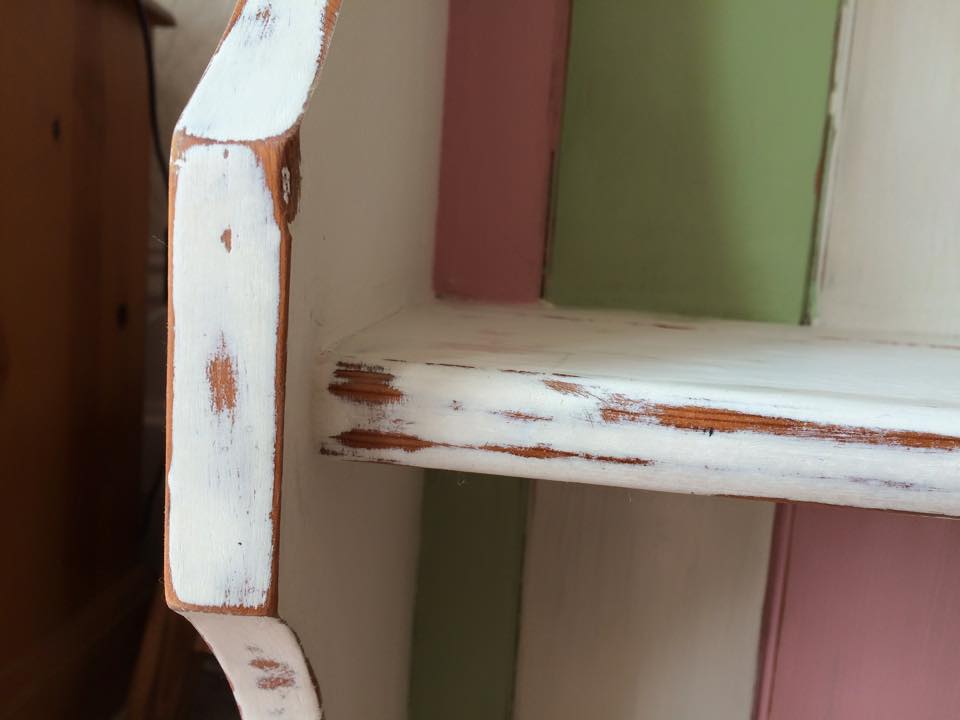
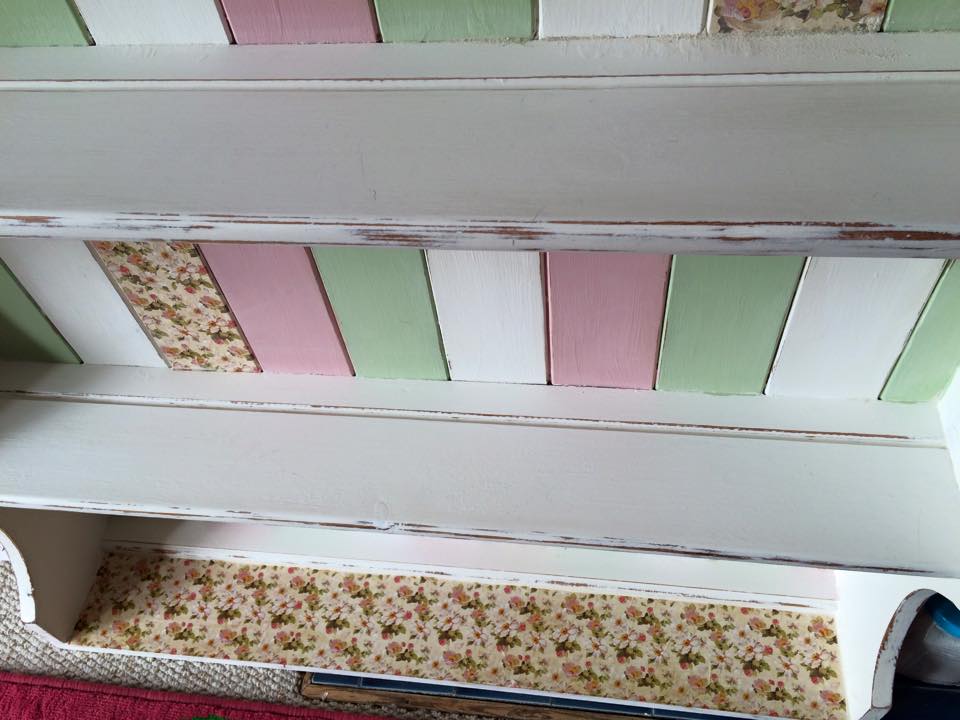
It was now time to begin sanding and distressing, yet again I got a sanding blister… I really MUST start saving for an electric sander! I slowly worked my way around the whole piece, focusing carefully on corners and joining areas, and especially on the beveled sides.
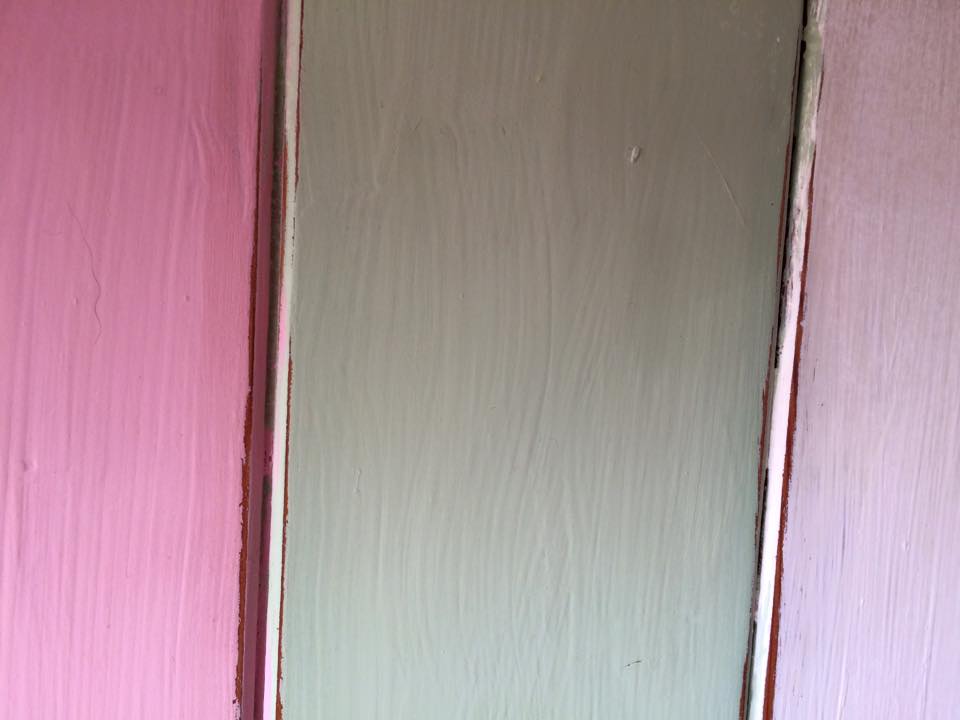
I also lightly sanded the colourful wooden panels just to keep the rustic look continuous throughout the whole piece.
As a last minute decision I decided I also wanted to Decoupage the bottom shelf, to keep the floral pattern balanced with the top panel.
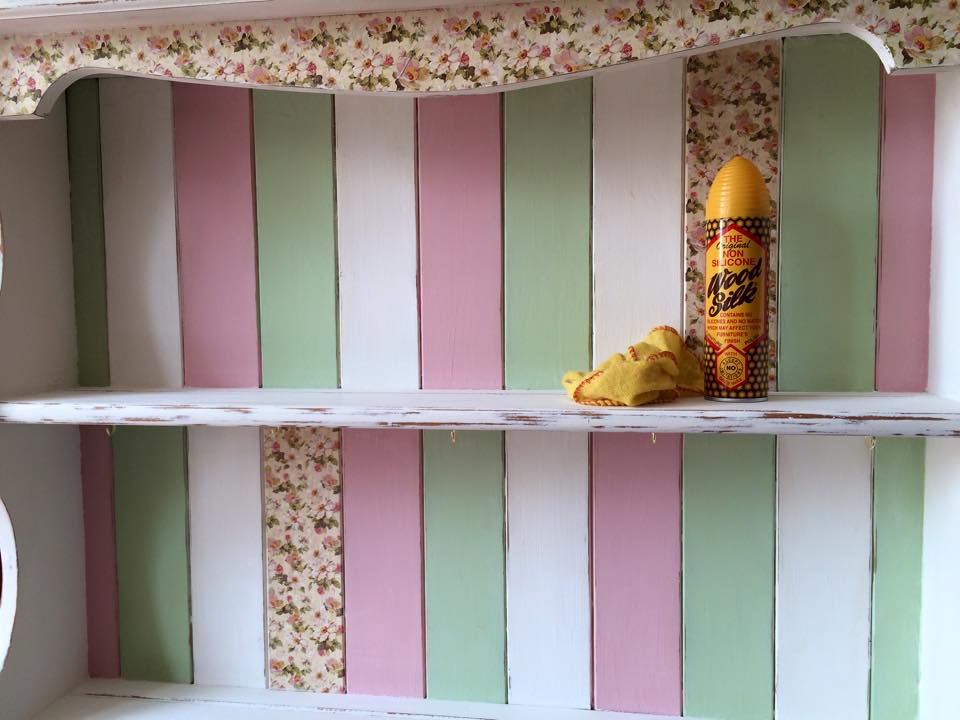
And now, the finishing touches with my favourite wood wax and polish, adding good protection to the furniture and scenting the room nicely!
Now all that was left to do, was to stand back and take it all in! I have once again surprised myself with what I can achieve!
Happy Happy!


