Birthday Calendar Wall Hanging


Hello all! I’ve had such a lovely day today after a hectic 7 days of work. The sun has been shining and I’ve had a well deserved crafty session today with the balcony window wide open and music in the background, bliss!
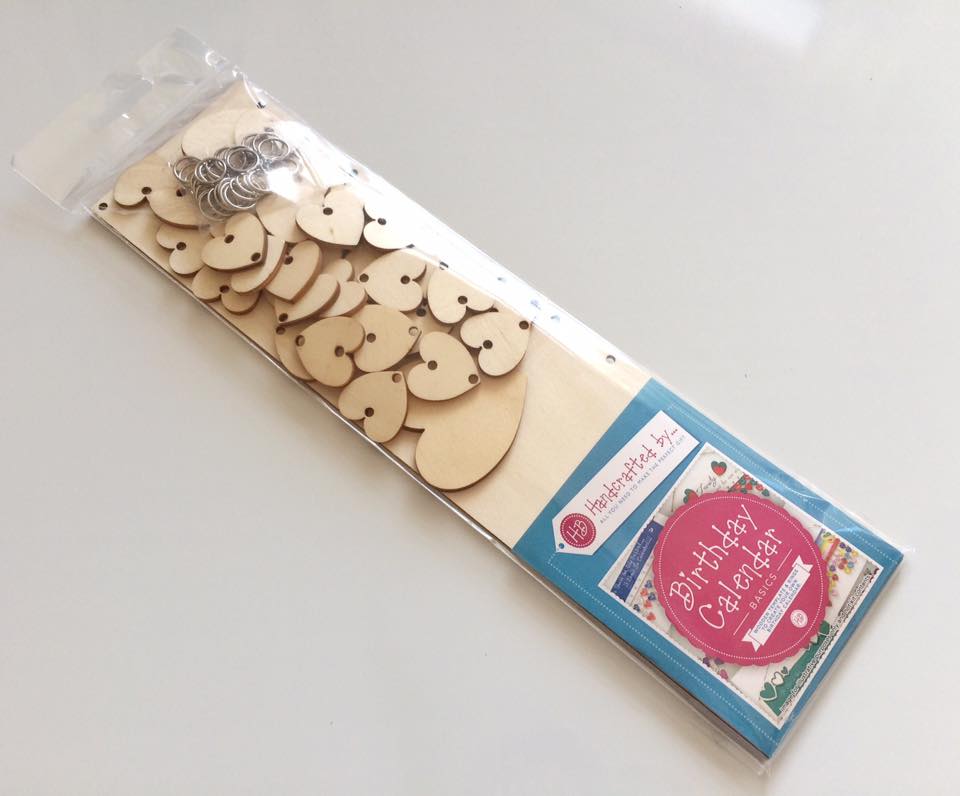
When I visited the Handmade Fair a couple of weeks ago (see post here), I treated myself to a DIY calendar wall hanging. I’ve seen beautiful examples of these in shops before and always thought they were fab, then when I stumbles across one from Handcrafted By Me at the fair I just couldn’t resist!
The ladies running the stall were extremely friendly and gave me some tips and tricks to get the best out of the calendar so when I opened it all up I was super excited!
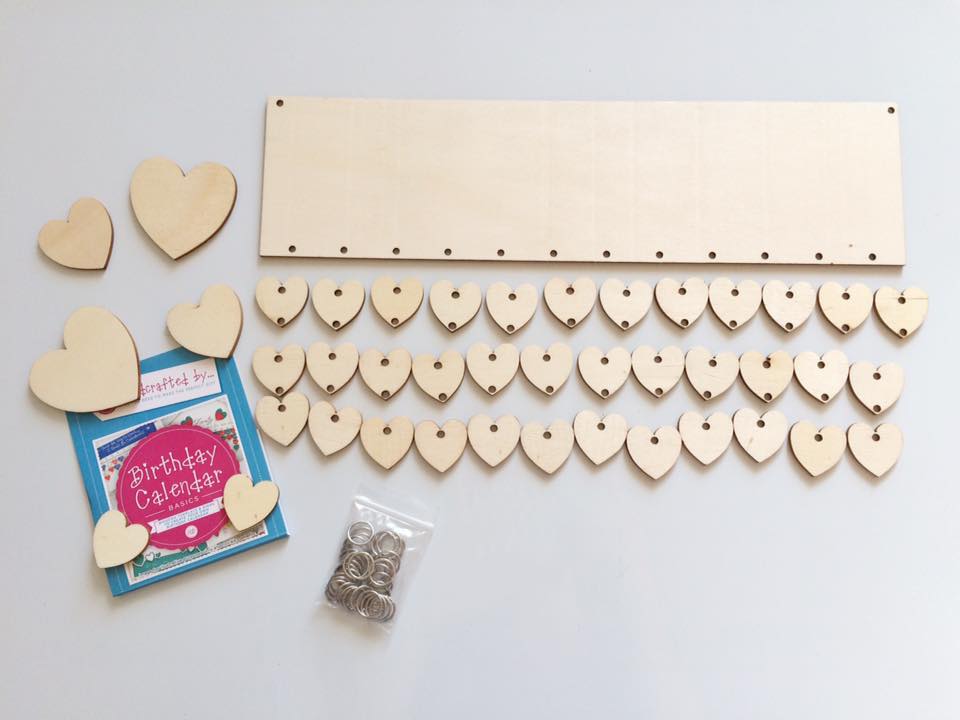
In the package you get
- One straight wooden plaque with 12 ring holes on the bottom and 2 on the top corners
- 6 Decorative wooden hearts of different sizes
- 12 wooden hearts with one hole (for the bottom of the calendar pieces)
- 24 wooden hearts with 2 holes (connectors)
- 35 metals rings
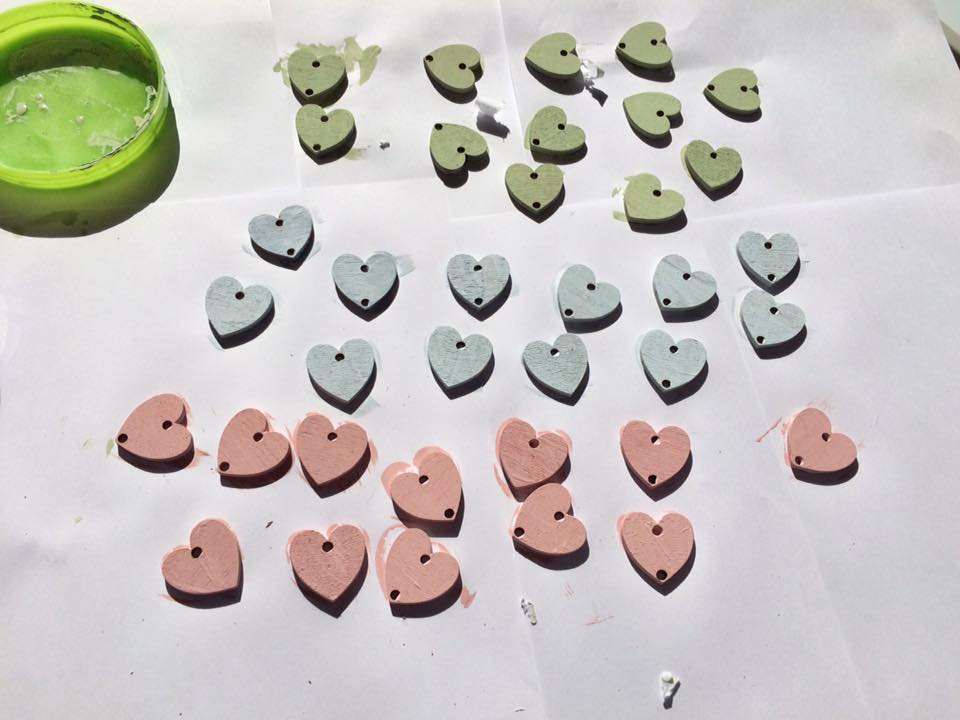
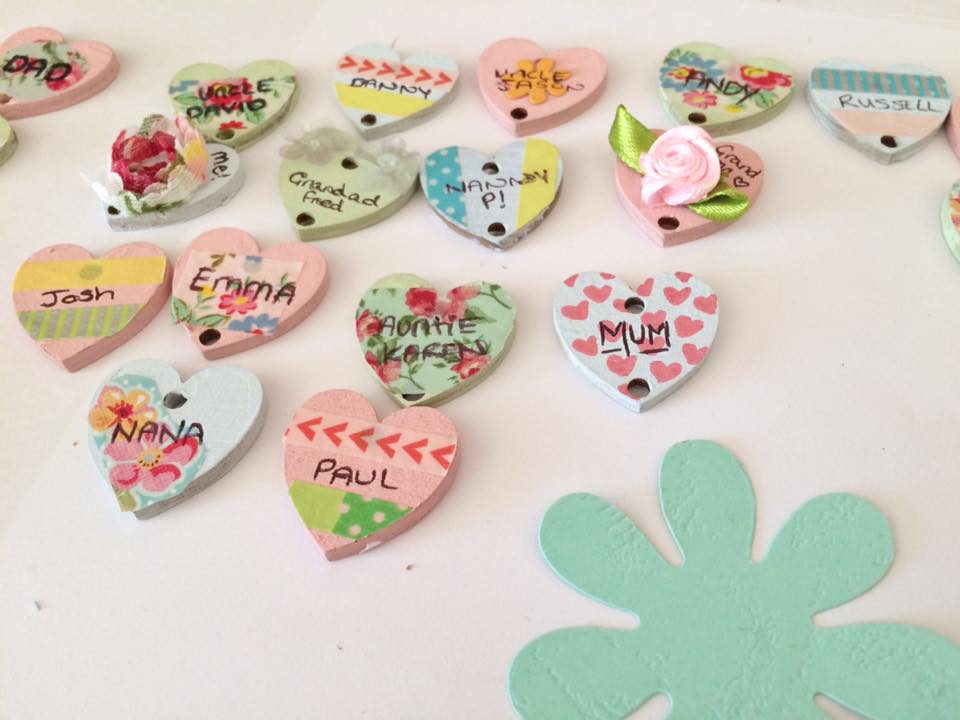
I started off by painting all of my pieces in three different pastel colours, gosh it got messy, and I LOVE messy!
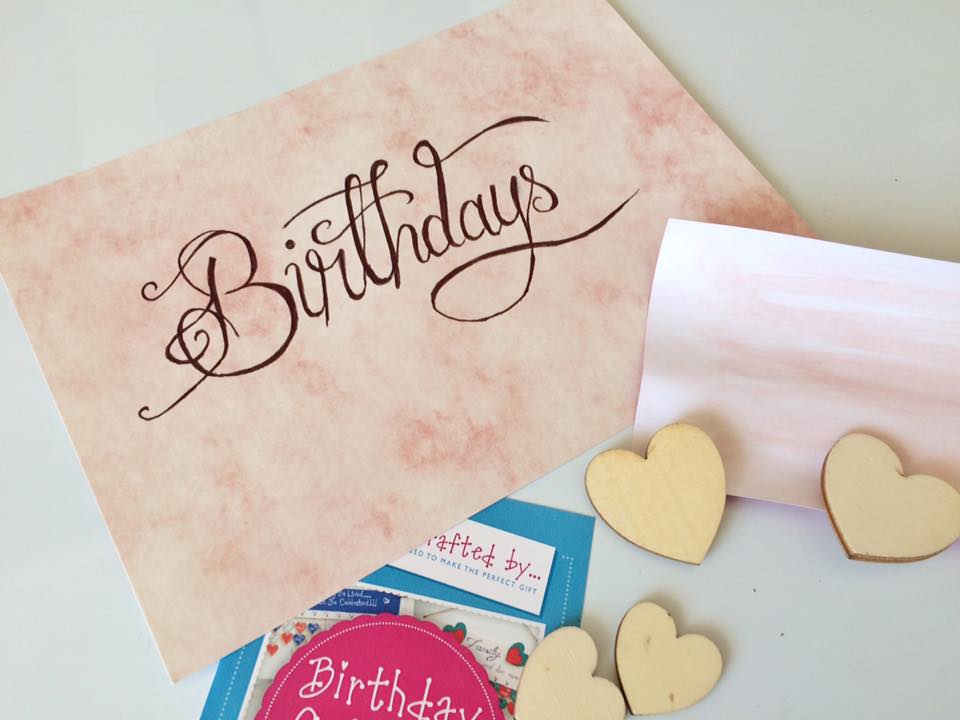
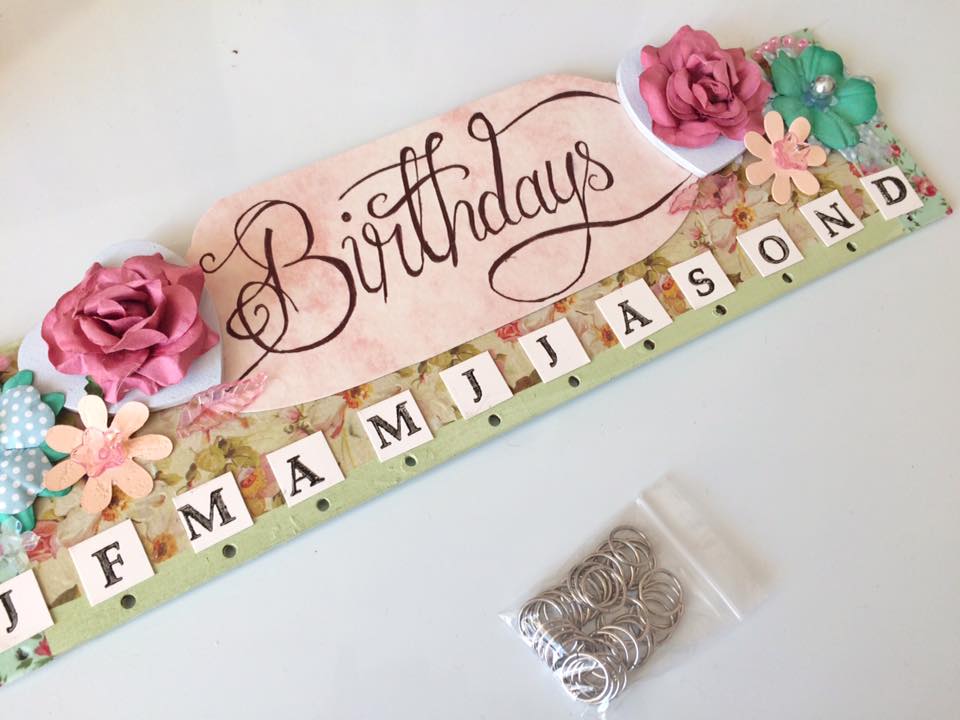
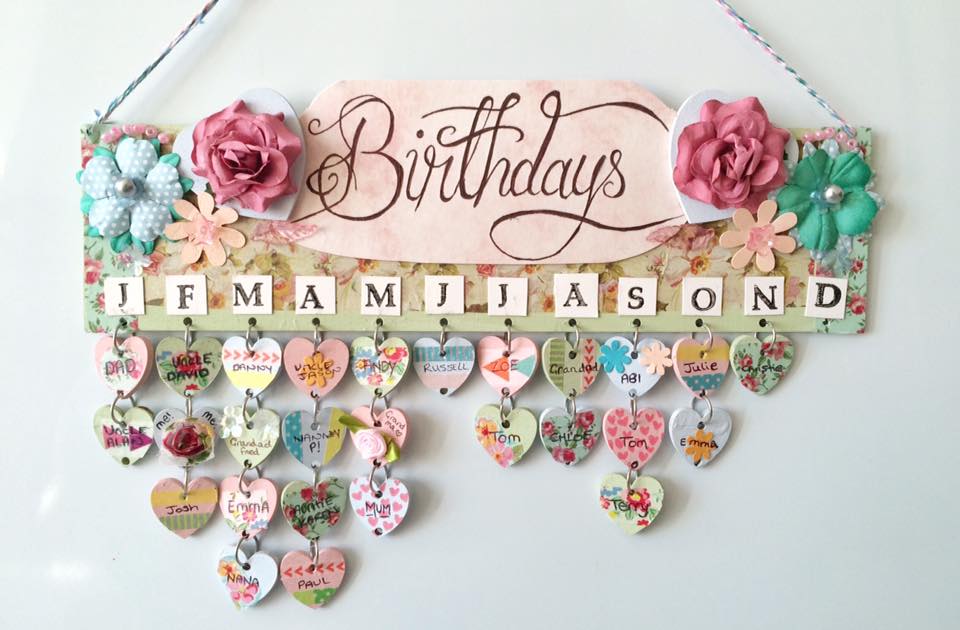
Whilst everything was drying off I started experimenting with the decoration for the wooden plaque. I decided I wanted a ‘Birthdays’ header written on it and put all of my calligraphy practise to the test…It took a few attempts but I was really happy with the final result!
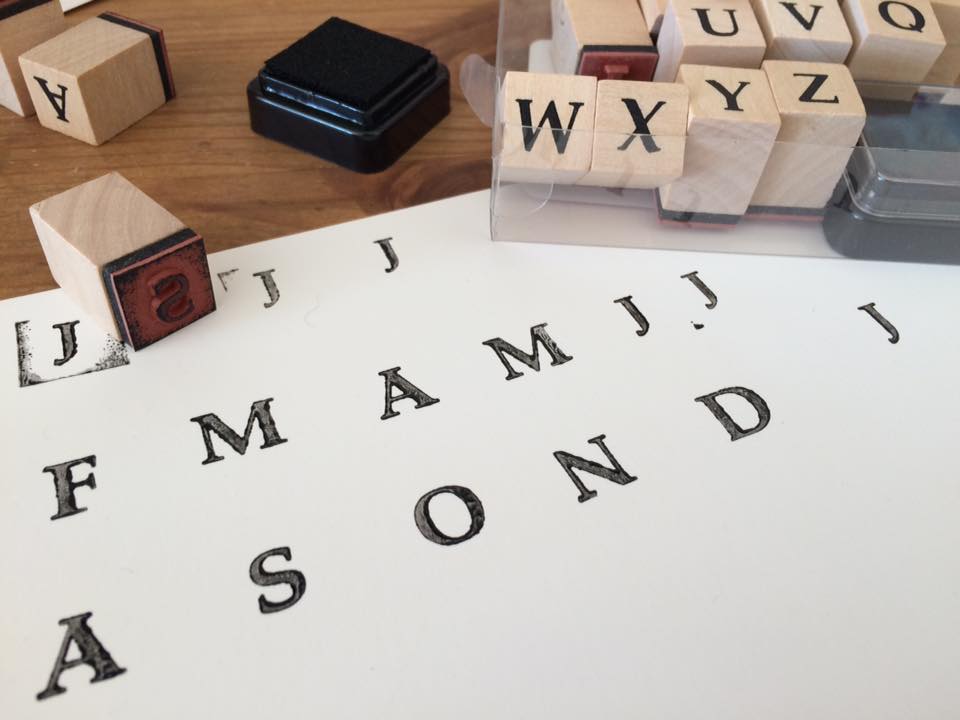
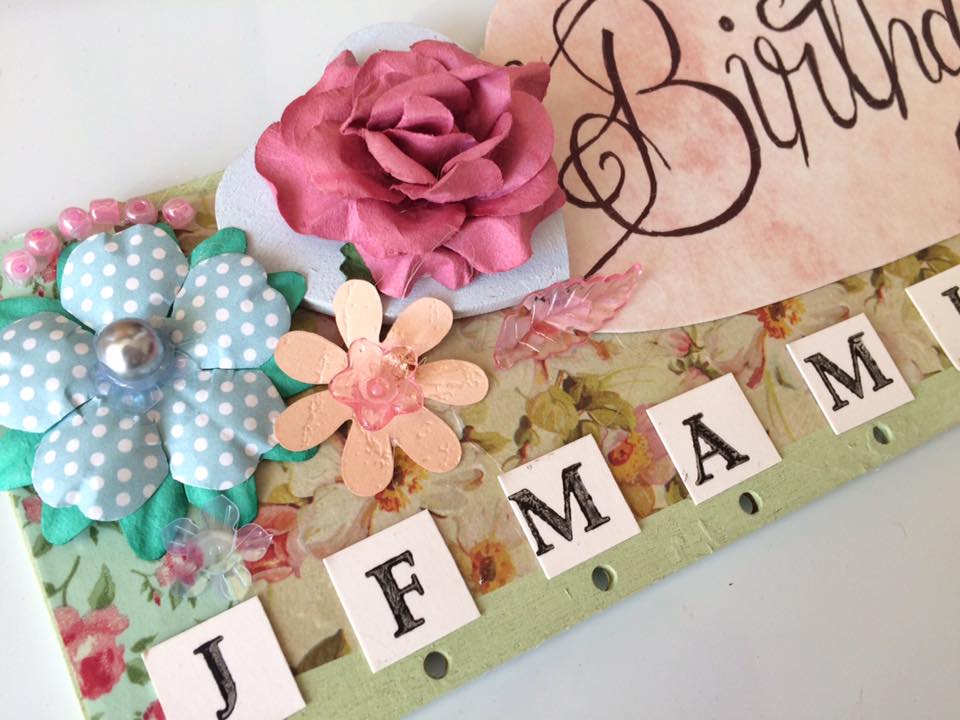
For the month headers I used a letter stamp on white card and cut them into squares then stuck down with some PVA glue.
I then used a selection of Deco Mache papers, washi tapes, paper flowers, sequins and beads to complete the floral look… any girls dream!
Once I was finished tittervating with all of my crafty supplies I began planning the layout for the calendar hearts. The most logical thing to do was to write down everyone’s name and birth date then position the hearts in order ready to decorate.
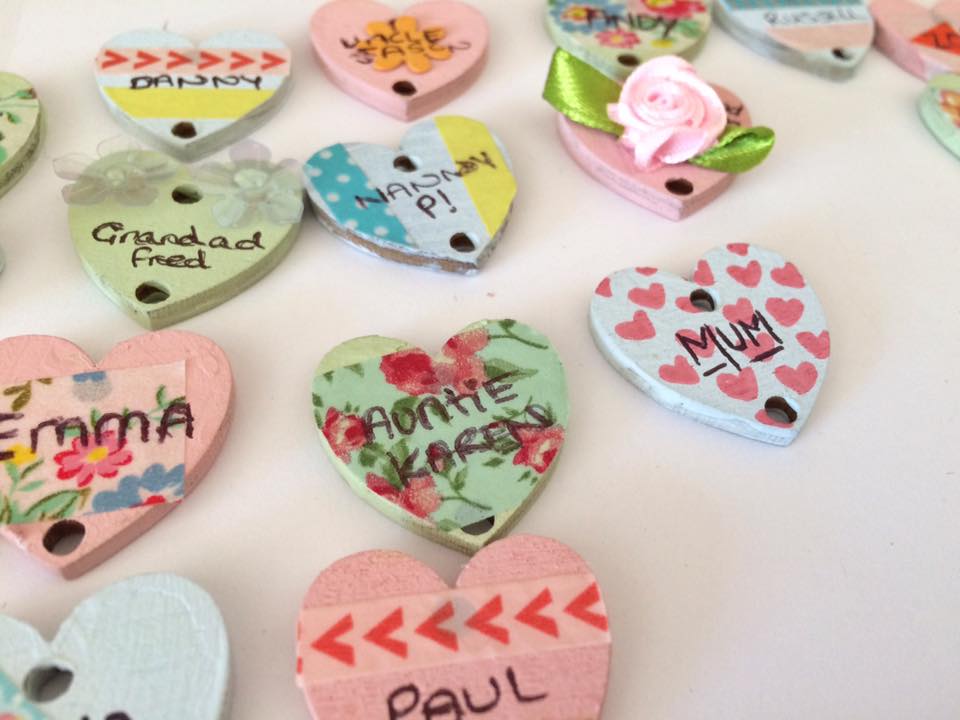
I wanted each heart to be quirky and different so I used a variety of different washi tapes, sequins and paper flowers to decorate them individually
As an extra reminder, I wrote the day of their birthdays on the back of the hearts… a handy tip from the friendly sellers!
It was then time to attach all of my hearts to the plaque, this got pretty fiddly!
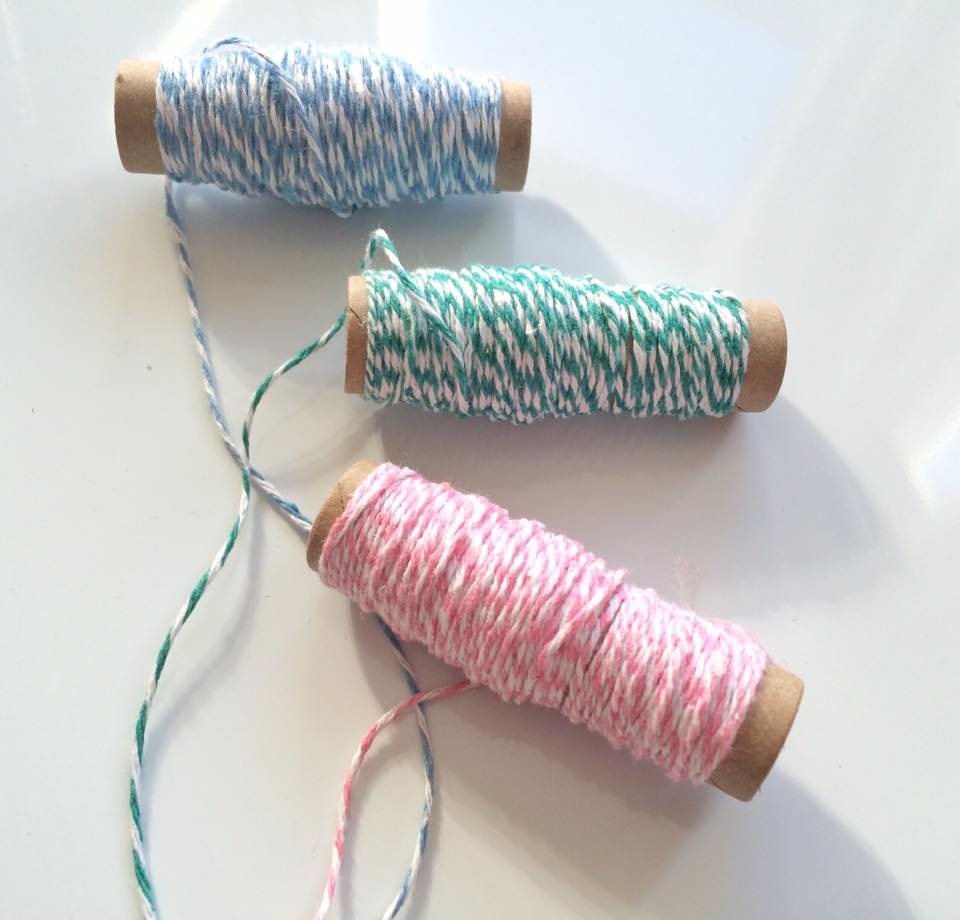
And finally, I attached three different colours of twine for it to hang on.
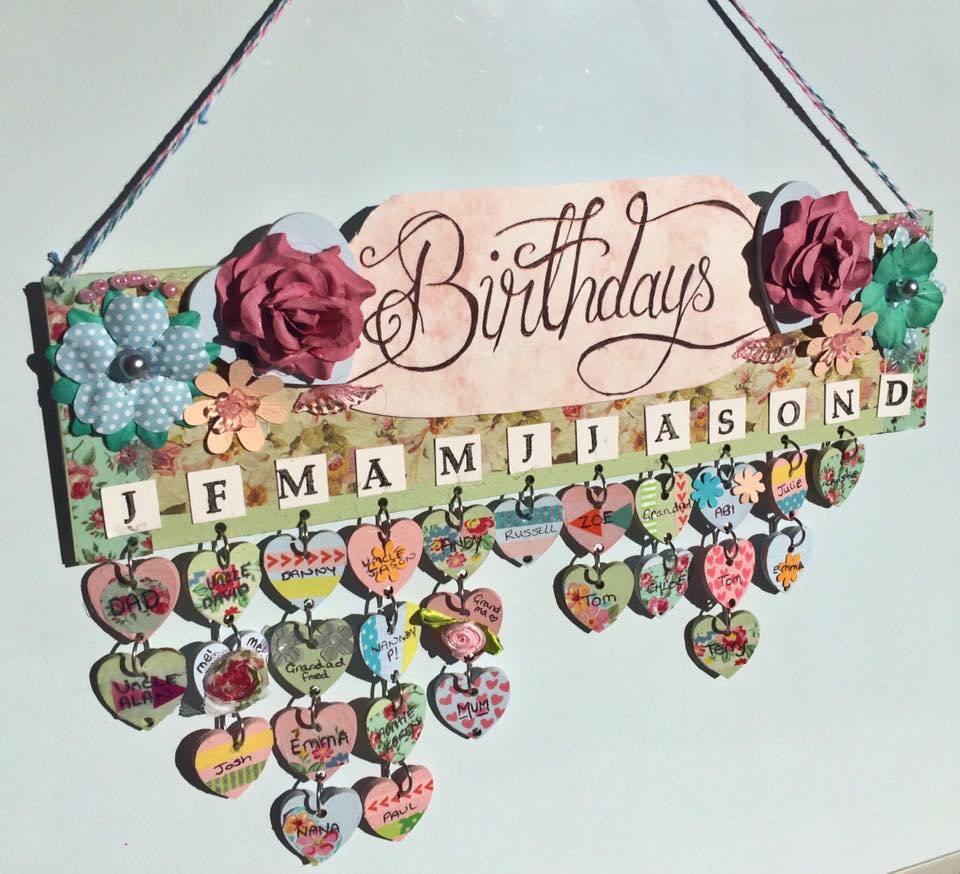
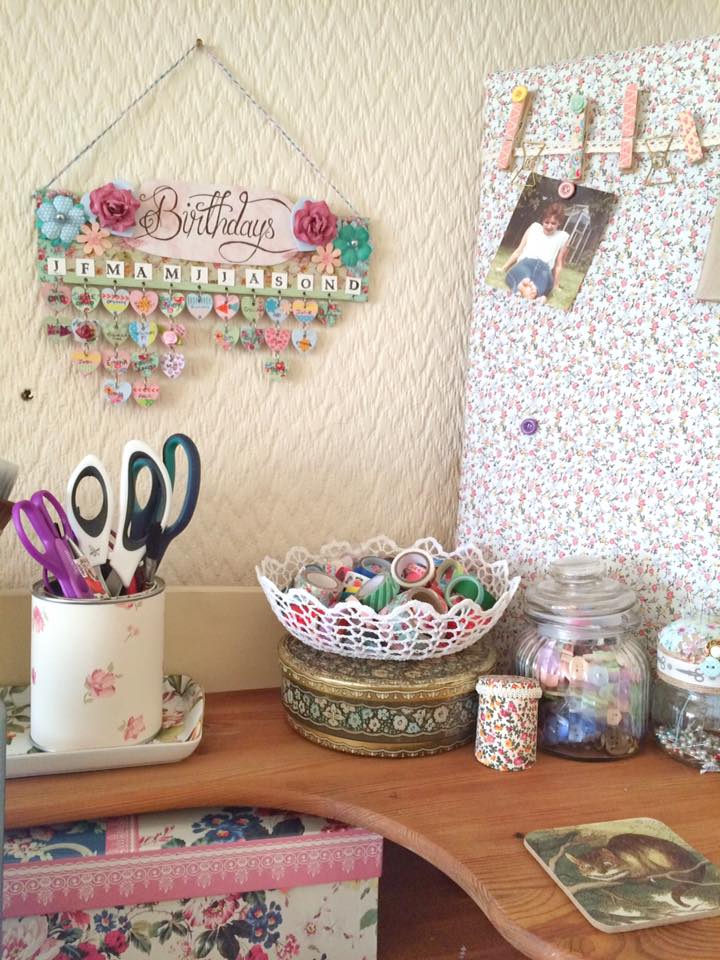
My masterpiece was complete!
It looks so pretty hanging above my desk!
Once again a happy Gem Gem, satisfied with my crafty fix!
