Bringing My Logo to Life


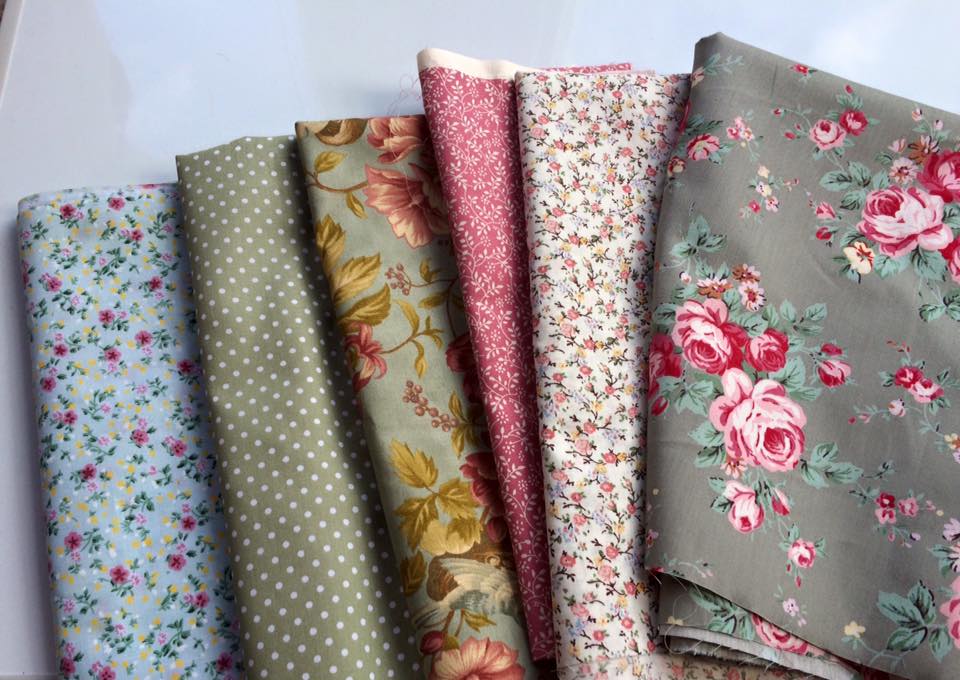
These beautiful six fabrics have been selected by myself after a fair amount of pondering and debating, to be the lucky fabrics used to create my own real life logo, these last two evenings have been an absolute blast seeing my logo slowly forming in to life!
My logo, in case you hadn’t already realized – duh – includes a six flag piece of bunting (Shown below).
I’ve wanted to make this piece for quite some time now as the intention is to use it to display at my future craft stall, either hanging from poles behind or on the front of the table from one end to the other I can’t decide…maybe I’ll have to make another one so I can do both!
As you can probably imagine, choosing the fabrics was a tough decision, venturing to three different fabric shops with hundreds of choices – Boooo I was only allowed to choose six!
But lo and behold, after an hour or two passed by with a decisive tea break in between, the final contenders were chosen! The template for this bunting is quite obviously larger than the average bunting flag as this is for display use, but keep reading below for top tips on how to make your bunting!
I started off by cutting out my fabric pieces, two pieces for each flag as I wanted my bunting to be double sided. I allowed a 2 cm edge around the whole triangular flag to allow some space for sewing.
I then laid my first triangle front faced up, then the second triangle front faced down and pinned them together in position, so that when I had sewn along the 2 lower edges I could turn it inside out with the fabric turning back the correct way… and hey…super neat edges!
Time flew by last night! And one flag turned in to the next …
Before turning the flags back outwards, I trimmed all of the excess fabric near to the seams so that when it was turned inside out the seams would be easier to press down with the iron.
Before I knew it, it was dark outside and nearly 11:30pm…
…It was definitely time for bed now!
After all of my flags had been created and pressed down as flat and neatly as possible with the iron, it was then time to start piecing it all together!
Using wide bunting tape and pins, I positioned the flags and secured them ready for the final bit of sewing.
Once I had sewn over each pin I removed it to avoid any serious stabbing injuries!
After my flags were attached I created loops at either end of the bunting for it to hang from, and secured it with a few backwards and forwards motions from the sewing machine…
And now my Logo finally exists in the real world! Chuffed!


