DIY Placemat Summer Tassel Bag

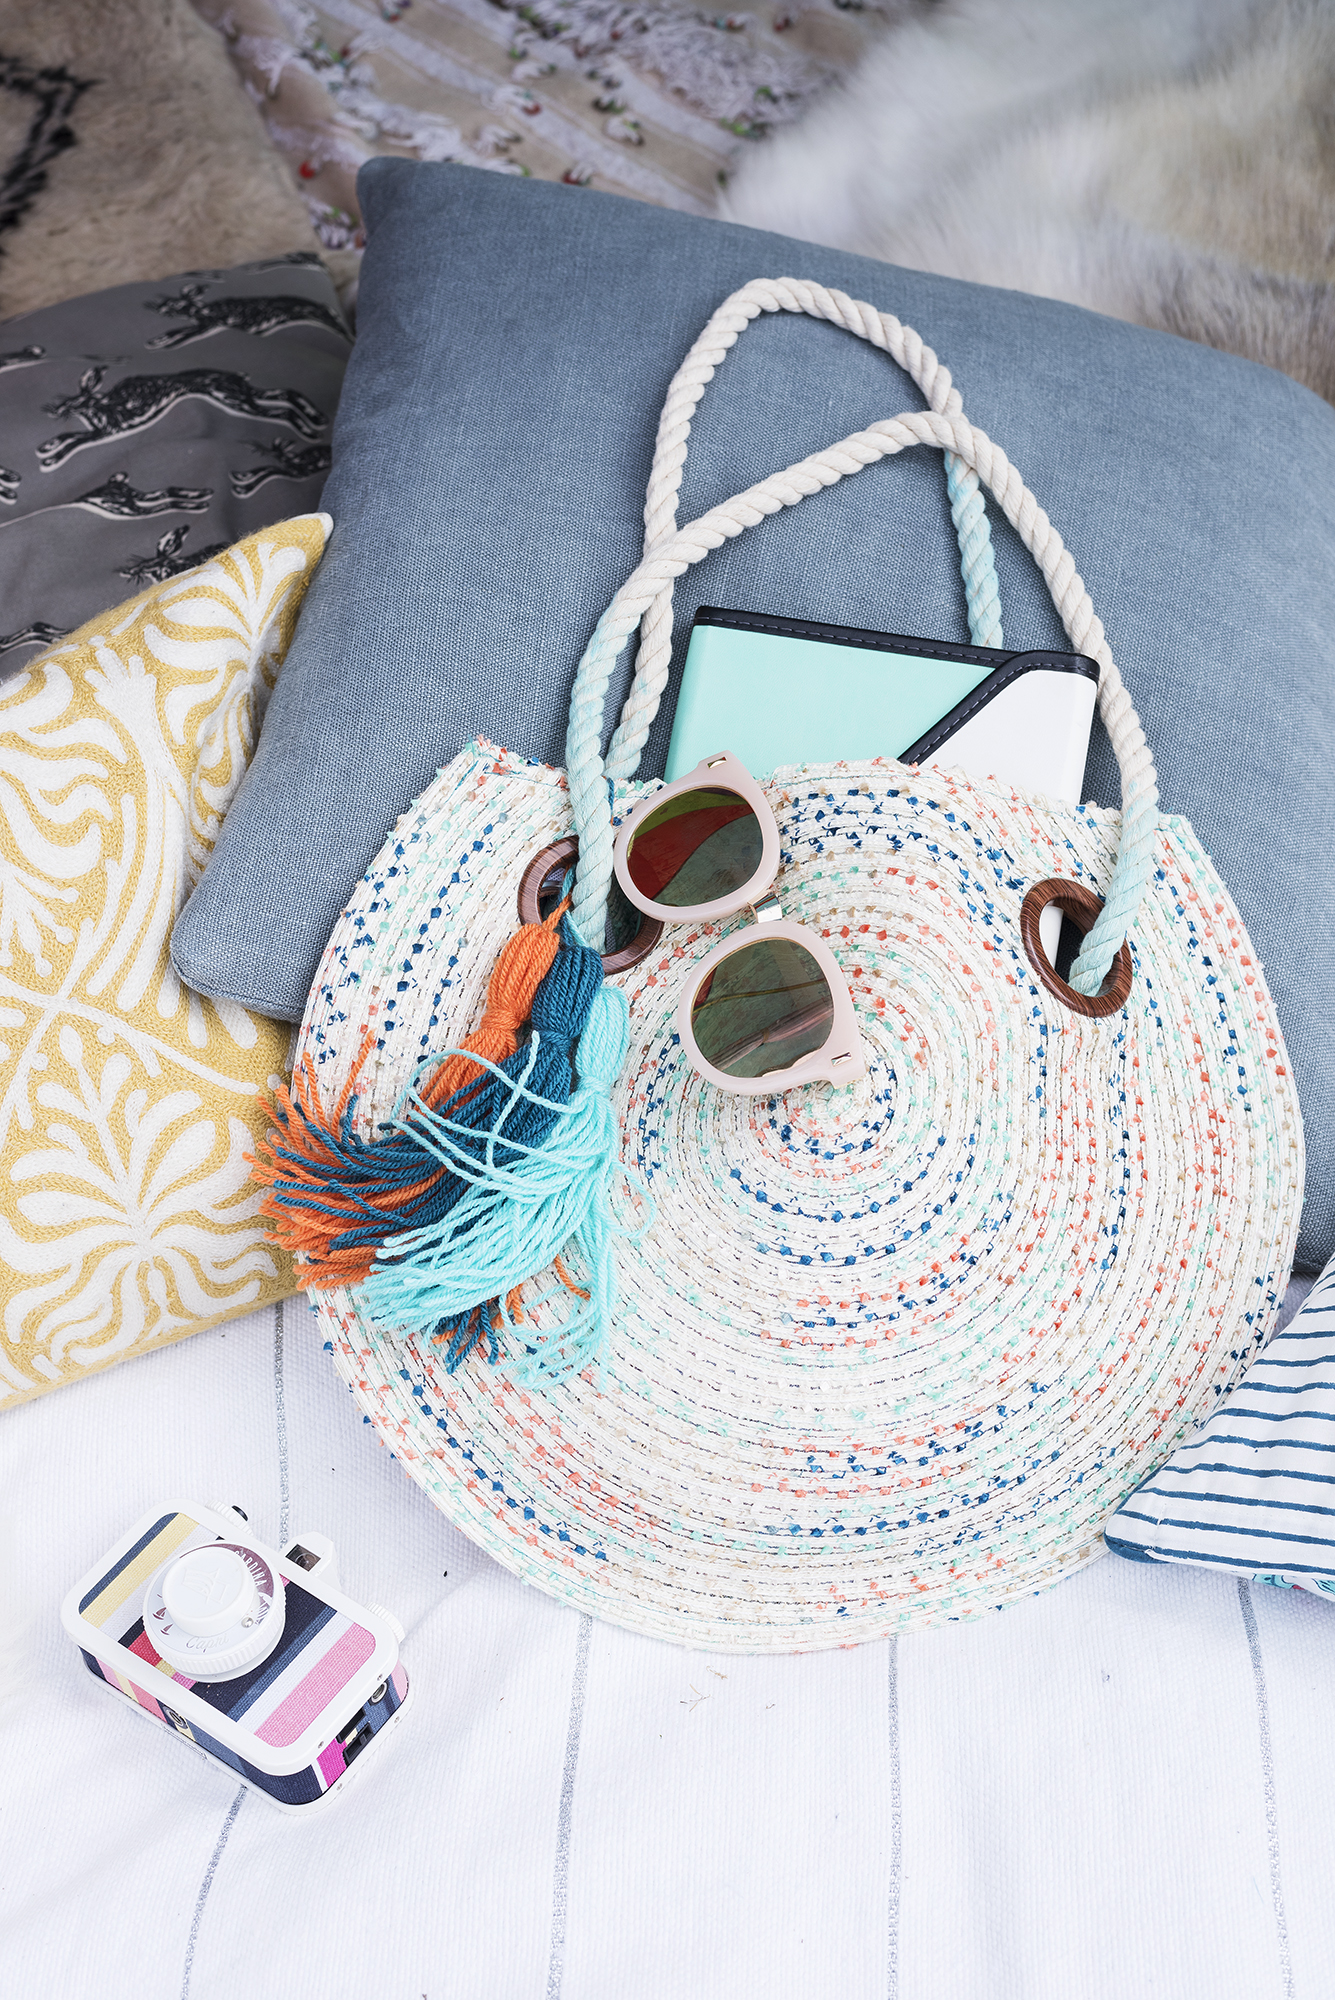
Summer is officially in full bloom and I am LOVING it. The days feel longer, the weather is (sometimes) warmer, and everyone seems more jolly. I’ve been on some fantastic summer shoots so far this year and I must say, it’s delightful getting home at 8:30 in the evening with some daylight still in the sky. Anyhoo, I’ve been dying to share this simple, fun and creative summer DIY with you, and I know y’all just gonna love it! I found inspiration from none other than TkMaxx (Yeahp, my second home at the moment).
So, here’s how it went down… I was browsing through the store and eye-ogling over all the lovely summer bags made from wicker and tied up with rope, you know the ones I mean? Some of them painted, some of them ombre’d, and some of them decorated with embellishments and pom poms. I absolutely just want them all! I headed upstairs to ponder in the home area (I was looking for bathroom props for a shoot), and as I walked through the kitchen area I spotted a set of 2, round, boucle placemats which resembled a very similar material to the summer bags I had just seen downstairs. Well, blow me down. That’s a craft!
So, here’s my nifty how-to guide on how to make yourself one of these summer shoulder cuties for no more than £12 (a lot cheaper than the branded ones!)
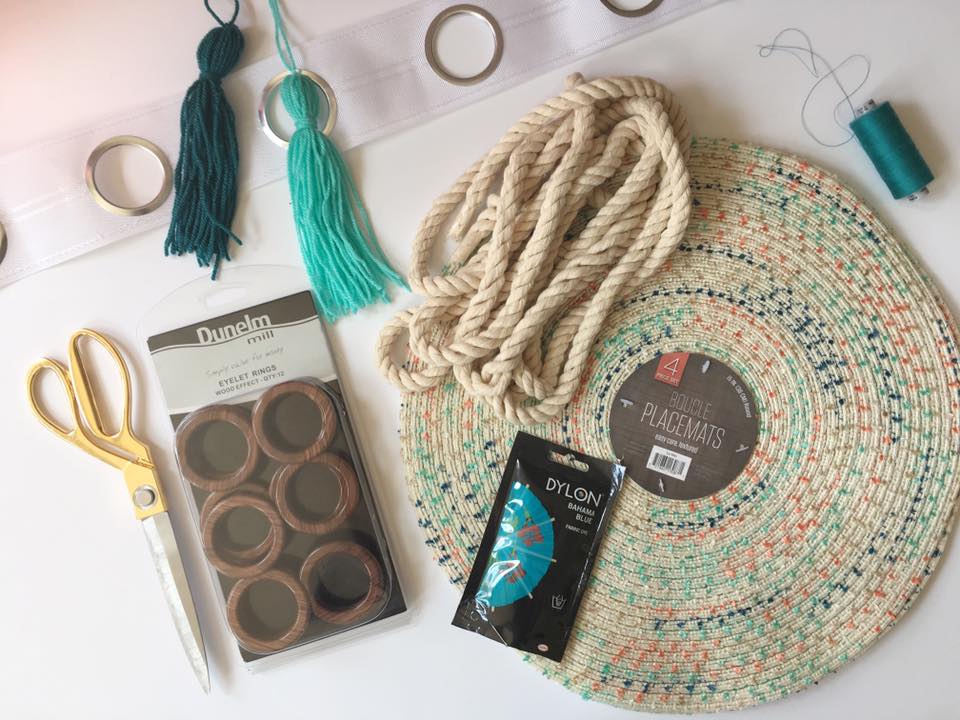
For this craft you will need:
- One set of 2 boucle placemats (found in various home department stores, including TkMaxx, duhh)
- 4 X Eyelet rings – Purchased from Dunelm Mill
- Eyelet curtain tape – again, Dunelm Mill
- Fabric Dye – Dylon (available from haberdashery stores, Dunelm Mill or online)
- 4 Metres of thick rope/chord
- Sewing machine, or a needle & thread along with some patience
- Tassels (see my how-to here!)
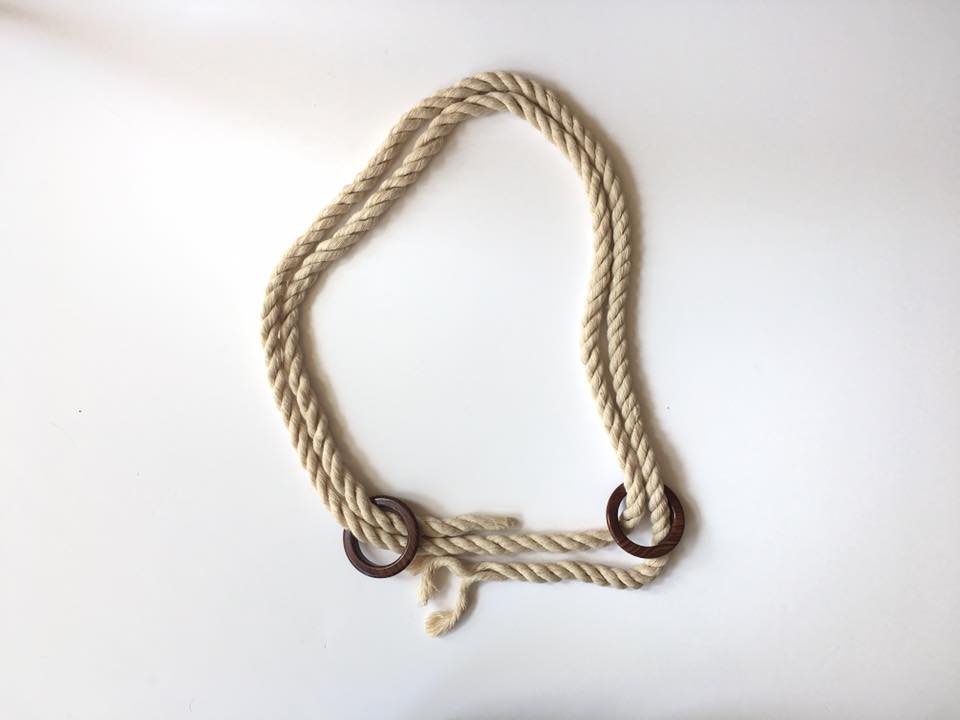
Begin by guiding your rope through the eyelets to give you an inkling on where it will all be positioned.
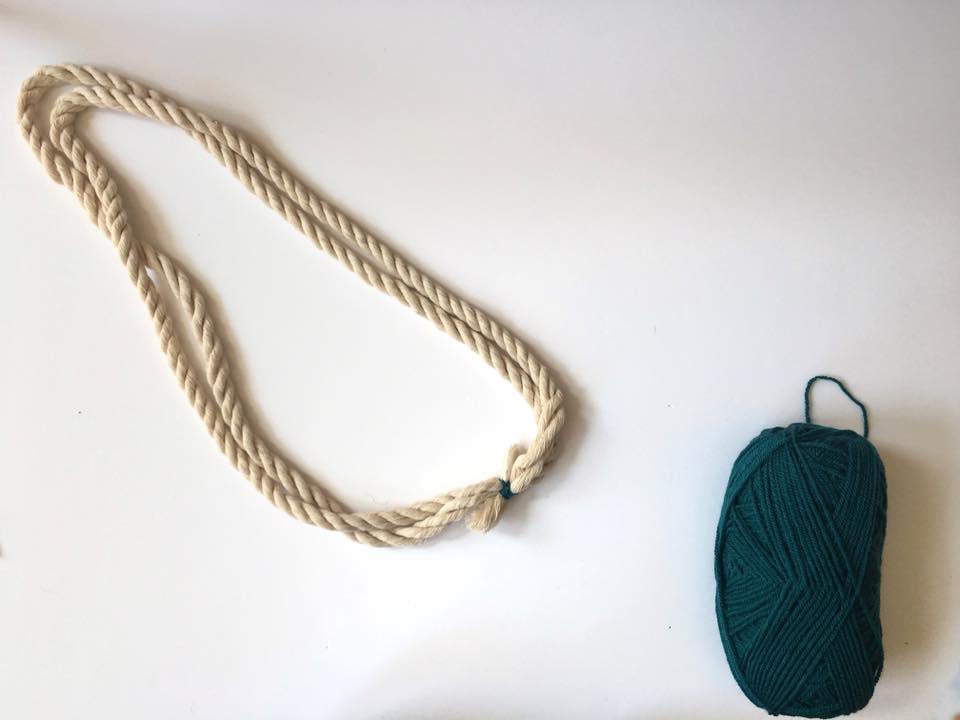
Then, remove the eyelets and hold the rope together by tying some wool/string around it.
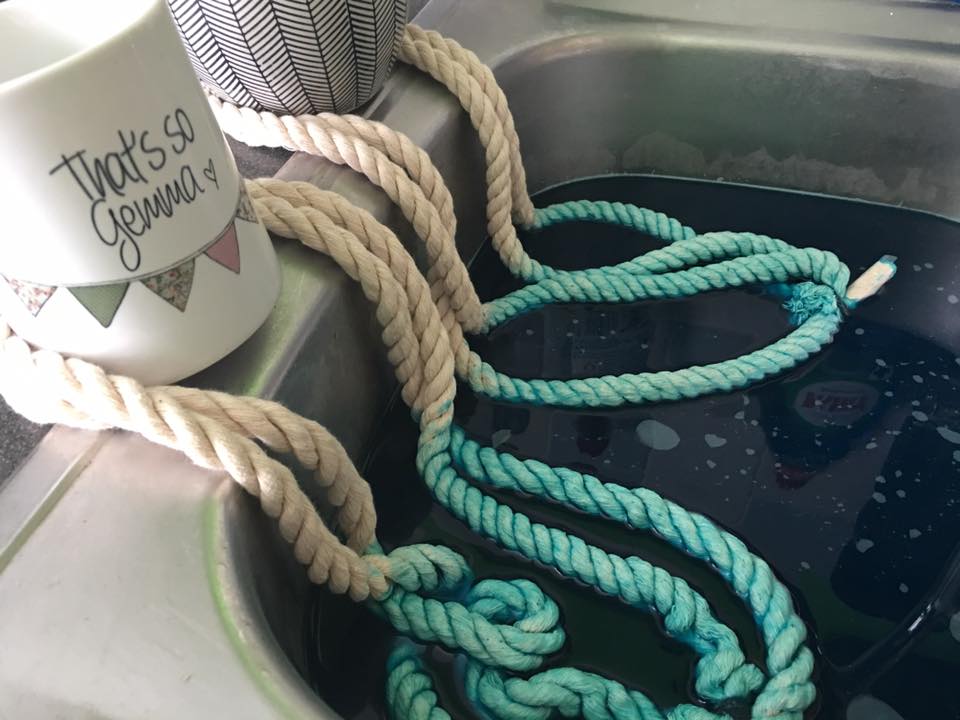
Follow the instructions on the back of your fabric dye packet, and fill your kitchen sink with the required amount of water for the sachet. For an ombre look, dip half of the rope lengths in to the water. Alternatively sink all of the rope in to a fabric dye for an even colour all over. Leave for 1 hour.
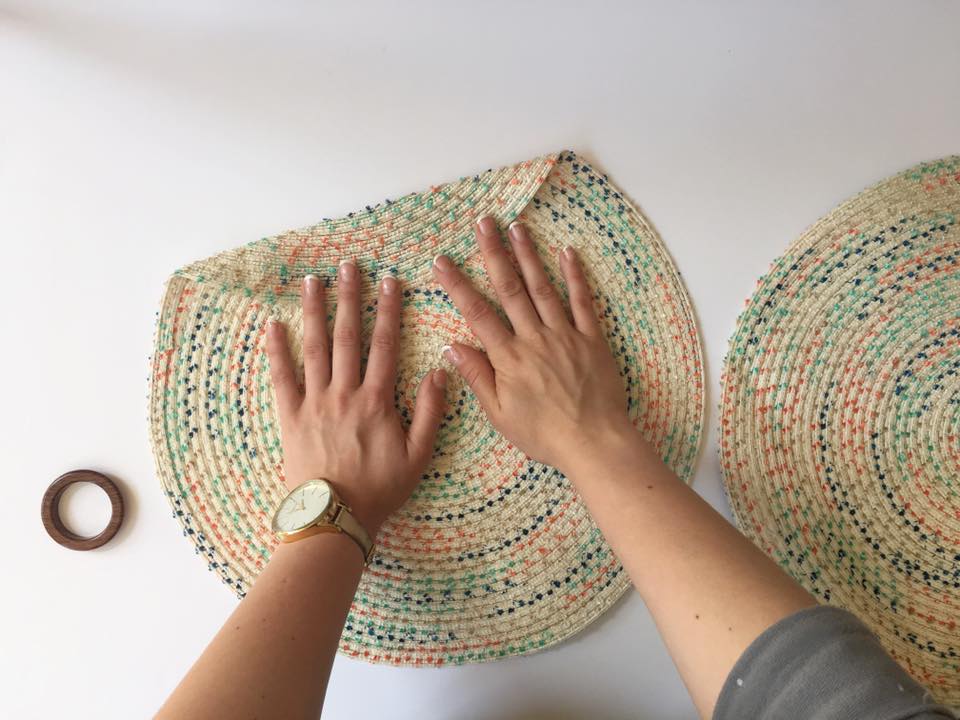
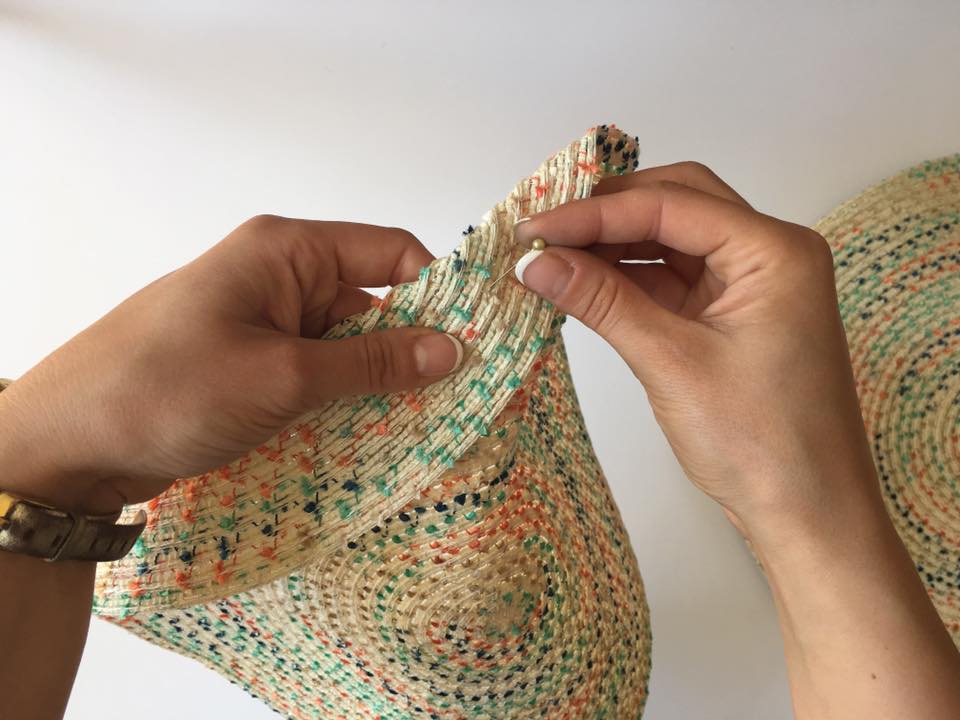
To make the bag, begin by folding an edge on both of your placemats as a guide for where the opening will be. Depending on the material, the fold should keep well. If necessary, use pins to hold in place.
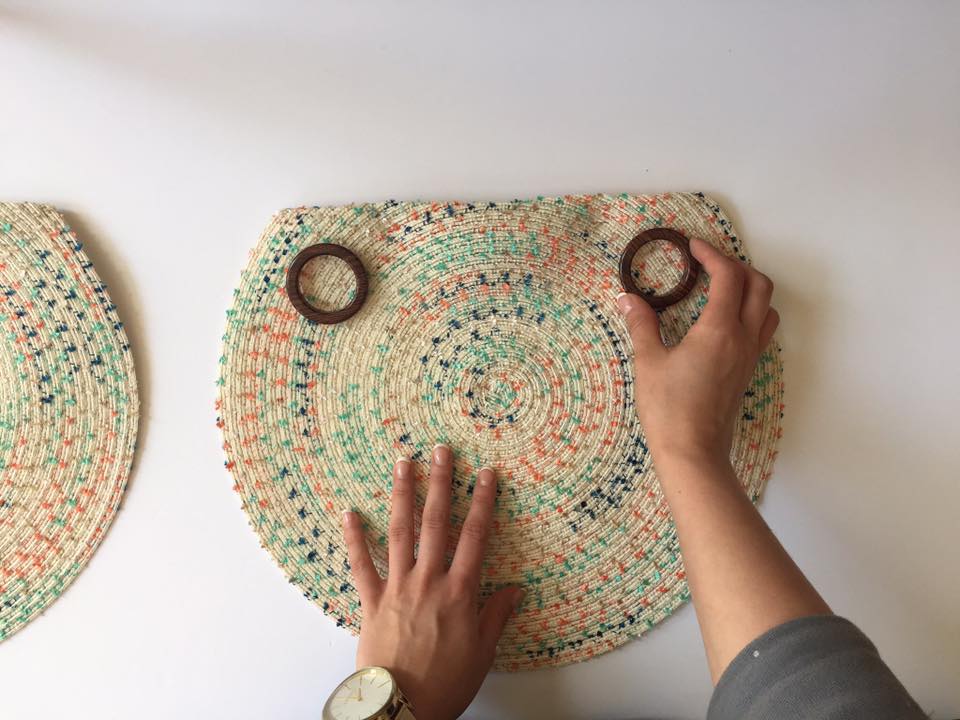
Position the eyelets about 4cm below, then lay them out where you would like the holes to be in place.
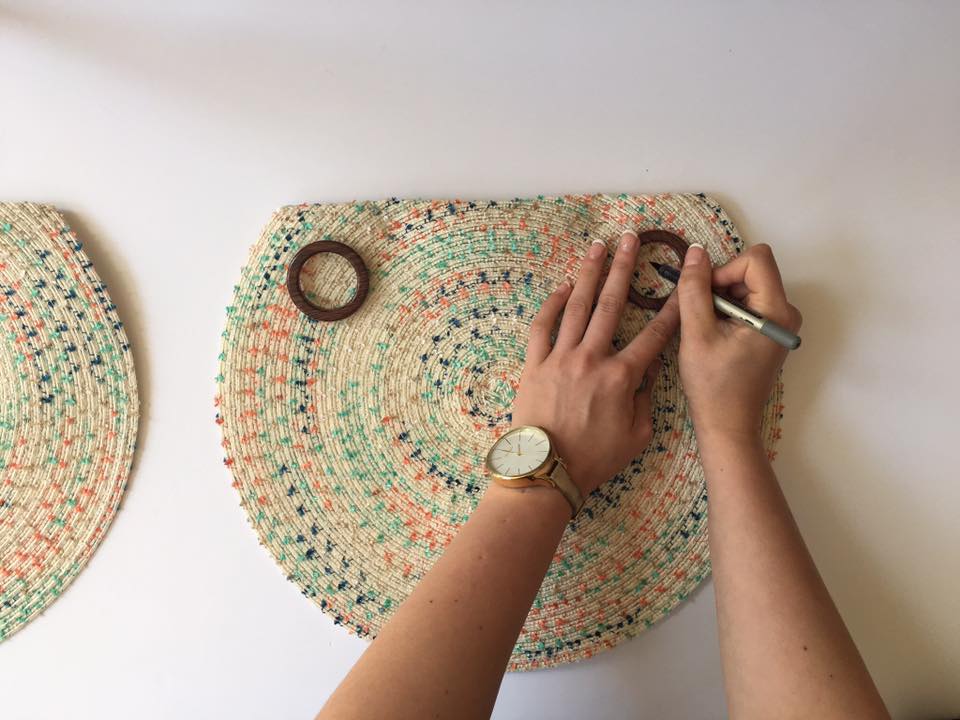
Use a pen to draw an outline on the inside of the eyelet, so that you know which area will need to be cut through. Don’t worry the pen will never be seen!
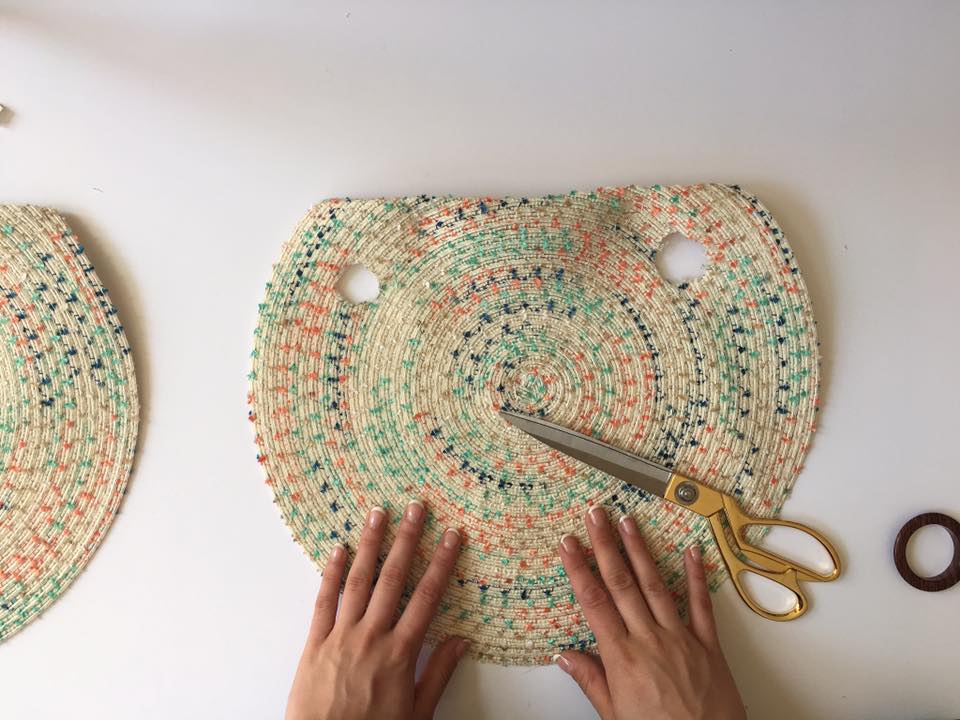
Cut circles approximately 2cm smaller than the actual eyelet ring. Keep referring back to the ring for a guess-timation on how much more you may need to snip.
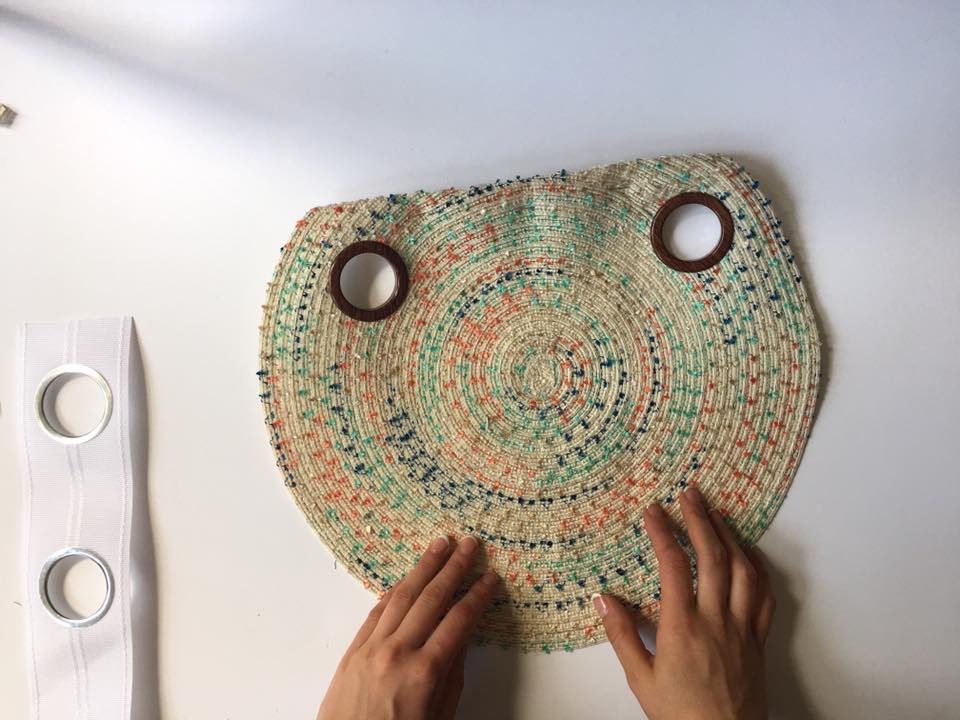
Insert the front facing side of the eyelet in to the holes and prep the eyelet tape.
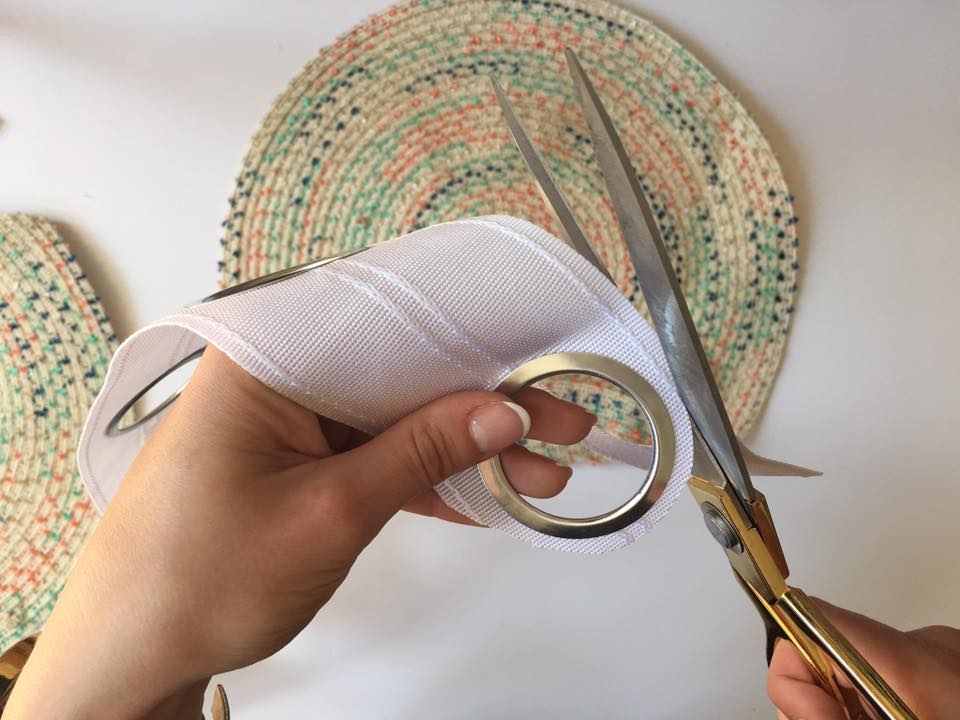
You’ll only be needing the metal ring to fix the eyelet in place, so carefully cut around it to detach it from the tape.
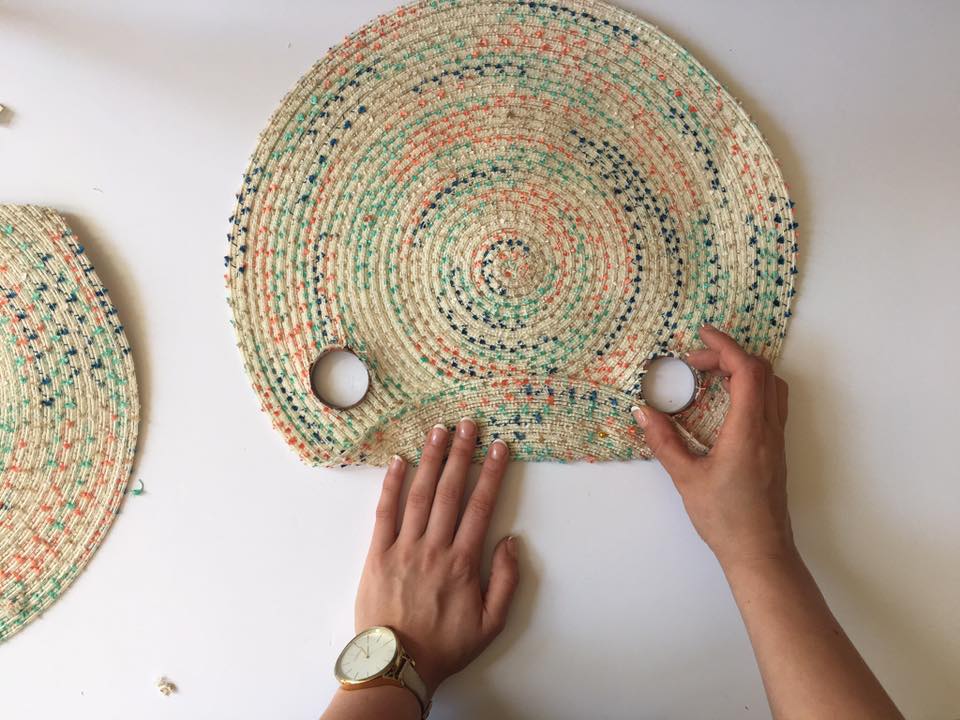
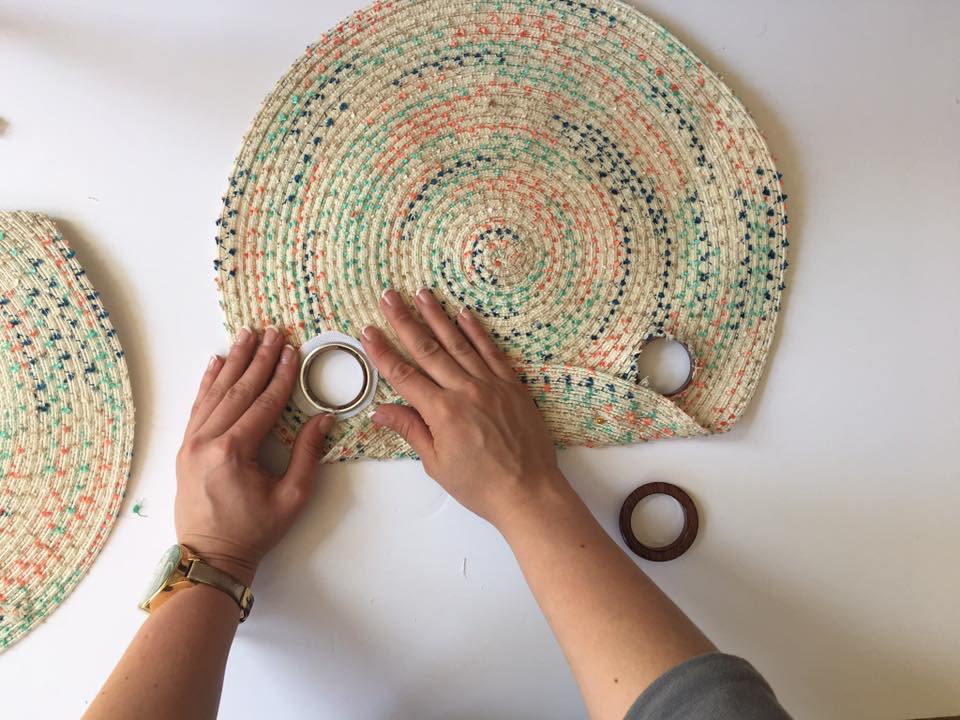
Turn your placemat over and pop the metal ring on top of the eyelet – this may require a lot of pressure! The ring and eyelet should click in together to secure the fabric between the hole. You will need to repeat this process twice, for both sides of the bag.
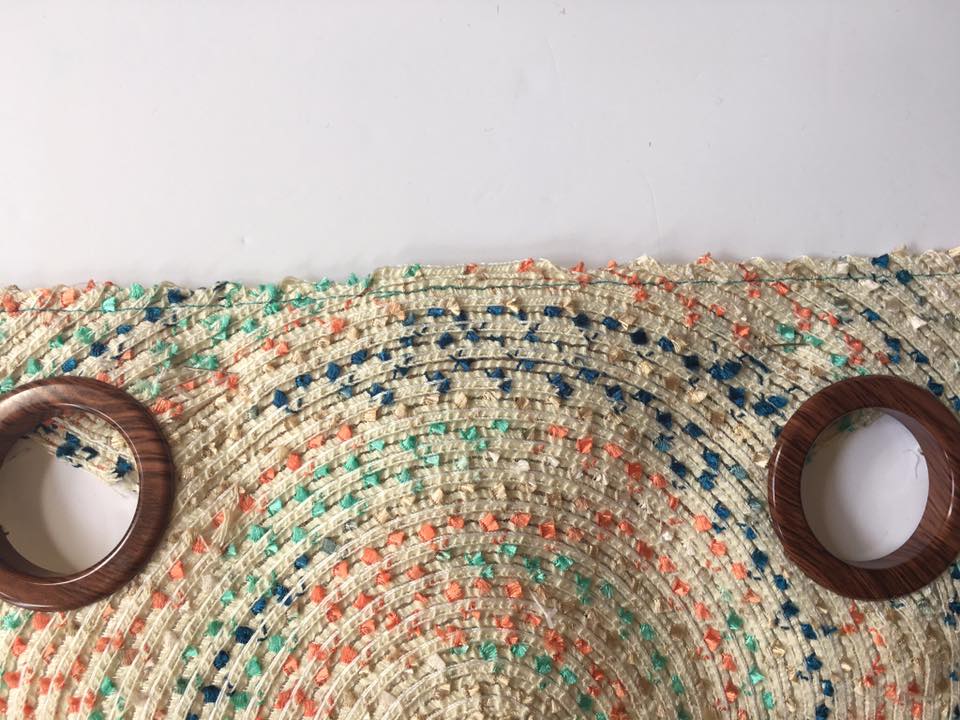
Use a sewing machine to sew a straight line along the top folds of the bag. This will secure the opening.
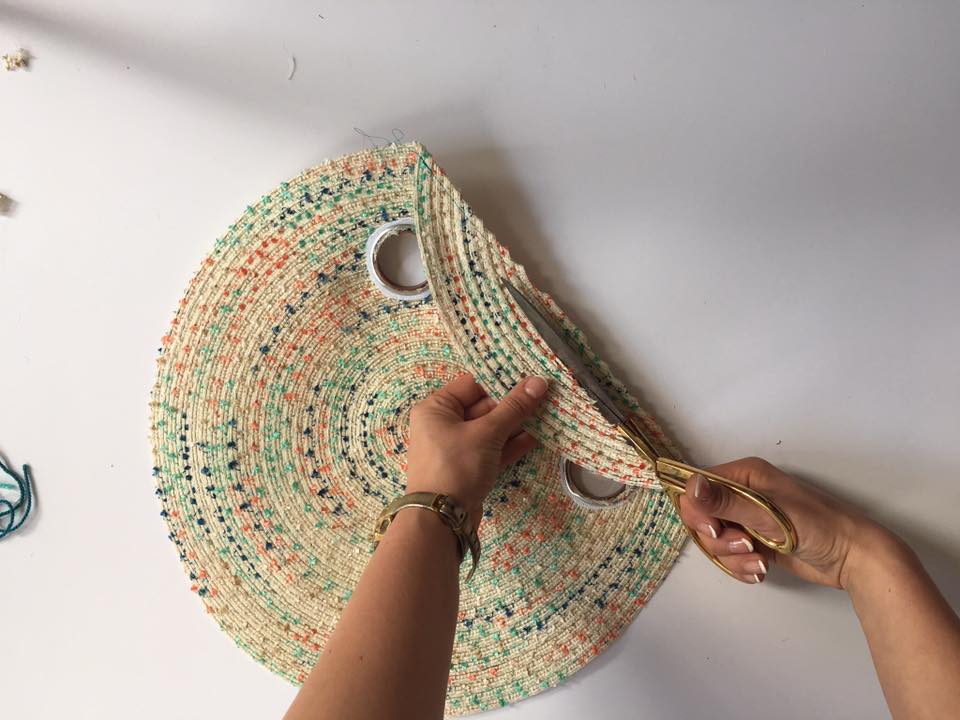
Then, cut off the excess placemat material so that it’s neat and tidy.
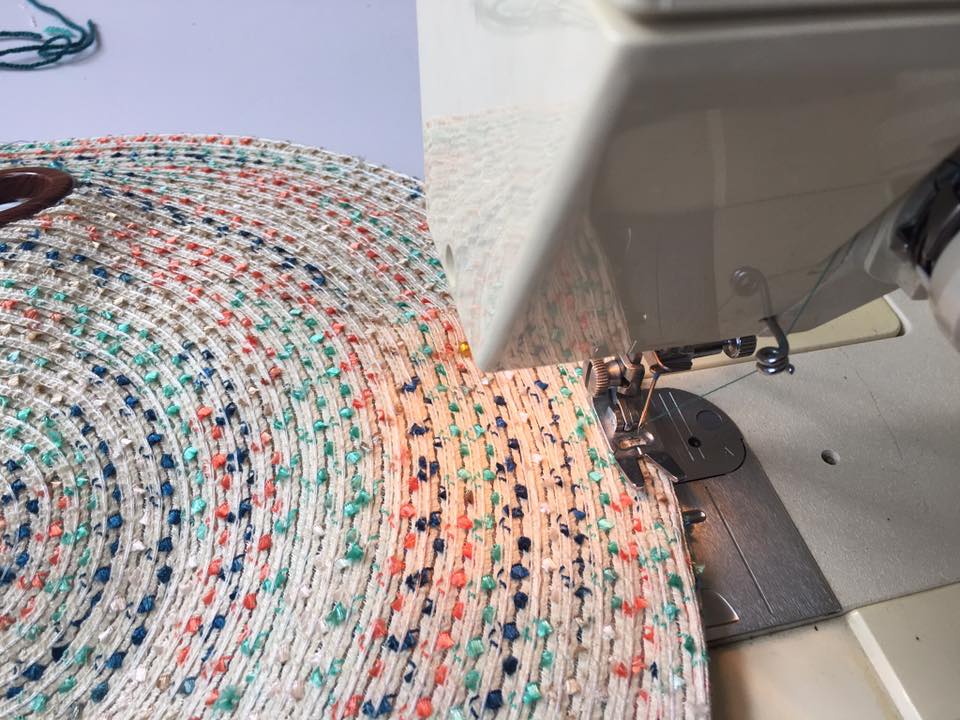
Pin your placemats together, then sew all around the edges with a sewing machine.
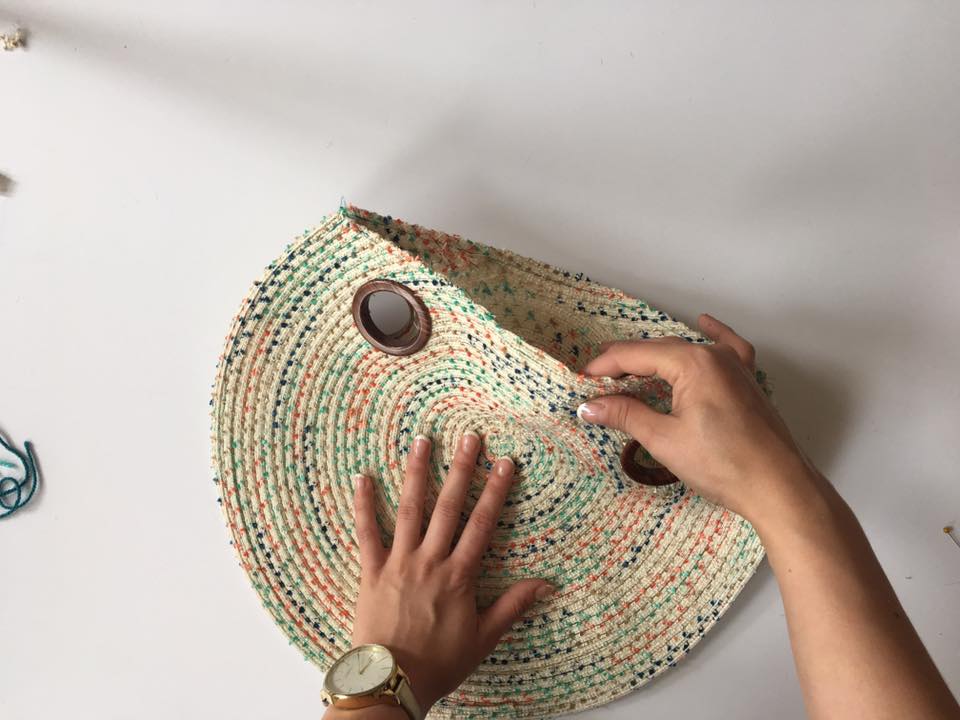
You can now see the bag formation coming together!

Once your dip-dyed rope has been sat for an hour, then washed and left to dry off completely, start threading it through the eyelets to make the handles for your bag.

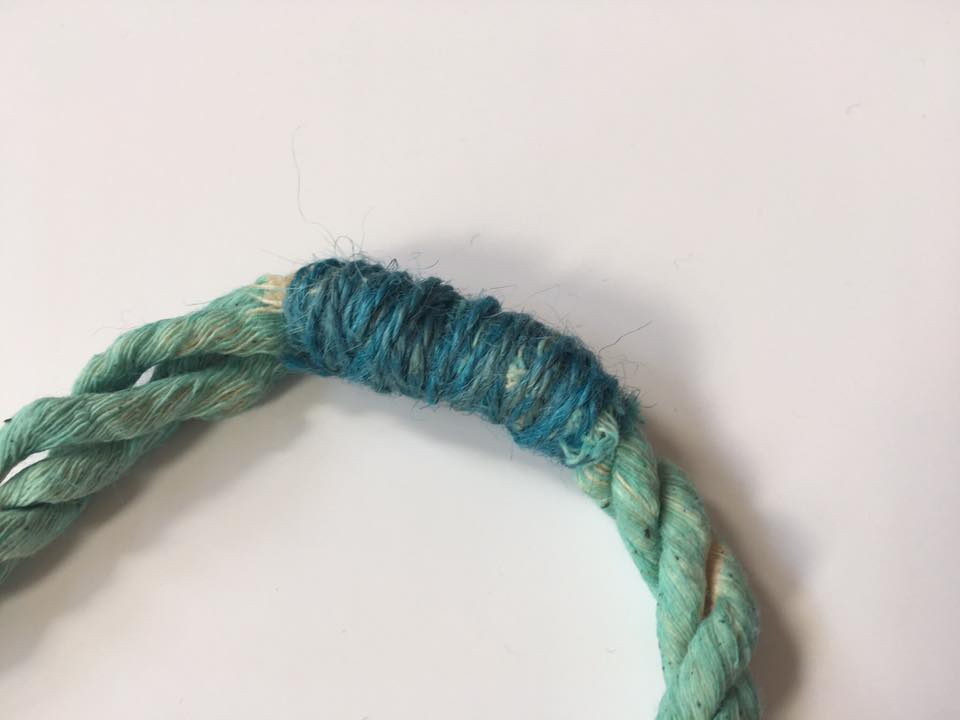
Once in position, wrap strong twine around the meeting ends of the rope and tie in a double knot to keep your handles secure.
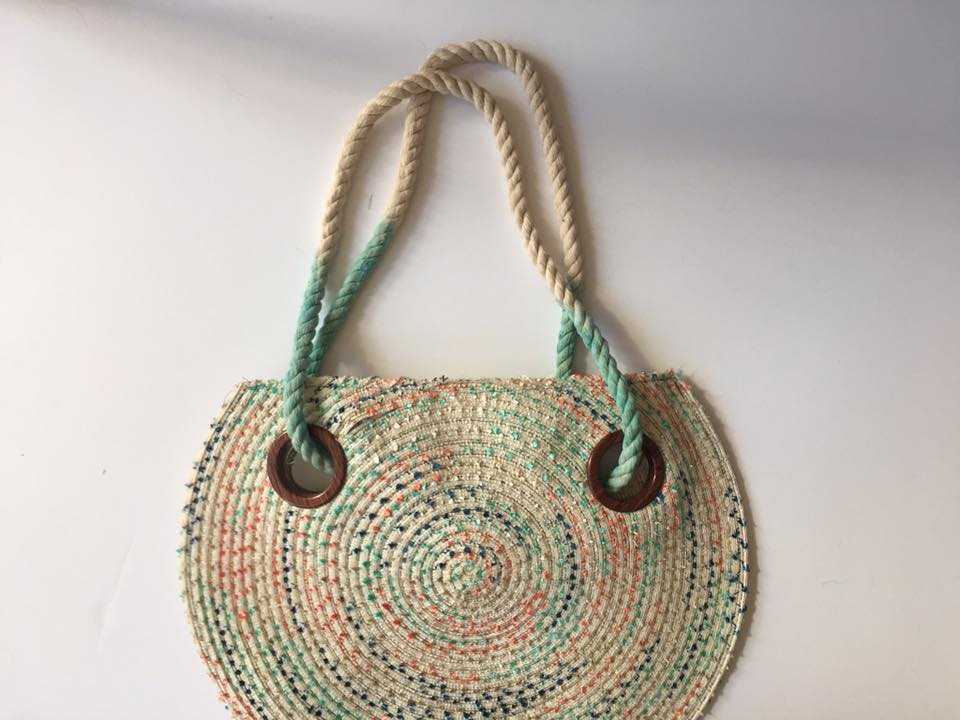
It’s now time to add some tassels! 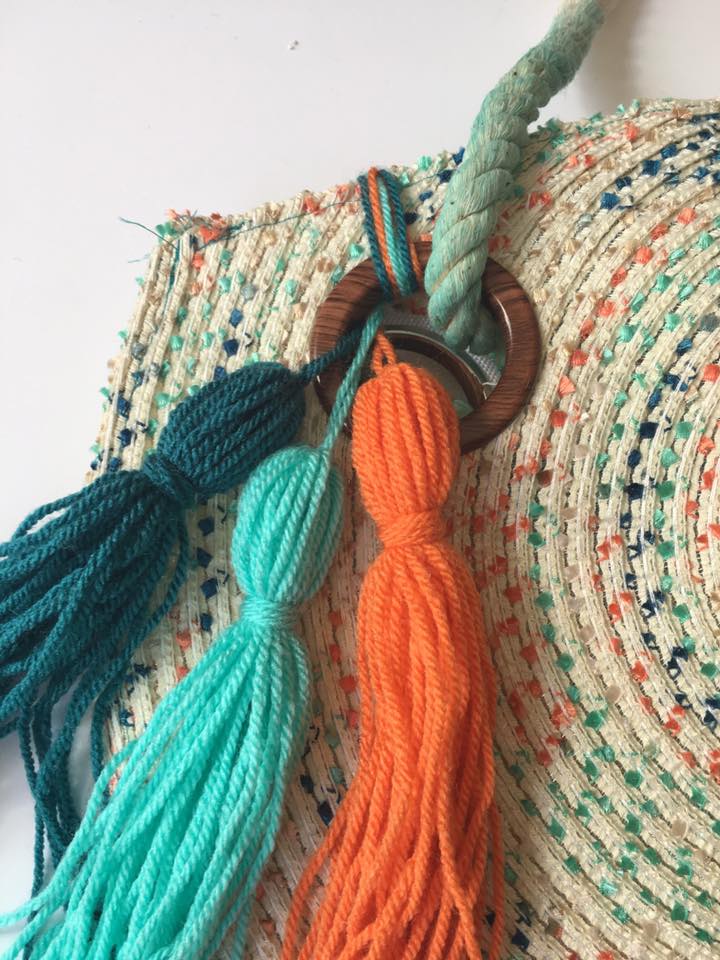
You can find my DIY tassel tutorial right here and learn how to make these colourful cuties. Thread through the eyelet of your bag so that they hang nicely on the side.
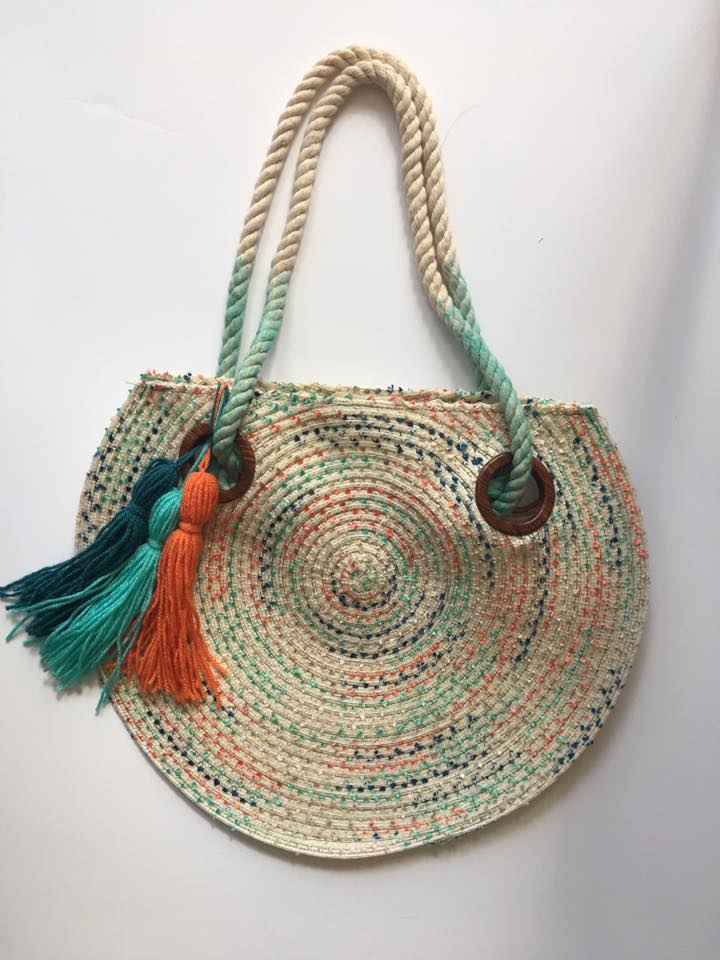
And there we have it! One summer stylish, cost-effective, handmade shoulder bag that’ll be sure to grab some attention. It’s perfect for a summer stroll or visit to the beach.

Come on ladies, get those crafty hands at the ready because we all know you can never have too many bags!
Send me your summer style snaps with your new creations to
gemma@thatssogemma.com
Enjoy!

Disclaimer: Feature image taken by the talented Fanny Beckman
Concept, tutorial and step-by-step images all curated by me.


