DIY Rainbow Wreath


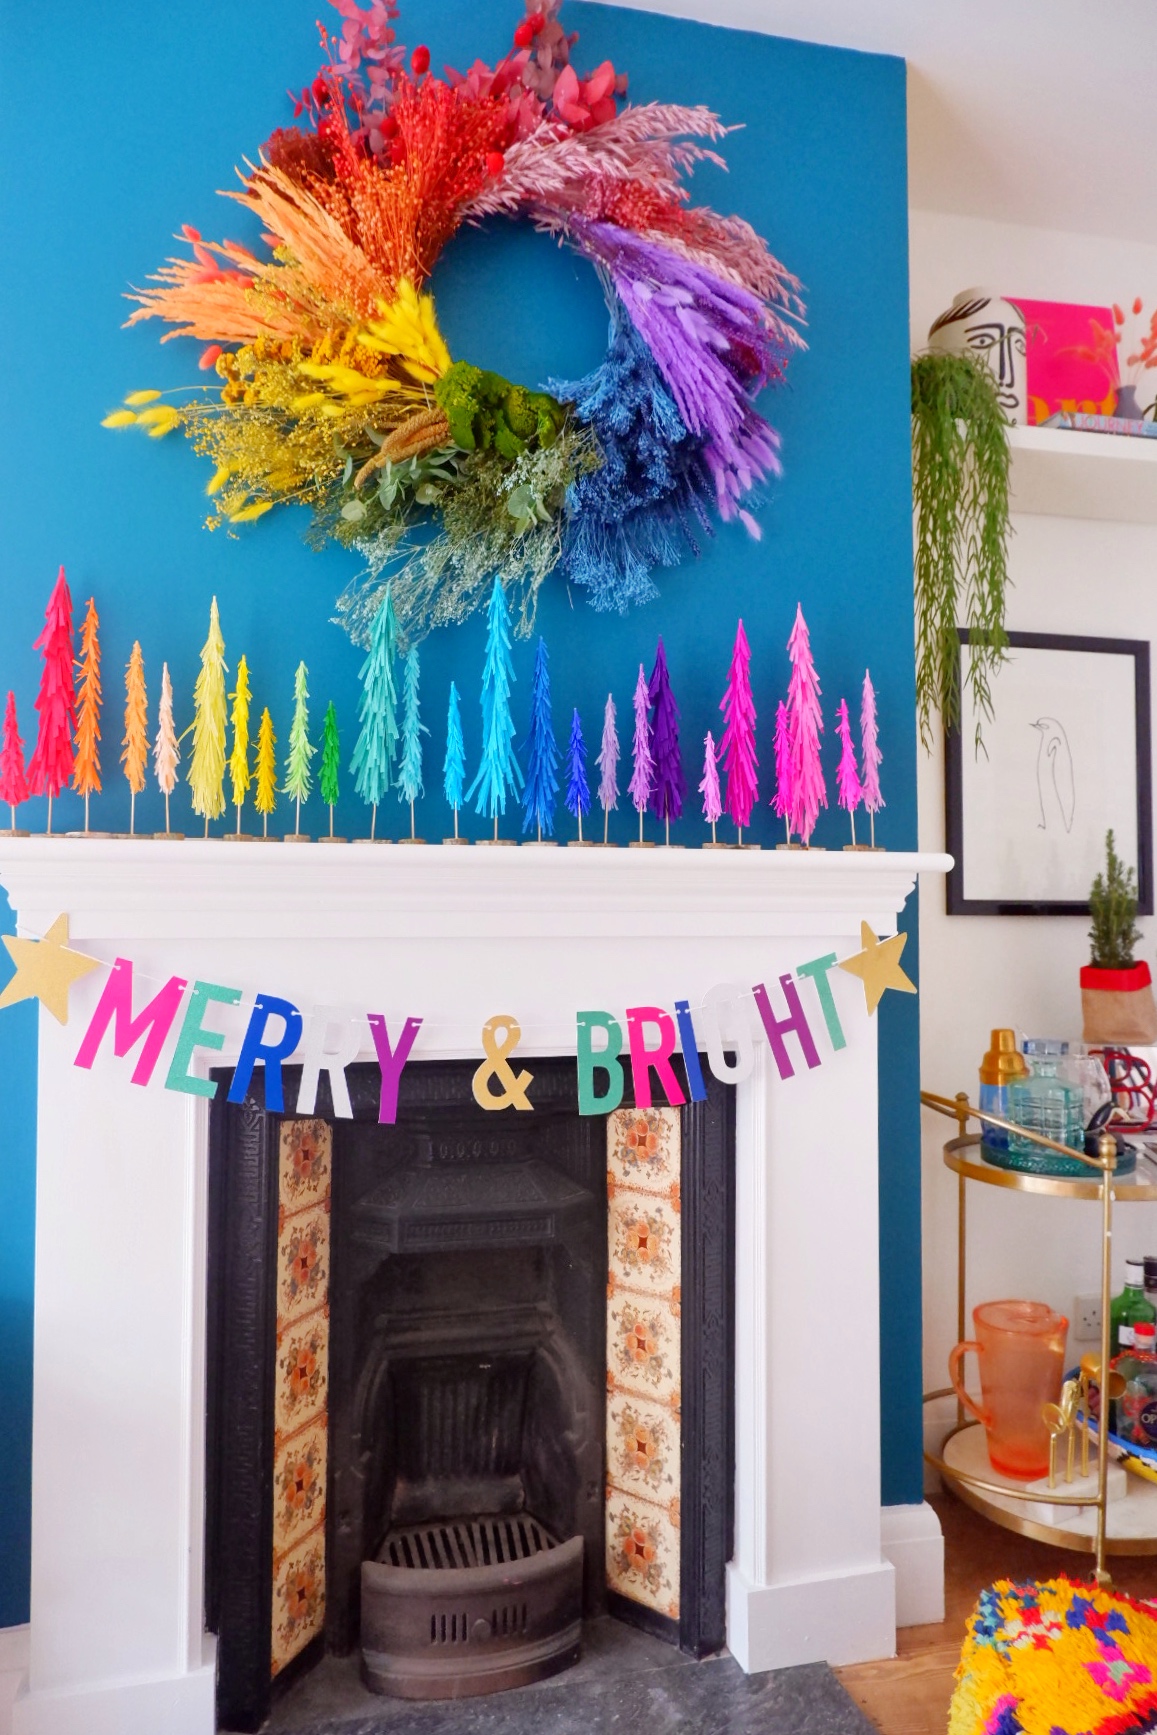
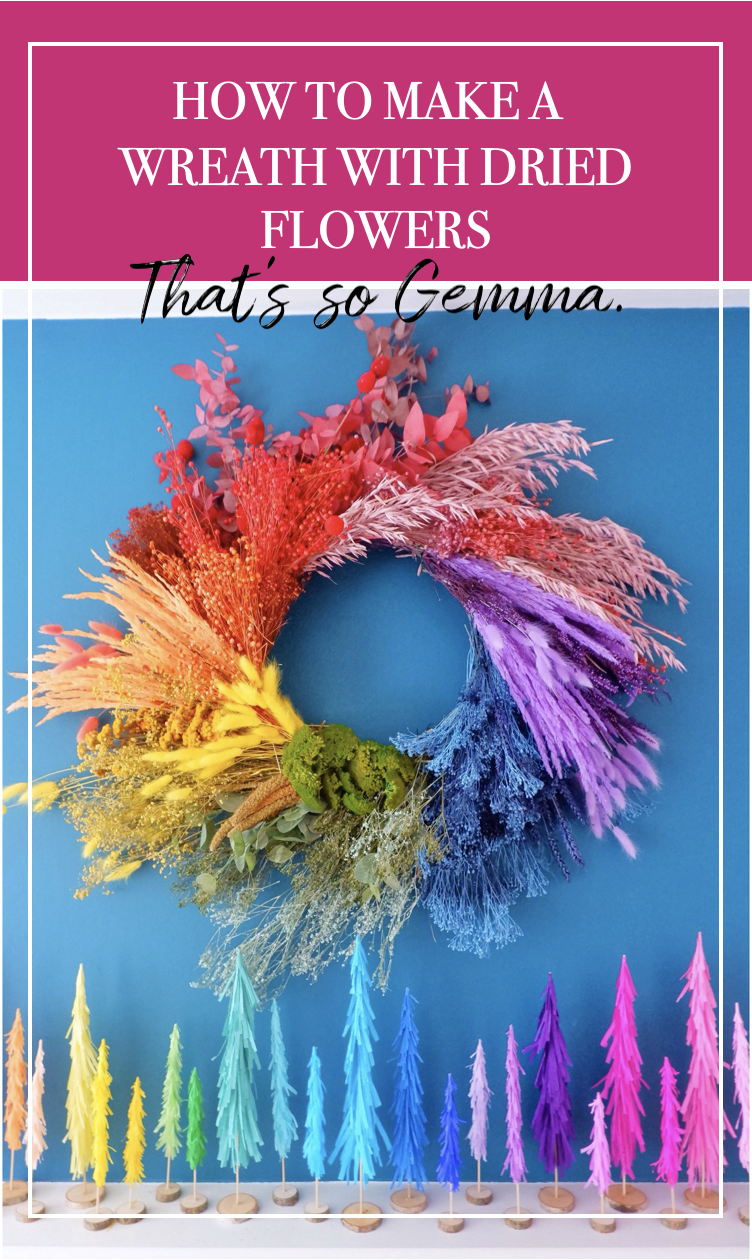
This year I decided I wanted to make a DIY Rainbow Wreath, and now I want to share with you how I did it…
AD- PR Product from Atlas Flowers*
It’s no secret that I’m a huge lover of colour, that’s why it probably won’t come as a surprise to see that I will be having a colourful Christmas in my home this year.
DIY Rainbow Wreath
I have had a rainbow wreath brewing in my mind for quite some time, but I knew I wanted to do something a little out of the ordinary and different to the usual rainbow wreaths made from either baubles or pom-poms. I still wanted my wreath to include foliage & flowers just like a traditional wreath, but I wanted mine to be rainbow!
After doing a little research my attention was immediately drawn to a wholesale supplier called Atlas Flowers. Atlas Flowers supply a huge range of dried and preserved flowers in all colours of the rainbow which I knew would be so perfect for my rainbow wreath. Dried, colourful flowers have become a huge trend in 2020, and can last for up to two years if kept in good conditions.
I spent hours browsing through the Atlas Flowers website, choosing the different coloured flowers that I wanted for my wreath… It was actually very exciting as they have so many varieties to choose from!

Video Tutorial
Alas, let me show you how I made the wreath with a short video & step by step guide below…
View this post on Instagram
How to make a rainbow wreath:
I’m not gonna lie, this was my first wreath I have ever made so I was a little anxious about it! It really was a gamble as to how it was going to turn out! I’m no expert, but I though I’d write a few handy tips that I learnt from making mine…
- Before starting the wreath have a plan of how big you want each section of colour to be, and what order you want it to be in.
- Slow and steady wins the race! Don’t get carried away by adding flower bundles that are too large as they are harder to secure.
- Thin floristry wire is rubbish so don’t waste your money on that! Luckily I also had thicker garden wire too, it was much better!
- Start with the foliage at the back, and work your way forwards. My wreath frame had two metal hoops on it. I started with the outside hoop (which is at the back of the wreath), completed a first layer all the way around the wreath before moving forward on to the second hoop. This way I could then pay more attention to detail when arranging the front of it!
- Enjoy it! It’s actually very therapeutic. I enjoyed making mine on a Saturday afternoon whilst playing some of my favourite playlists. I really enjoyed it as it meant I could zone out for a few hours and enjoy an afternoon of creativity.

What conditions do preserved flowers need to be in…
Dried & preserved flowers can last for a couple of years if kept in a good environment. To keep your flowers in top notch condition, ensure to do the following:
- Keep away from water.
- Don’t display in an area that is too humid.
- Interior use only (not for outdoor use).
- Keep away from heat sources (avoid radiators & fireplaces).
- Position away from direct sun light so the colours don’t fade.

I’m so thrilled with how the wreath has turned out. For a first attempt, I’m pretty impressed with myself! After Christmas the wreath will be hung up in the bedroom, so it will be a nice feature in my home for quite some time!
For more information on dried & preserved flowers, visit the Atlas Flowers website here.
YOU MAY ALSO LIKE
5 Christmas Crafts for that Festive Spirit
Christmas Regards in Handcrafted Cards
PIN THIS

All content curated by That’s so Gemma.
AD – PR Product from Atlas Flowers.


