Handmade Wedding Invitations: How to Design the Wording, Visual & Decoration


Well this is exciting! All invitations have been sent and received, so I can now show off this post and give you some top tips for creating beautiful and unique wedding invitations. I am a very lucky girly to be able to say that I have the pleasure of attending a very special wedding later this year to someone very close to me. My wonderful Mum. Of course, why not reap all the benefits of having a creative, crafty daughter and get one thing ticked off the wedding to-do list…Invitations! When my mum and her lovely fiancé asked me (told me) to do them I was actually pretty excited. Incase you haven’t already guessed, I’m a sucker for any kind of paper crafts, so to put some work together on a larger scale was a challenge accepted. I’ve had plenty of experience in card making, designing posters and gift wrapping – which is pretty much all of the ingredients needed for making wedding invitations. Bring it on.
My mum gave me numbers on how many invitations were to be for Wedding/Reception and a list of guests with addresses. We discussed the wording and how it was all to be phrased, and decided on an informal yet tasteful approach with a ‘vintage tea party’ theme to correspond to the theme of the wedding.
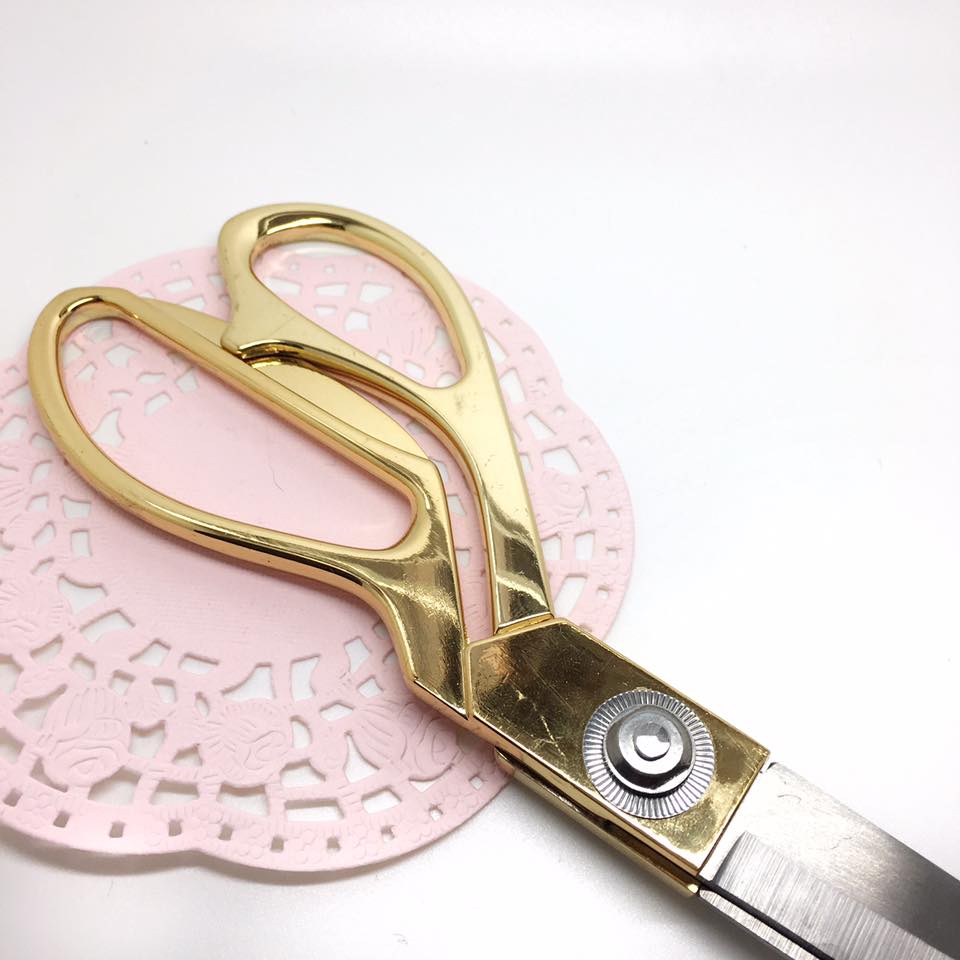
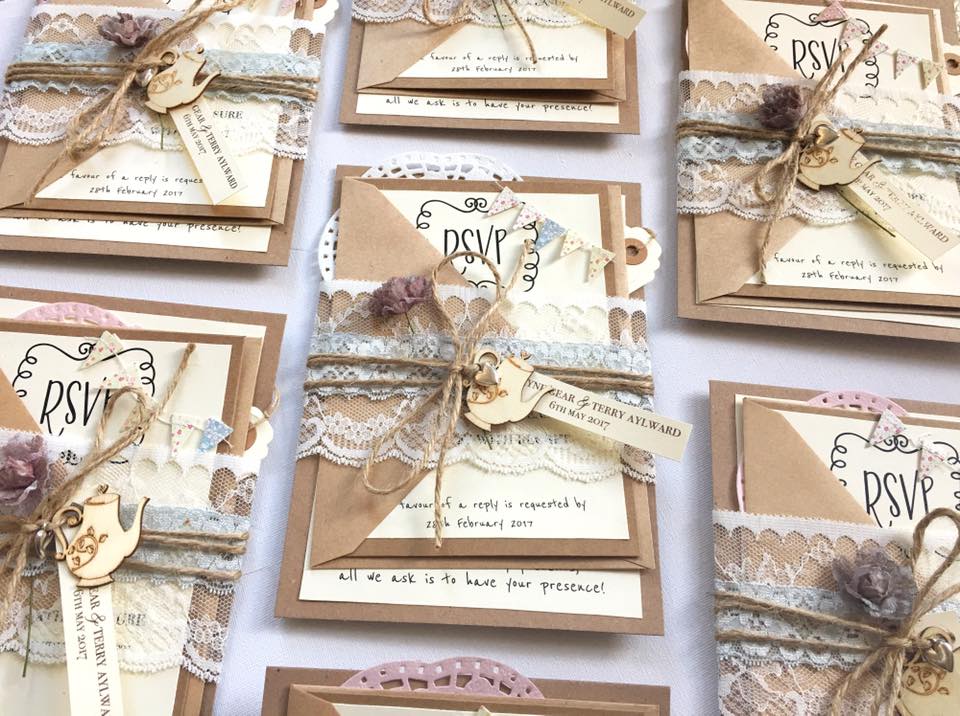
To design the wording I used Keynotes which I HIGHLY recommend to anyone who is wanting to design typography for posters/cards. You can easily download any fonts to your iMac and load them in to Keynotes. Then it’s a case of simply dragging and dropping, copying and pasting, cutting and cropping until you have it all exactly how you want it to be positioned. Believe it or not, this is actually the most time consuming process of the whole thing. I’m (obviously) a perfectionist, but also spent a LOT of time proof reading everything just because I know what I’m like. Below you can see exactly what I designed and printed.
It also took a while getting everything to scale as I planned on mounting the paper cut outs on to card…So, another recommendation would be to print out any prototypes on to scrap paper before printing on to the good stuff. Also, did you catch my post about my favourite free downloadable fonts? If not then click right here as it could be quite handy for you.
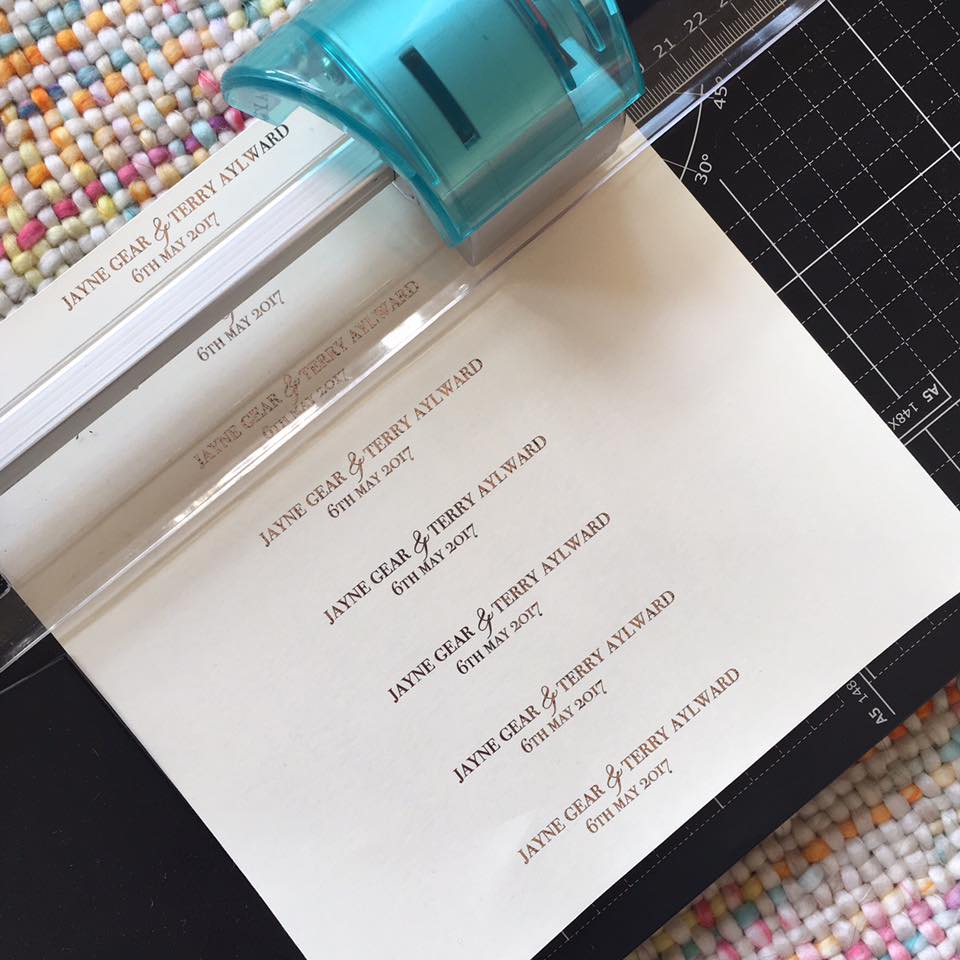
I used my new Hobbycraft 5 in 1 paper trimmer to cut everything down to size and by the end of all the trimming I was actually quite exhausted. Cutting 3 sheets of paper for 30 invitations was mentally draining, but at least everything was almost ready to put together.
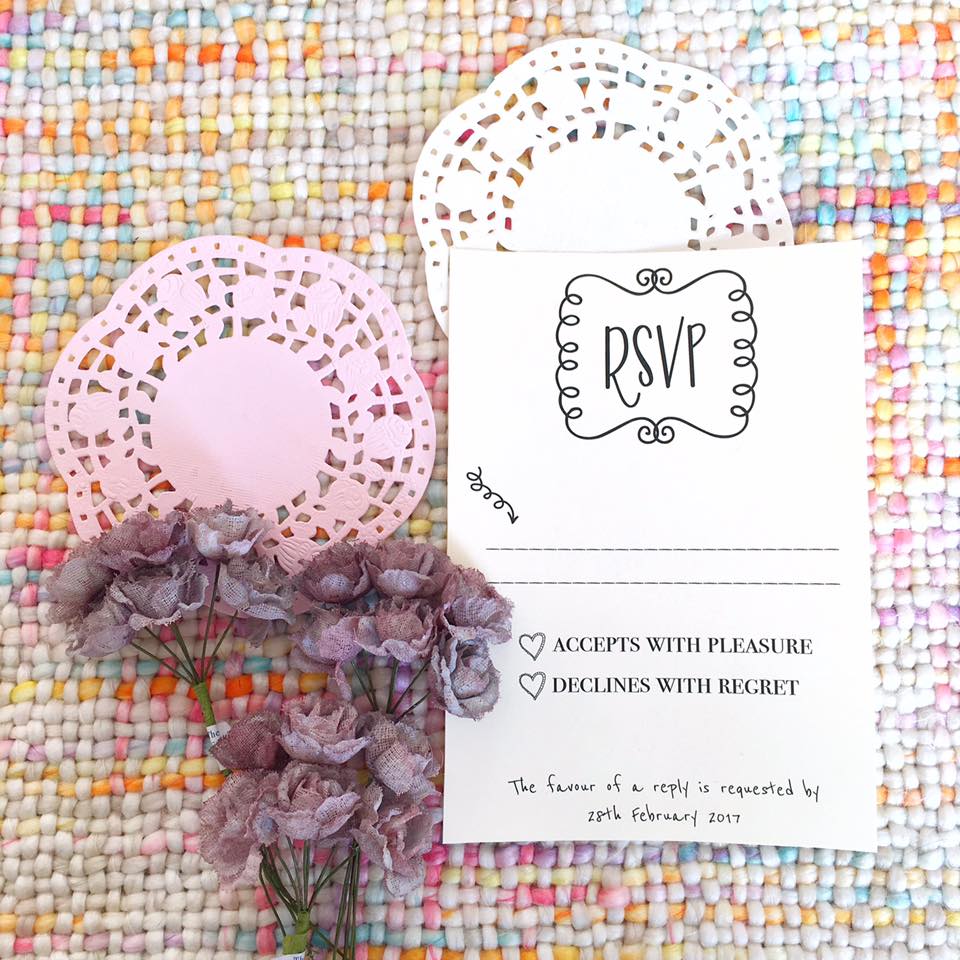
I completed all of the invitations over the duration of a week. If there’s one thing I learnt which I really want to emphasise is to take it step by step. The whole time I had the final outcome pictured in my head but it wasn’t until the very last day that I could finally see it all together. So, with that in mind, be patient and WAIT.
I mounted all of the card pieces on to brown card with pritt stick and started creating piles of different materials ready for construction.
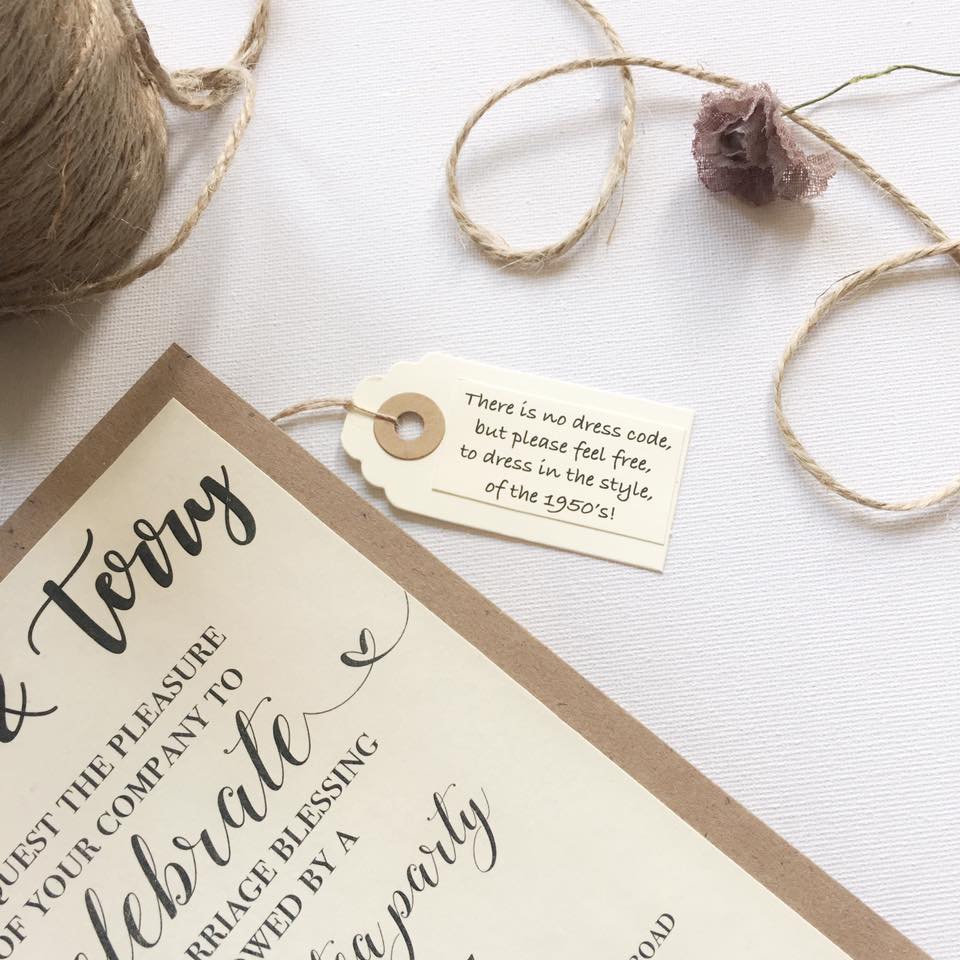
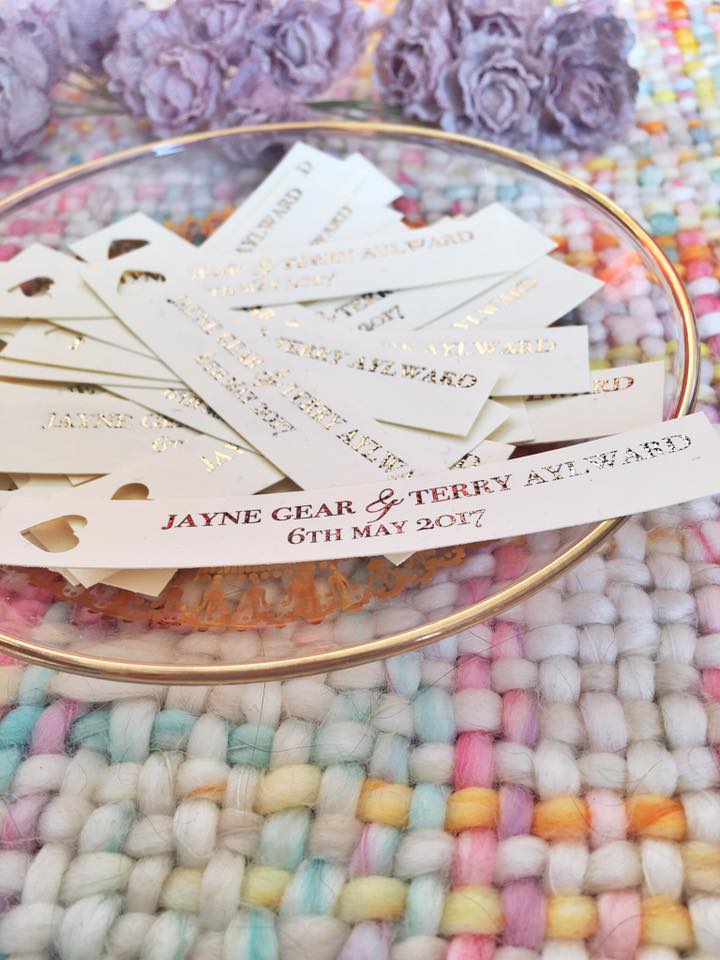
I used my Hobbycraft Foiling Machine to add some glimmer to the name tags and also attached the ‘dress code tags’ to the invitation card.
I went on a hunt for pretty embellishments and found beautiful lace and fabric stem flowers from The Fabric Shop.
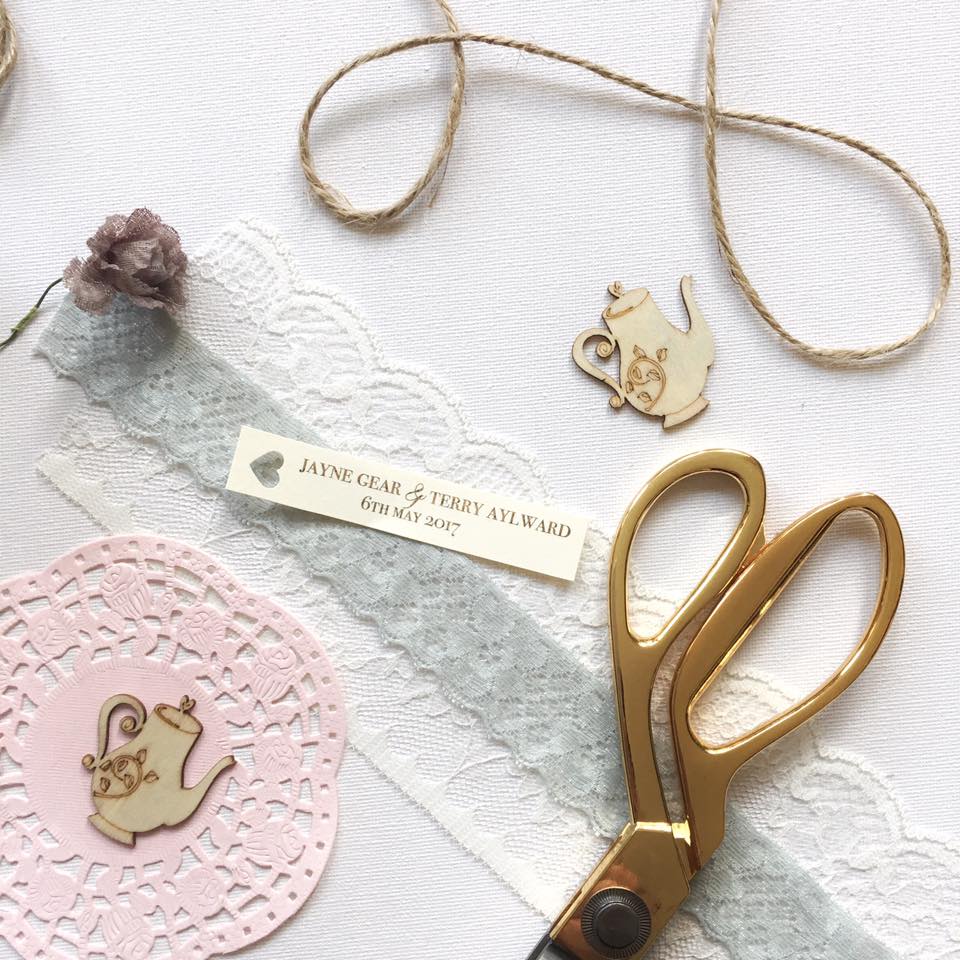
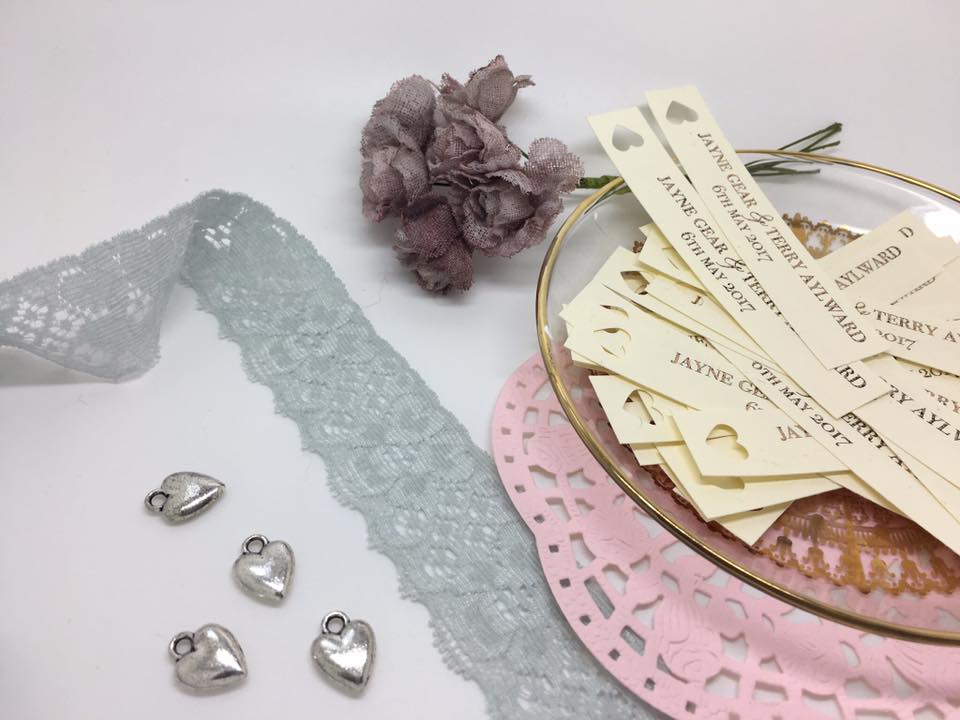
Then, from The range I bought some miniature sticky bunting garlands, small paper doily’s and silver heart charms.
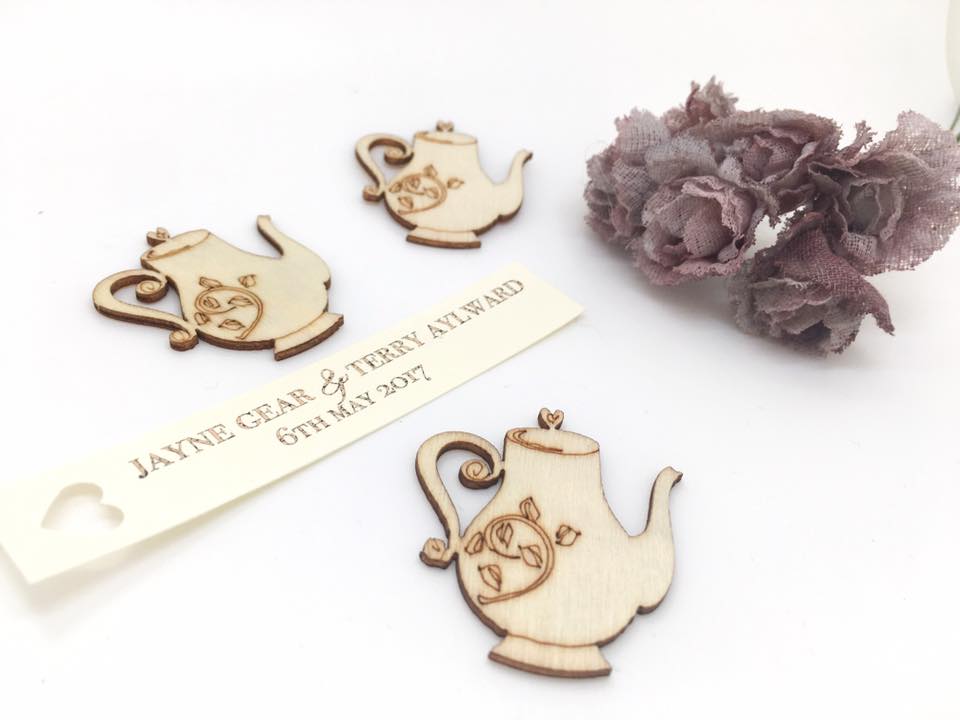
I ordered the wooden teapot embellishments on special order from a craft supplier on eBay. I knew instantly when I saw them online that they were totally worth the wait.
Now I had all the pieces, so they was ready to make!
Picture this; Living room floor, individual piles of card pieces, individual piles of embellishments, ready-cut lace and twine, cup of tea and… Me.
I spent a long afternoon and evening making the invitations but it was made so much easier by having the piles of materials at the ready. It was also great fun!
‘One of these and one of these then one of these and one of these… Then this, and that and this and tie it all up and DONE’.
Yeah.
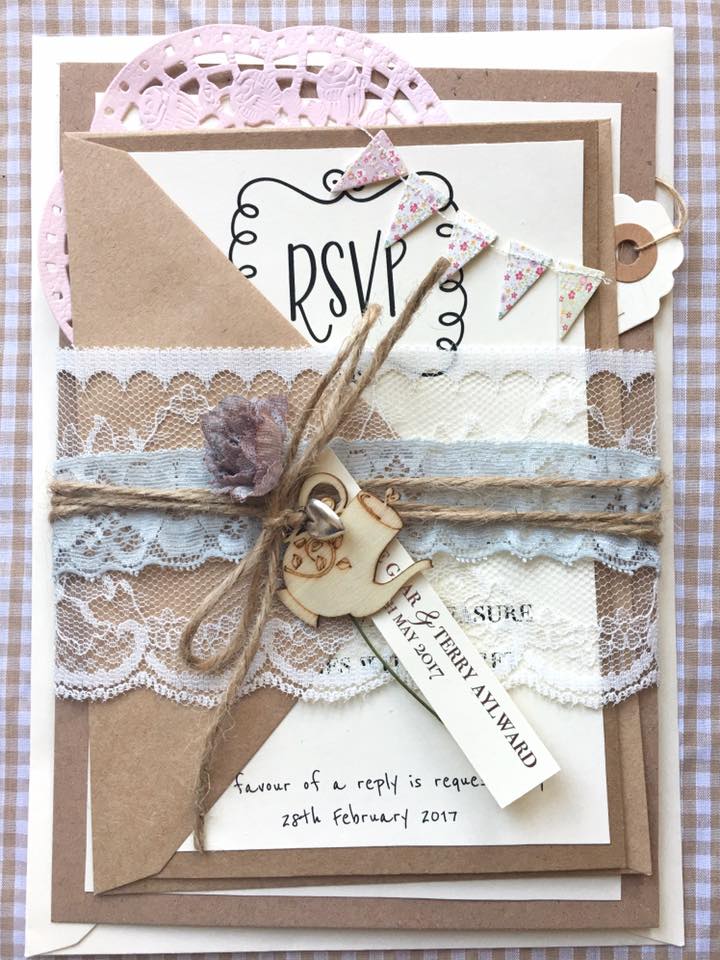
The happy couple were extremely pleased with them (what are daughters for eh?)… They were all individually made with lots of love and oodles of concentration.
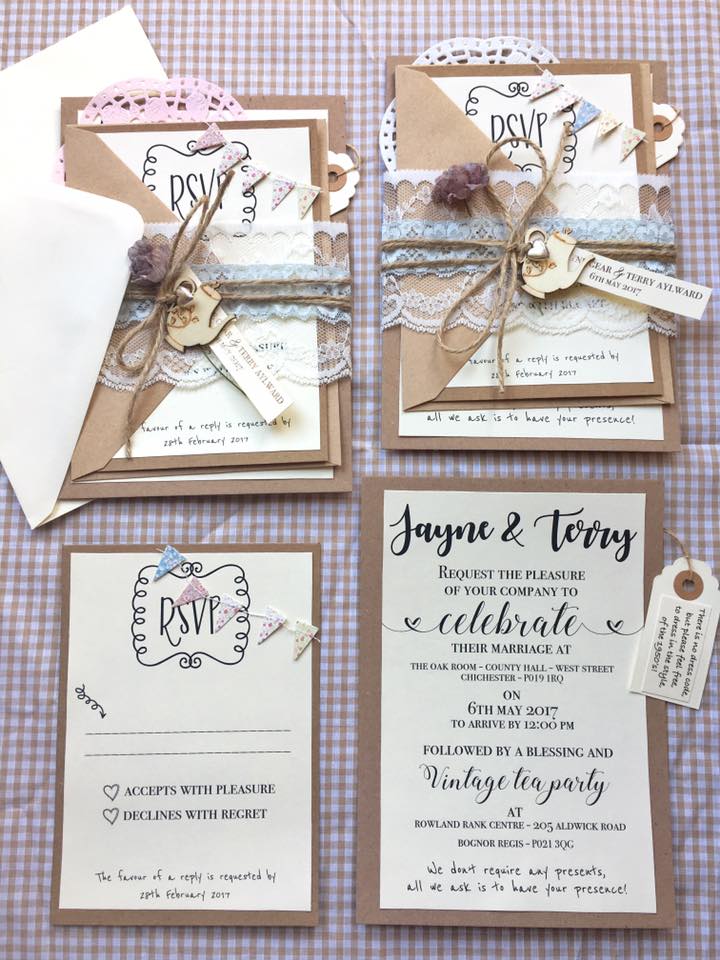
I would genuinely absolutely LOVE to do this all over again so if you’re in need of any wedding/birthday or party invitations OR have a friend of a friend who knows a friend needing invitations, then please do send them my way!
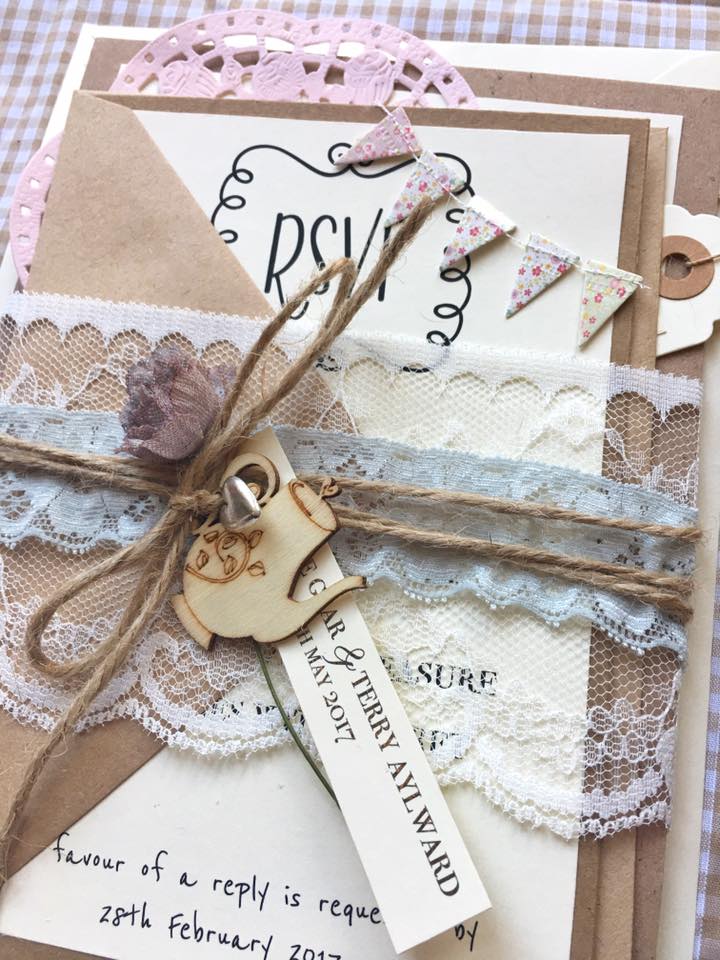
If like me you’re feeling ambitious and taking on the challenge yourself, then please don’t hesitate to get in touch if you need any extra advice or instruction on how to complete your own unique invitations. I would be more than happy to help. 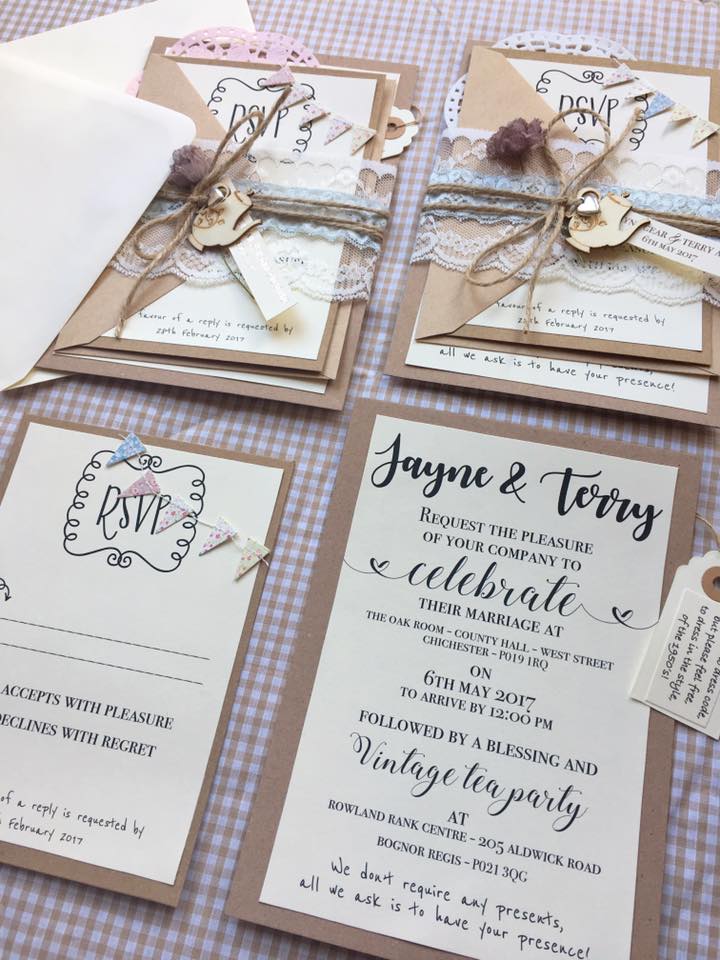
You can contact me directly at gemma@thatssogemma.com
I hope this has helped take off the pressure a little bit… It’s actually very fun once you know how!
