How to Make a Festive Lantern / AD


Mood lighting and twinkly lights can be so warming at Christmas time, that’s why I want to show you how to make a festive lantern to make your home feel cozy over the winter months…
There’s nothing more warming than adding some festive mood lighting to brighten up your home. During the cold, winter months, it can really change the whole atmosphere of a room. I’ve got the perfect DIY to add some sparkle in to your home, which will impress the guests, and add some WOW factor.
AS SEEN ON THE LAURA ASHLEY BLOG

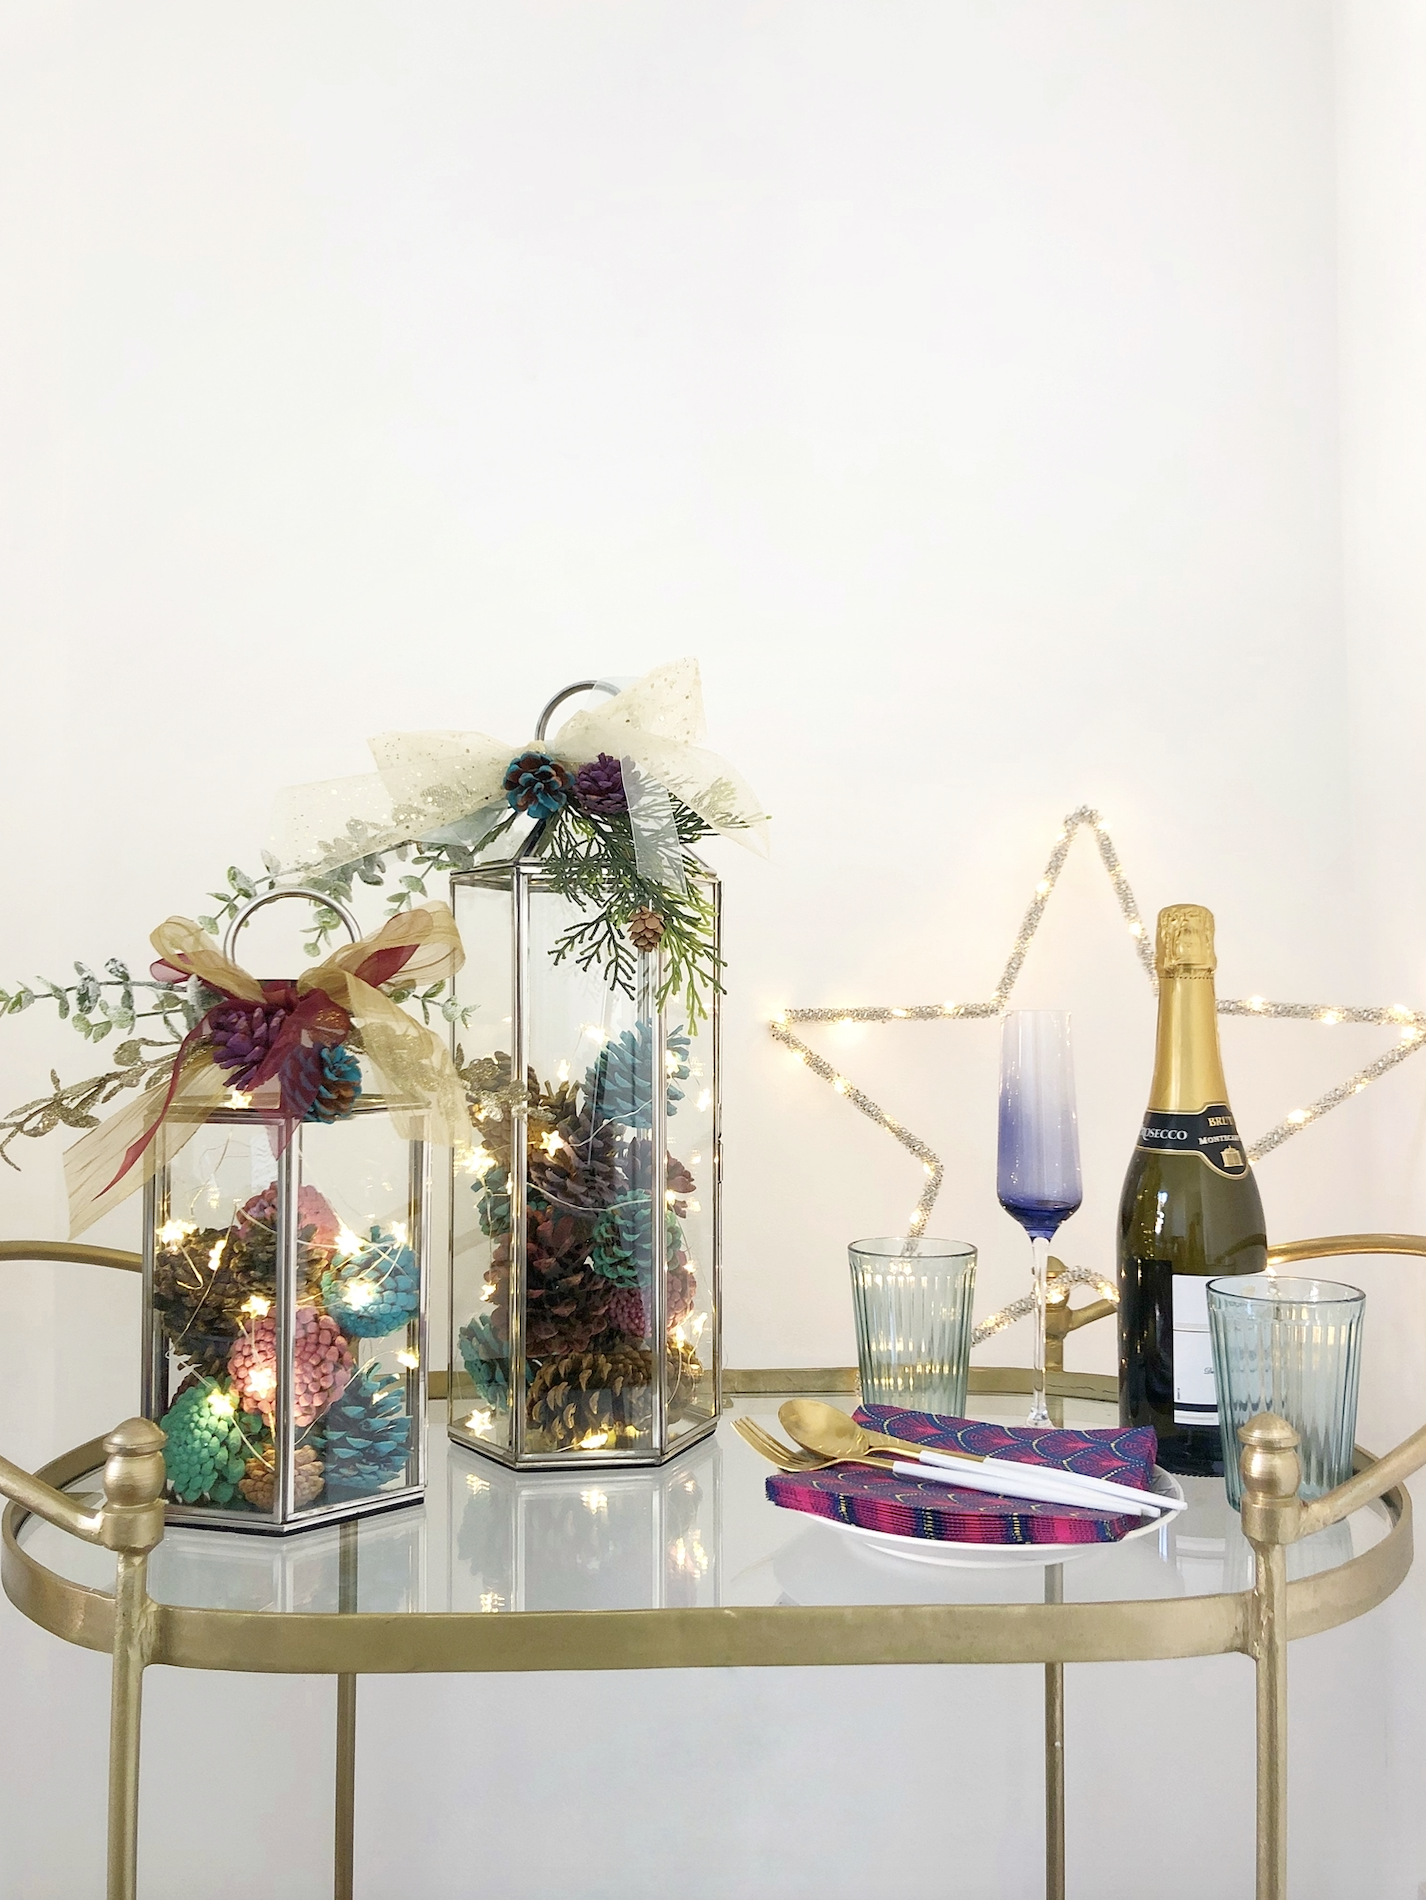
Lanterns are an ideal accessory for any home, and if you’re looking for ways to create some mood lighting, they can easily be decorated throughout the year to suit the season. For mine, I used two stunning Ellington Hexagonal lanterns in chrome, and have of course been very keen to get them dressed for the festive season. I also used some star wire lights which create a lovely, sparkly light effect. I knew instantly that these would look fantastic displayed inside the lanterns. You can view the full list of products used for my lanterns here.

Whether you’re hosting a party, or relaxing on the sofa in front of the television, this simple yet stylish craft will be the perfect focal point for any occasion over the festive period.
You will need…
- Lantern
- Star wire lights
- Pine cones
- Paint colours of your choice
- Collection of ribbons
- Faux festive spruce’s or stems.
- Any additional embellishments of your choice (baubles/berries etc)

How to Make a Festive Lantern
Step 1. Paint a selection of pine cones in your chosen colours, and leave to dry for at least 1 hour.

Step 2. Whilst the pine cones are drying, prepare your embellishments and practice how you want to arrange them on the lantern.

Step 3. Tie your ribbon into a bow around the top of the lantern. Layer different ribbons if you want to use multiple colours.

Step 4. Attach your faux festive stems by tucking them under the ribbon. Wrap the stem behind the lantern so that it is hidden.

Step 5. Once the pine cones have dried, arrange them inside the lantern with some star wire lights scattered amongst them.

Step 6. Close the lantern securely so that the pine cones can’t escape, and enjoy your new festive lantern from afar.

Now your festive lantern is complete! The best thing about decorated lanterns, is that they can easily be displayed throughout different rooms in the house. They look perfect propped up on a drinks trolley, down by the side of the fireplace, or used as a table centrepiece.

YOU MAY ALSO LIKE
5 Christmas Crafts for that Festive Spirit
Styling for Ruark Audio: Christmas Edition
Make & Create – Christmas Planners
Like what you see? Pin this…

This tutorial was made in collaboration with The Laura Ashley Blog, and some products were gifted as part of the collaboration.
All imagery and content curated by That’s so Gemma.


