Make & Create: Handmade Salt Dough Decorations


That’s right you’ve guessed it! Handmade Easter decorations are a MUST when you’re a crafter! All of the shops have been well and truly taken over by all of the colourful Easter gifts and decorations… but why spend money for them when you can have fun making your own?!
Over the past month I’ve been trying my hardest (honest!) to keep my spending to a minimum- especially in the craft related area. I’m attempting to teach myself some discipline when it comes to buying craft supplies because the majority of the time I really can’t resist!
SO, I’ve found the perfect solution to a cost-free, fun and creative craft which is ideal for making the cutest Easter decorations – and for any readers out there in need of an Easter craft for the kids, this will be SPOT ON for you! I advise anyone who wants to make this a quick craft for the youngsters to plan ahead with the decorations and make them a day in advance as they will need a fair chunk of time in the oven so they harden.
These decorations are made simply from salt dough, and it is so easy to make with just three general household ingredients:
Plain flour – Salt – Water.
Depending on the quantity you want to make, the salt dough mixture is always made up of 2 parts flour to 1 part salt and water- so for example, I used 1 cup of plain flour, then added 1/2 cup of salt and 1/2 cup of water – it’s really that easy!
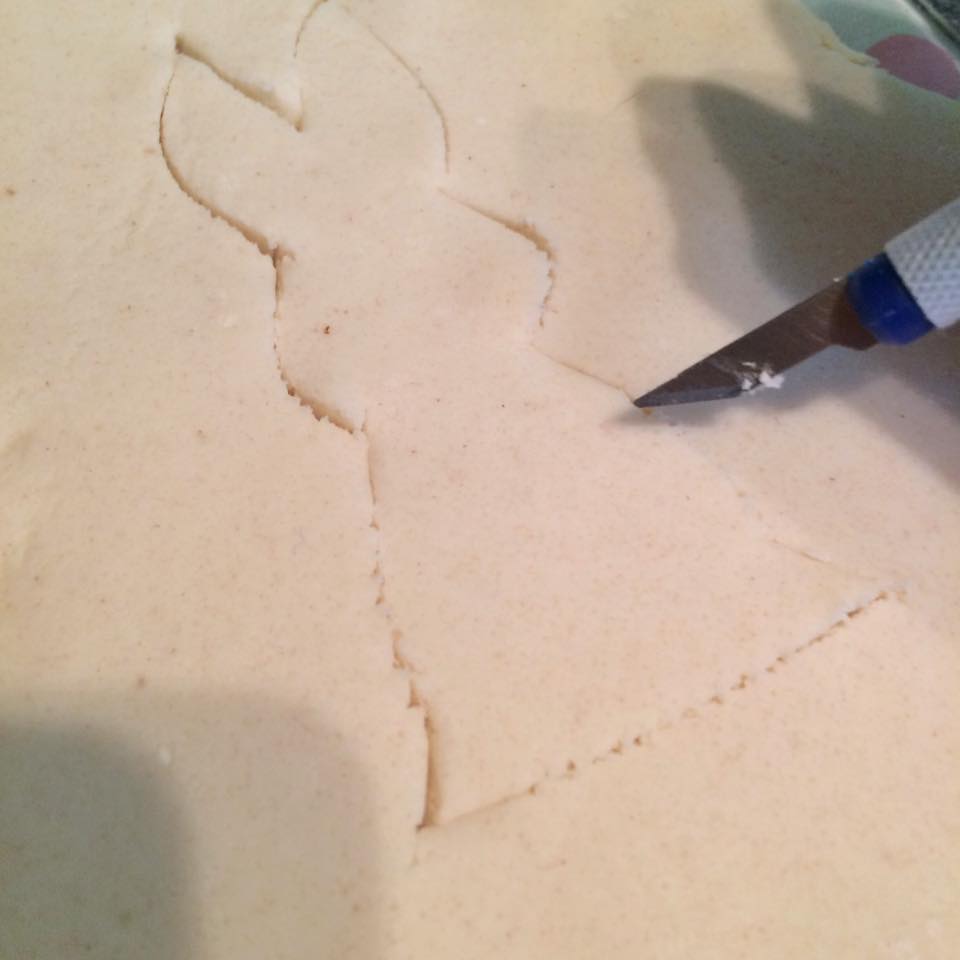
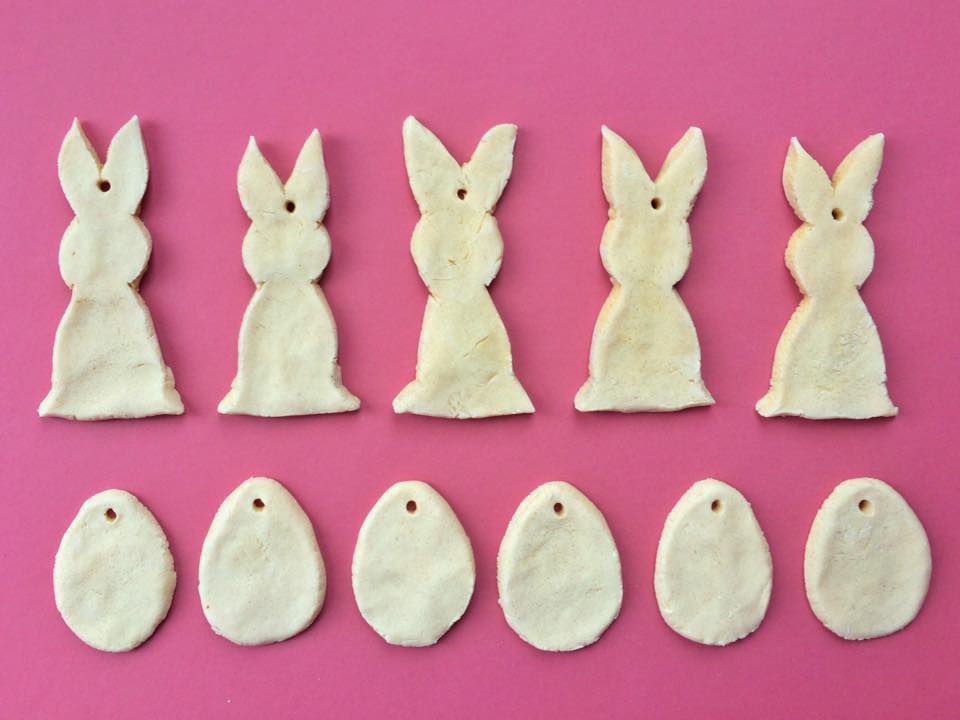
When the mixture has reached a doughy consistency it’s ready to roll. You can then cut out any shapes/sculpt an ornament with the dough depending on what you wish to make. I used a craft knife to cut out Easter bunnies and egg shapes, then carefully transferred them directly on to a baking tray. Alternatively you can purchase Easter shaped cutters from many homeware/ kitchen department stores if you haven’t got a steady hand – but hey it’s all trial and error!
Before placing your decorations in the oven, make sure you poke a hole in the top if you want it to hang from a piece of ribbon or twine.
You will then need to bake them in the oven for 3 hours on a very low heat- so as I mentioned before, allow plenty of time!
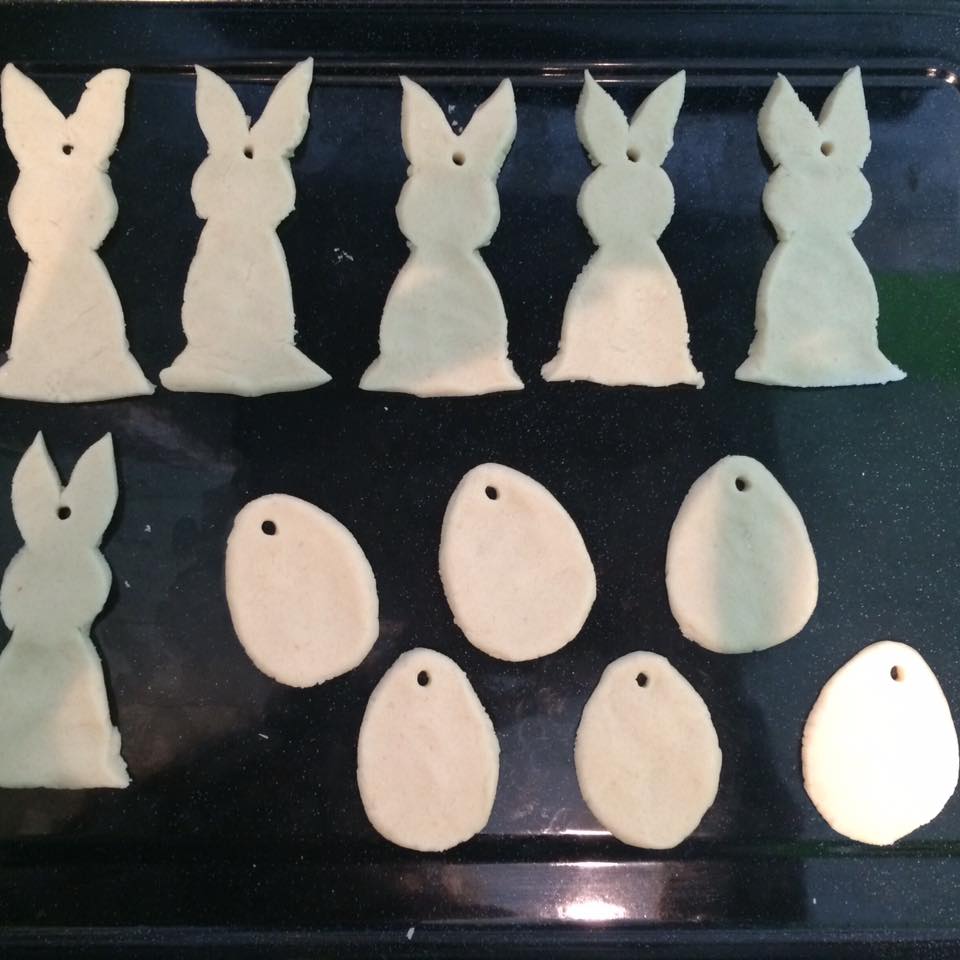
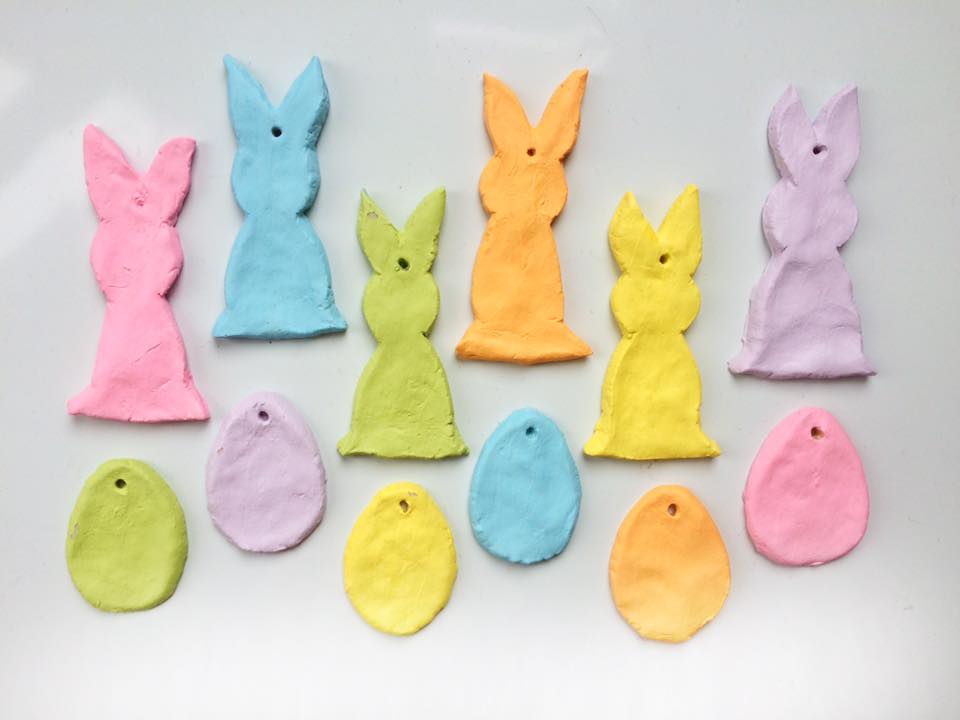
When they are completely hardened and cooled, it’s time to decorate them. Paint them, Sharpie them, Decoupage them or dip them in glitter – the decision is yours!
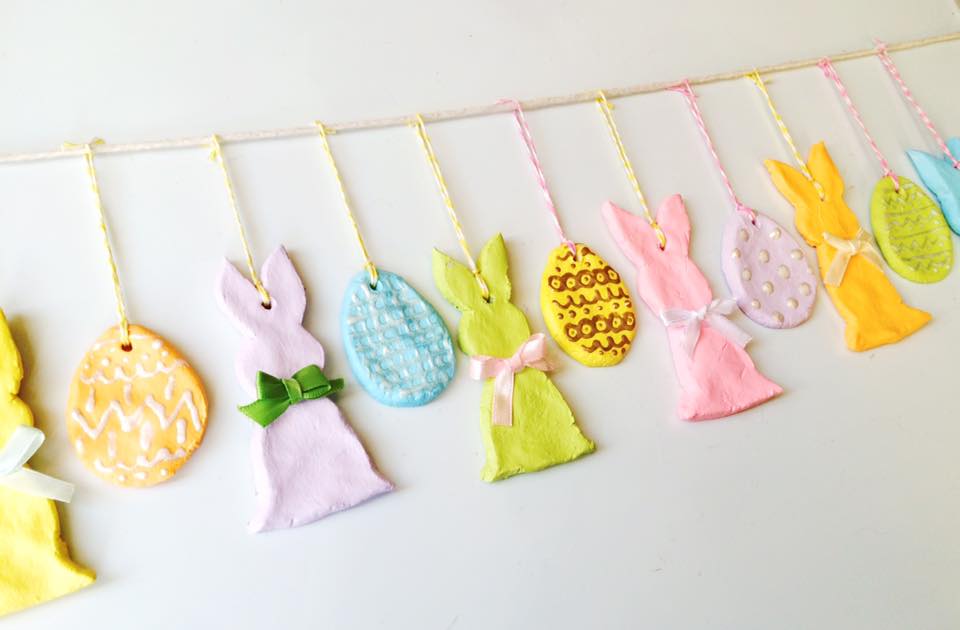
I went for a colour palette of pastel shades to suit this lovely spring time of year.
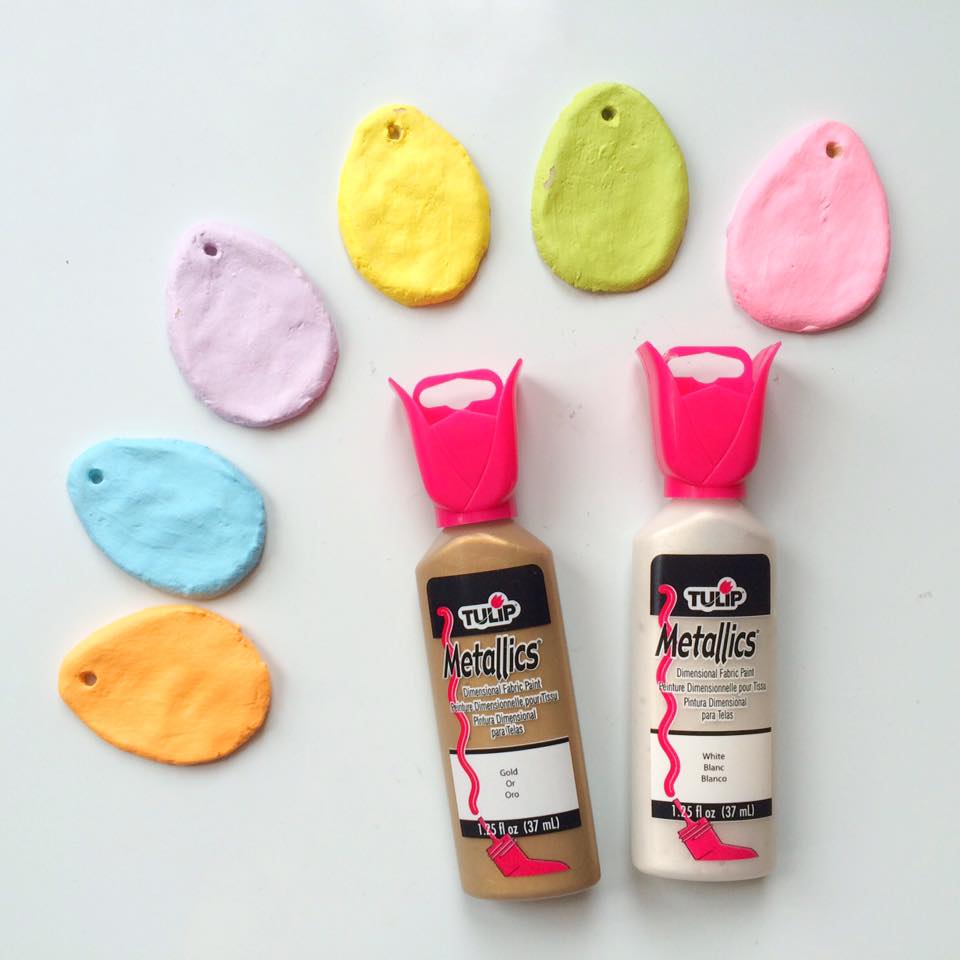
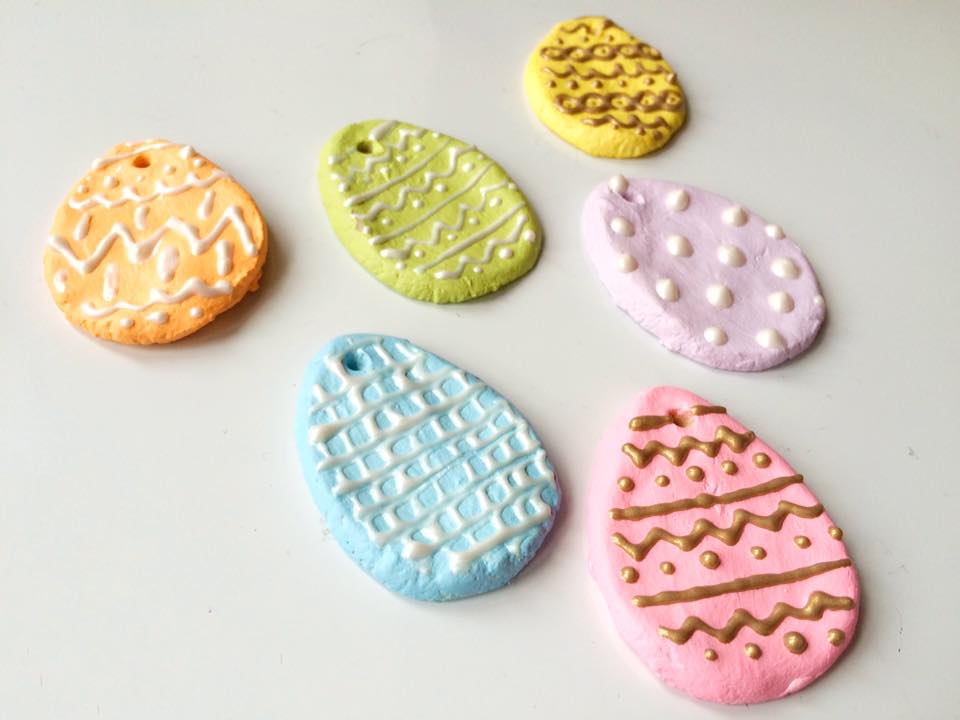
I used metallic paint pens to draw on patterns and designs to decorate my egg decorations.
Then, with some coloured ribbons I made tiny bows to stick on the neck of the Easter bunnies. You can find my full tutorial on how to make these bows here.
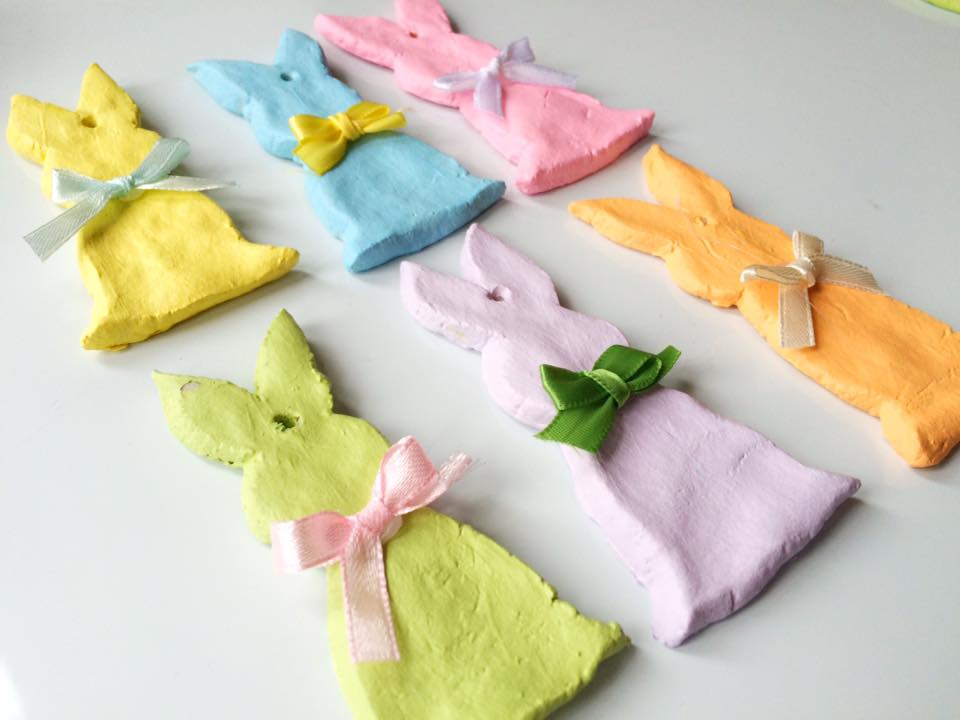
Voila! The perfect inexpensive Easter craft that is simple to create and fun to do! I cannot wait to hang these on my Easter tree (post coming soon so watch this space!).
Be sure to let me know how you get on via my contact form!
Happy Crafting!
