Paint it , Perfect it , Peg it!

Well blow me down. It’s been a whole week since my last post?! WHERE did that time go! Apologies to all for abandoning you slightly, trust me my intentions was for the complete opposite as I have been working hard on some extremely exciting new makes AND have got myself a new PR job (all to be revealed in my up and coming Flashback post!)!!
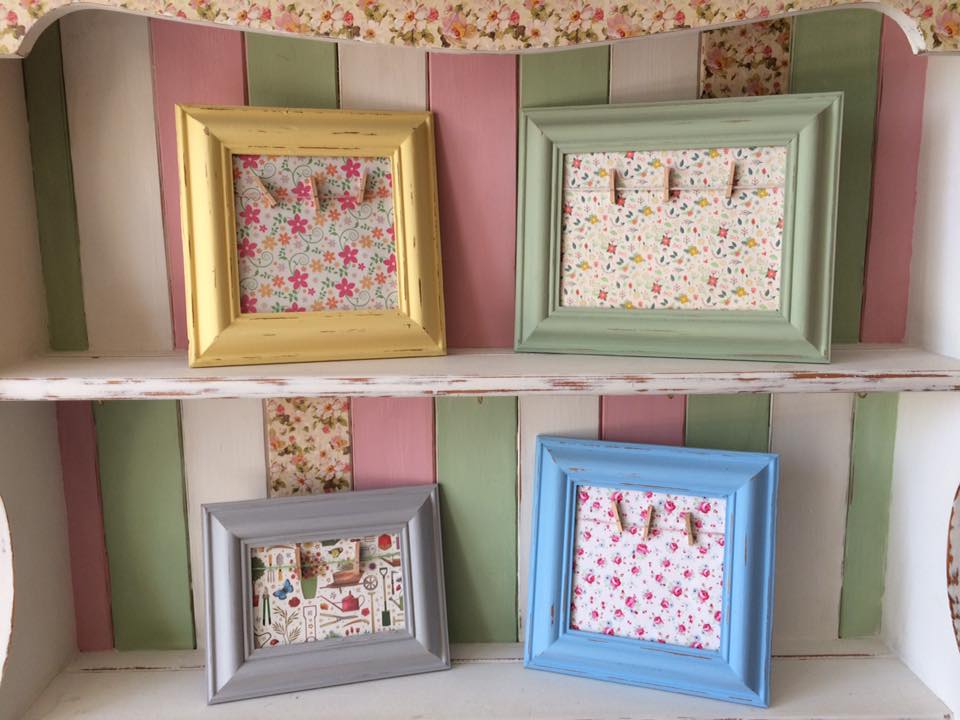
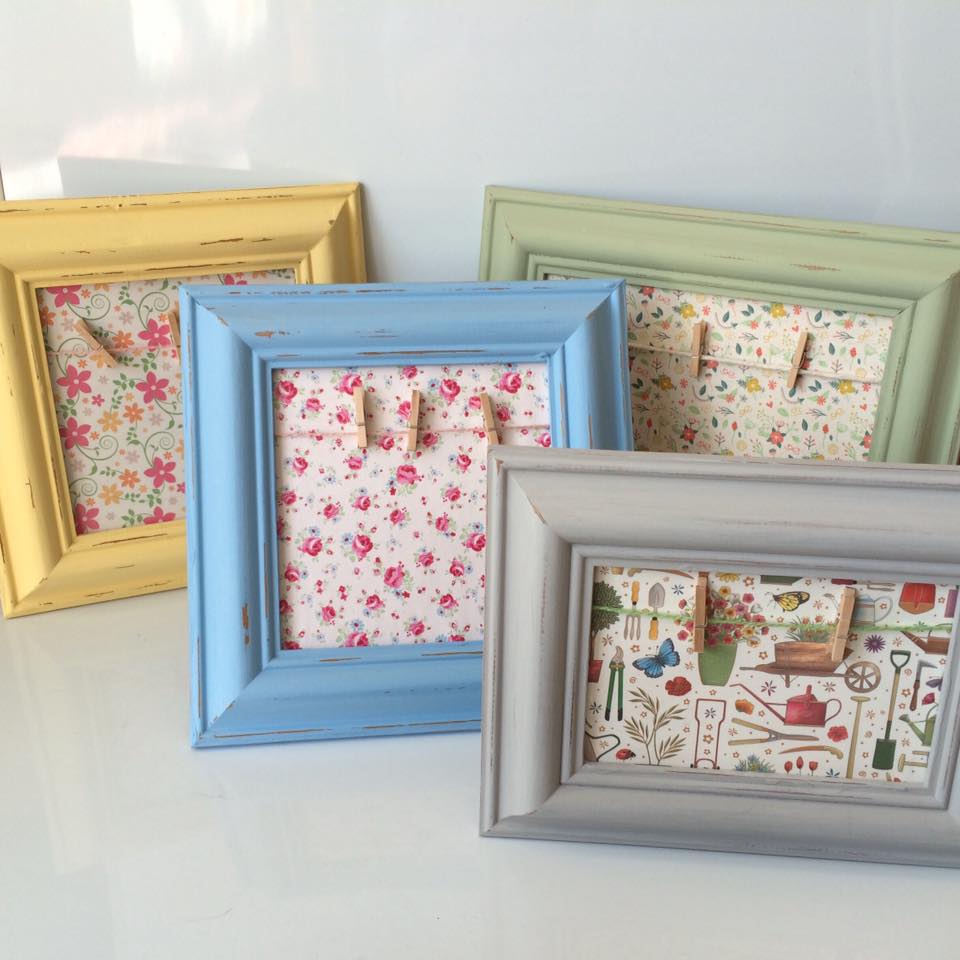
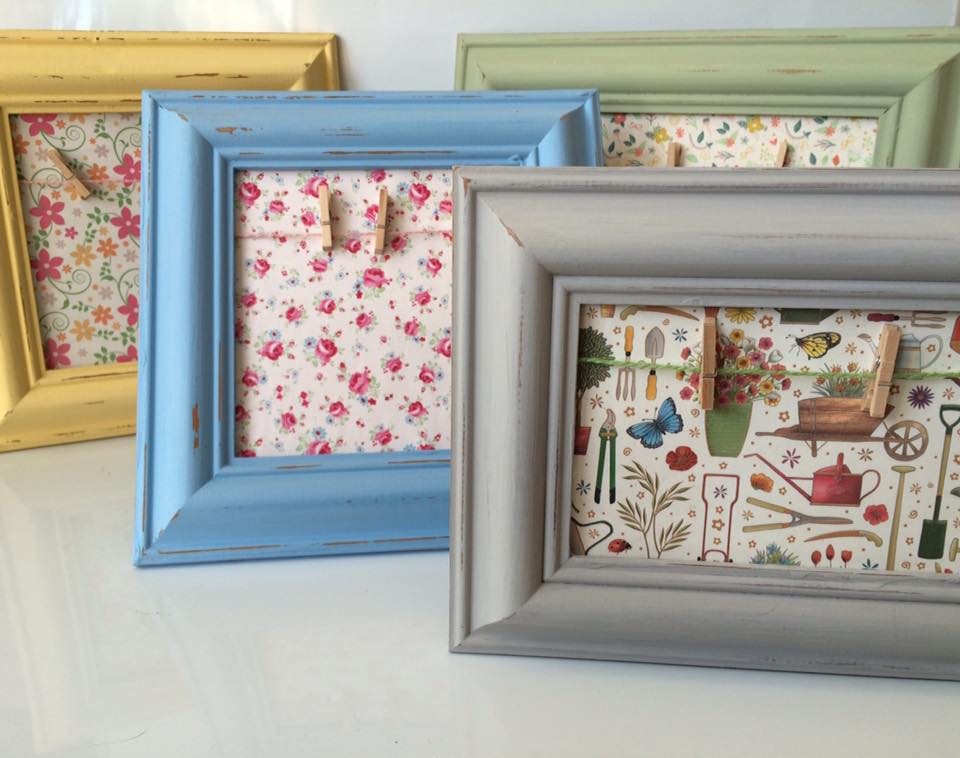
My kind friend at Cuttlebone gave me a handful of the most ideal pine wooden photo frames after she had a clear out last month and following my DIY Peg Frame post from a few months ago I was very eager to ‘get my craft on’ and start building up my collection!
Choosing the paint colours and patterned papers was TOUGH! I guess that only mean I’m going to have to venture on a bargain hunt to find some more wooden frames buried like treasure in some local thrift shops – and then I can paint some more!
I’m a nifty thrifty 😉
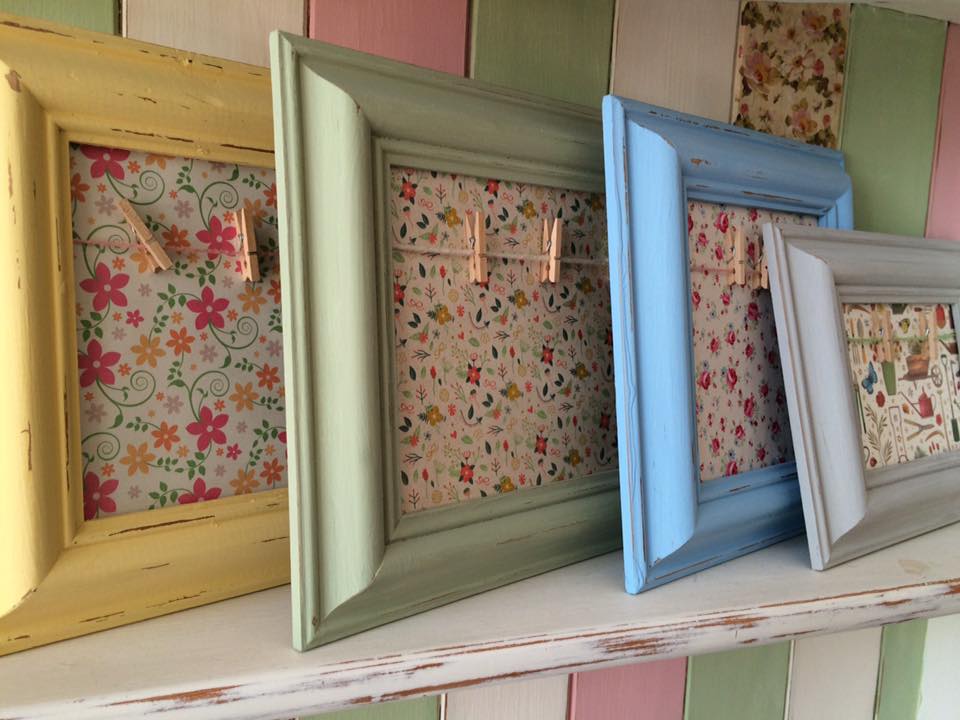
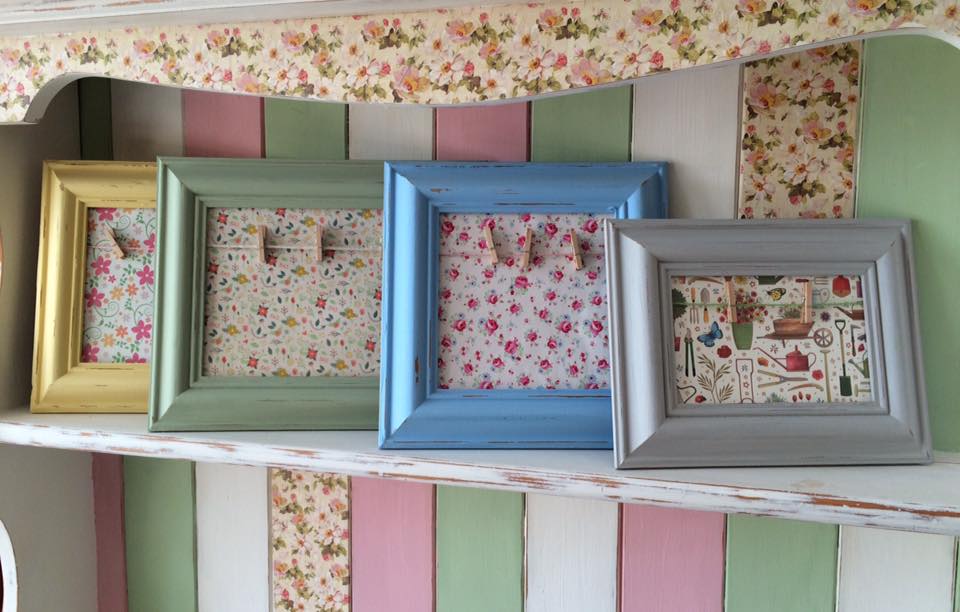
I decided I wanted to distress my frames slightly using sandpaper – I much prefer the slight Shabby Chic look and felt it was more suited to the patterns I chose.
They look pretty cute displayed on my Vintage Dresser Top that I upcycled earlier this year.
I now have the urge to make loads more! Typical me!
