PaperCut Mother’s Day Card Template

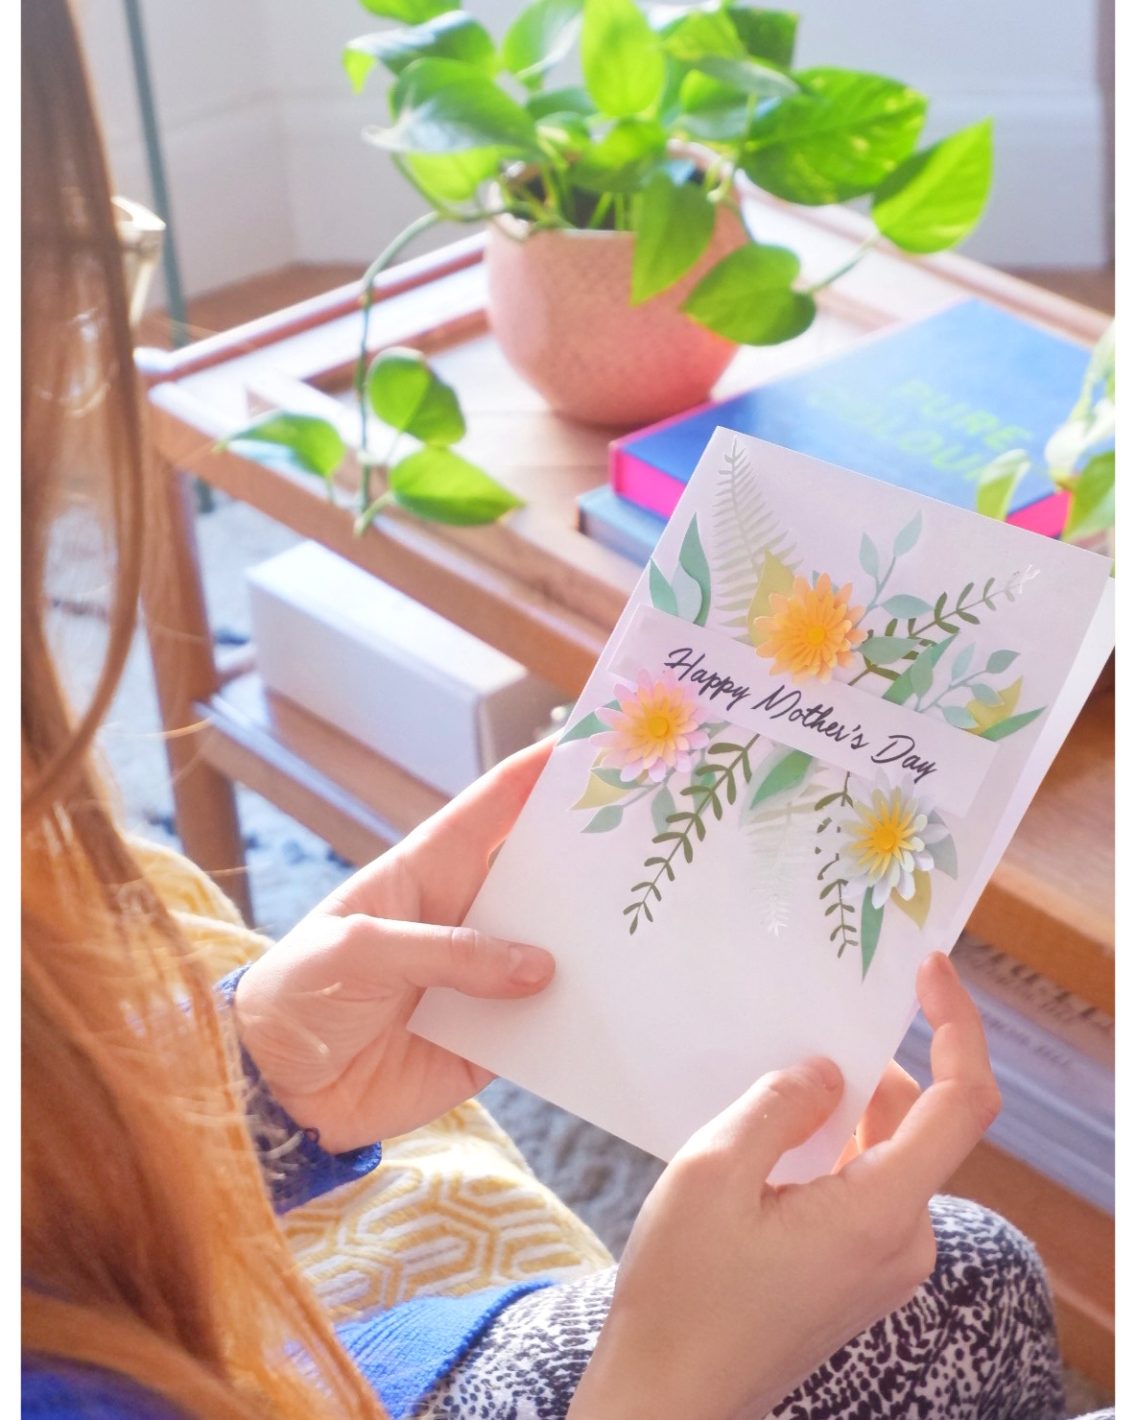
Today I’m sharing my downloadable papercut Mother’s Day card template. Treat your special Mum to a handmade card and enjoy a morning or afternoon getting crafty with this simple tutorial…
*This post is in collaboration with Epson
Mother’s Day is just around the corner, which means it’s time to think about treating our Mums… After the year we’ve had, let’s put a smile on their faces! Nothing says ‘I love you’ more than a handmade card, which is why I want to share my downloadable papercut template so you can easily make a 3D floral card.
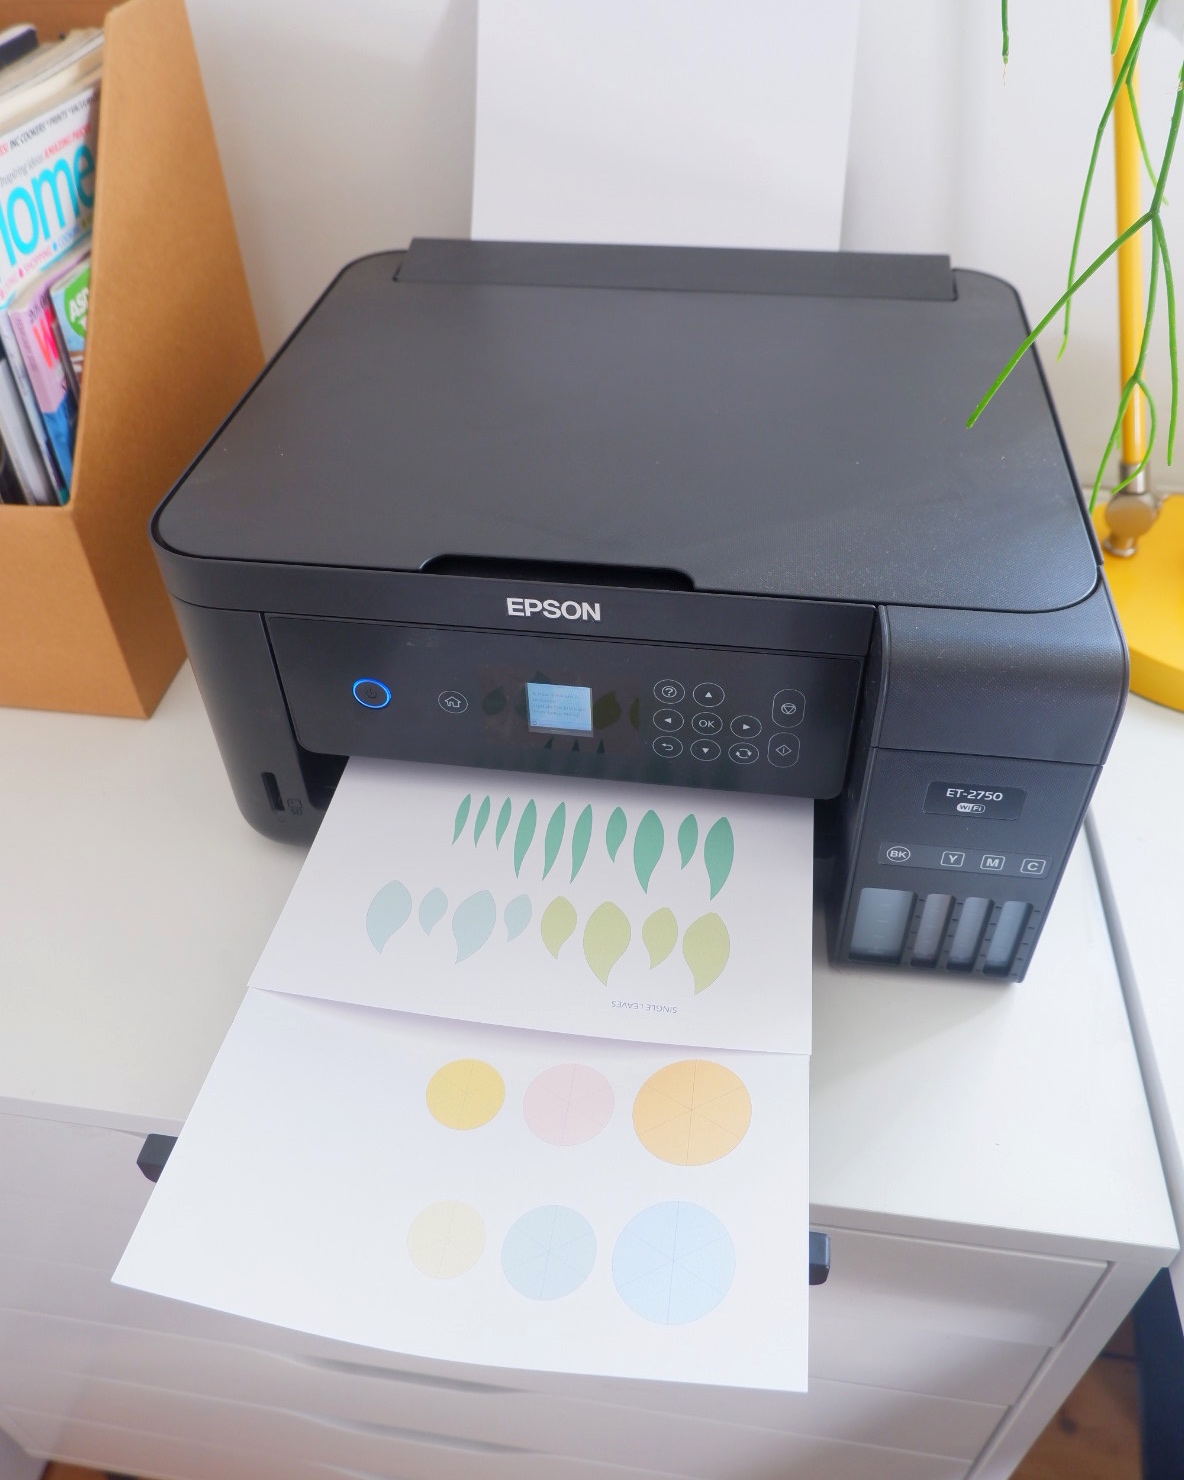
Whilst experimenting with the templates, I tested various flower & leaf shapes and have curated the PDF (below) to the exact scale you need to make an A5 size card. All you need to do is print – and I very strongly recommend the Epson EcoTank printer for the best value for printer ink.
PaperCut Mother’s Day Card Template
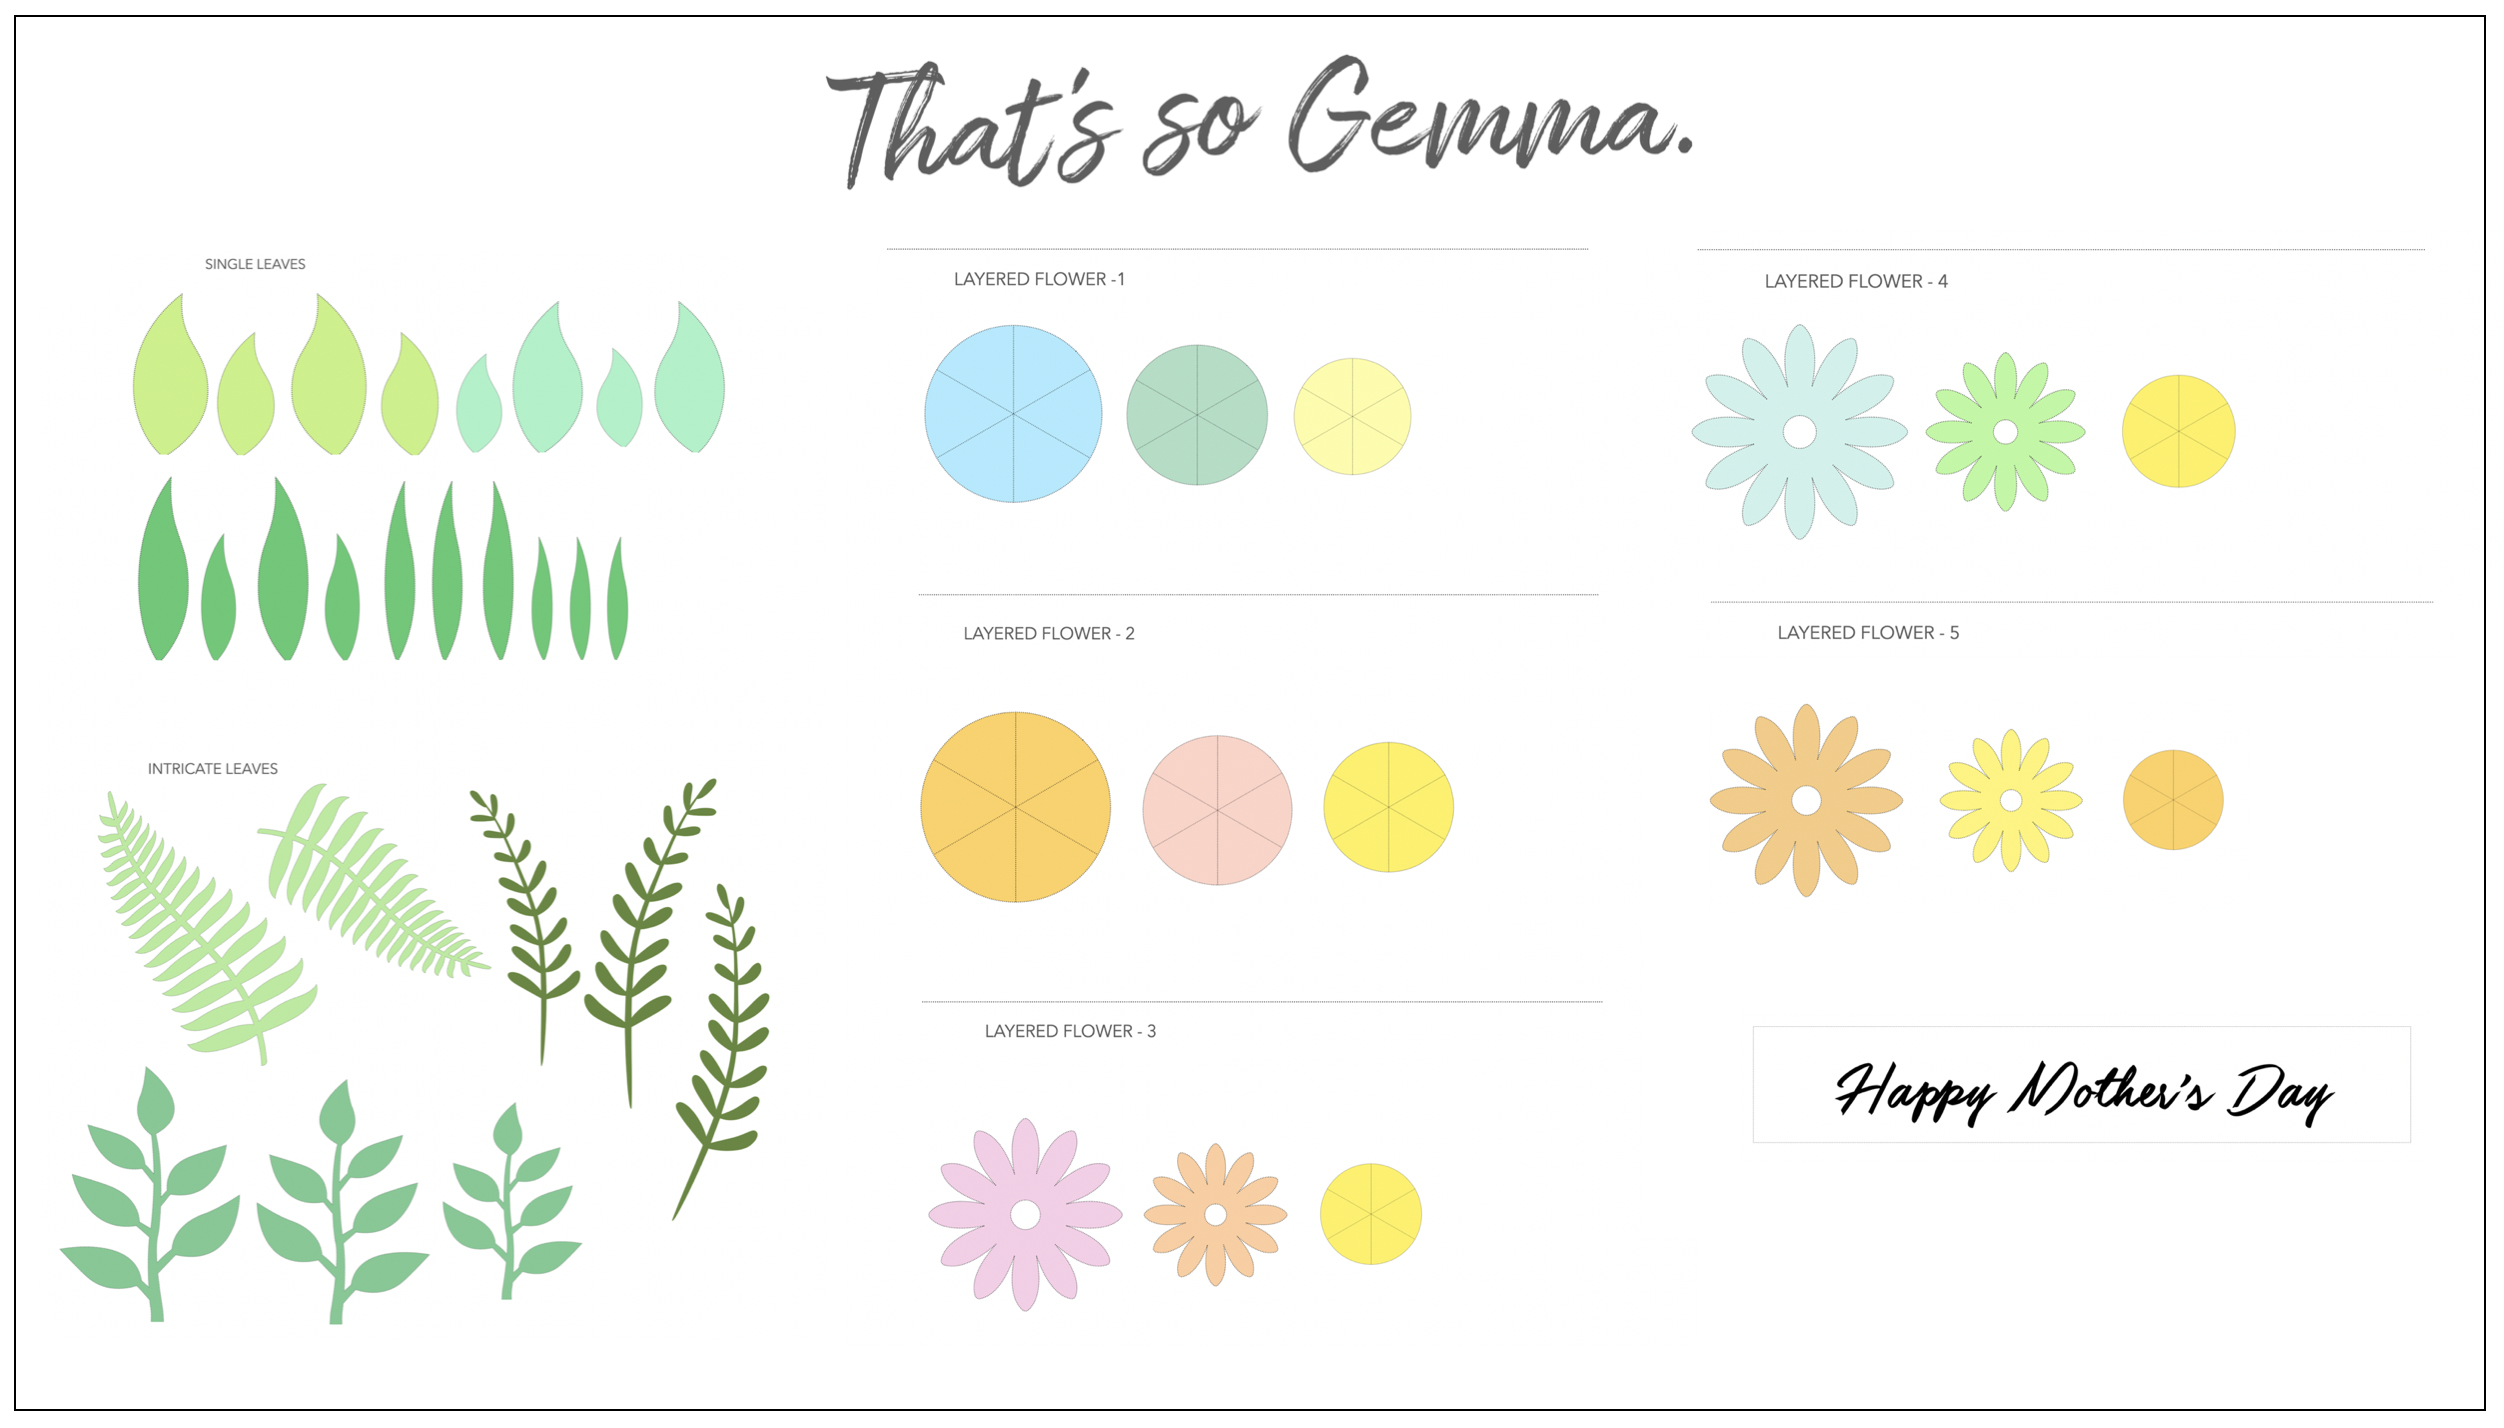
So, let’s get to the tutorial. To begin with, you will need to download my free papercut Mother’s Day card template by clicking the tab below.
Print the three page document and you will see some pretty floral and foliage shapes.
What you will need to make the paper cut flower card:
- White card (160gsm for the best quality)
- Printer
- Flower templates
- Cutting mat
- Craft knife
- Scissors
- Ruler
- Glue
- Adhesive sticky pads
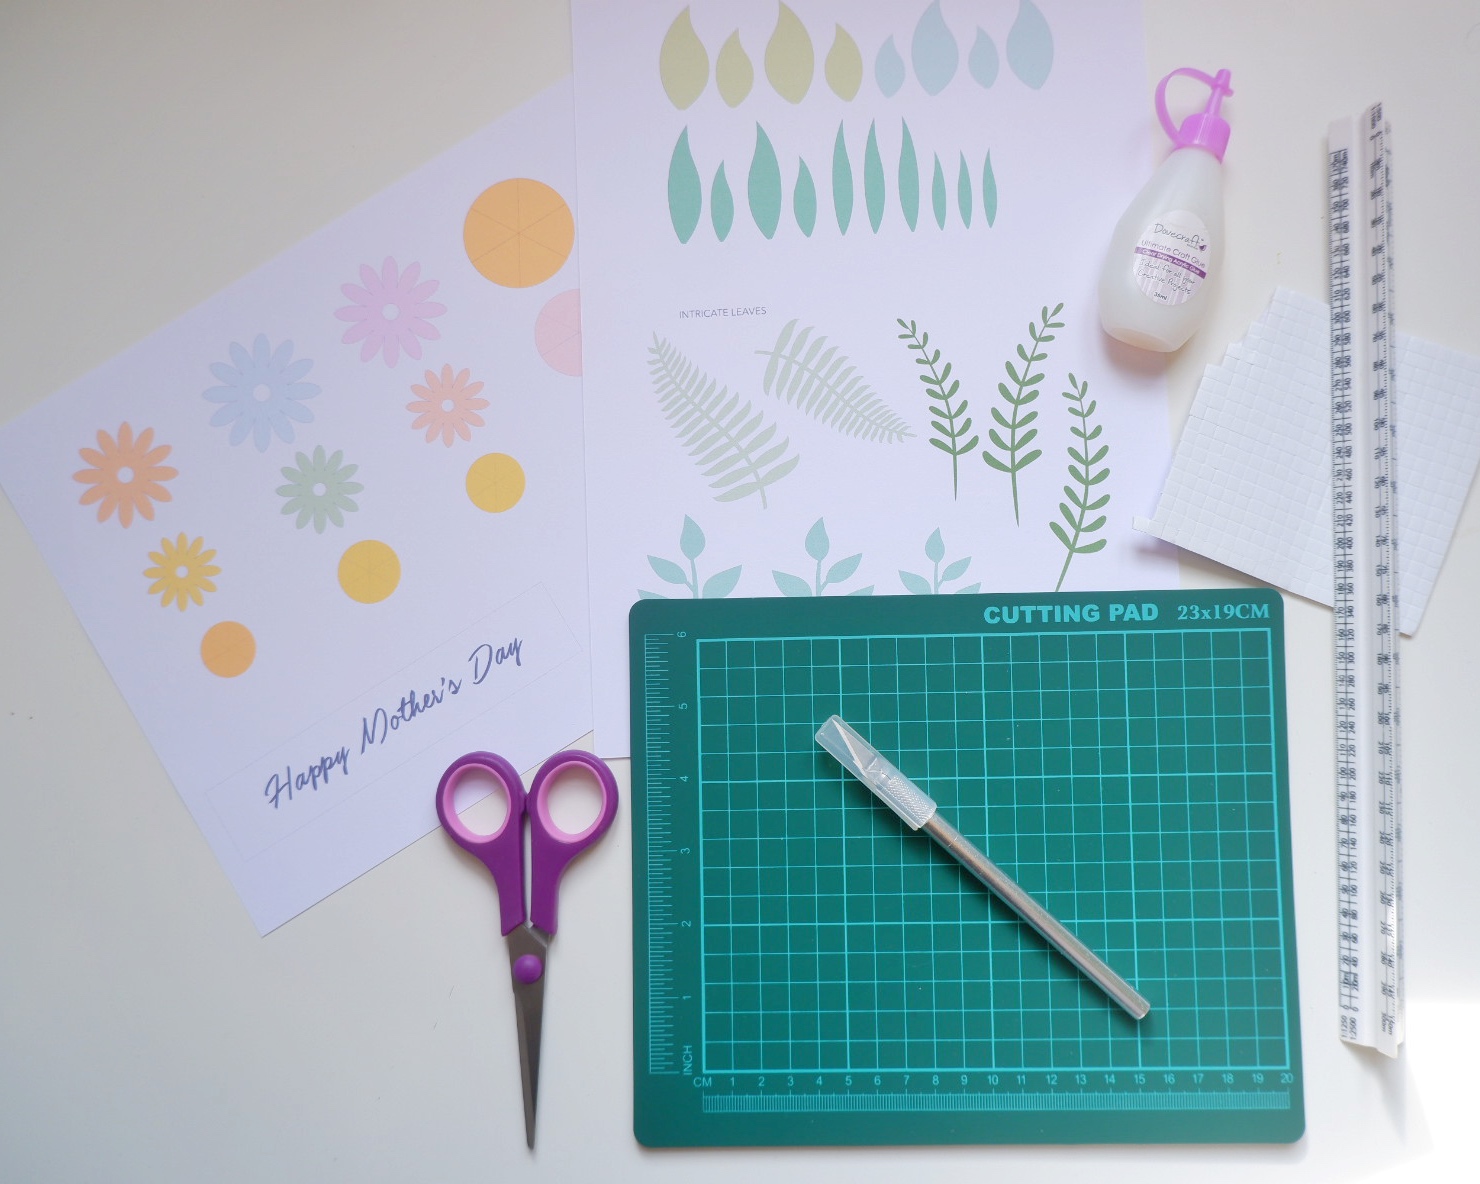
How to make the paper cut card…
Begin by using a cutting mat and craft knife to cut out the flower & leaf templates. This will take a little patience, so pour yourself a nice hot brew and put on a series to watch whilst doing it. It’s a very therapeutic craft I promise!
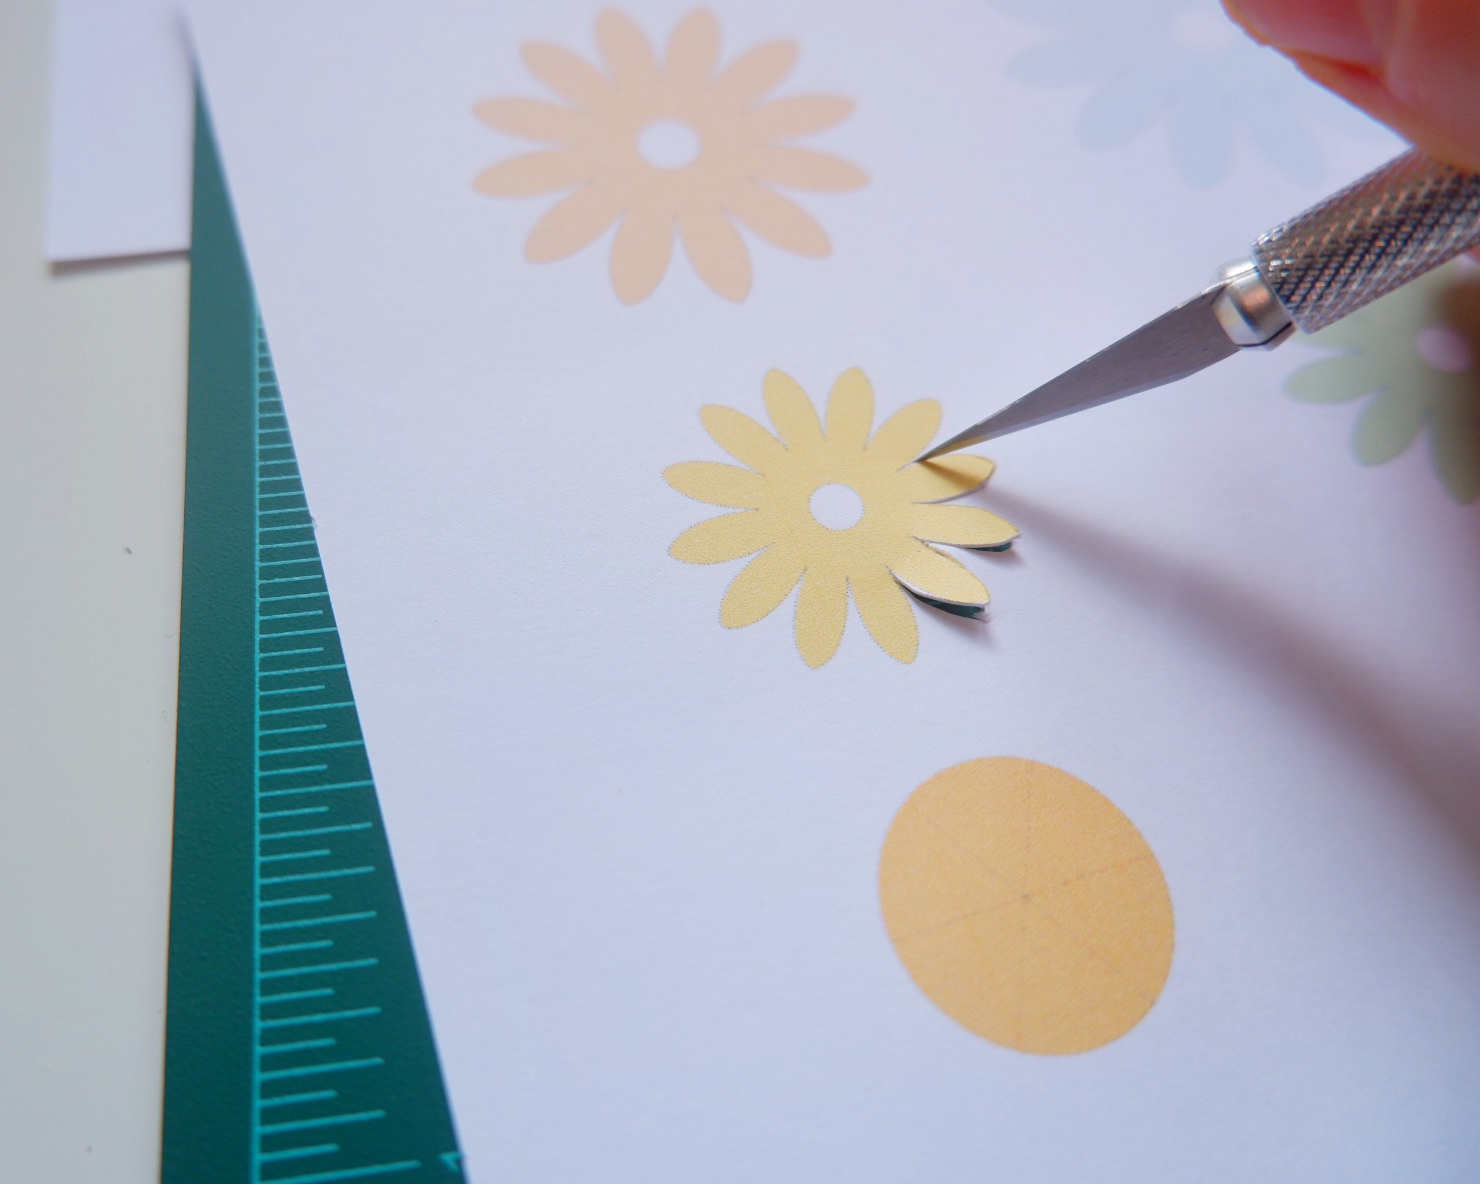
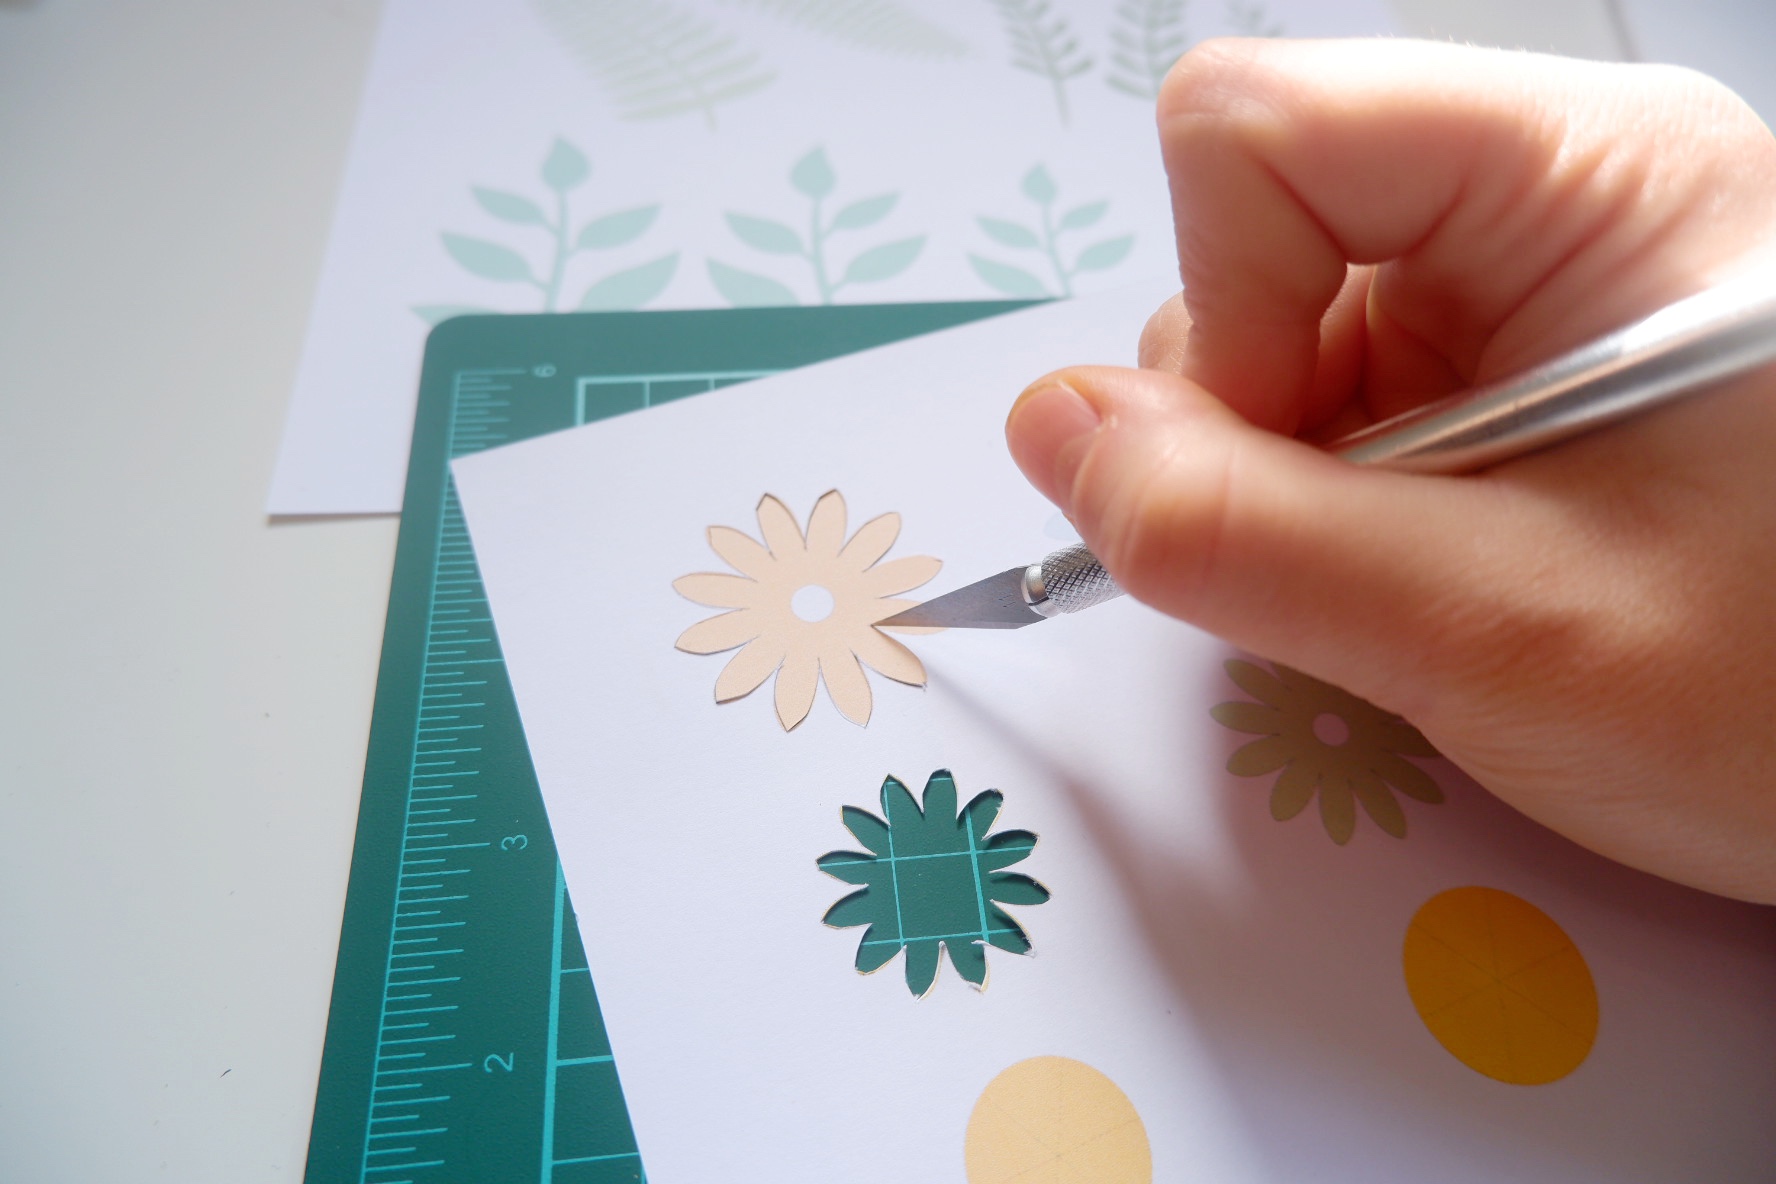
When cutting the intricate leaves, be aware that they are dainty and fragile. When you remove them from the paper make sure they don’t get caught up or tangles or else you may lose a leaf!
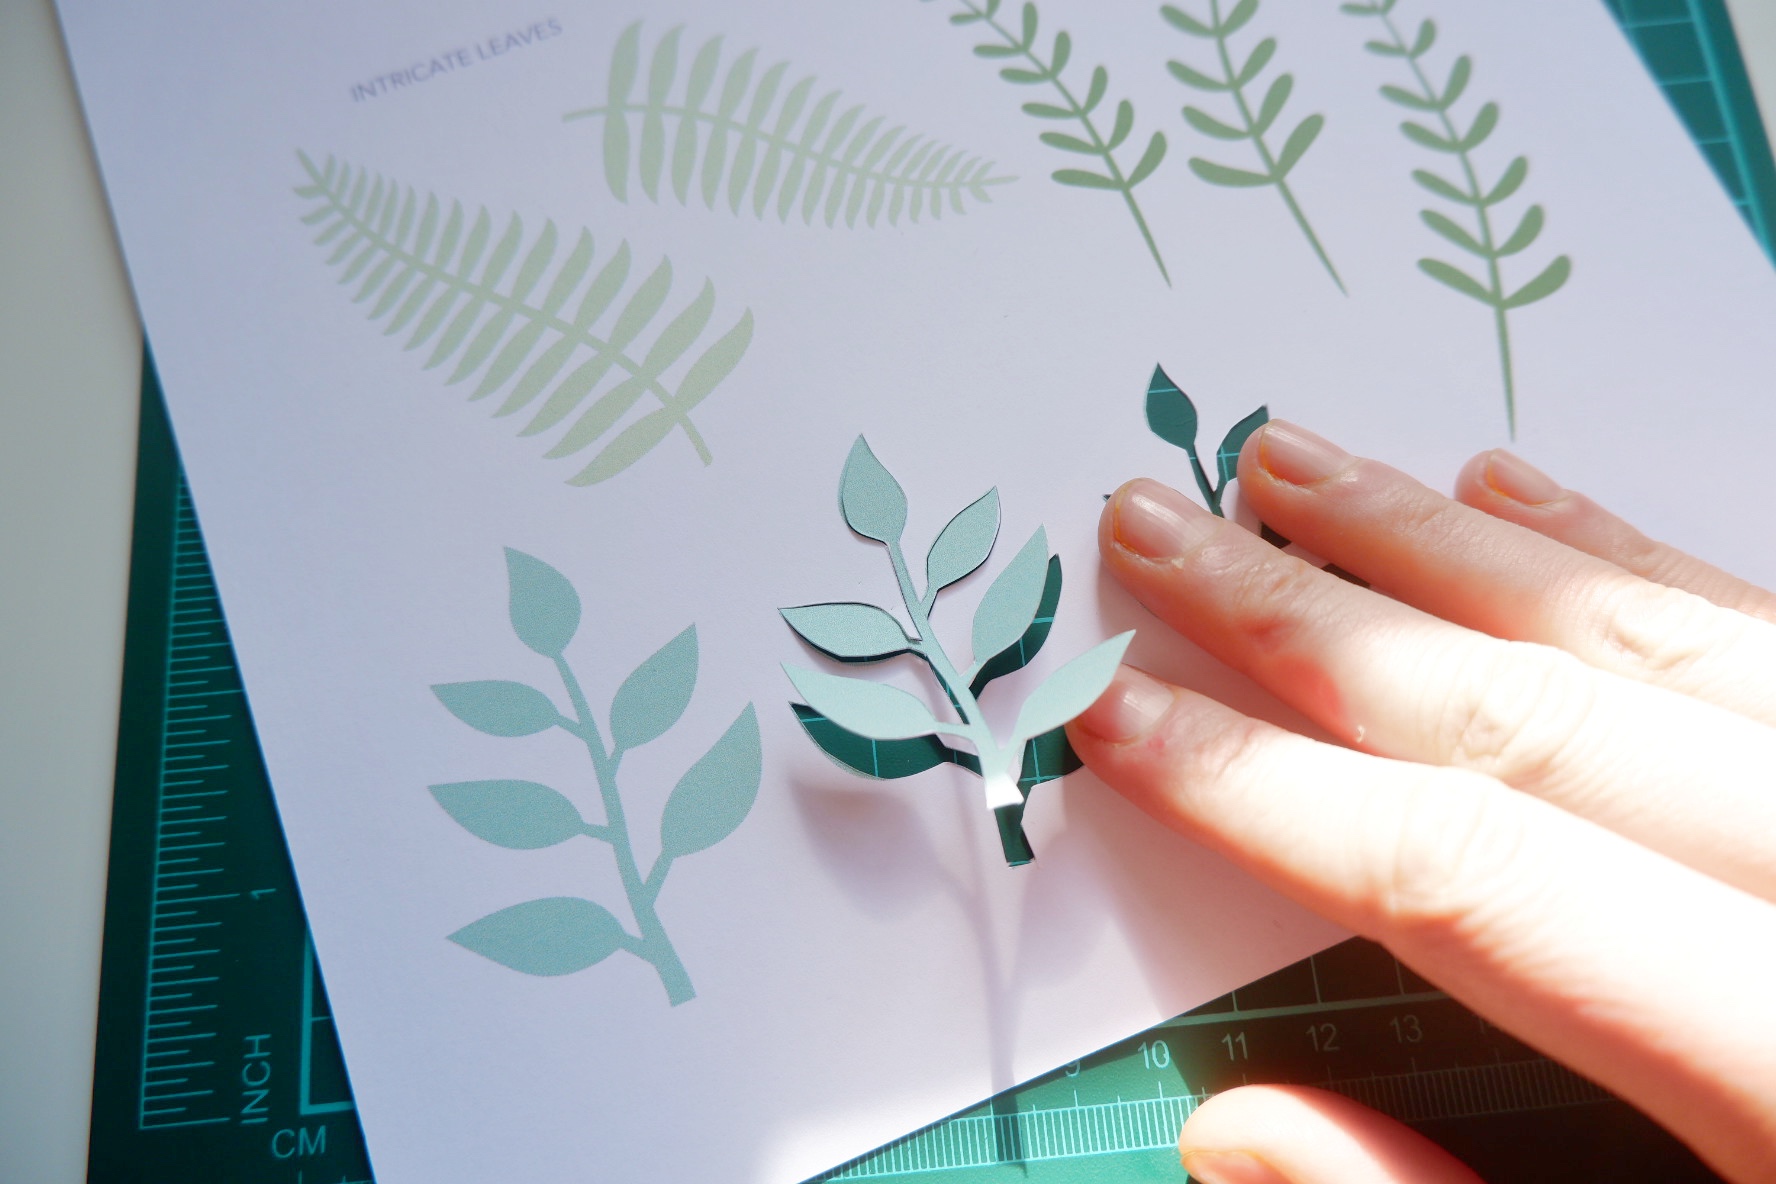
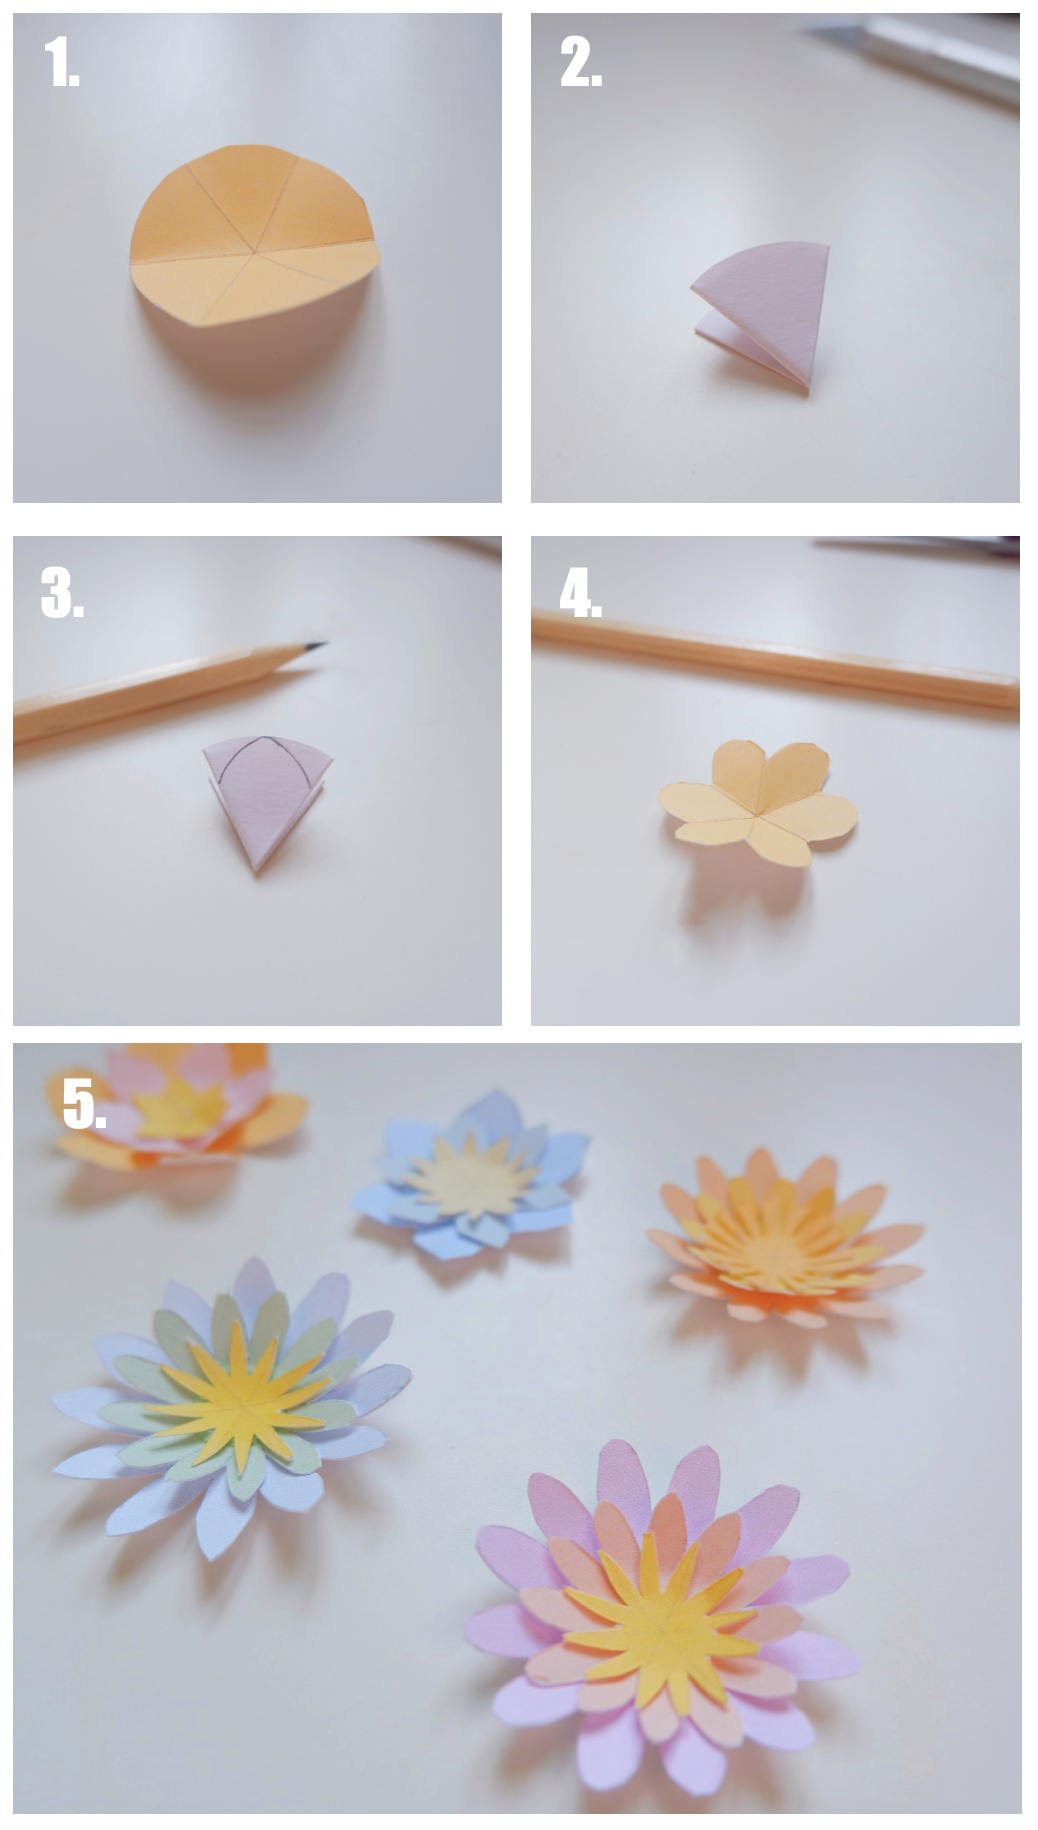
To make the flowers, cut out the coloured circles and follow the steps below:
1 – Score the lines on the circles. Be careful not to cut all of the way through!
2 – Fold the scored lines so that you are left with one segment.
3 – Draw any petal shape that you wish. Pointed, rounded… The choice is yours! Experiment with different styles. Then, cut the shape you have drawn.
4 – Unfold the template to reveal your flower.
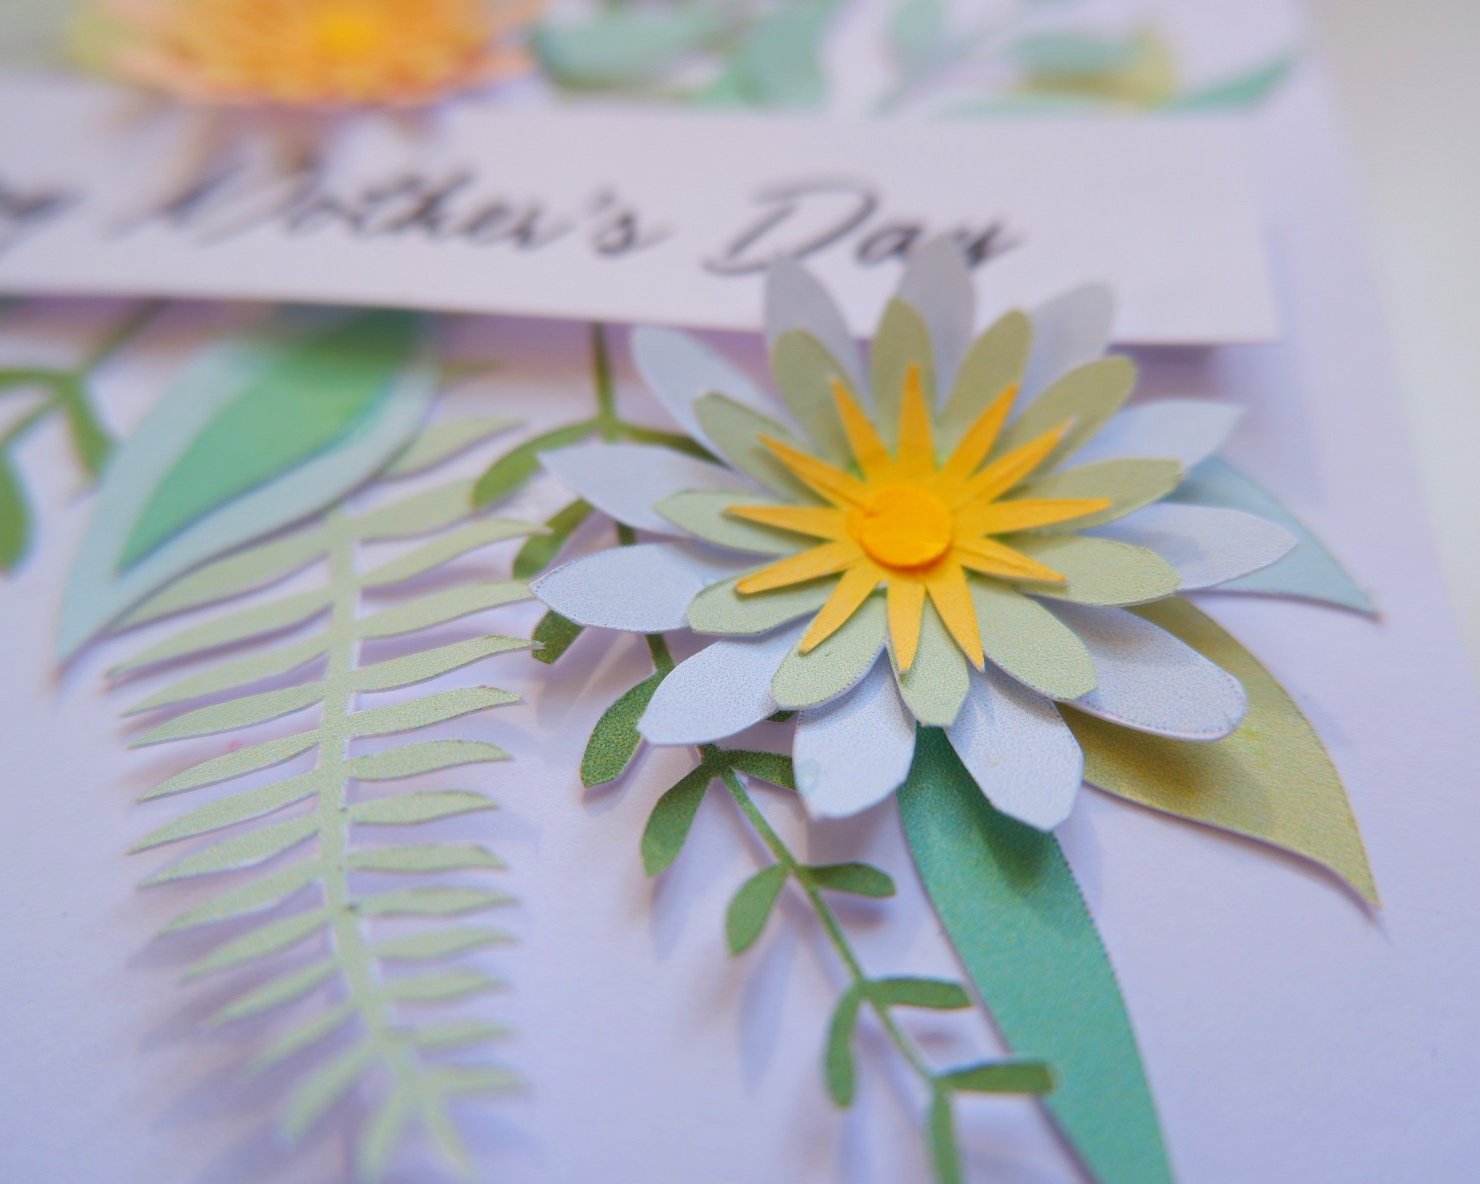
5 – Use glue to layer the petals to create a 3D flower.
Creating the layout…
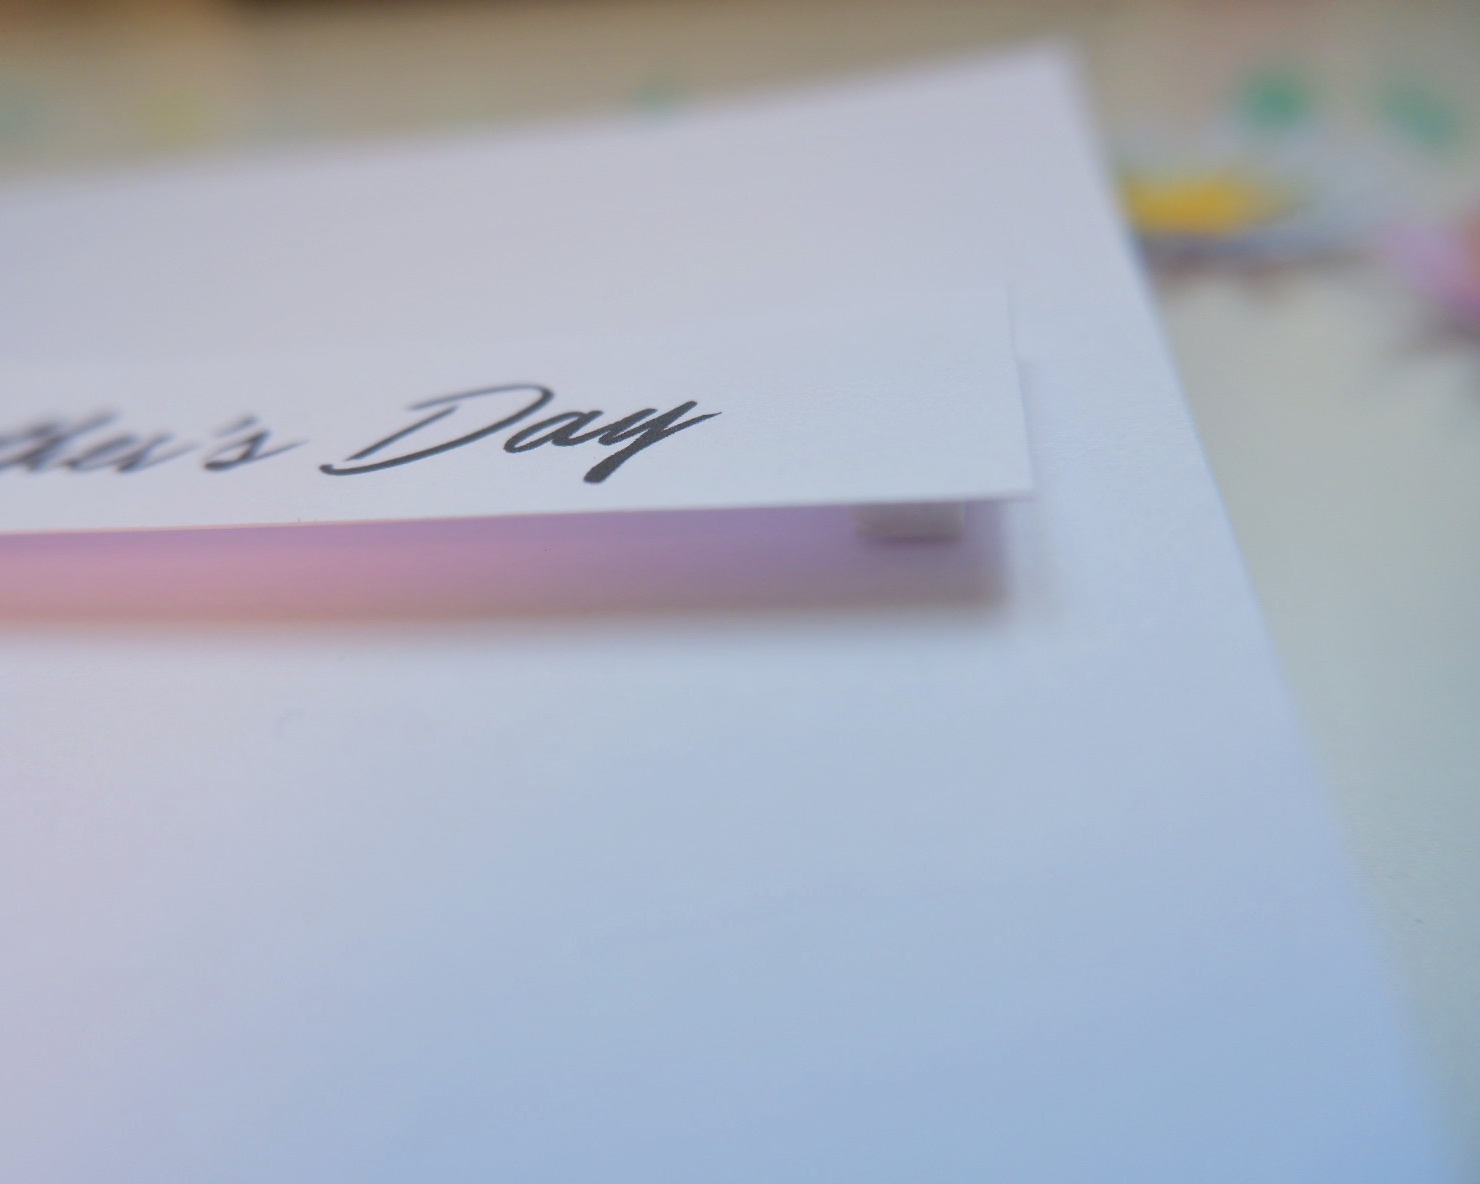
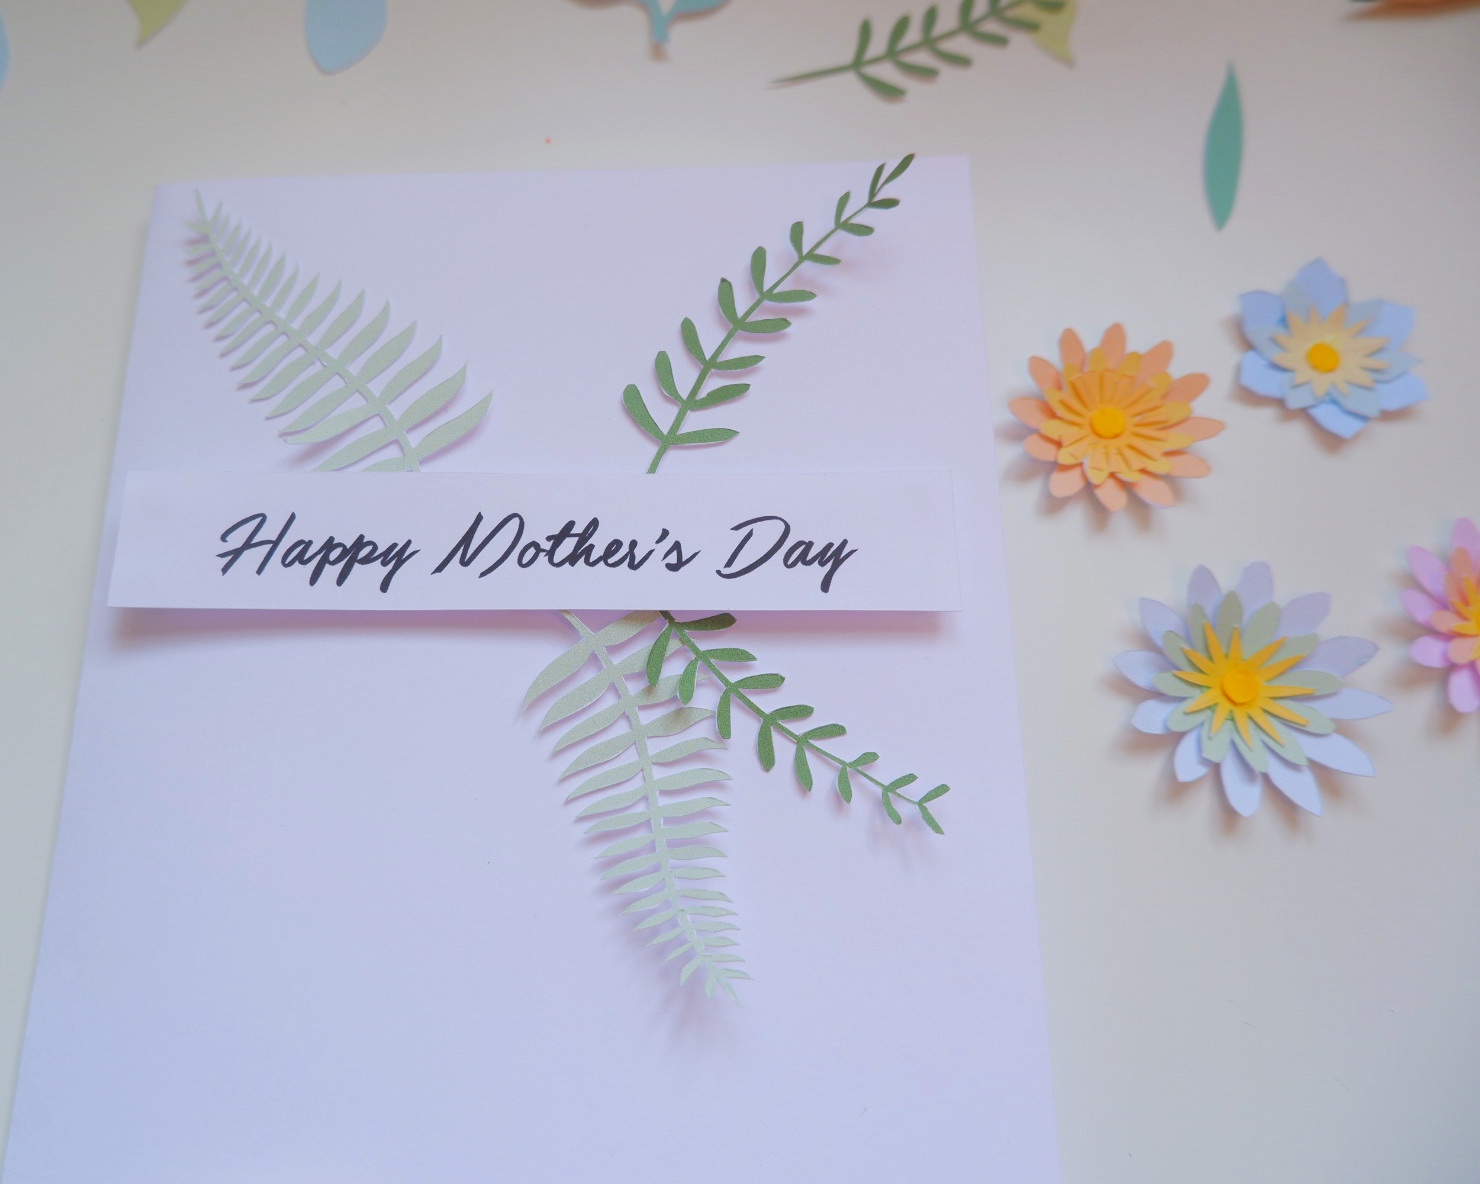
Once you have cut out all of the templates and made your flowers, gather them together so you can easily access them. Cut out the ‘Happy Mother’s Day’ banner, and use adhesive sticky pads to attach it to the card. The sticky pads will elevate the banner for a nice 3D effect.

Then it’s time to get creative and assemble the leaves and flowers You can either copy my layout, or experiment and play around with your own design – It’s completely up to you!
Use clear, strong craft glue to attach the flowers. Try and use minimal glue so that it doesn’t seep out under the templates and look splodgy.
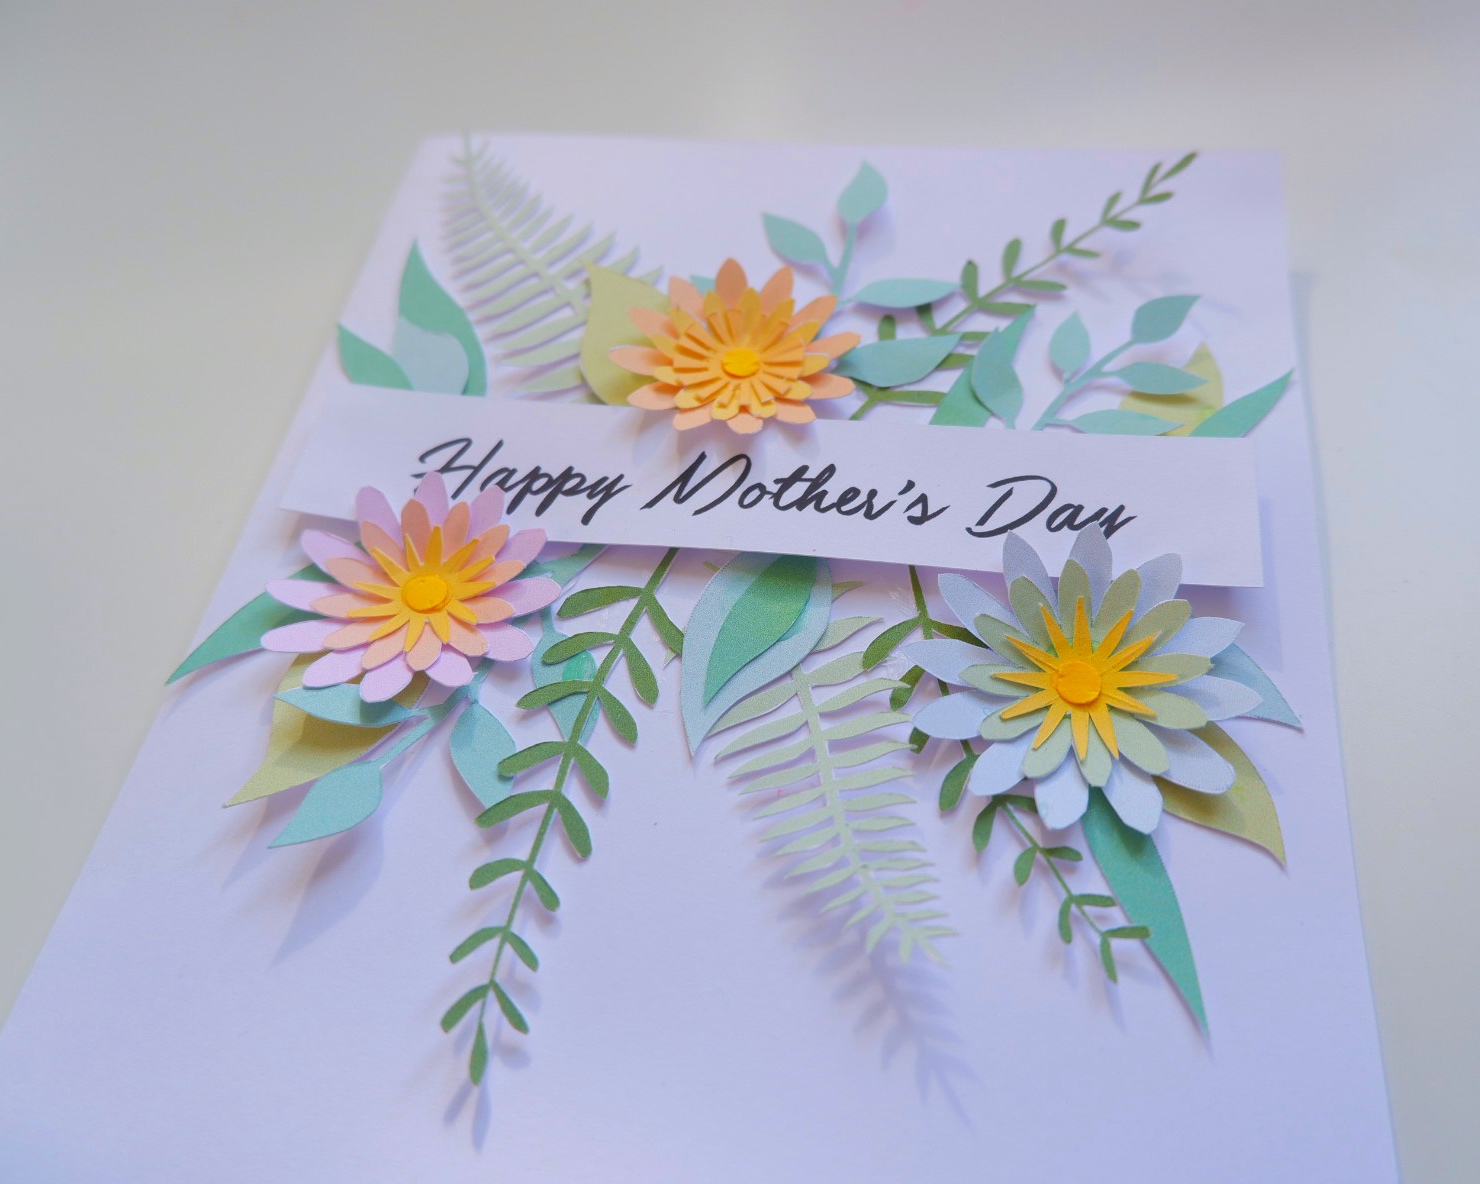
When you’re happy with the arrangement, put to one side and allow to dry. Admire your work from afar! It’s amazing how detailed the flowers look when they have three or four layers to them…
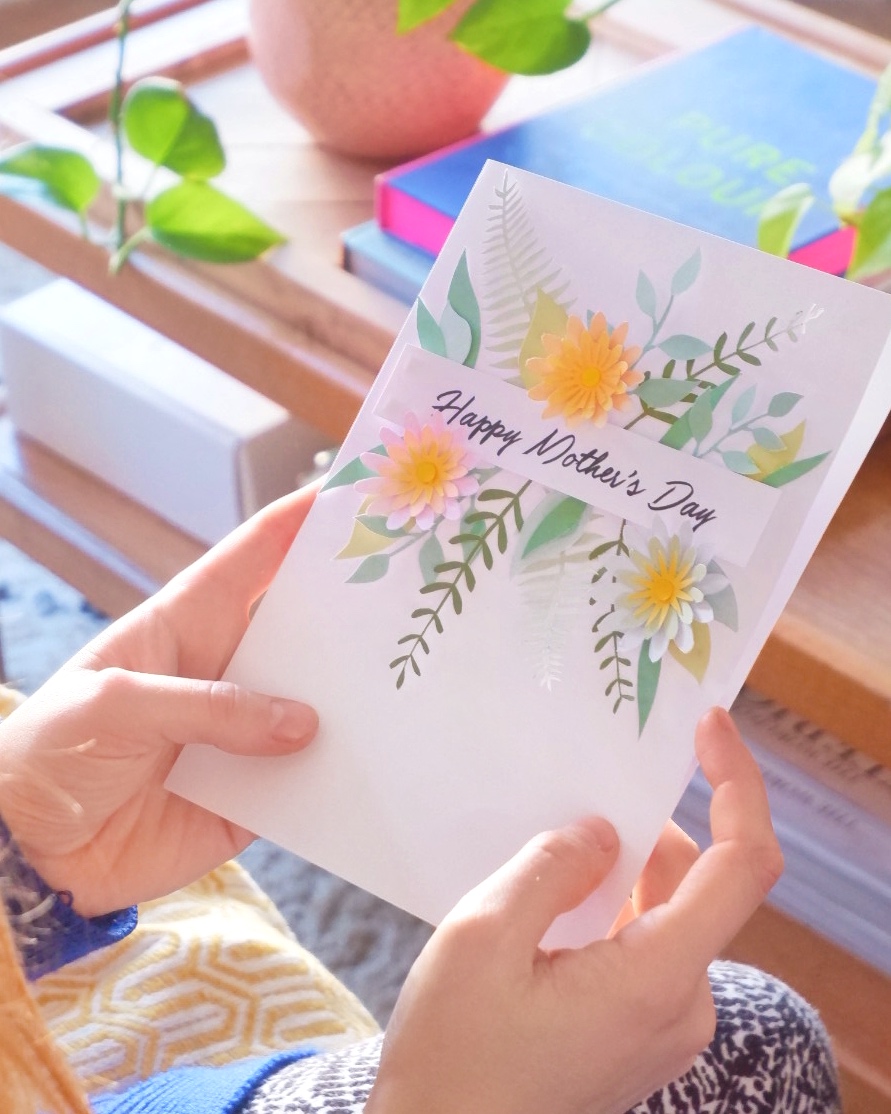
Now all that’s left to do is pop it in an envelope, and enjoy your Mum’s happy reaction when opening it on Mother’s Day.
If you would like to know more about the Epson EcoTank printer that I used for this craft, then follow this link here. You can also view the full Epson printer range on their website here.
YOU MAY ALSO LIKE
Handmade Father’s Day Wallet Card
PIN THIS
