Here’s why Keynotes is so amazing…Let’s make prints!

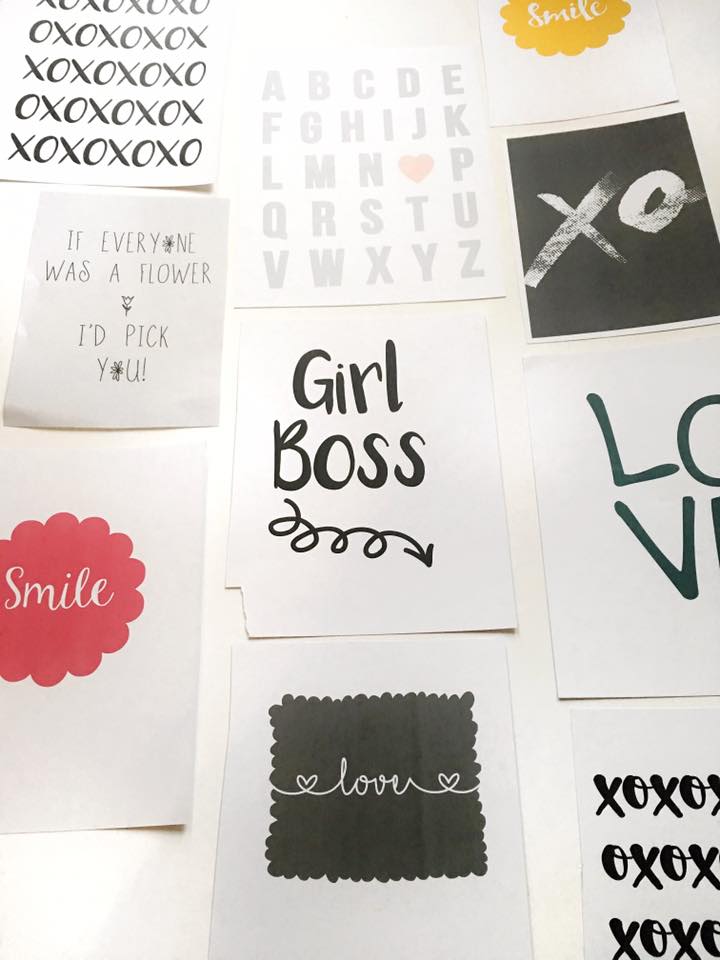
Alas, Keynotes. My new favourite software. I’ve had many messages and comments recently asking how I create some of my graphics, and whilst I use many other editing tools and apps, I thought I’d start here and share one of my latest faves, my go-to tool. Keynotes was something I had heard about and lusted over for quite some time before getting my iMac in August last year. So, you can imagine how happy I was when I loaded up my shiny new iMac and found that Keynotes was already installed on it (for free!).
Keynotes is an Apple-bound software known for it’s easy drag and drop tools and effects, which results in pretty darn impressive presentations and graphics. I always use Keynotes to make mood boards and briefs for upcoming jobs, but recently I’ve found a new way to use it which I just HAVE to share with you all because I know you’re going to love it.
I’ve recently been doing some small shoots of my own and have found that I often need good images or prints to put in to frames. I started playing around with different text settings on Keynotes and downloaded tons of my favourite fonts (see post here), so I could tweak and edit my own prints. Now, I want to share my top tips on how YOU can do this too…
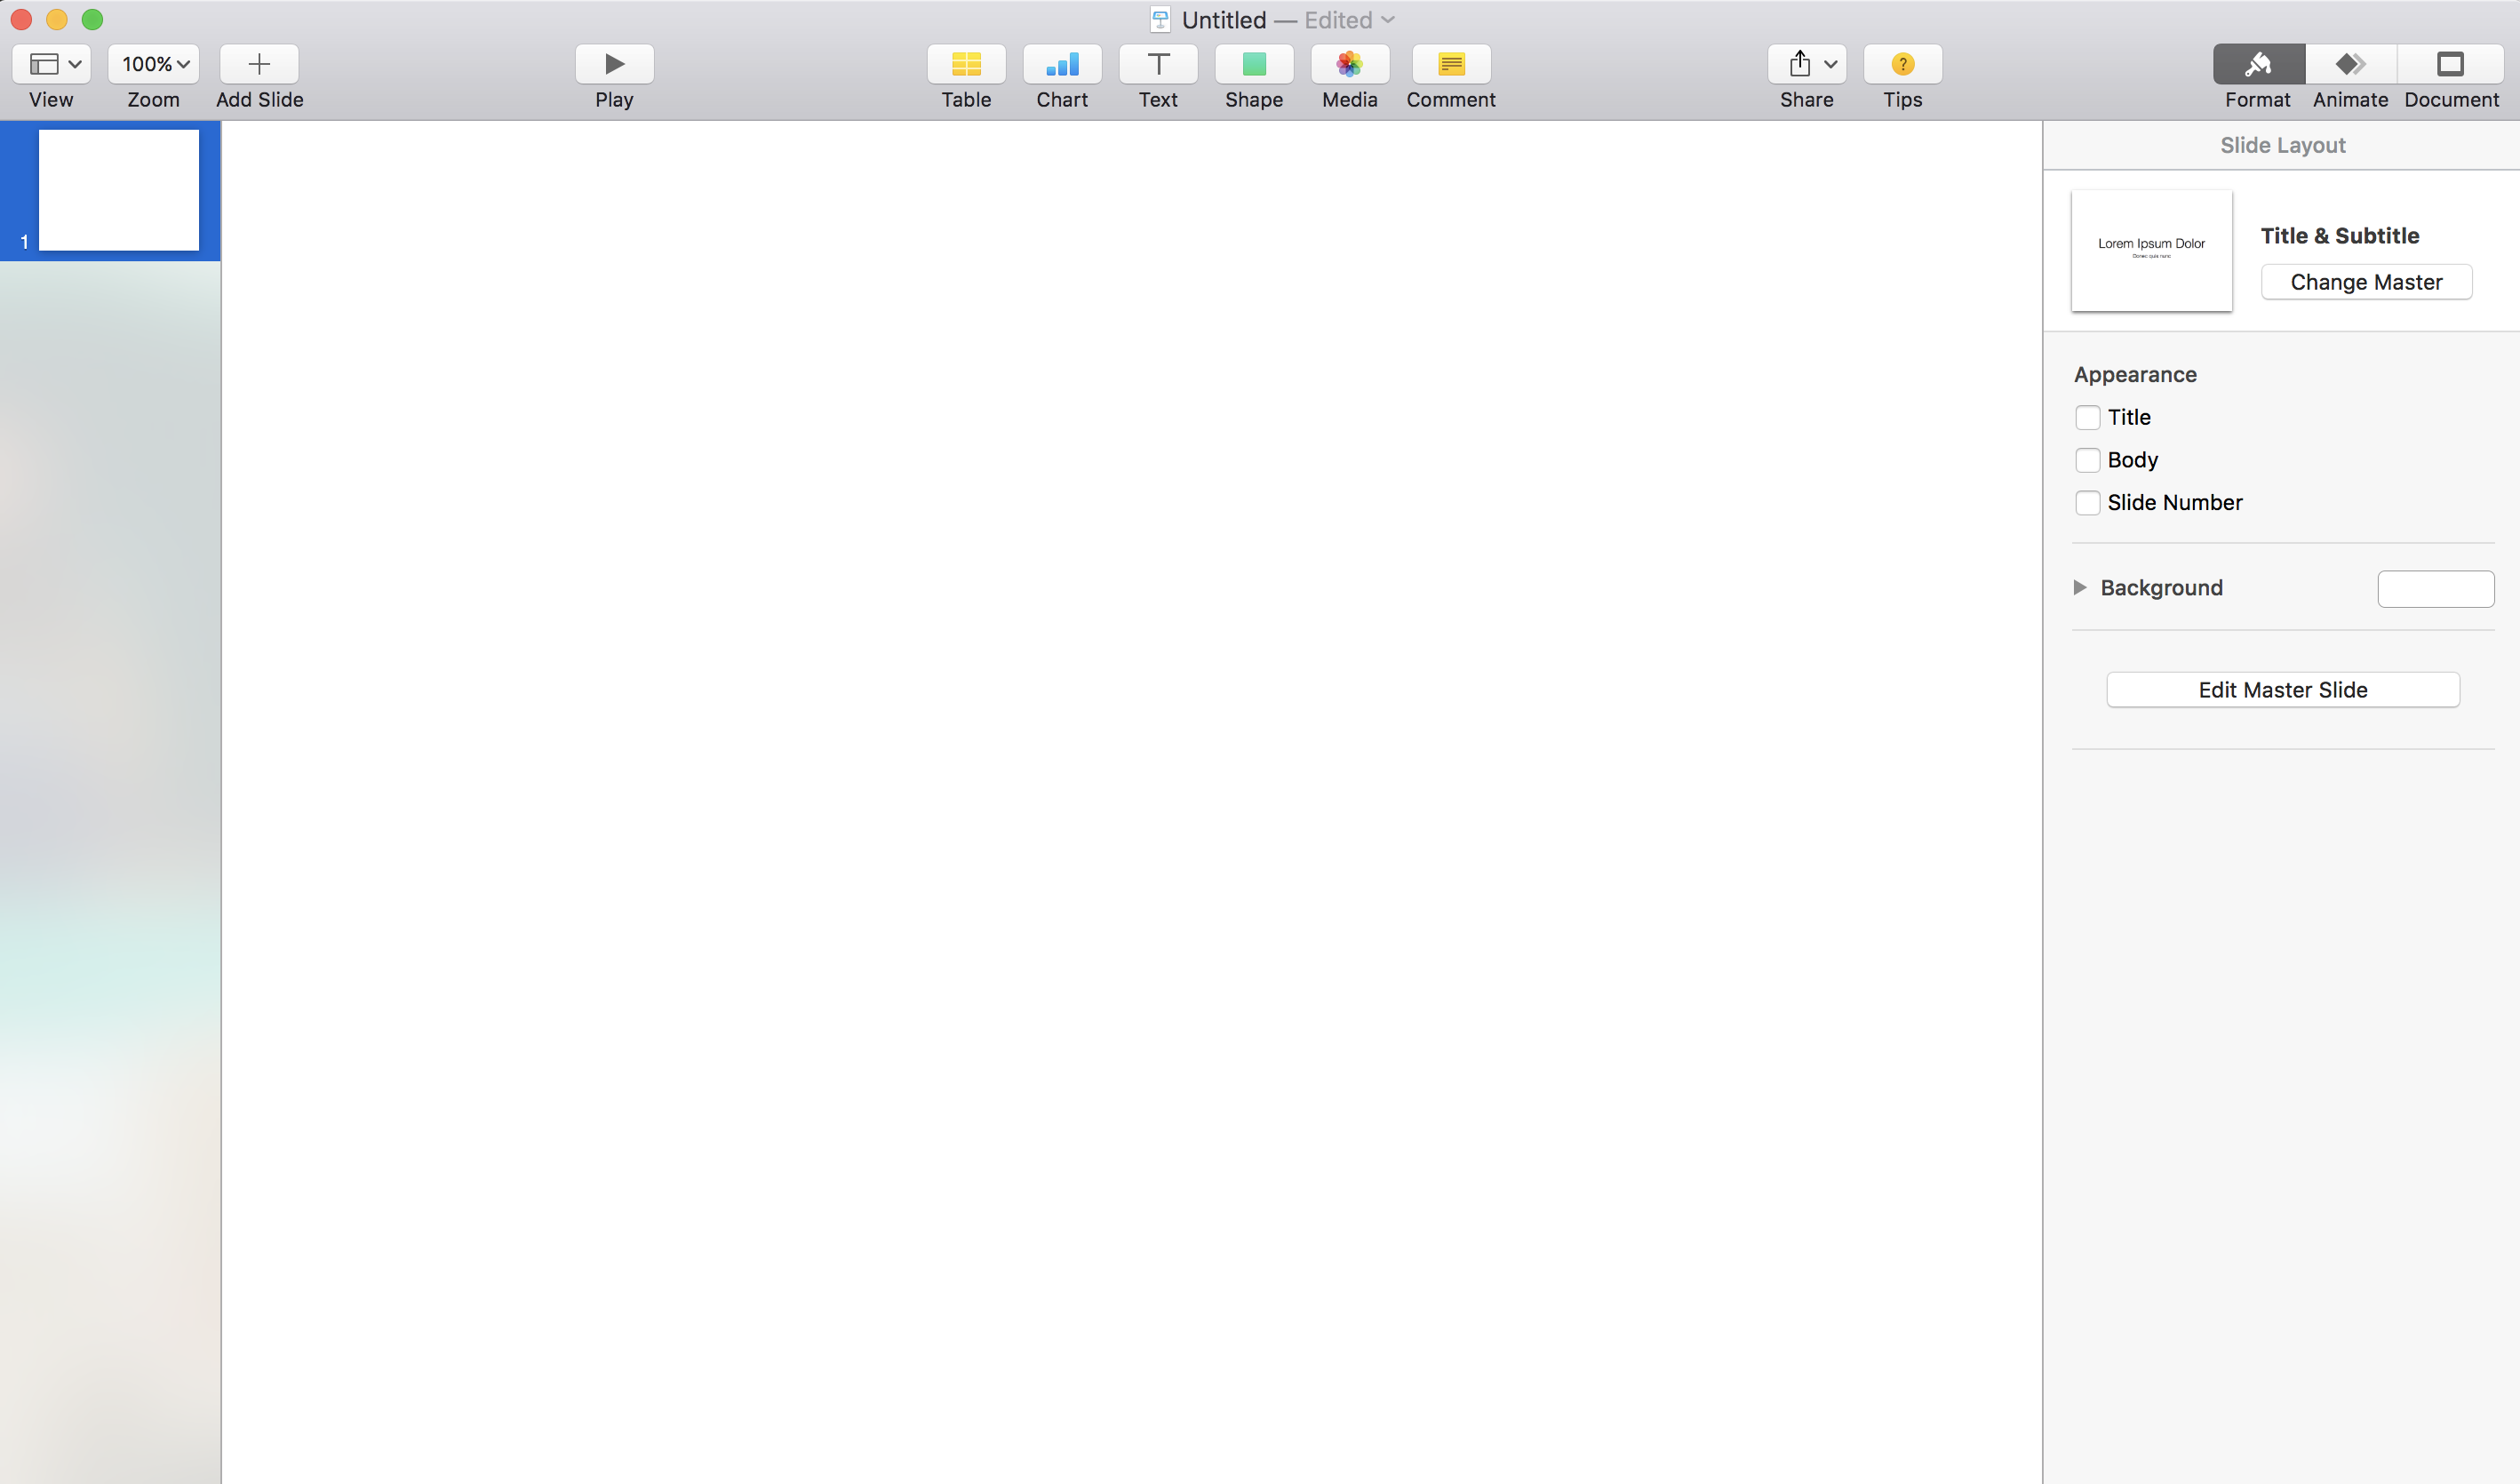
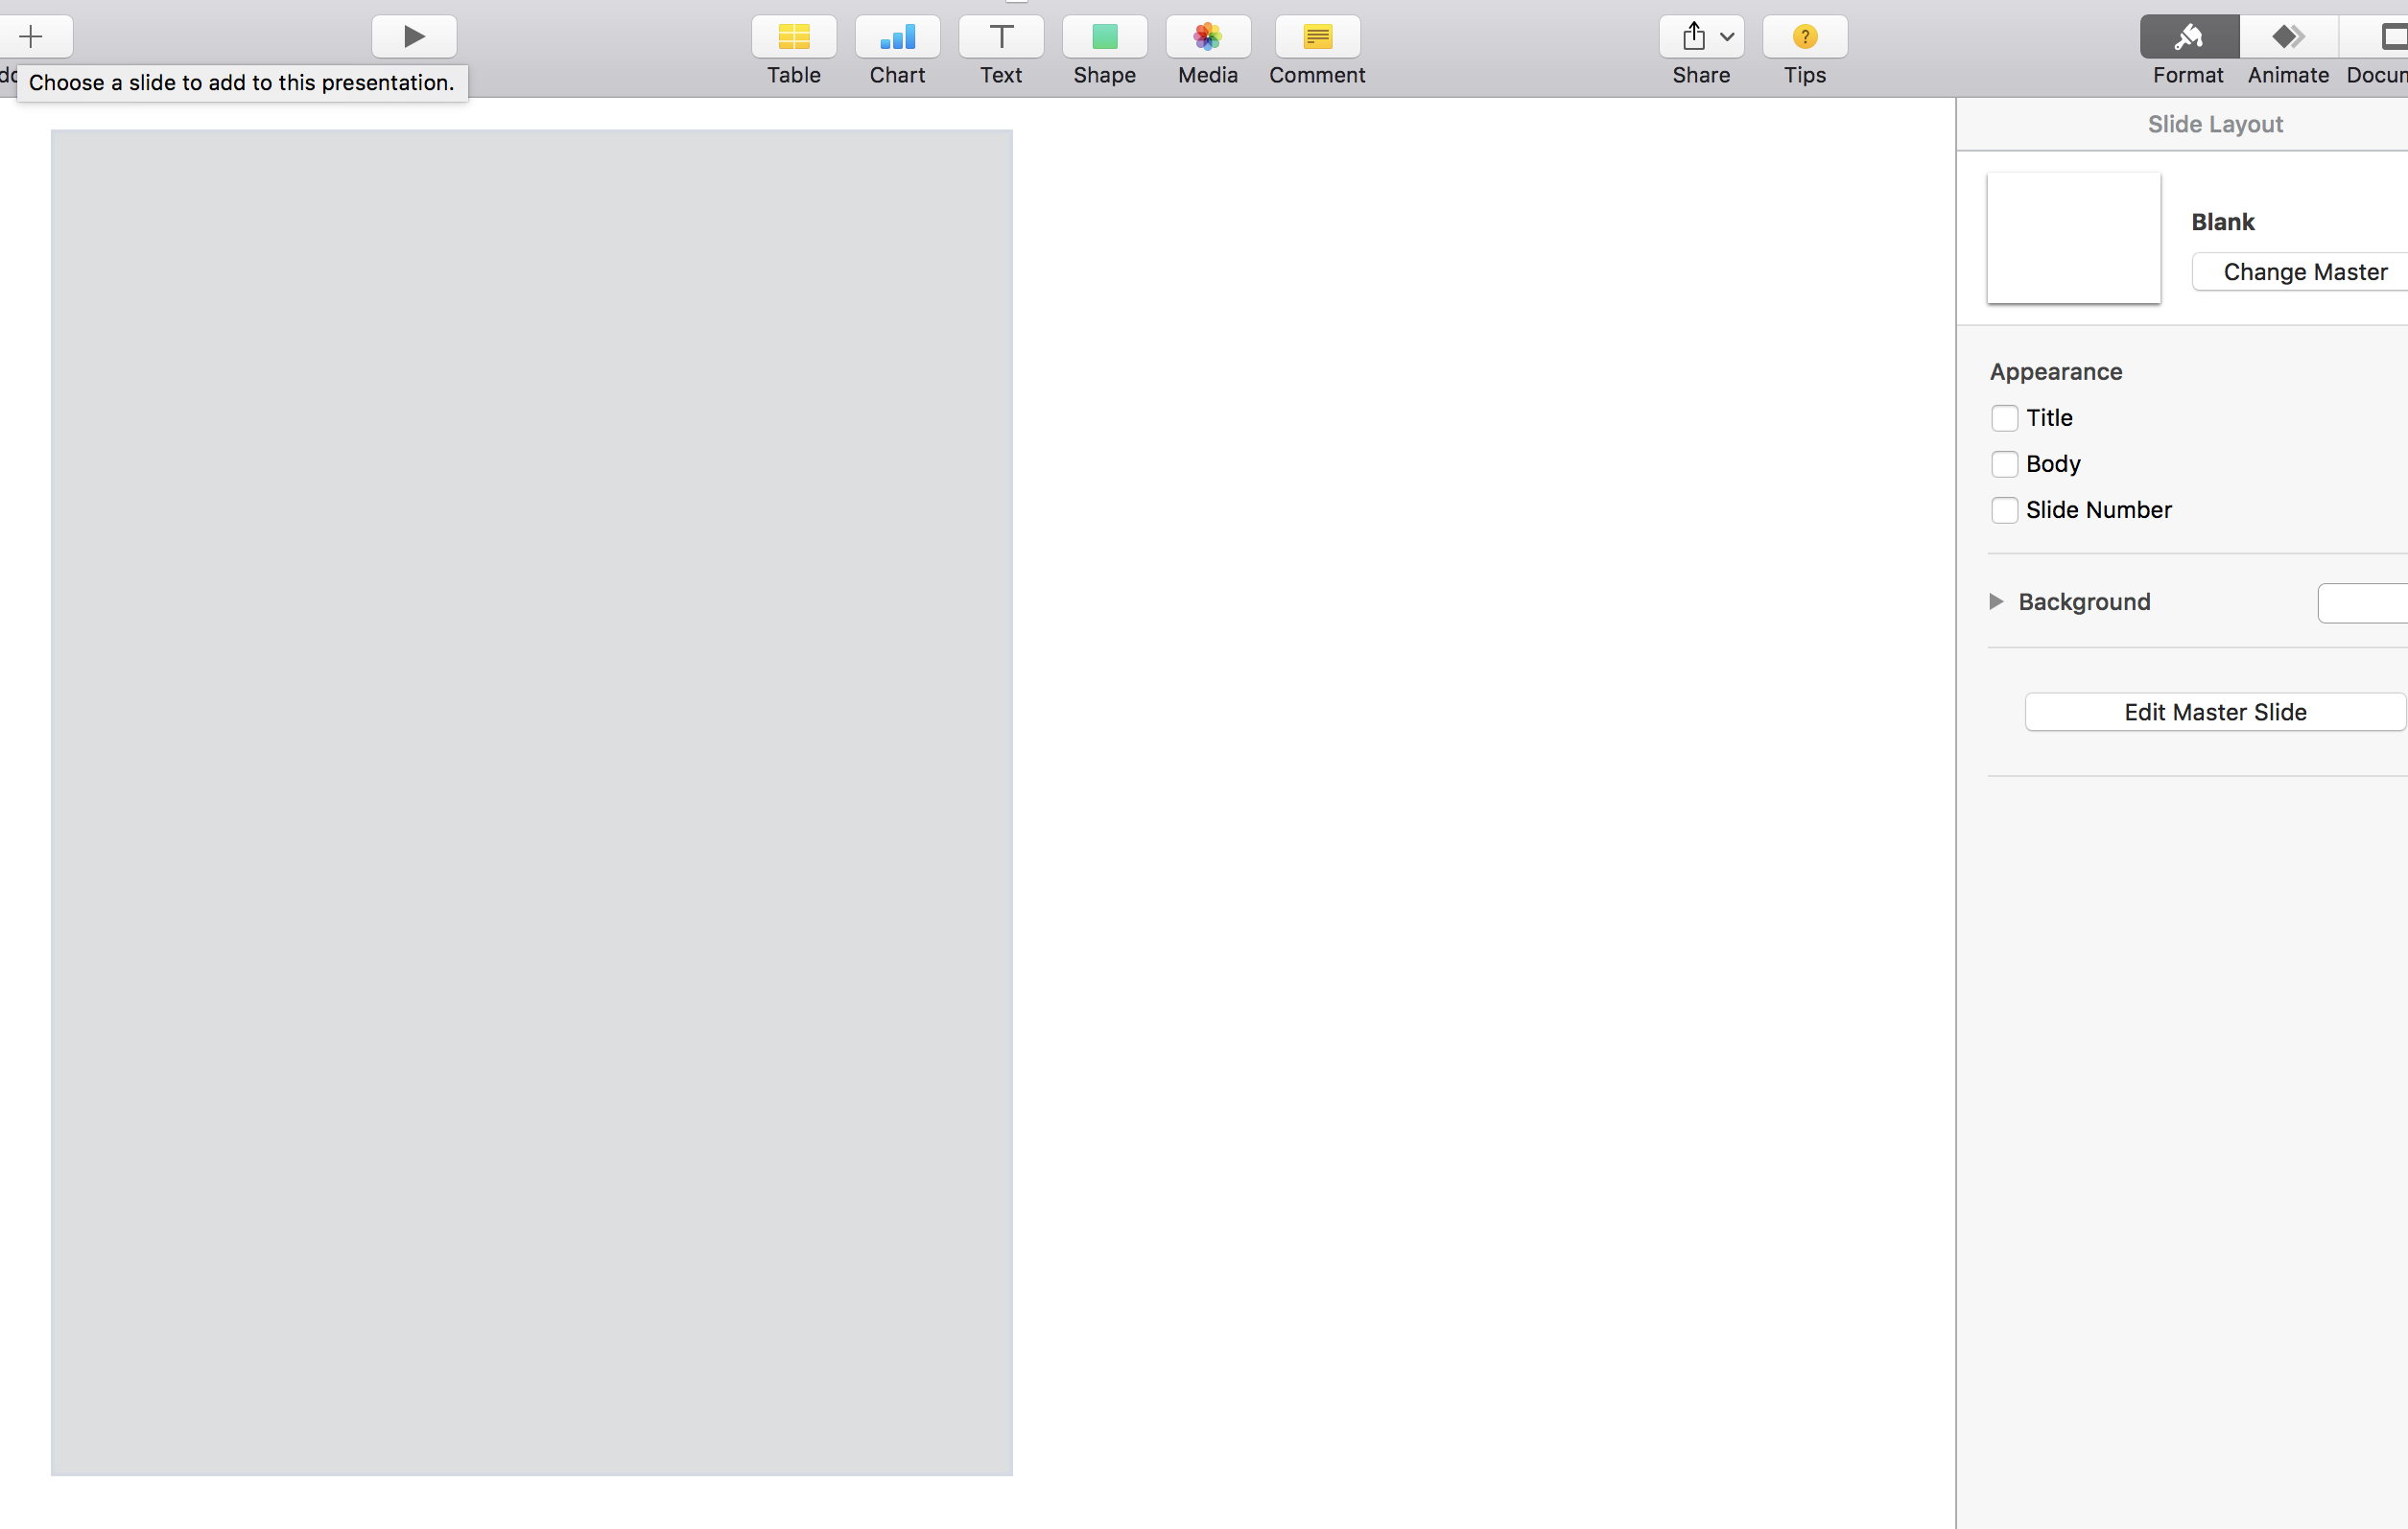
When loading up Keynotes, this is what you get. The dimensions of the presentation is already set up for a landscape piece of A4 paper which can easily be tweaked to portrait dimensions if that’s your preference. On here, you can simply drag and drop image files from your ‘finder’ and insert text to fill the space.

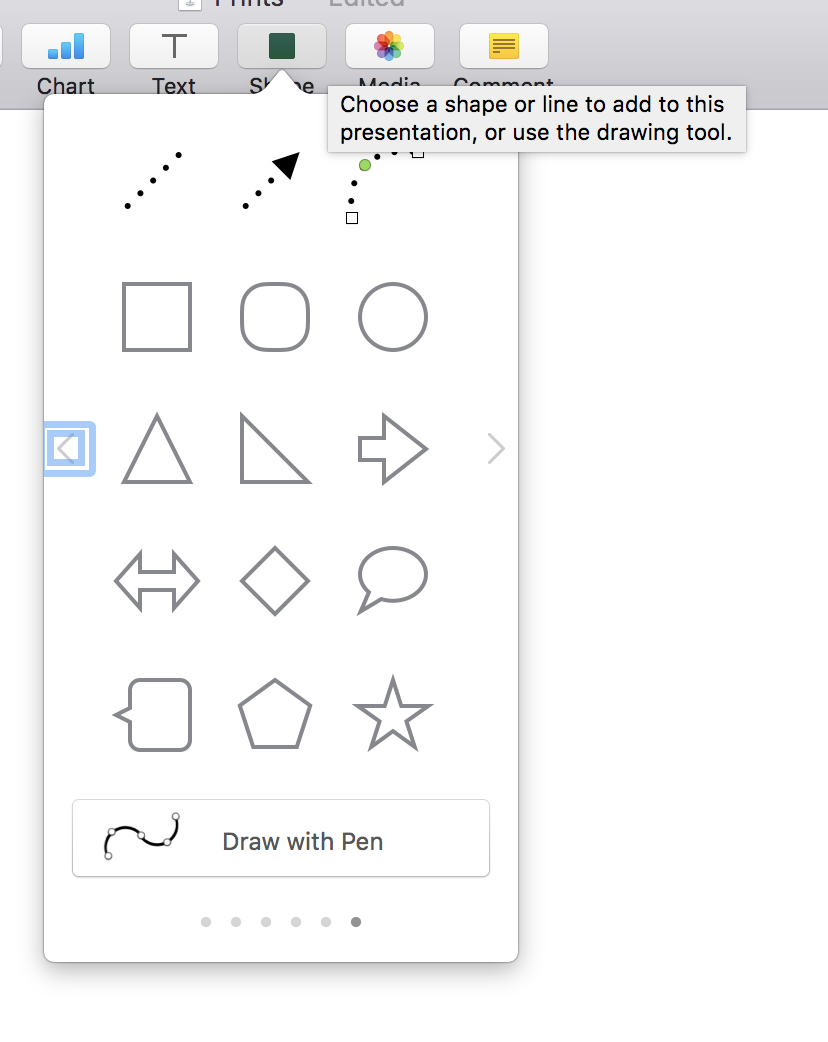
At the top of the screen there’s a toolbar to which you can add your preferred content. To begin one print, I simply used the ‘shape’ section and inserted a lined box to create a frame for the print.
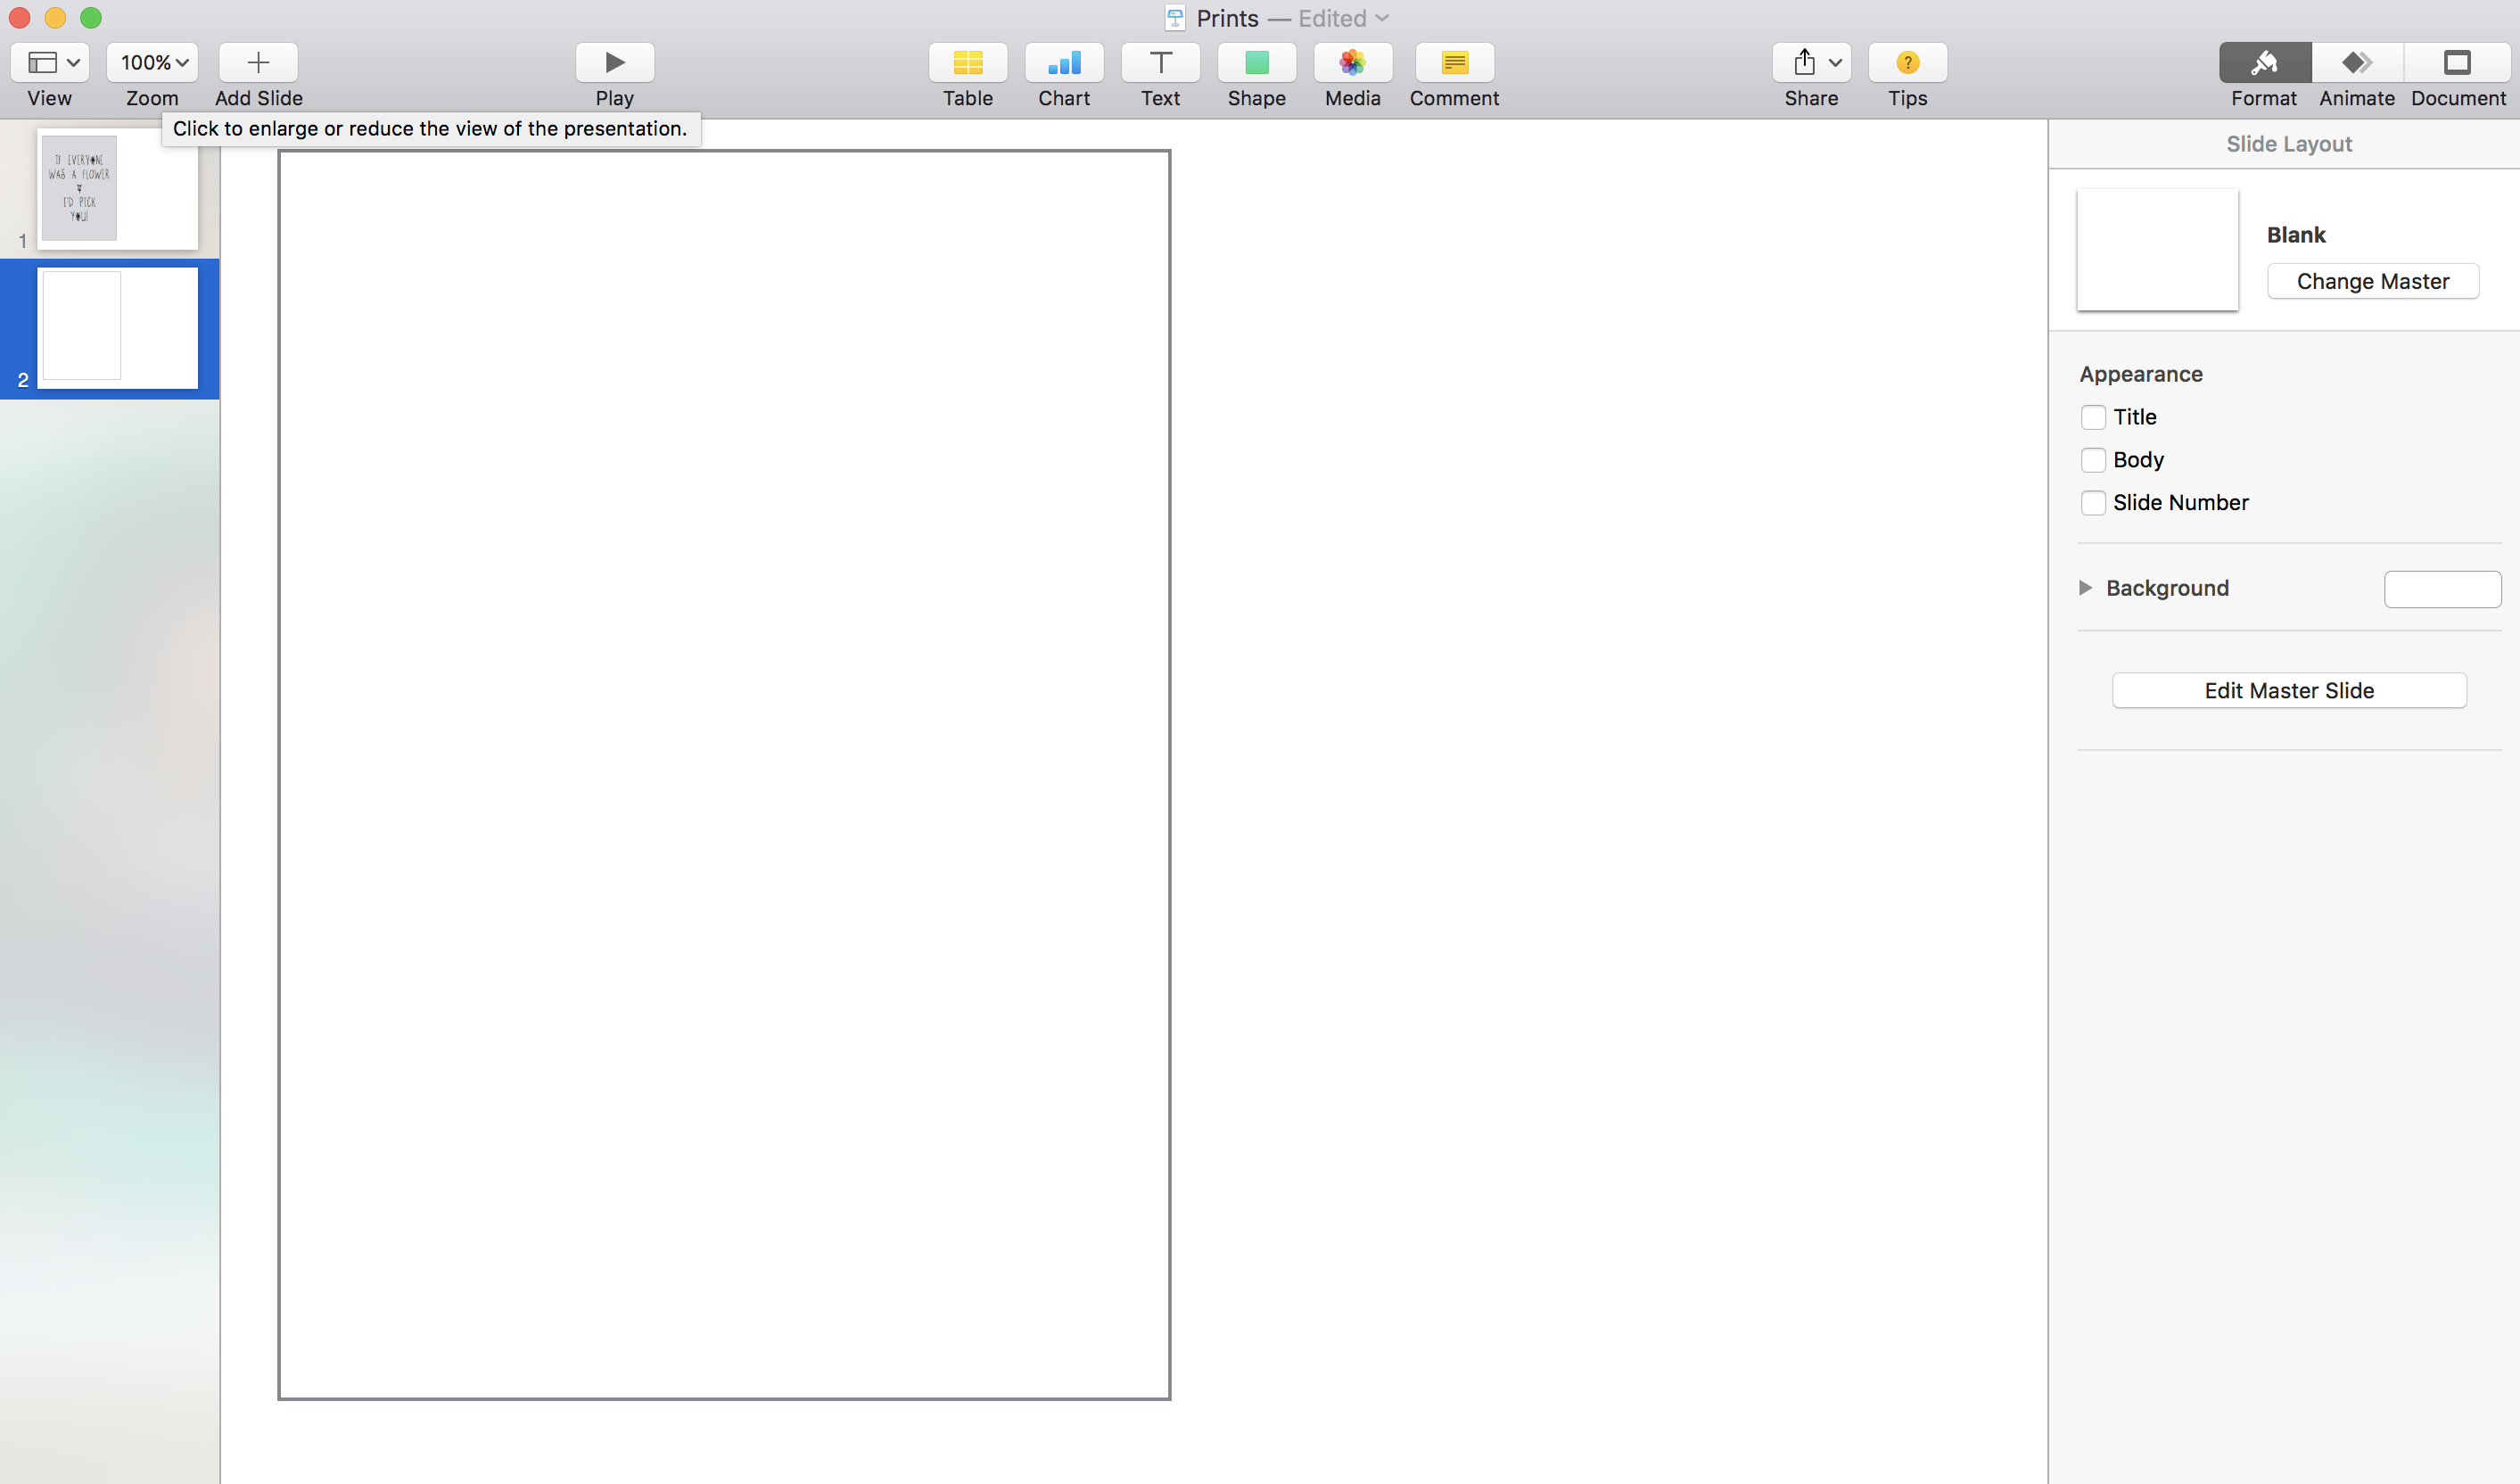
Once the square is set on the screen, you can drag it to any dimension you wish. I created a rectangle (width 500px X height 700px) which then fits perfectly in a 5X7 frame.
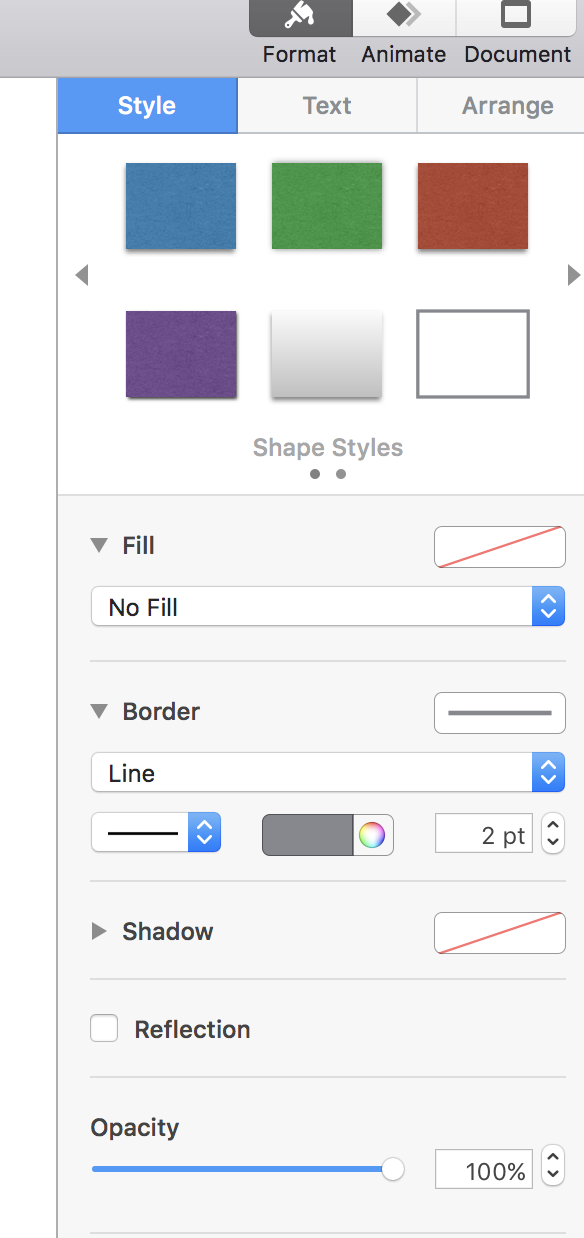
When you click on the border, there’s an option on the sidebar to ‘fill’ in the colour. A colour graph will appear and you can pick the exact colour you desire.
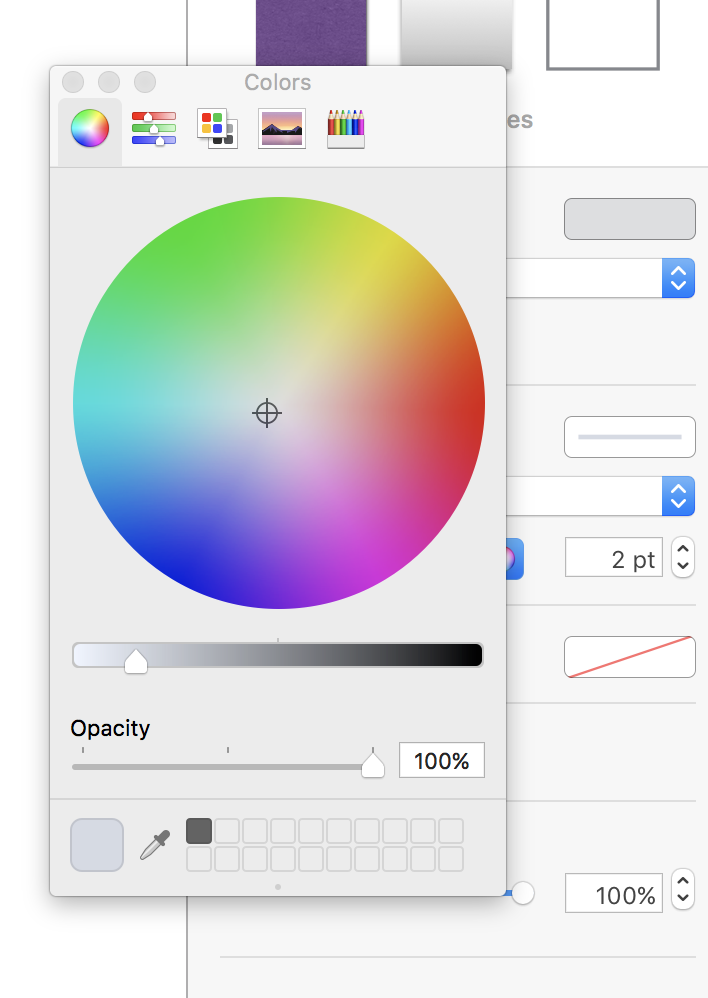
I filled my frame in with a pale grey colour as the particular photoshoot I was creating this for had a grey and pink colour scheme.
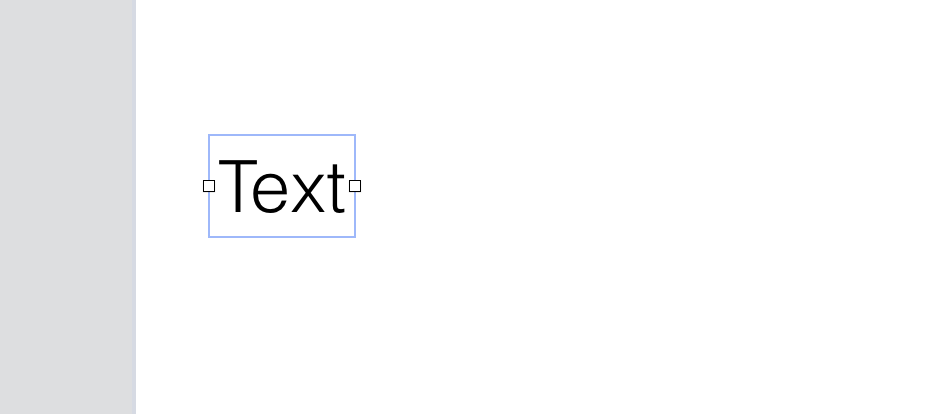
There’s a tab on the toolbar that instantly adds a ‘text’ field to your document…
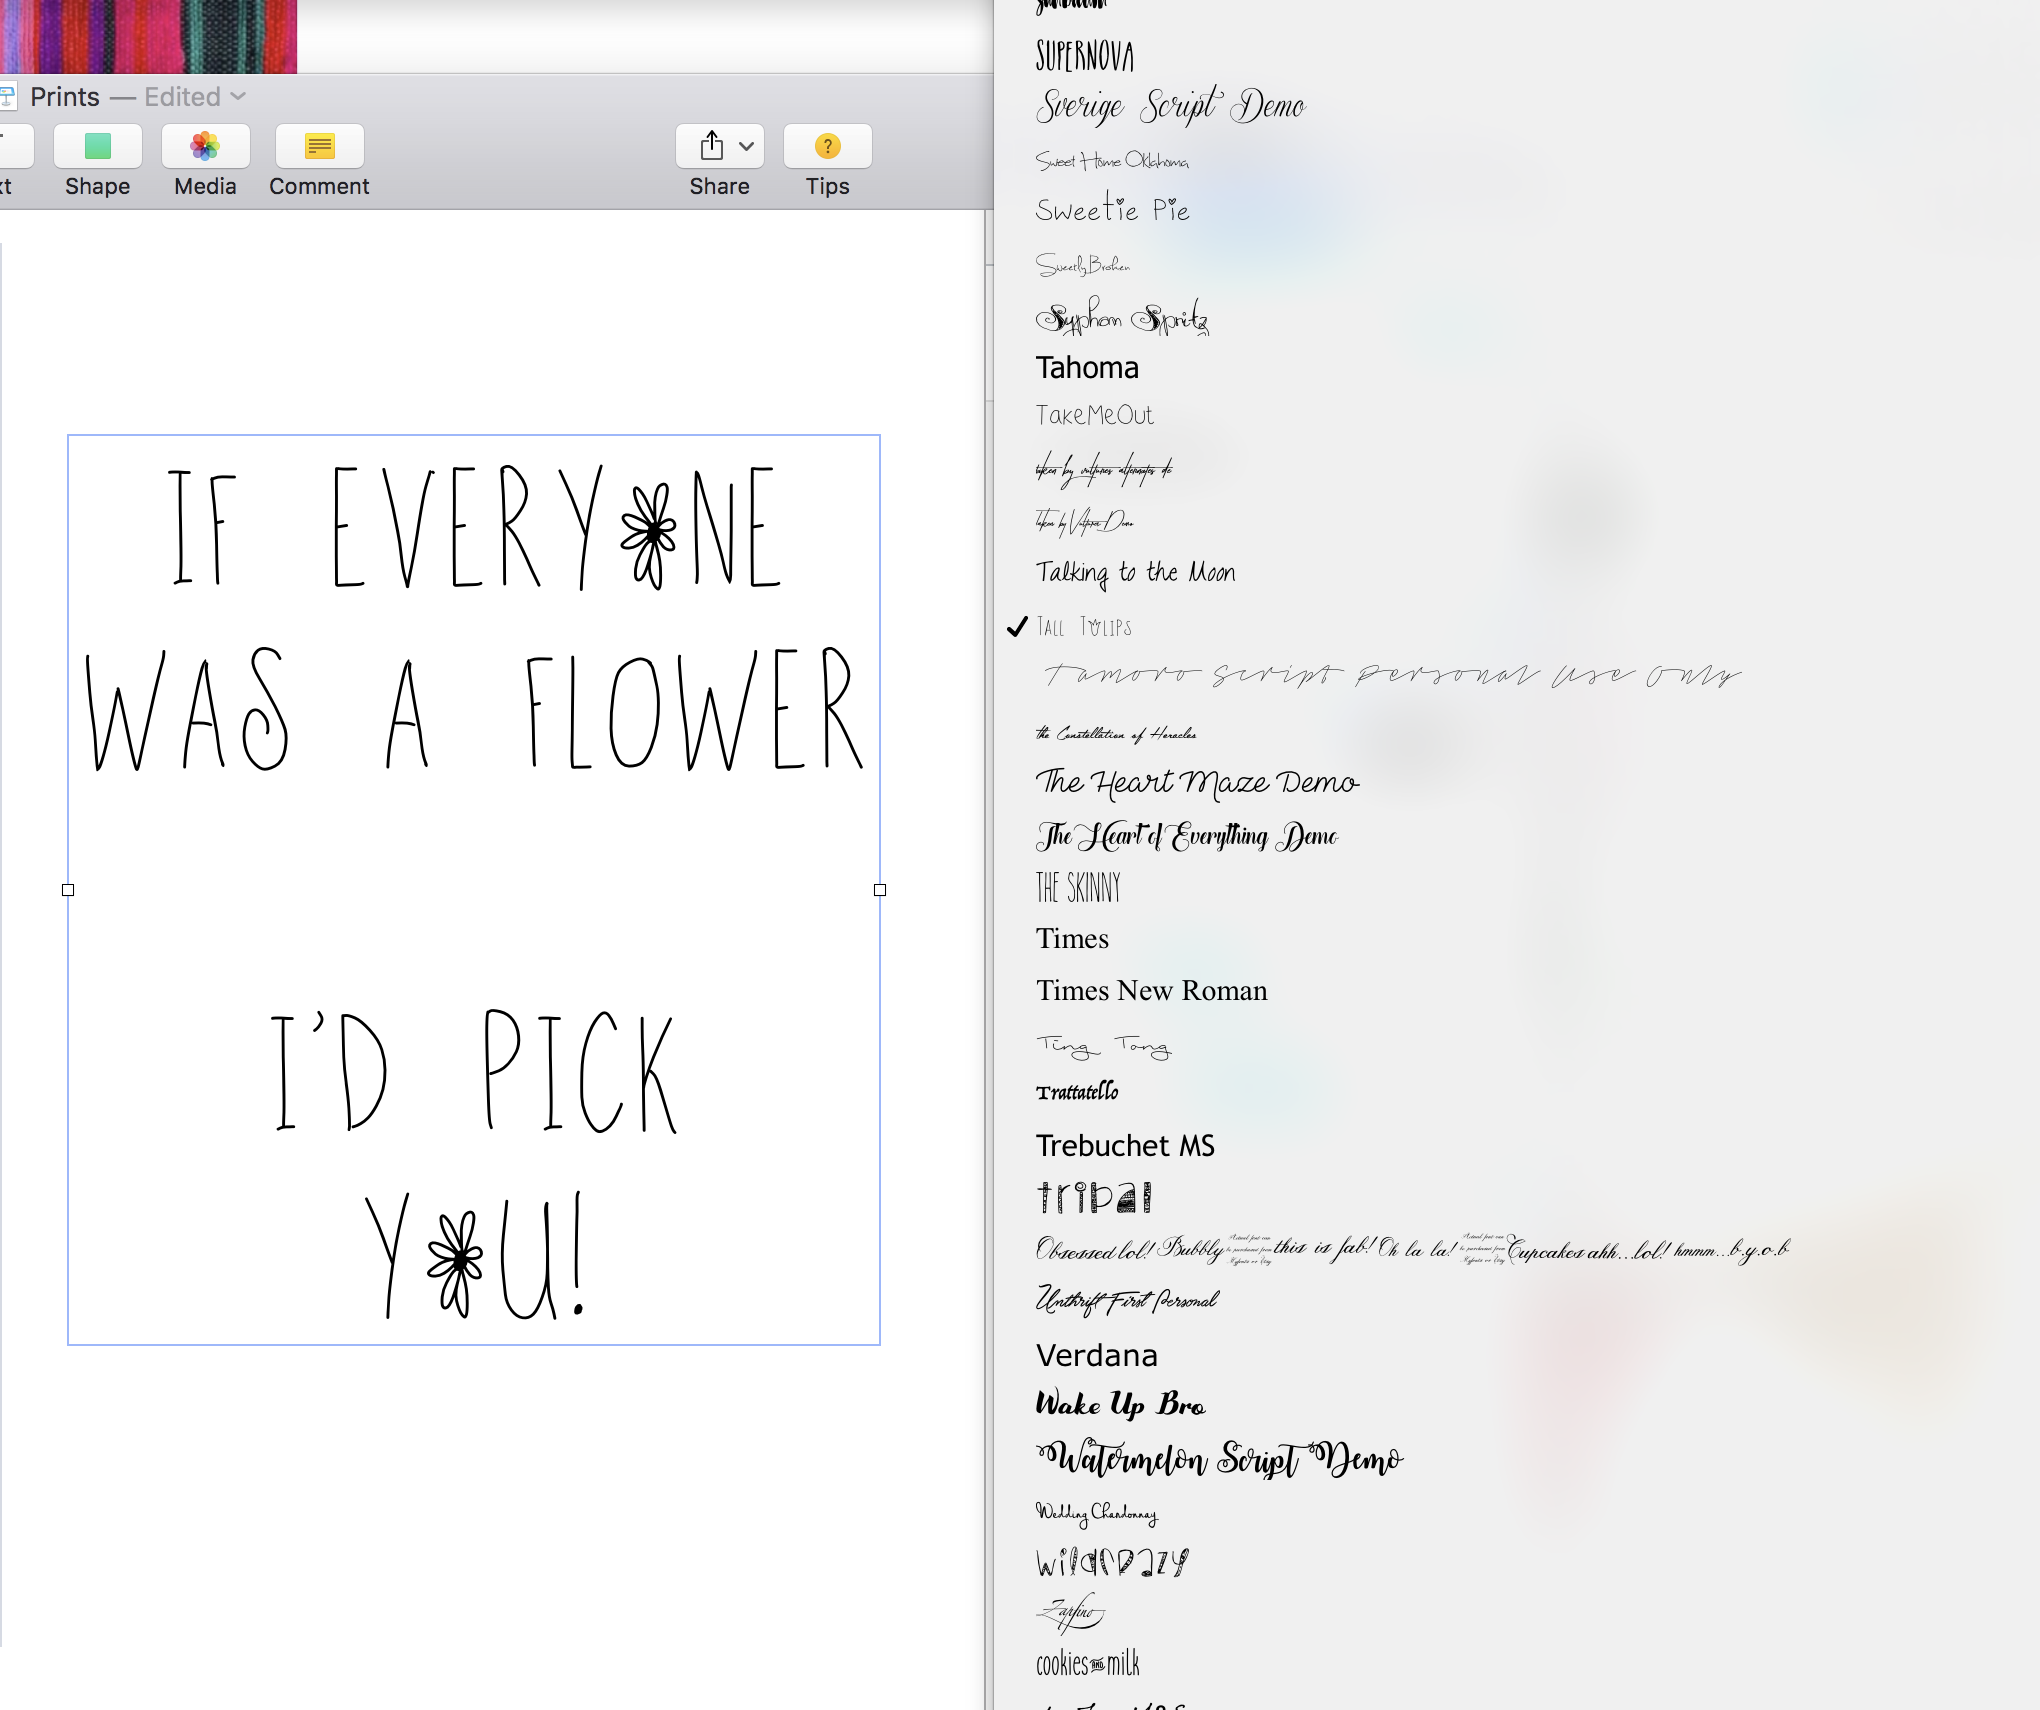
I used one of my many downloaded fonts called ‘Tall Tulips‘ to create this little word display.
Then, simply drag the text on top of the filled in border to finish creating your first print. Keynotes will assist you on the positioning as yellow lines will pop up to indicate when the text is in line, central to the border. It’s really as simple as that!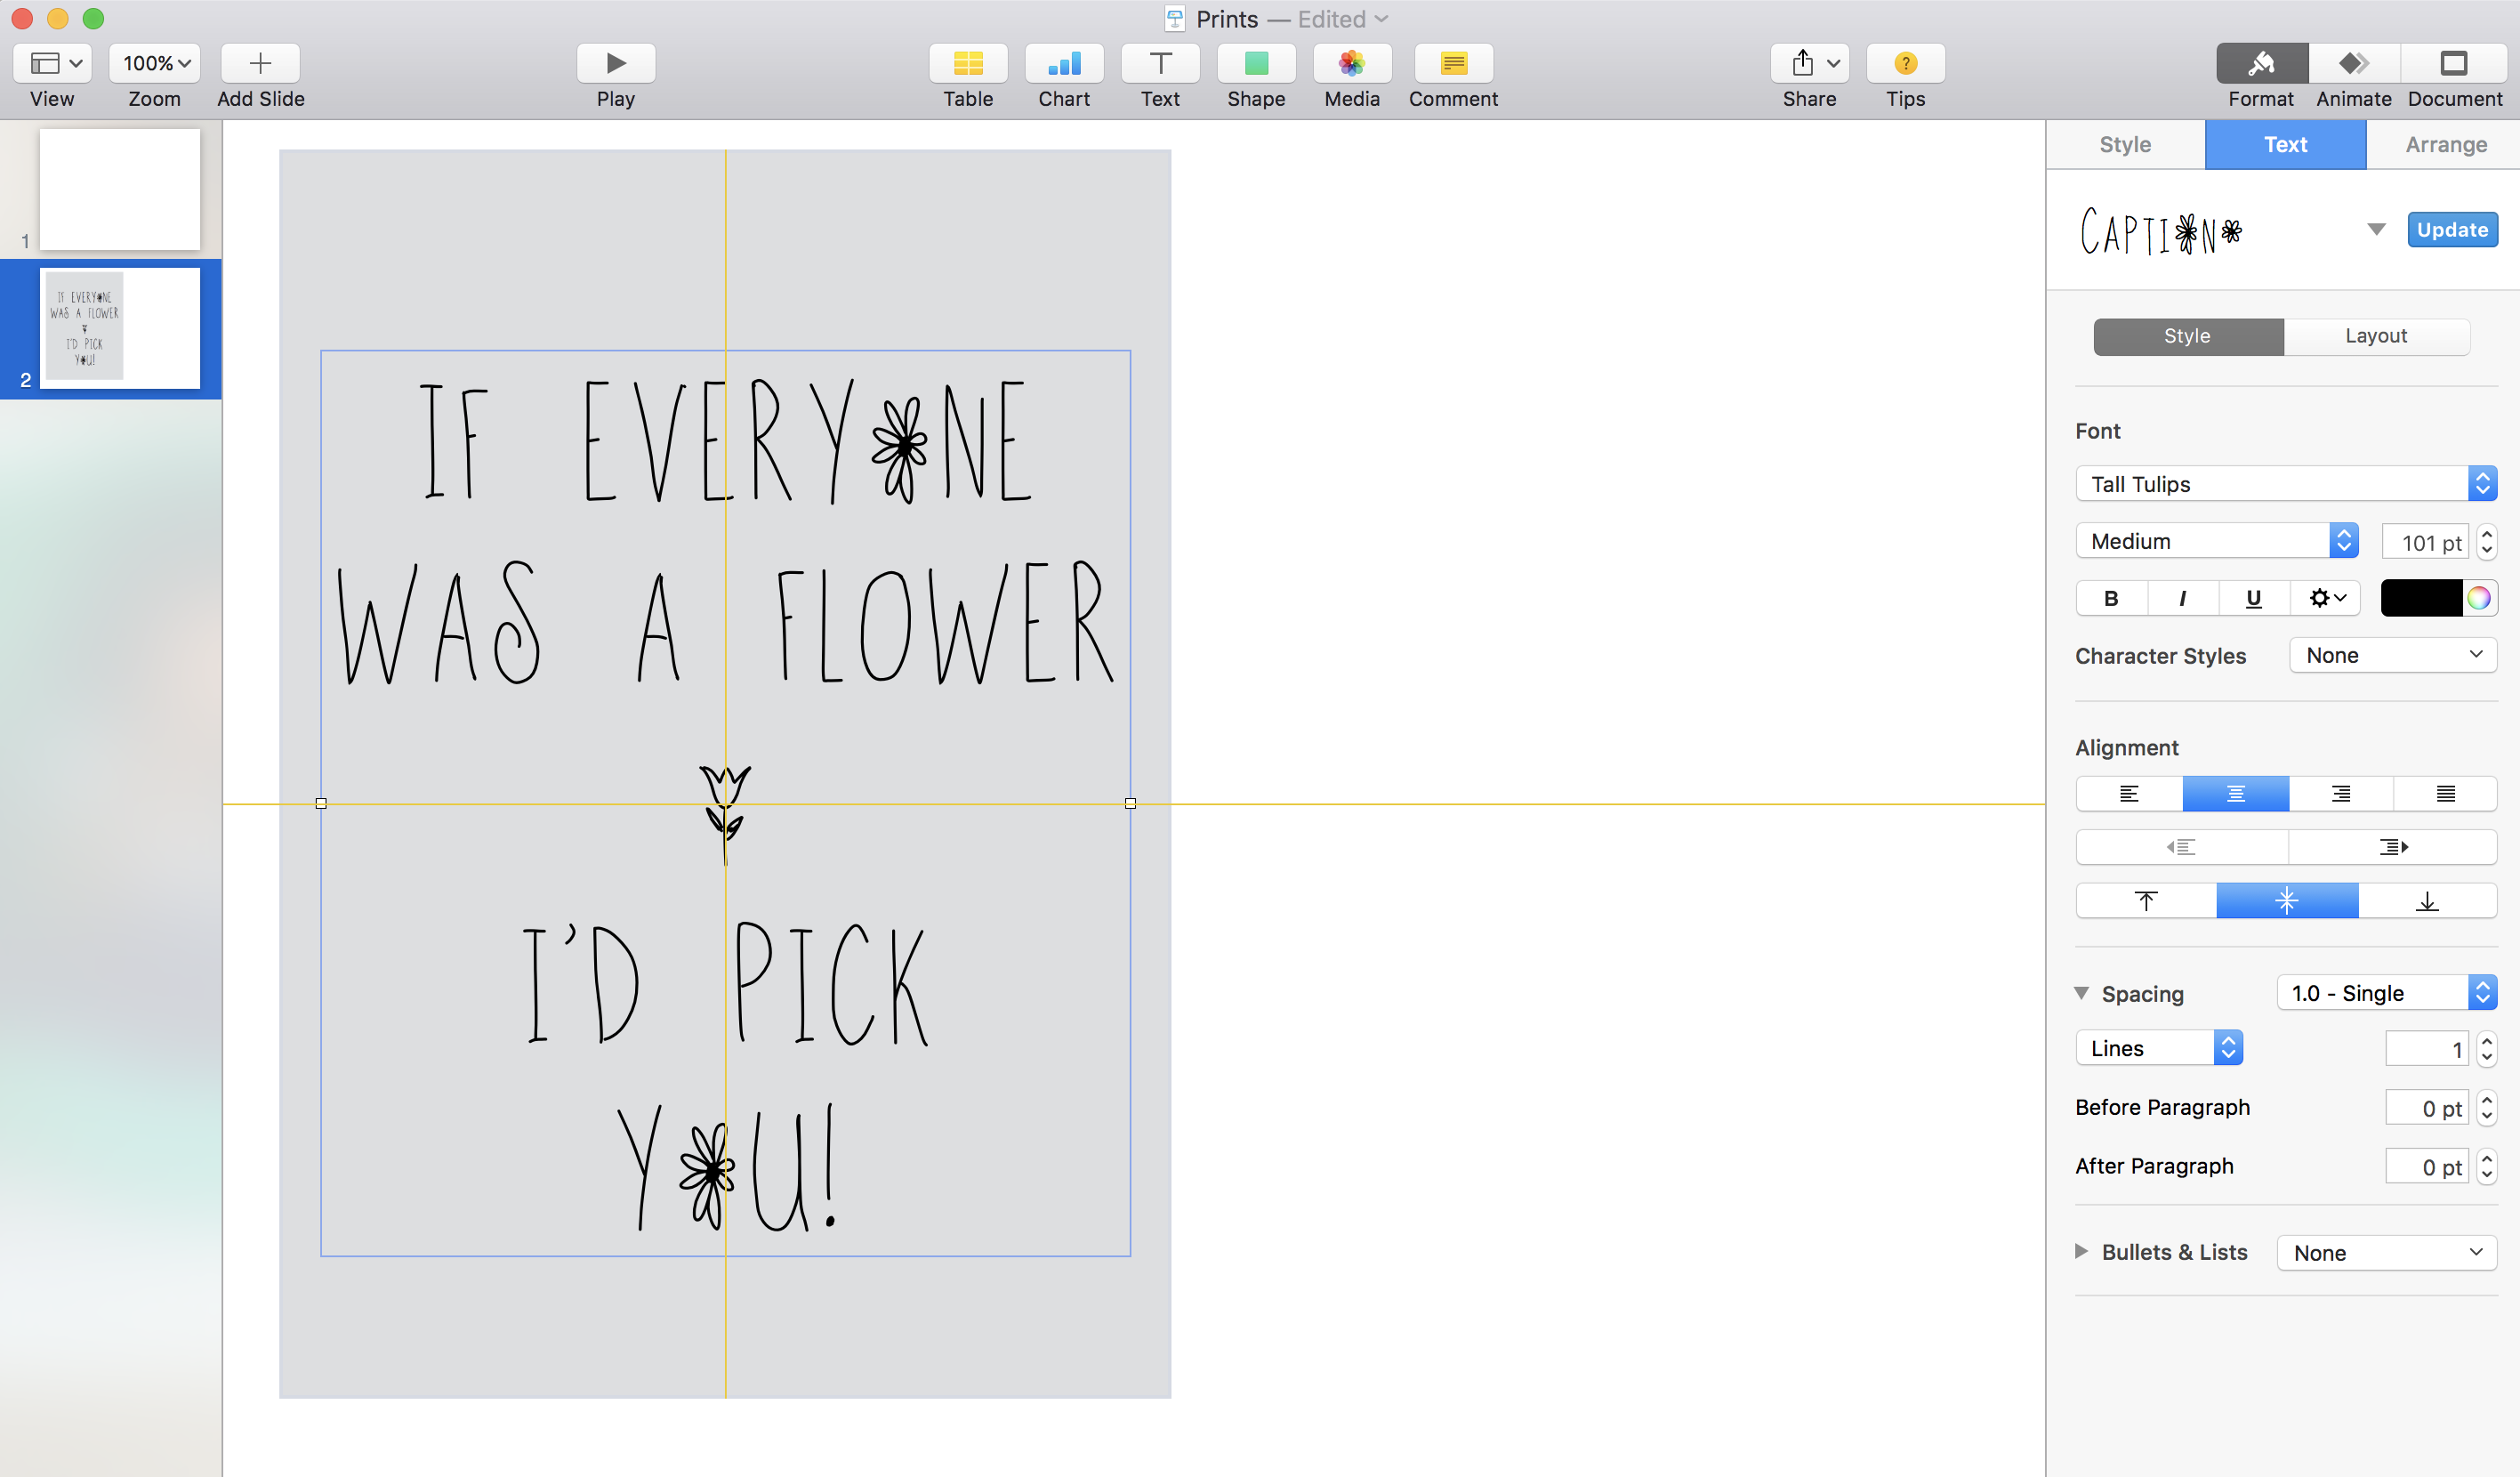
One of my many downloaded fonts is called KG Flavor and Frames Three, which essentially is just a font full of different shapes as shown below. 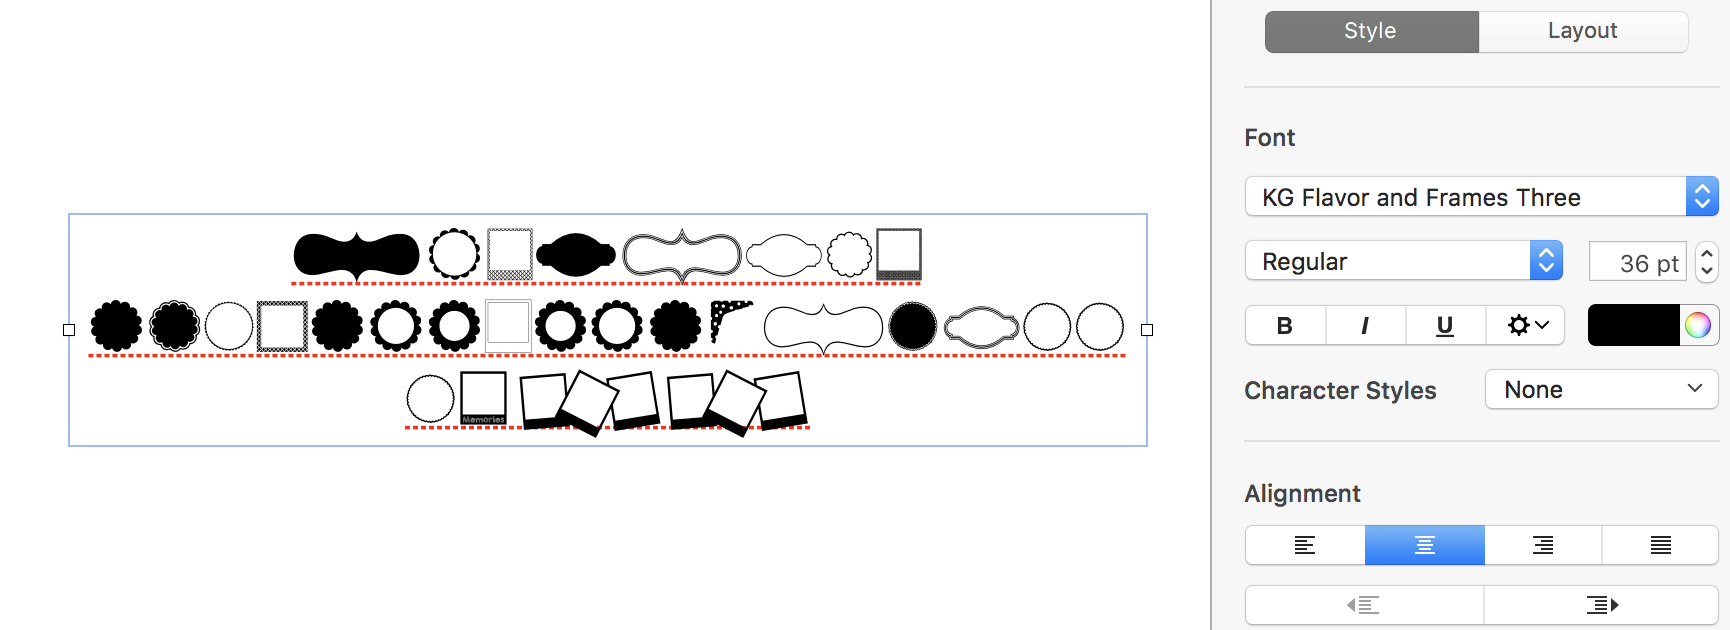 The letter ‘G’ created a bobbled circle, which I then enlarged to create a different frame border.
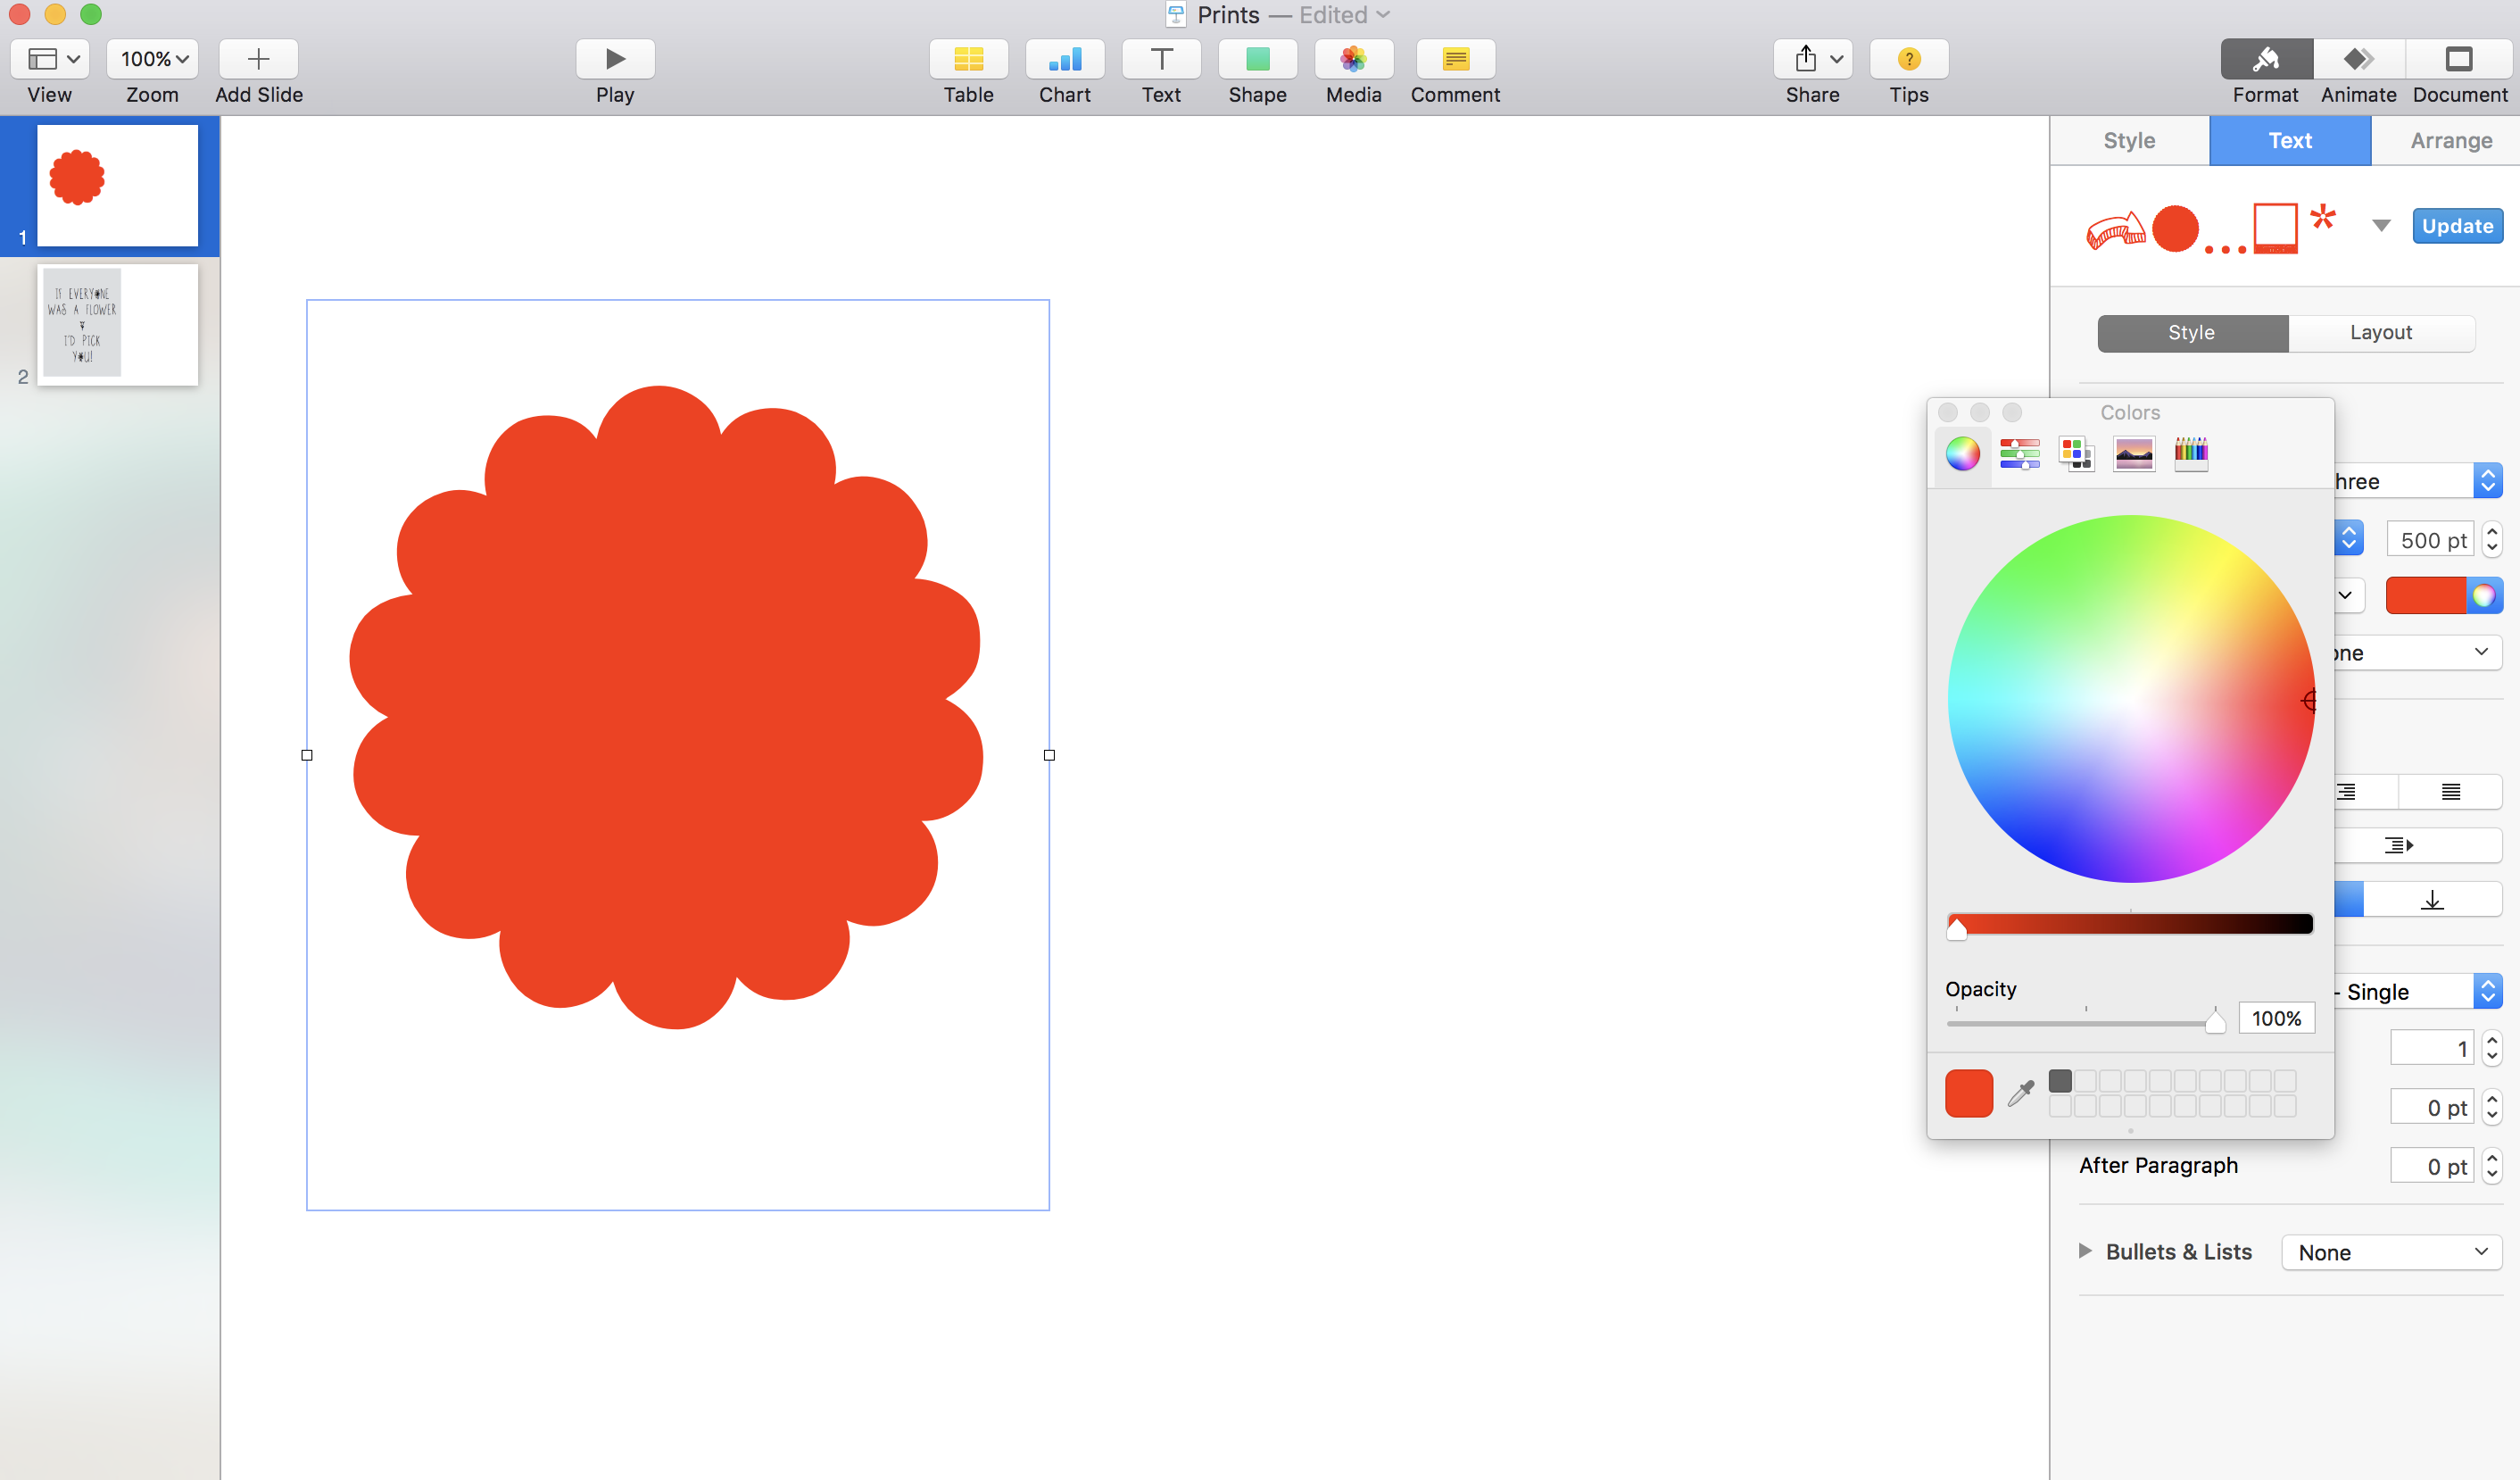
Again, you can choose any colour you wish on the colour chart as easily as you change text colour on any other software.

‘Ke Aloha‘ is another font that I just LOVE. I typed out ‘Smile’, enlarged it and changed the text colour to white to place over my border…
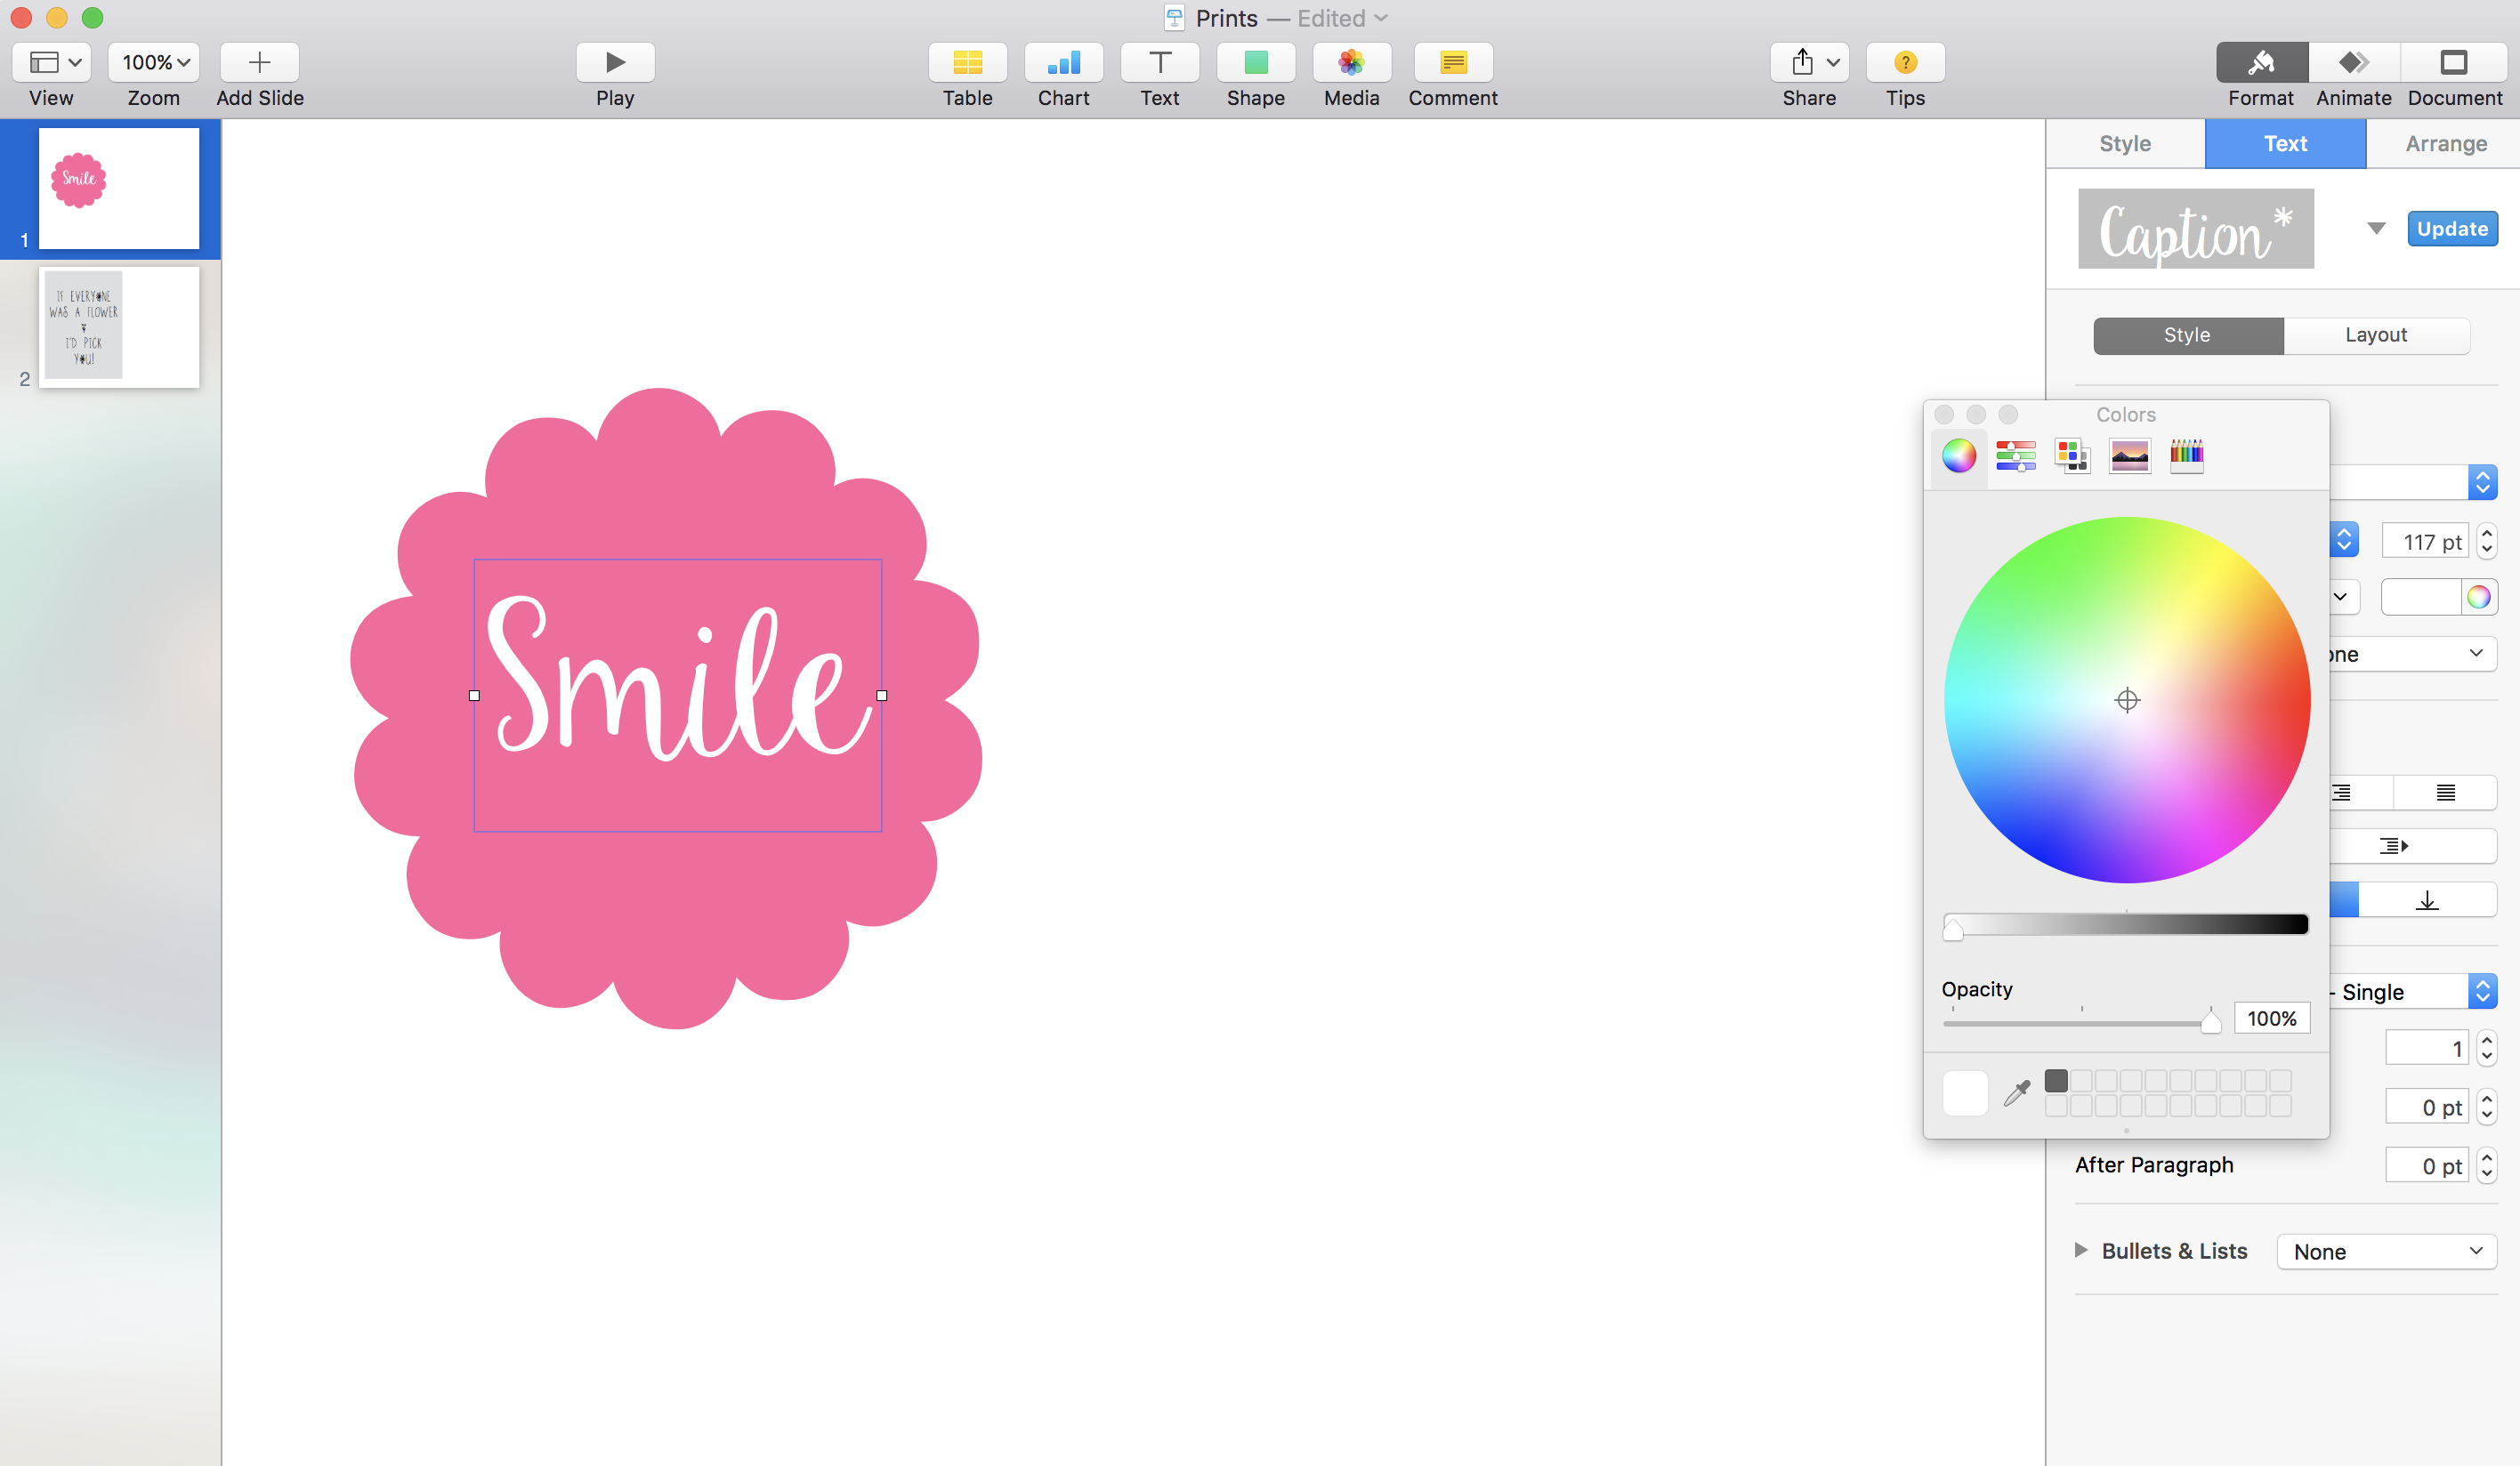
Another simple print complete!
If you’ve invested some time in to downloading some fine looking fonts, then borders aren’t always necessary. For this next print I wanted a bold monochrome look with some simple ‘XO’s’.
I began by typing out the text…
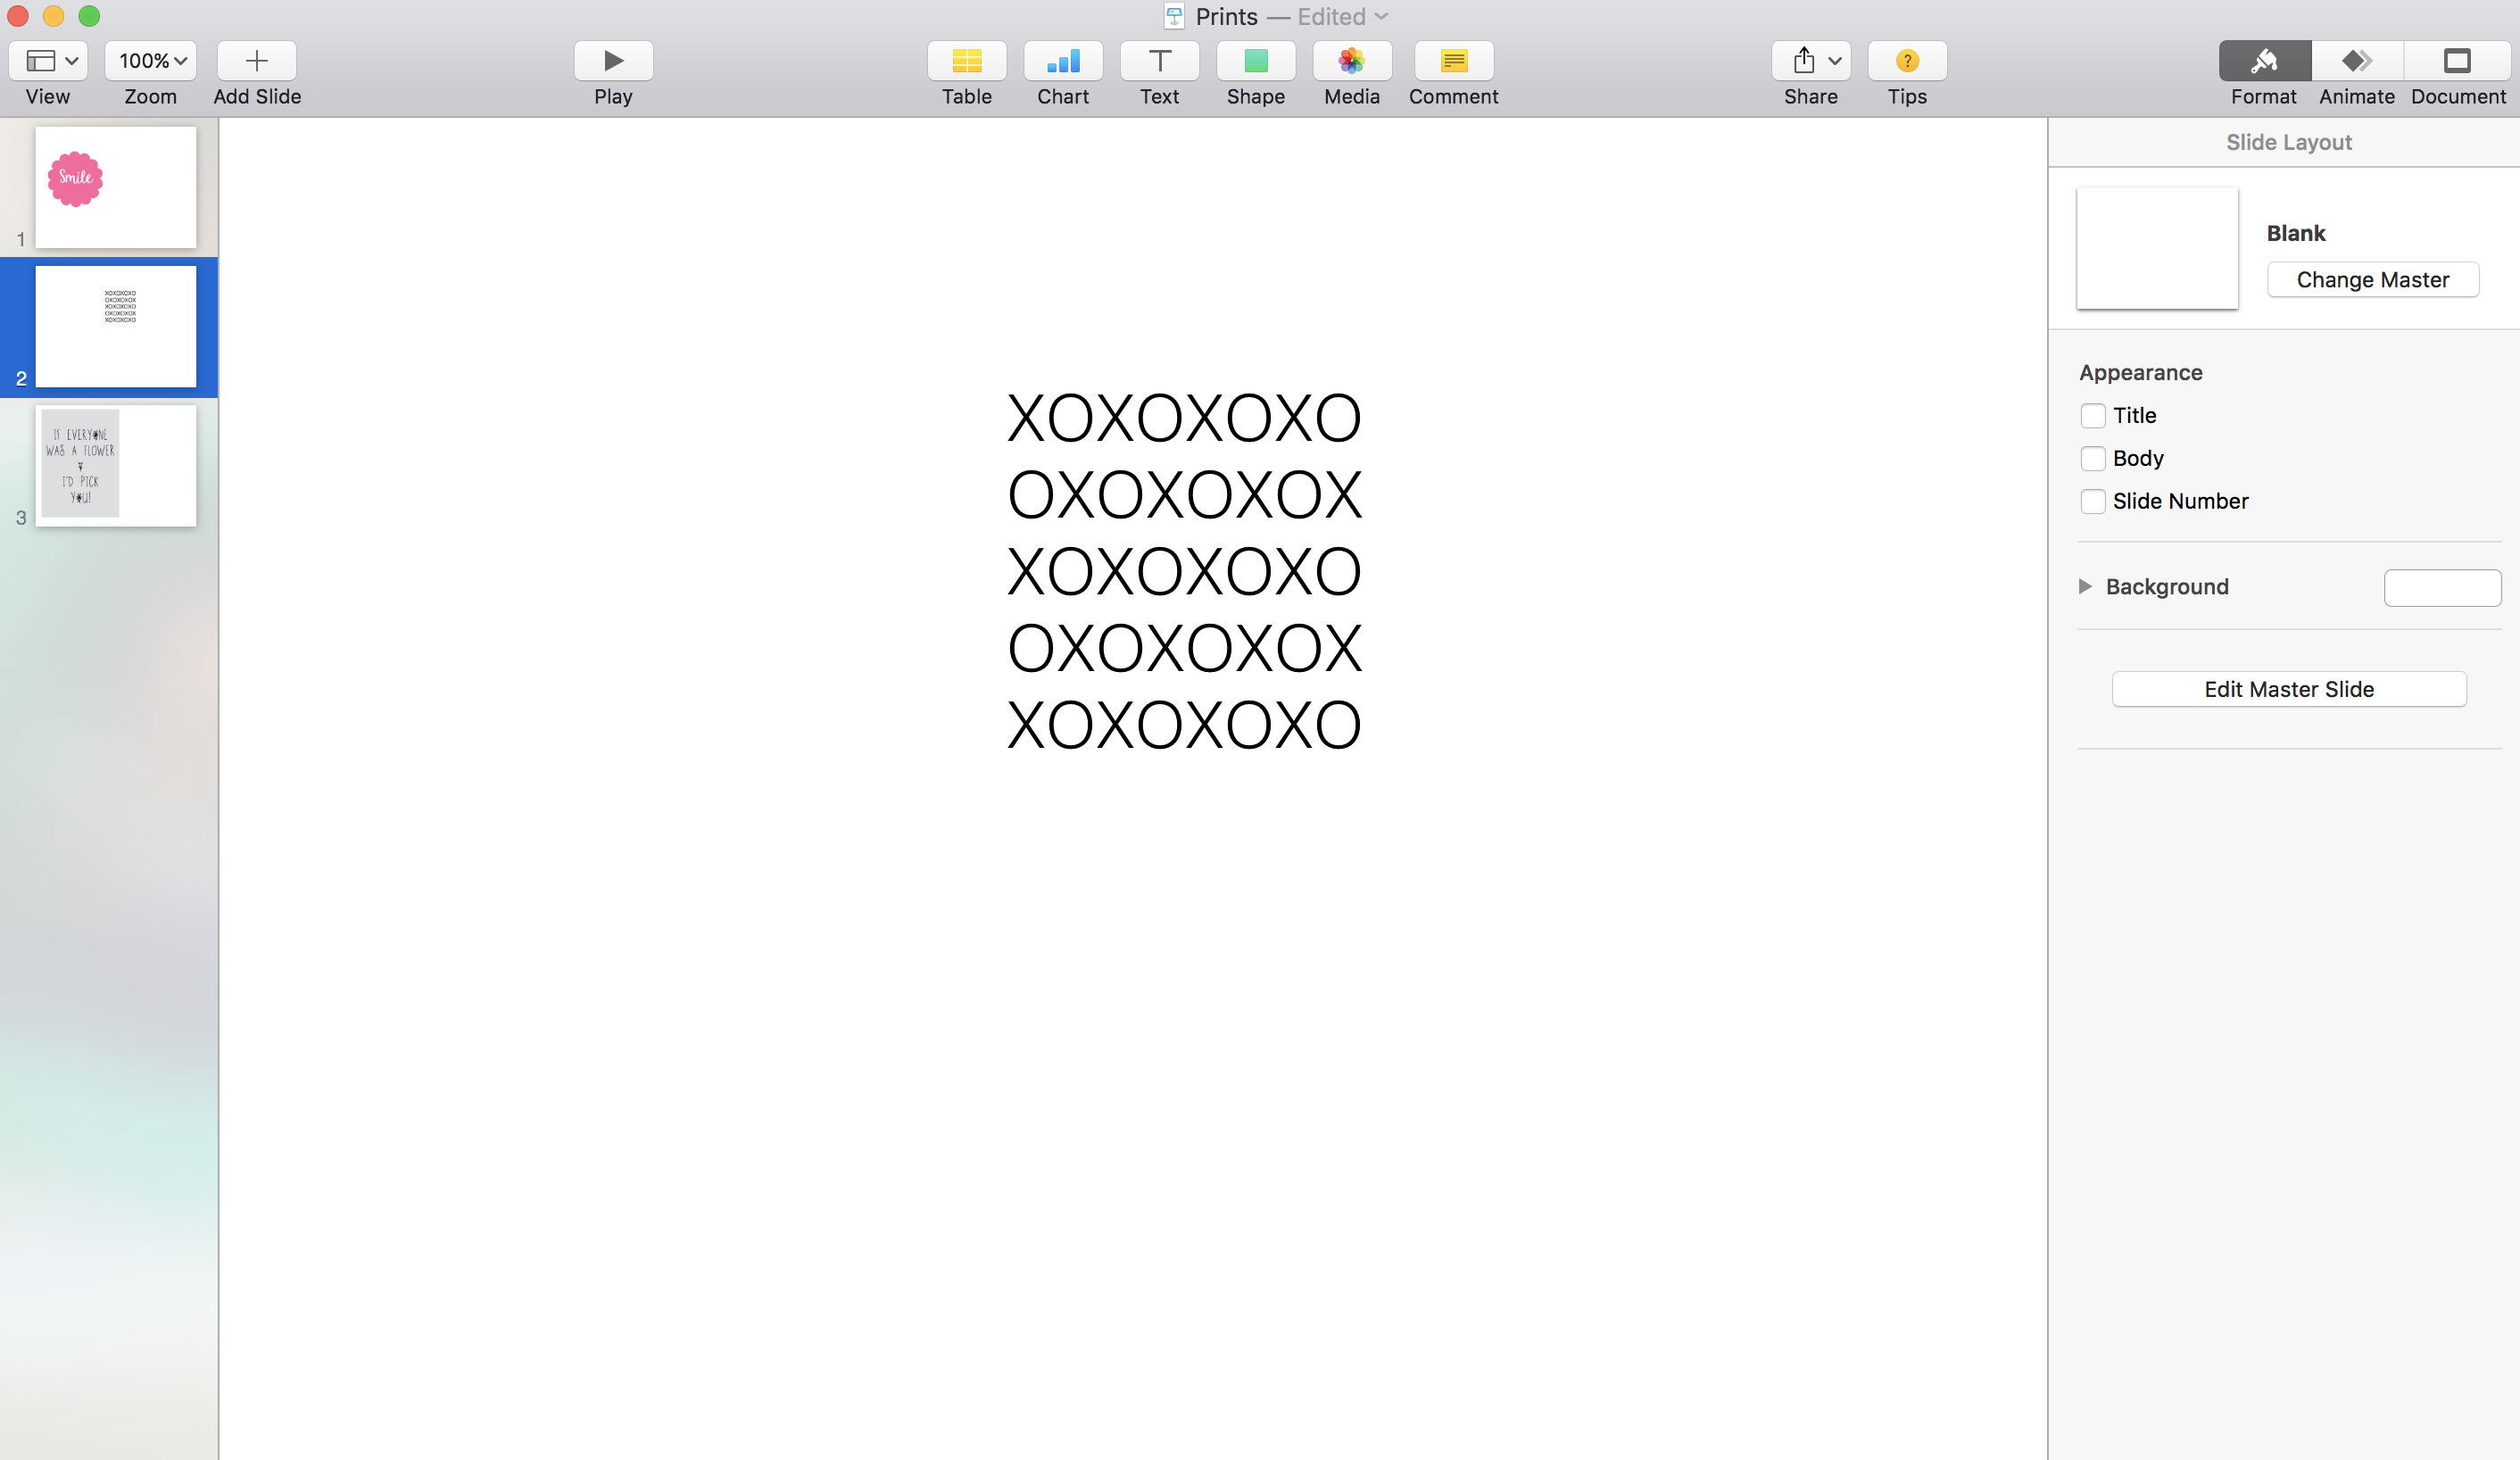
Then enlarged it and changed the font to ‘Luna‘
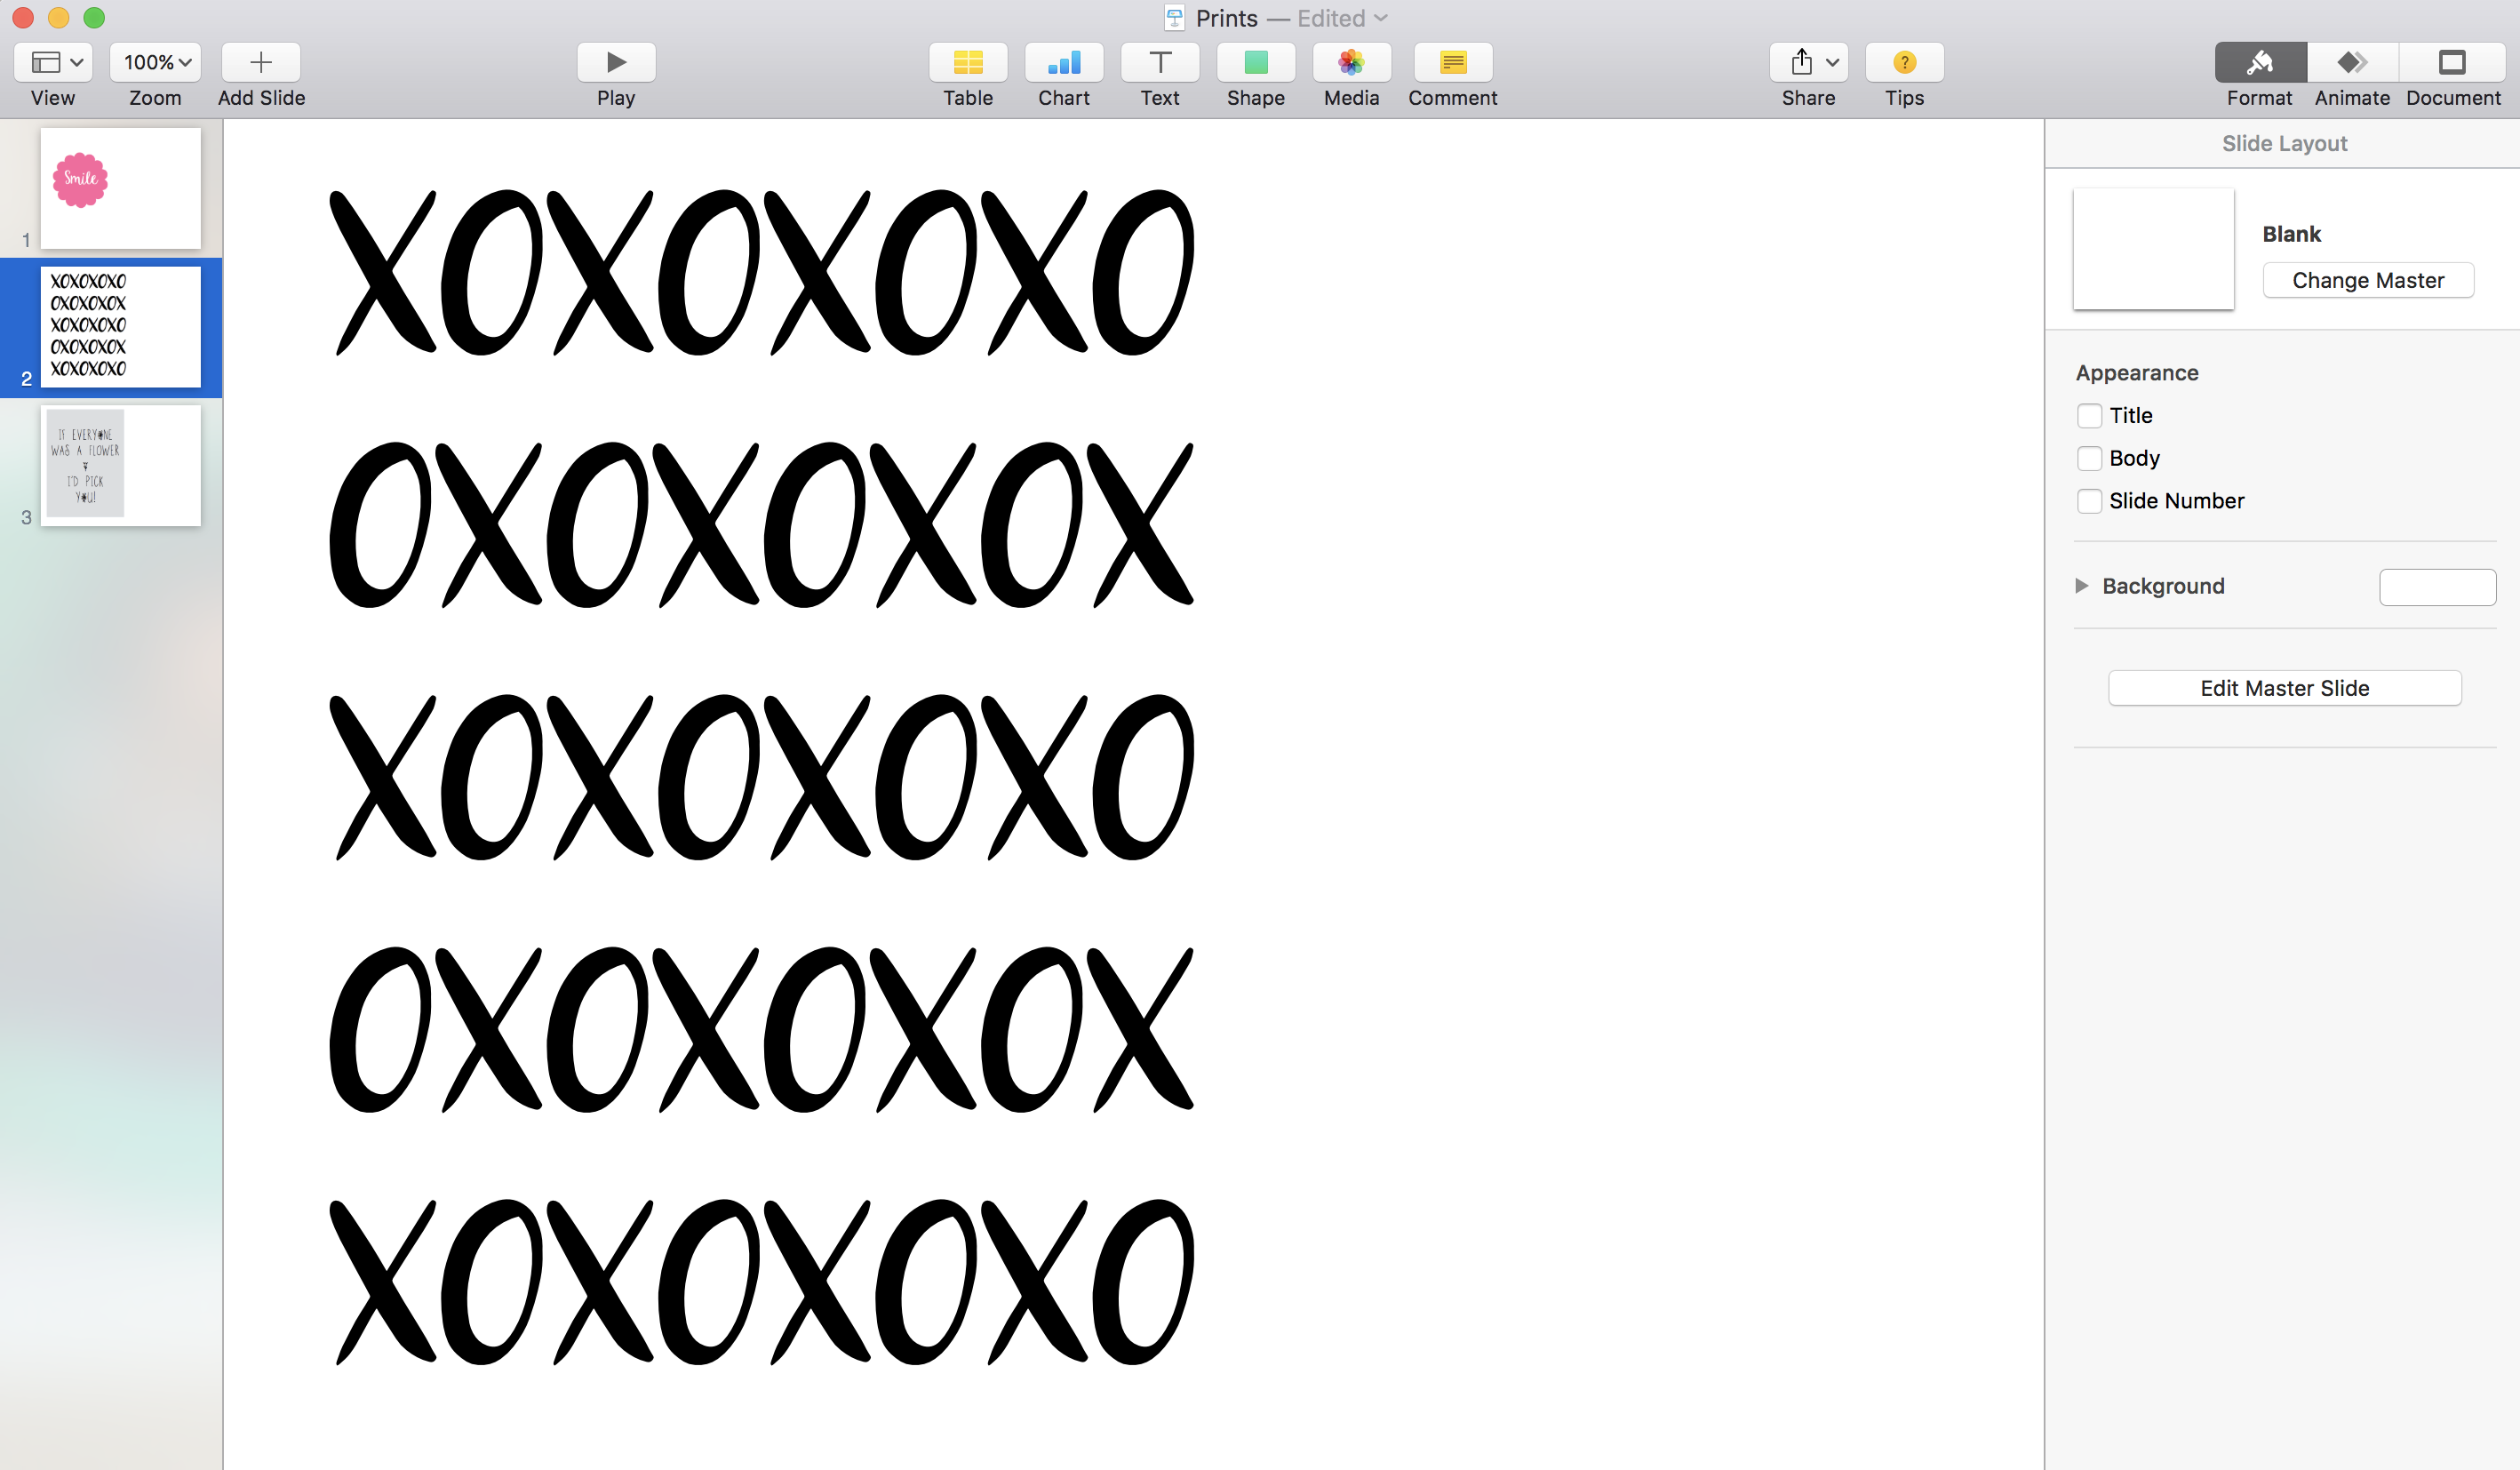
Can you see now how easy it is to make these?! I’m all for some shutterstock images but they come with a hefty price tag. These graphics are made easily, for free!
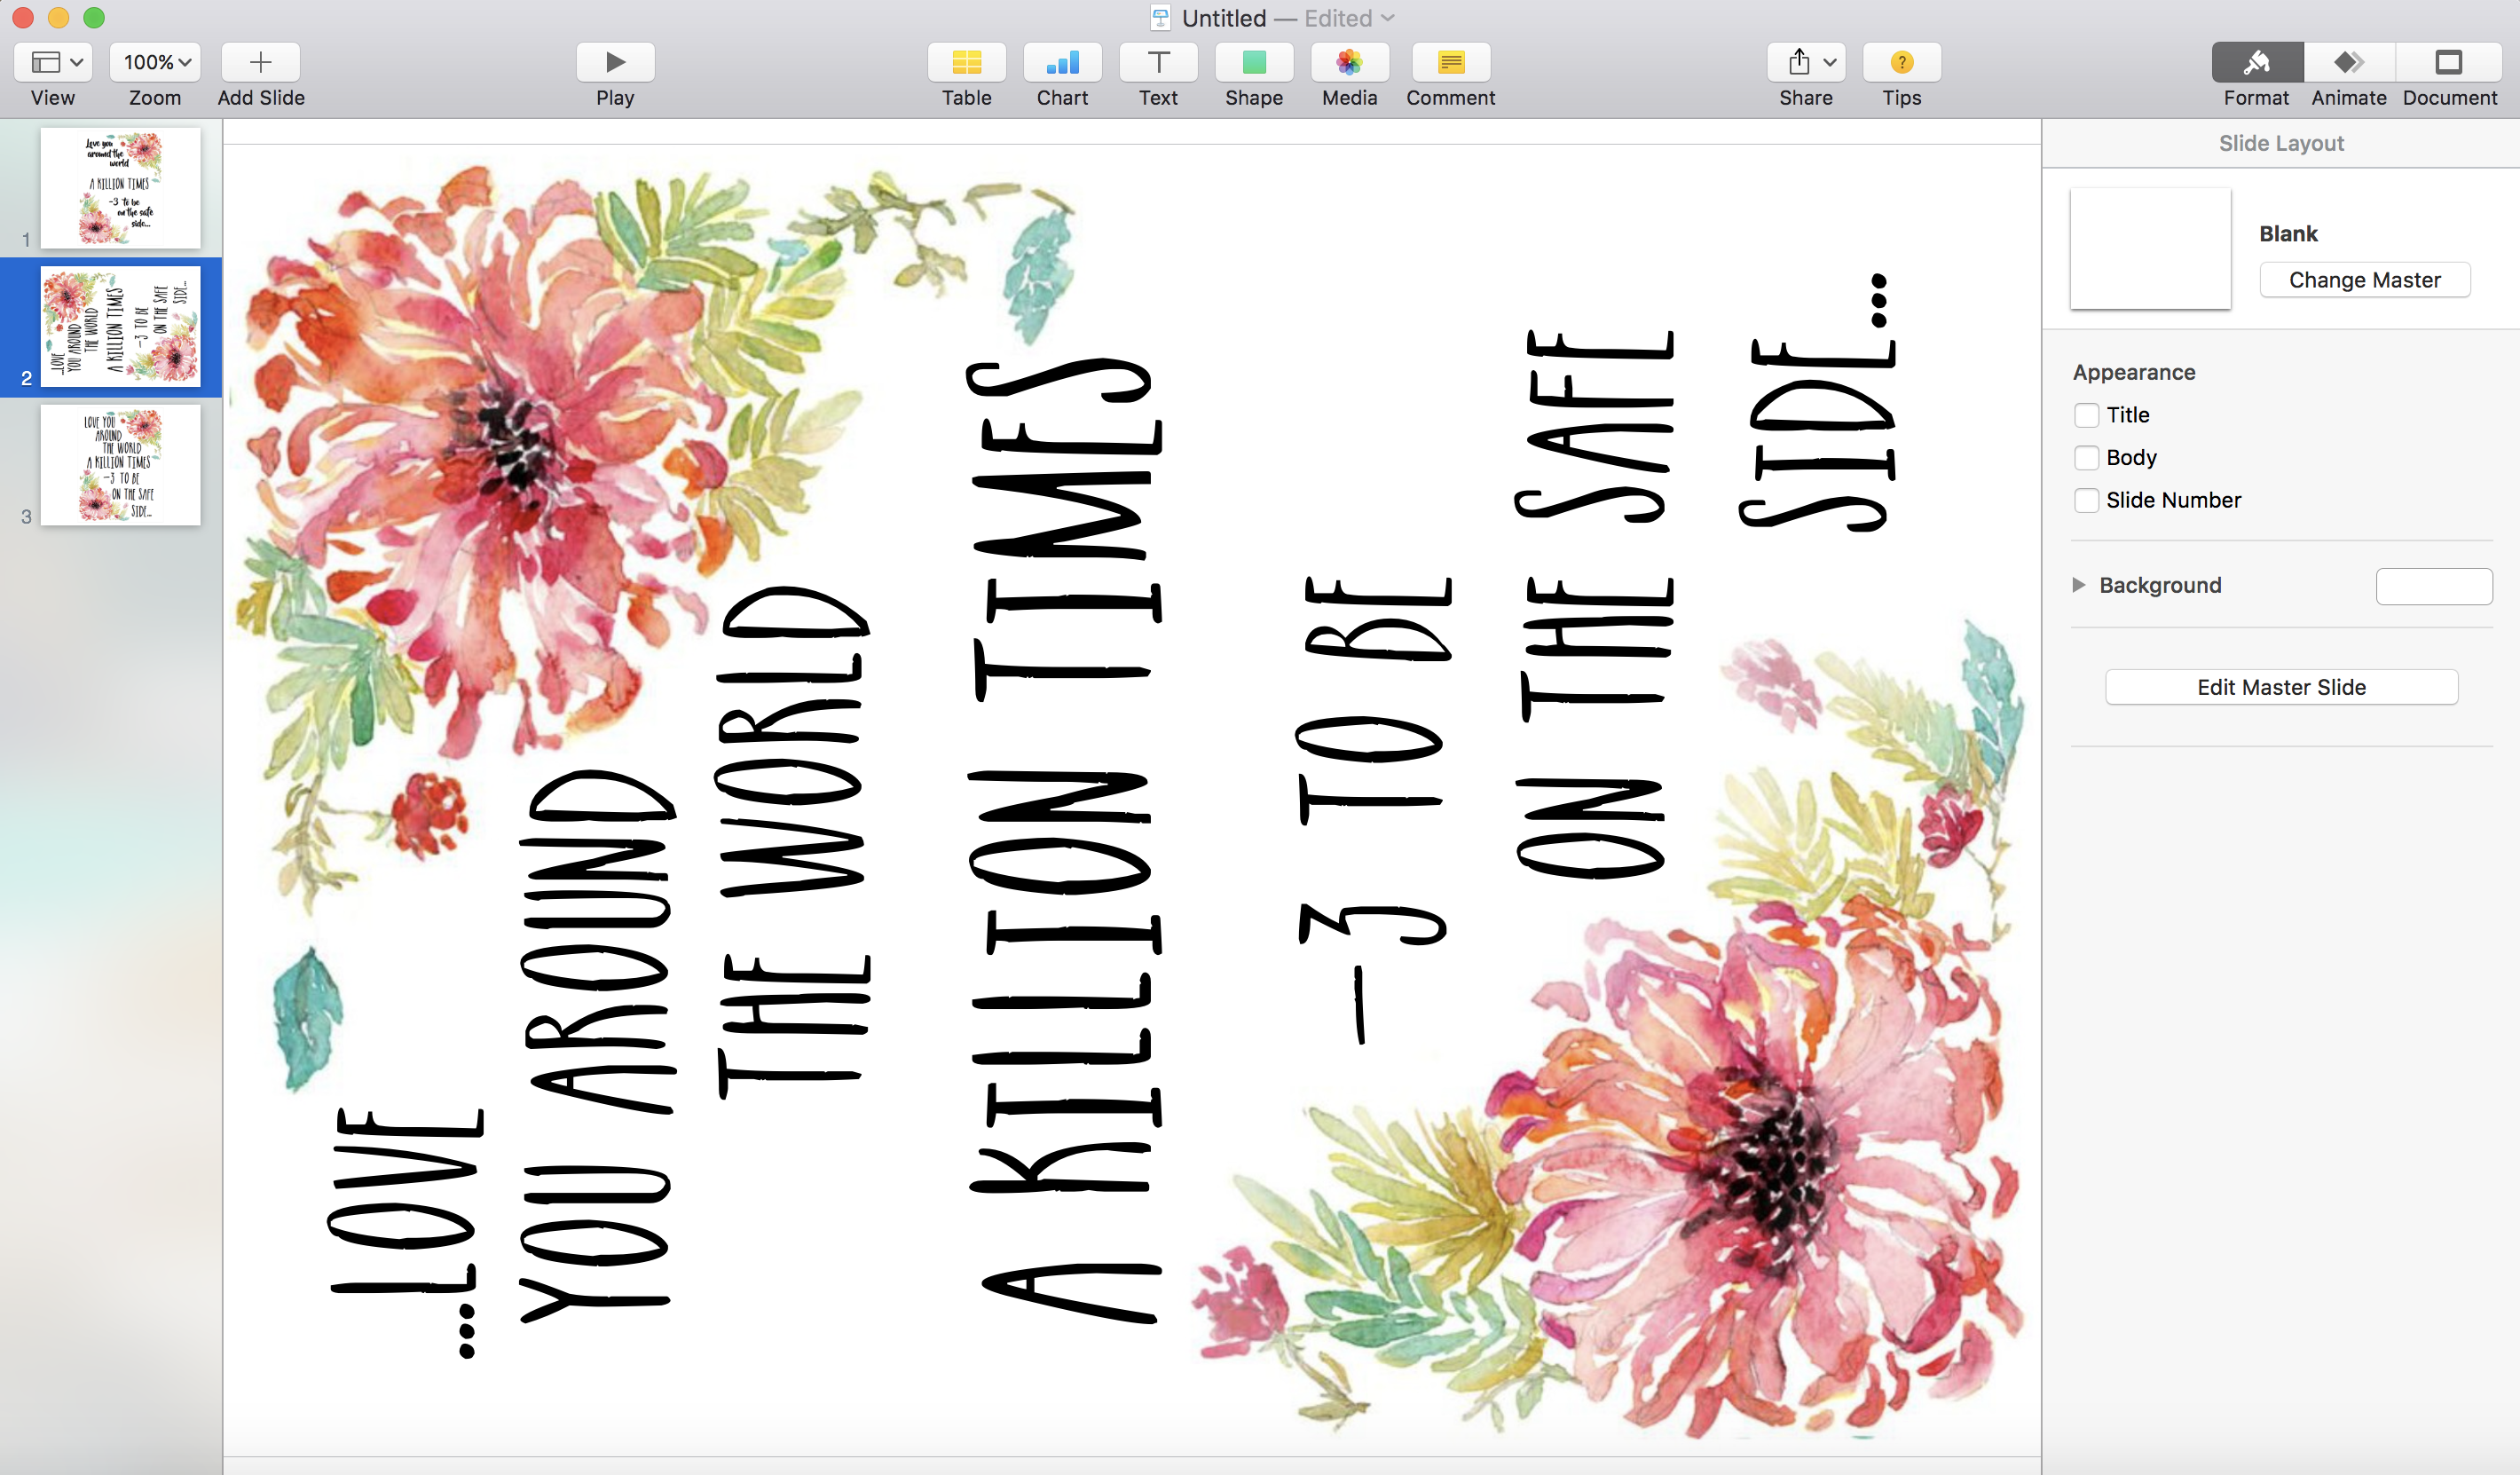
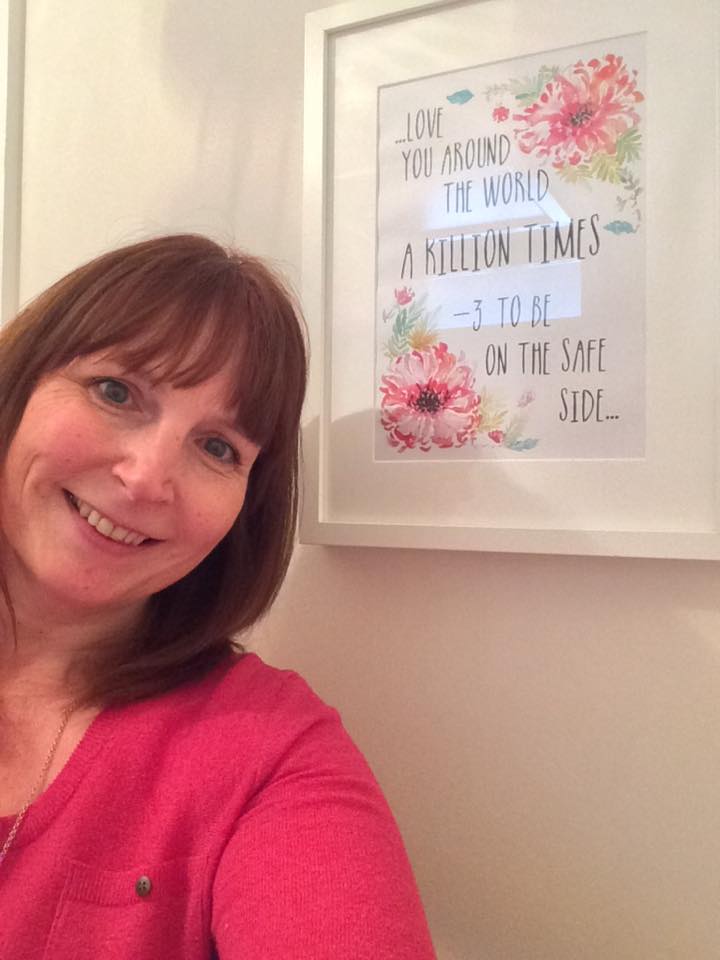
For Mother’s day, I made my mum a print with a sentimental quote we have chorused together for many years now. I found some beautiful stock images of watercolour flowers, and used them to make a border for my print.
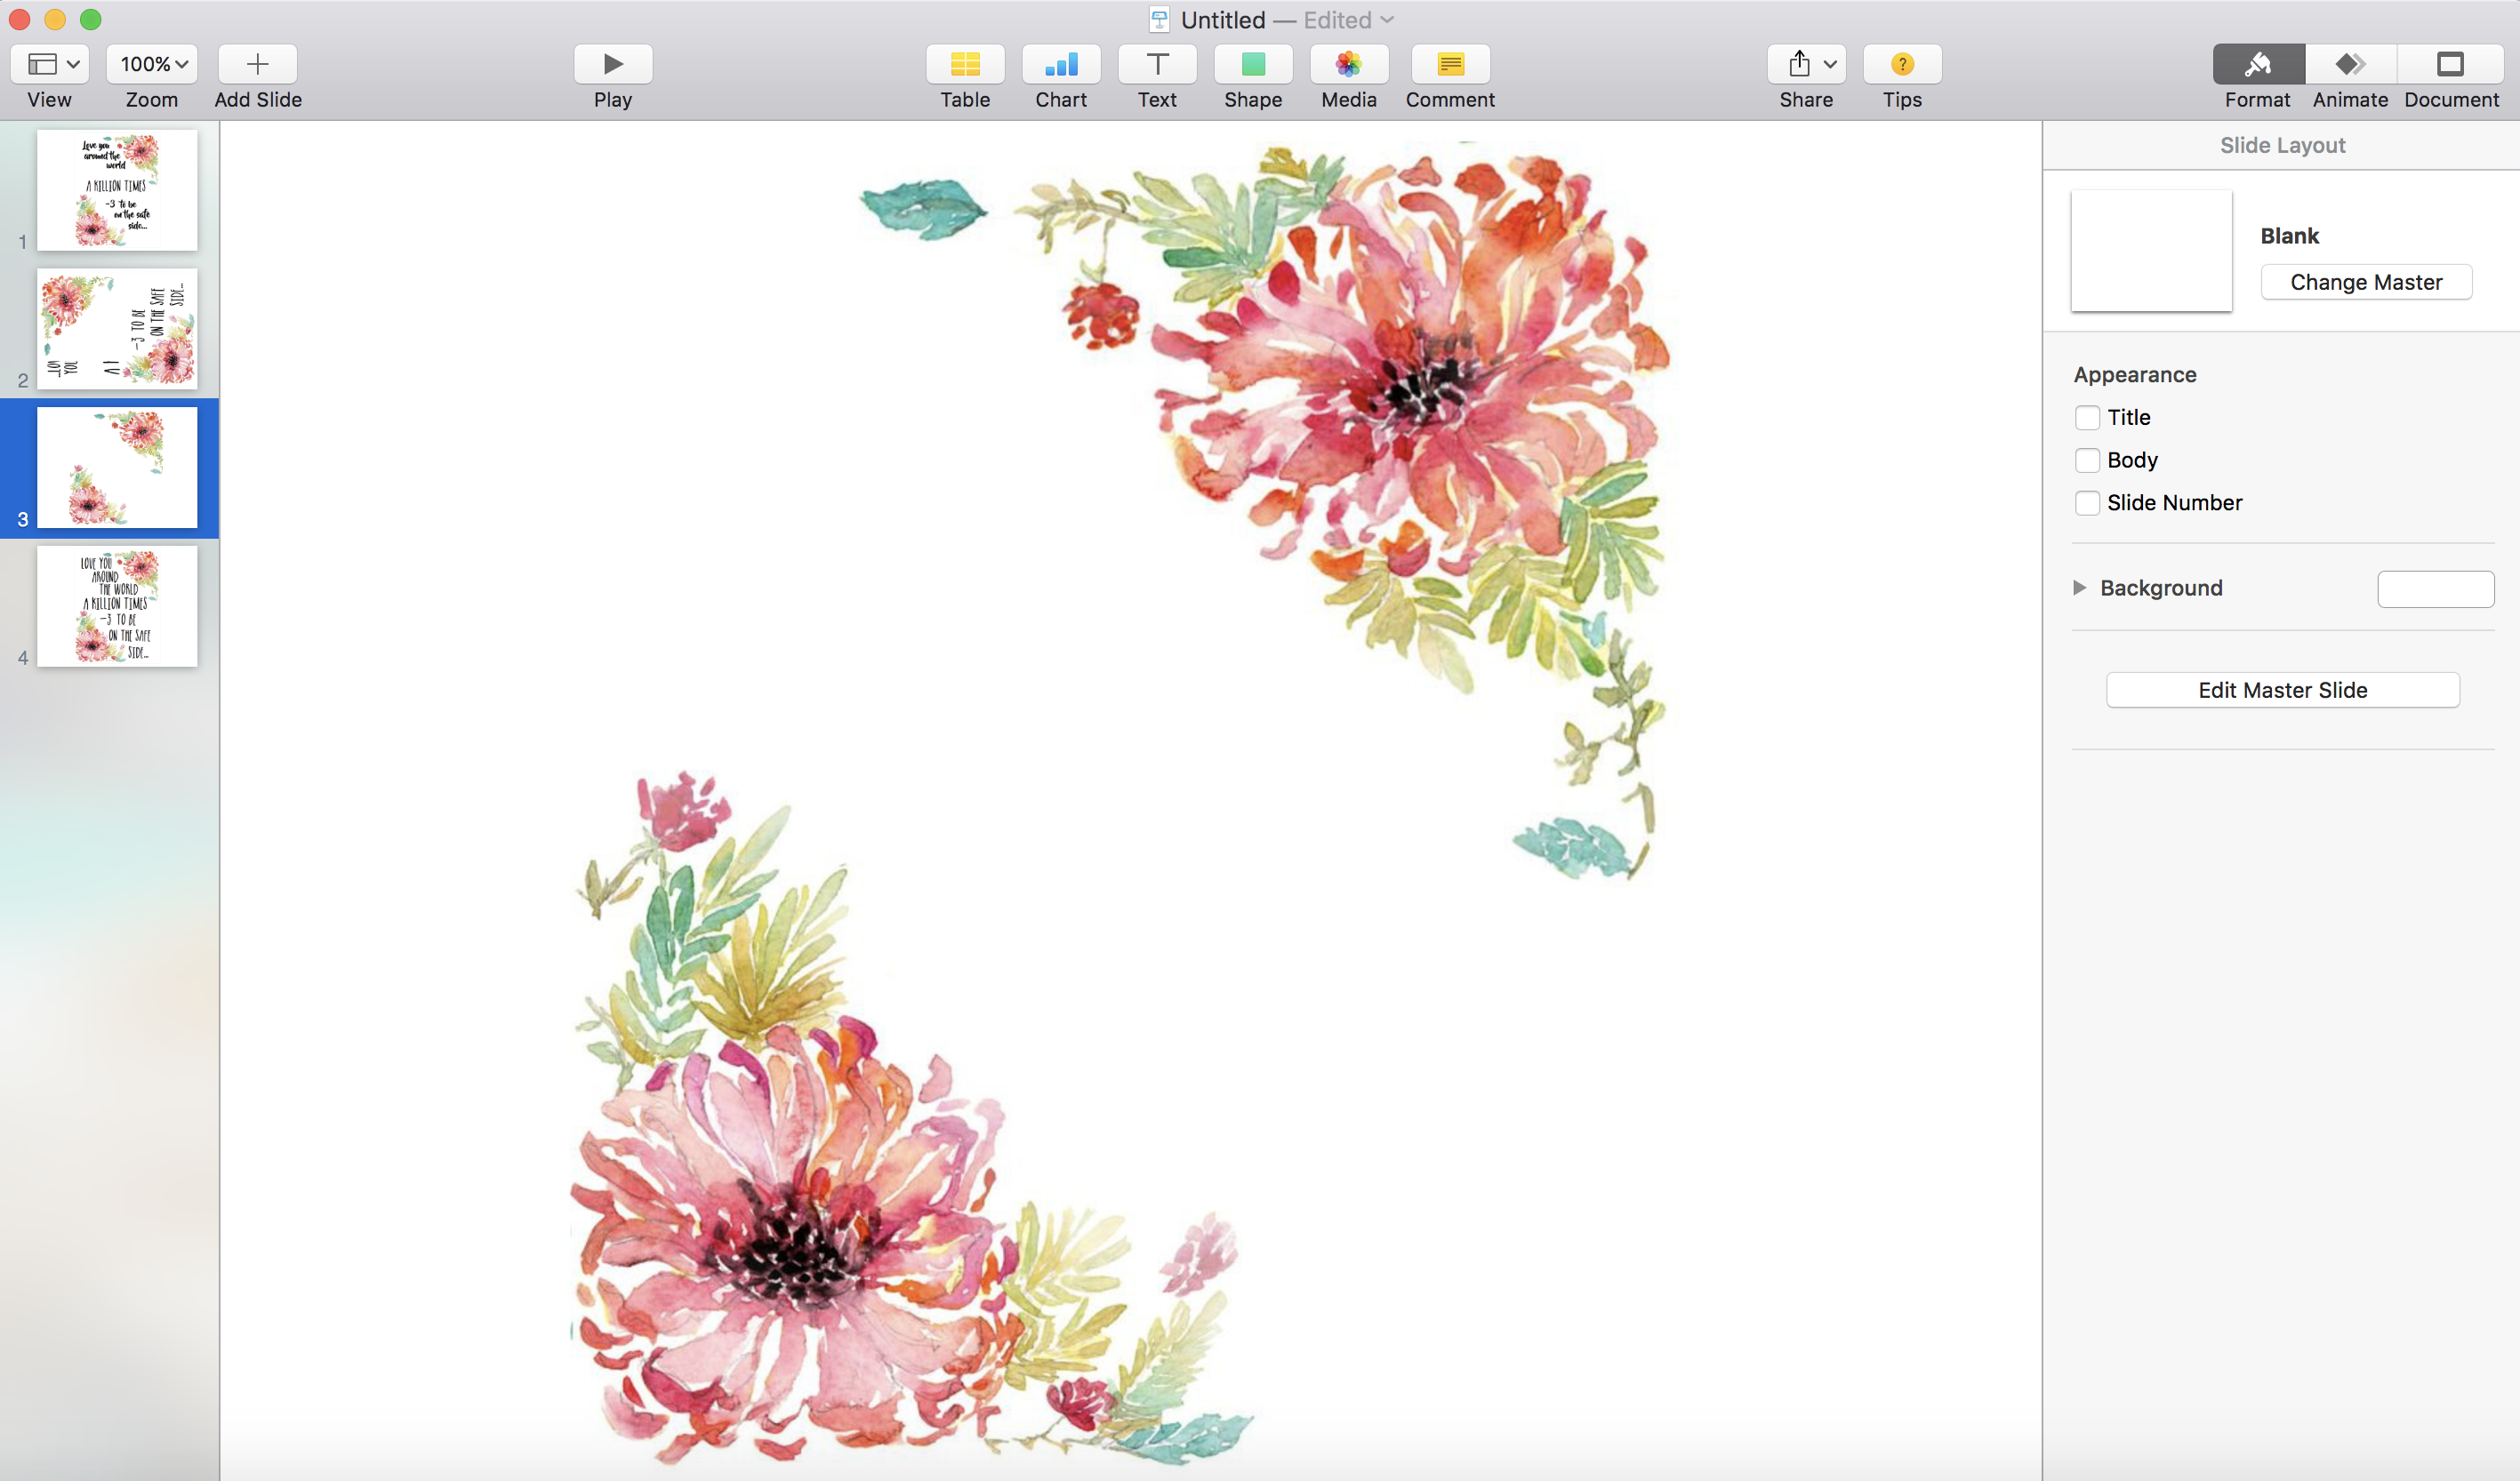
Then, I spent some time (quite a lot of time in fact), playing around with different fonts and tweaking the sizes until I was happy with the final layout…
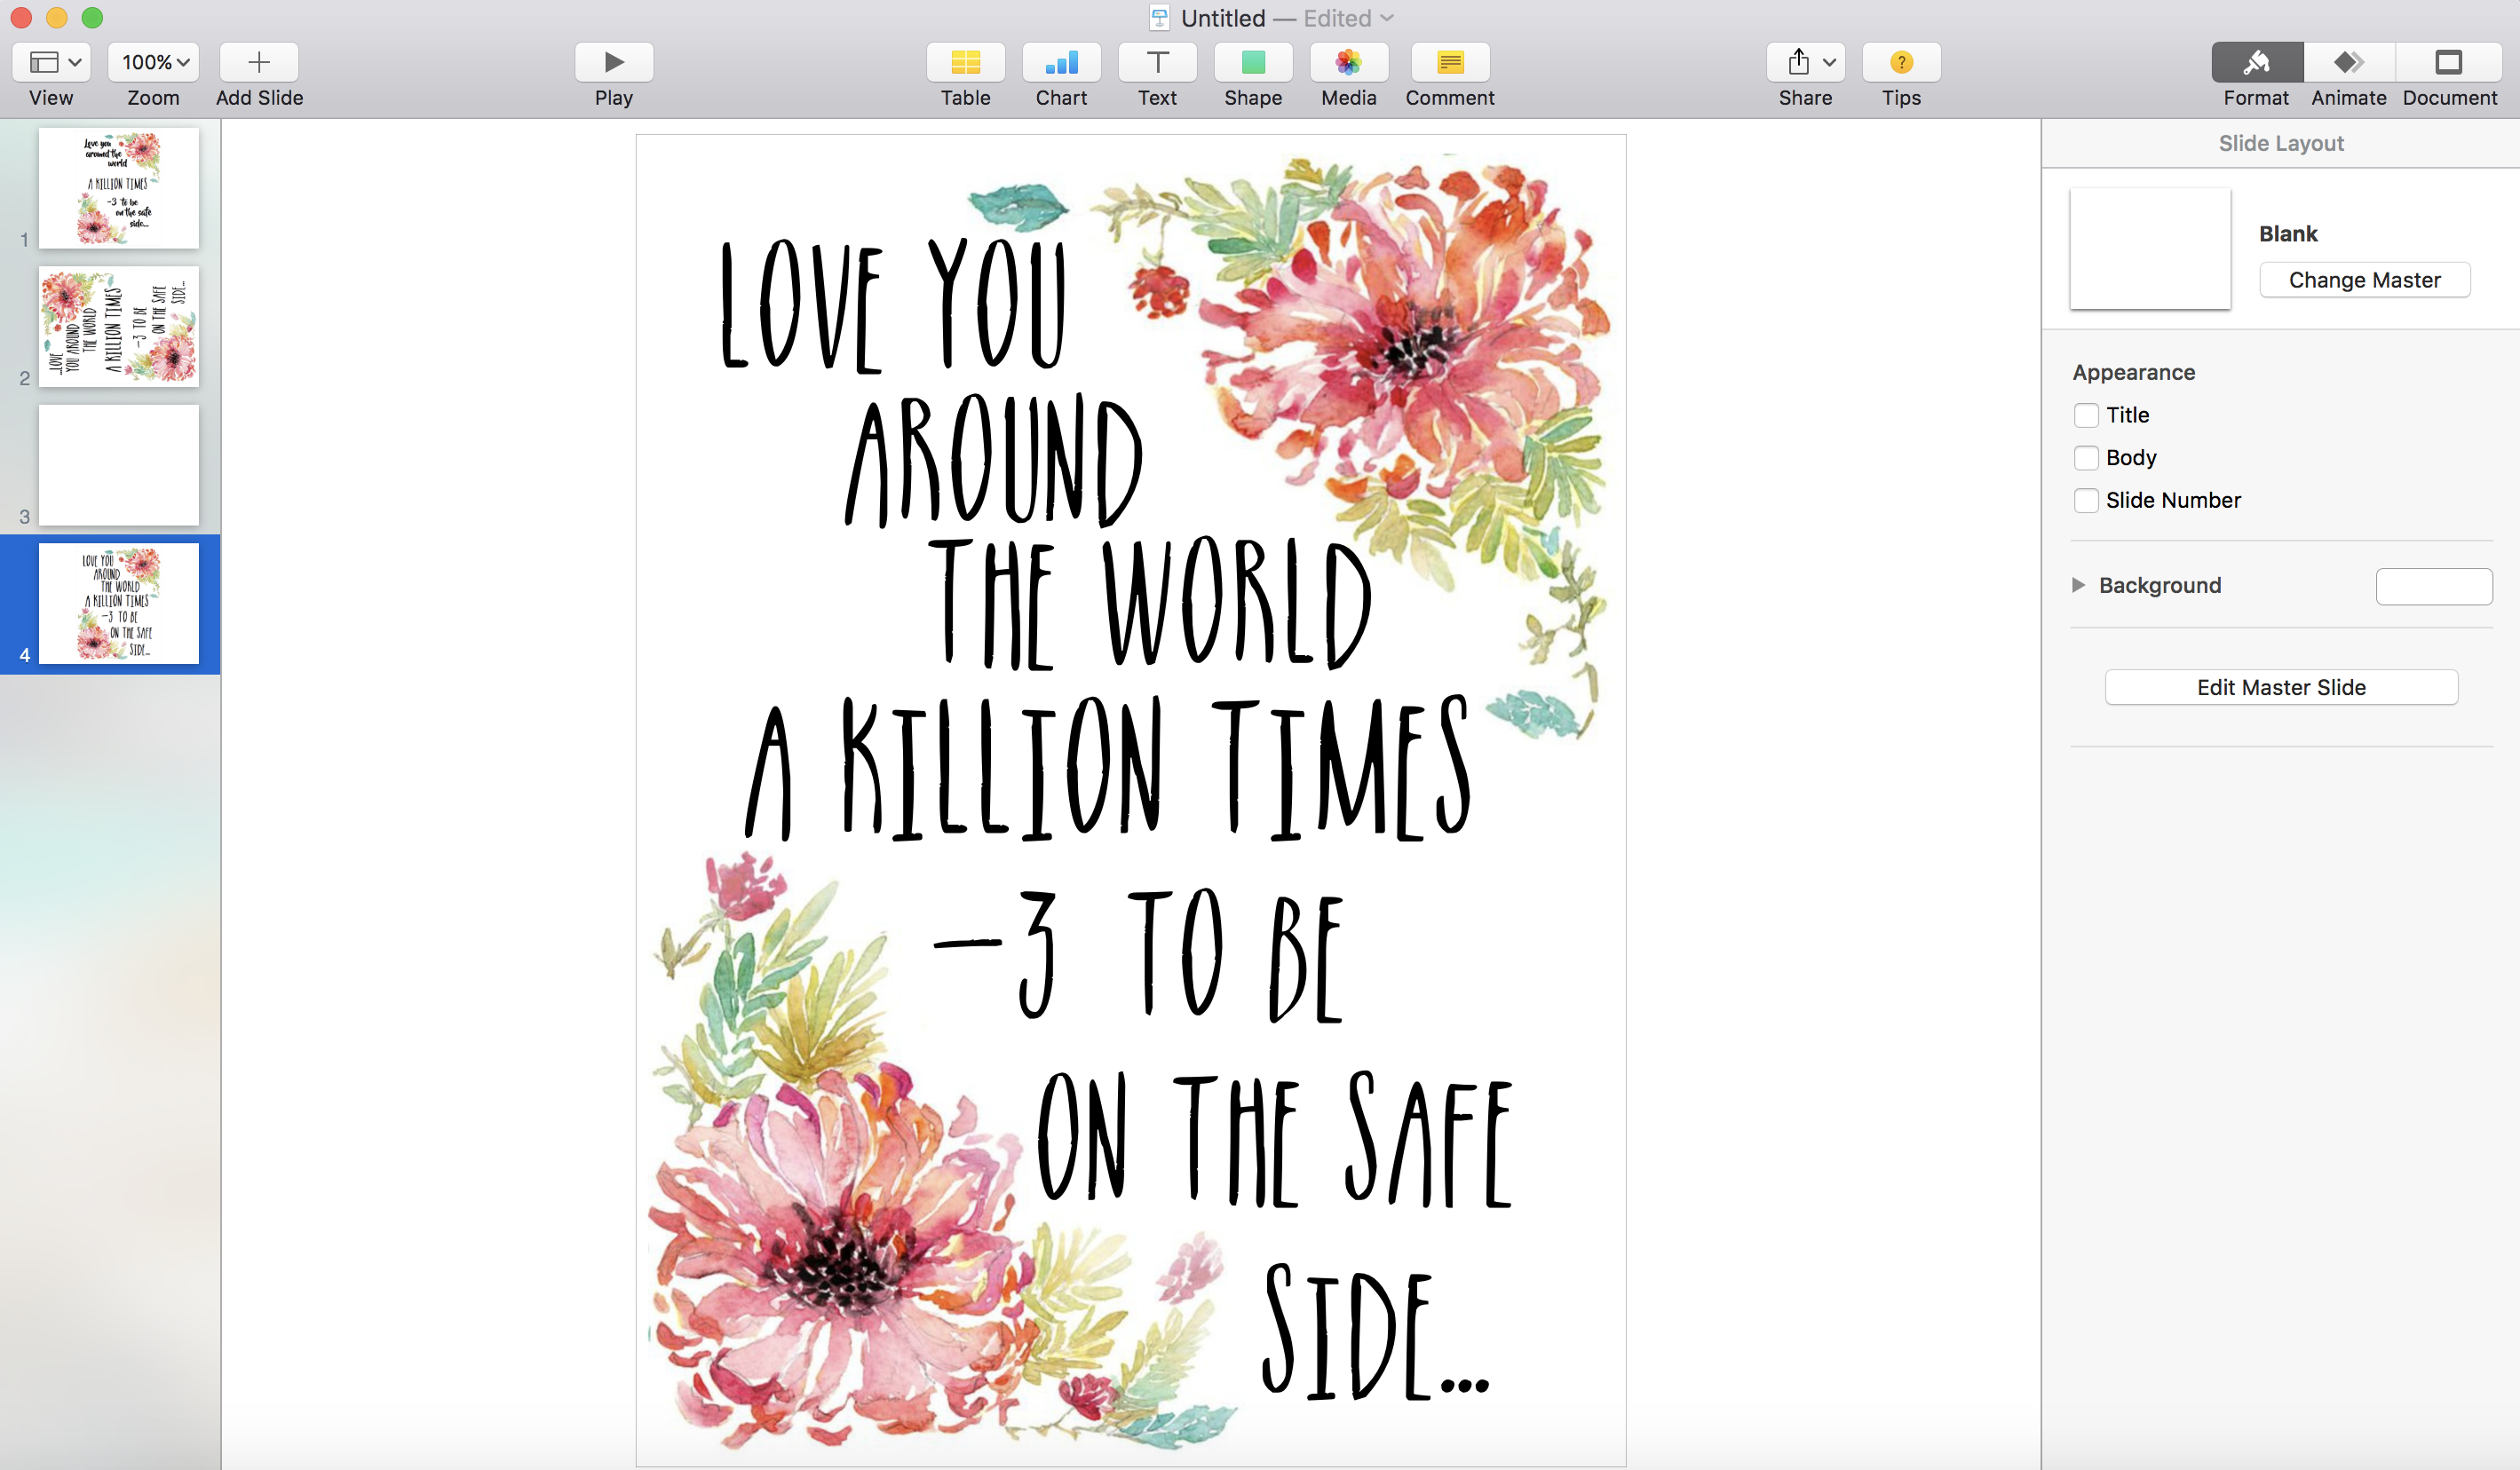
Once I was completely happy with the look, I edited the dimensions of the page so that it printed in portrait. I printed on thick white card so the print was at it’s finest.
I’ve been dying to share this post sooner, but with a Mother’s Day secrets I had to hold off. Totally worth the wait though…
I’ve recently written a post sharing My Favourite Free Fonts with easy downloadable links to help you, and I share even more tips and tricks on what editing tools I use on my photos in this post (although that was quite sometime ago now, I think there’s an updated version on the horizon!)
So there we have it. If you’re a lucky owner of Keynotes then give this a go! I quite often find myself eyeing up pretty motivation postcards with cute quotes on, or framed prints with decorative wording in shops. Now, I can make my own with any desired look…
Have you got any other top tips on how to use Keynotes? Please comment and share your advice below…

